Smartphone Astrophotography: How I Capture the Moon and Planets with My Phone
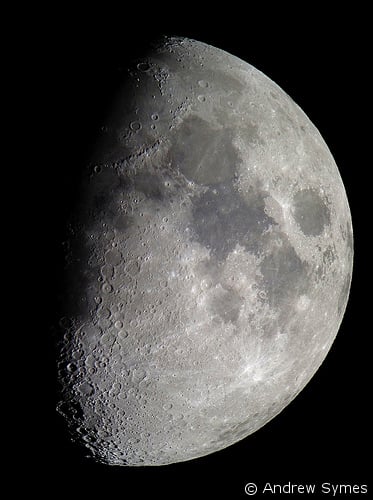
I’m often asked how I am able to take high-quality images of the solar system using my iPhone. In short, the quality of today’s smartphone cameras makes it possible to take very respectable images of the Moon and planets through a telescope with your phone – but it takes some work.
What You Need
1) A Smartphone Adapter
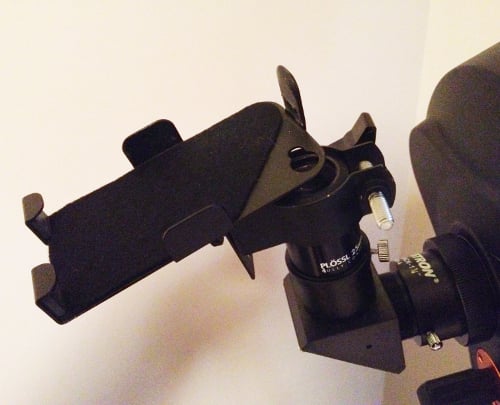
A smartphone adapter will hold your phone in place above the eyepiece.
The simplest way to take a photo at the telescope is to simply hold your phone’s camera up to the eyepiece, but this approach rarely produces good results. Not only is it very difficult to centre the object properly, it can be tricky to ensure that the object is well exposed.
A simple adapter will improve your smartphone astrophotography immensely. An adapter will help you centre an object in the phone’s viewscreen, steady the camera, and ensure proper focus and exposure. A handful of companies are now producing adapters, including Orion whose adapter for iPhone 4s (no longer available) is pictured here. Orion also produces a Universal Smartphone Adapter that is said to fit most phone brands.
Here’s a video of the Orion Steadypix in action to give you a sense of how an adapter is used:
2) Eyepiece Filters
While smartphone cameras have excellent resolution, they don’t yet have the manual exposure control settings needed to evenly expose the entire lunar disc or to capture subtle planetary features. To bring out such detail, you’ll need to use eyepiece filters such as a Moon filter and/or a coloured filter to reduce the object’s brightness in the eyepiece.
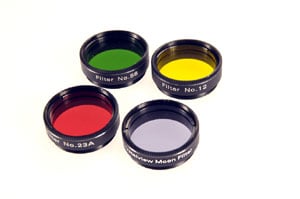
It’s a good idea to have a range of filters at your disposal as the magnification you’re using – and the magnitude of the object itself – will determine how bright or dim the object will appear to the camera. A nearly-full Moon through a low-powered eyepiece will require a dark filter, while a crescent Moon at dusk may not require a filter at all.
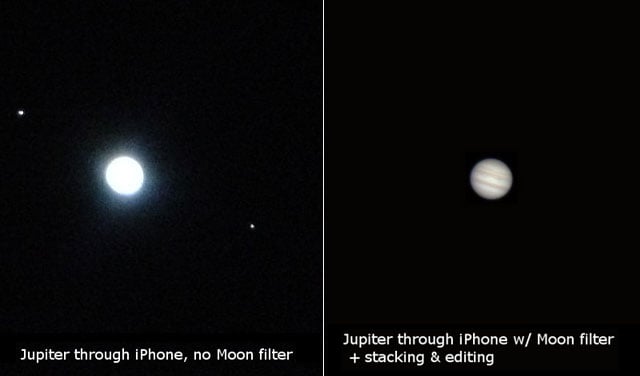
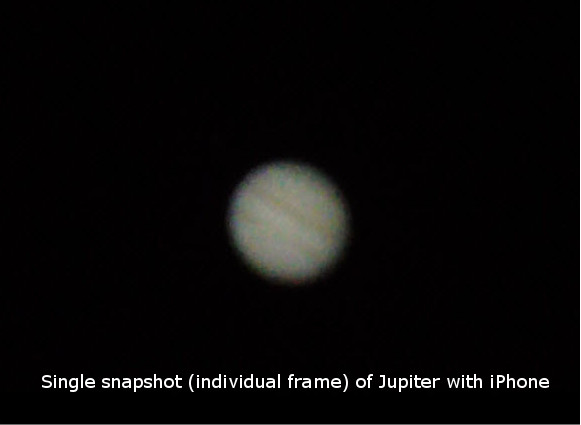
When photographing a planet like Jupiter, an eyepiece filter will help you to image features on the disc. Without a filter, a smartphone will capture Jupiter as a bright, over-exposed blob. With a Moon filter, you can reduce the brightness of Jupiter’s disc and bring out important detail. In the example below, the addition of a 13% Transmission Moon filter to the eyepiece eliminated the light from the Galilean moons, but allowed Jupiter’s cloud belts to pop into view.
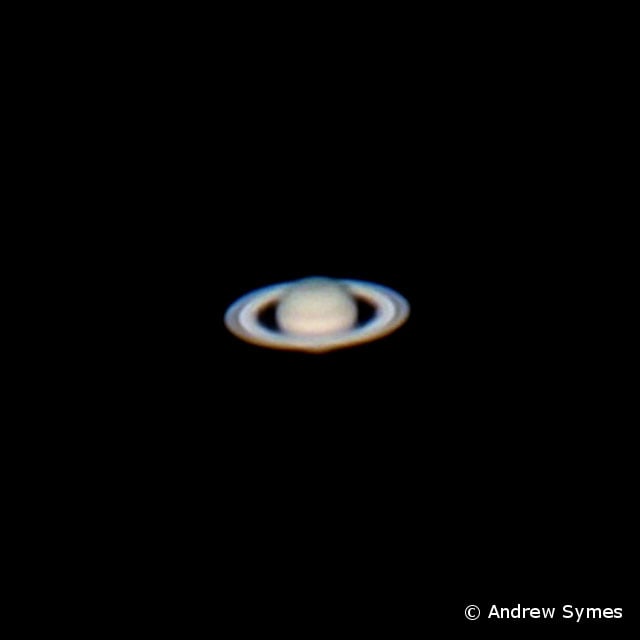
At high magnification, it’s sometimes possible to use a filter that allows more light transmission (such as a coloured filter) to image a planet. Below is an image of Saturn taken with a #80A Blue filter. While this filter gives Saturn an unnaturally blue hue, it brings out ring and cloud detail that would not be visible through an unfiltered shot. It also delivers a brighter view than would be obtained using a Moon filter.

3) Stacking & Editing Software
While it’s possible to take high-quality snapshots of the Moon with a smartphone, it’s difficult to take an individual planetary image that matches the view through the eyepiece.
To tease the most detail out of a planet, it’s best to record a short video clip of the object using the camera’s video function. You can then use freely available image stacking software to select and combine (stack) the best individual frames from the video.
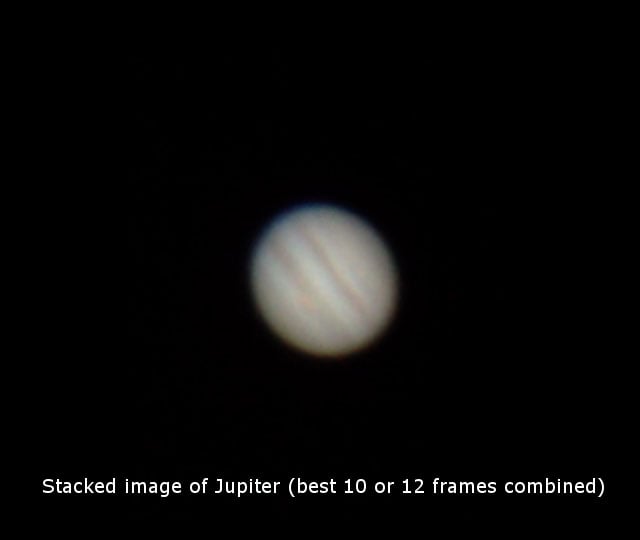
The Stargazers Lounge tutorial on Stacking Planetary Images offers an excellent introduction to image stacking and editing. AutoStakkert, Registax and AviStack are popular, free stacking software tools, and Apple users can also import iPhone video directly into a shareware program called Keith’s Image Stacker to accomplish similar results.
4) Practice

As with most astronomical pursuits, your skills will improve with practice. Don’t be disappointed if your first images don’t match those you see online. Experiment with different eyepieces, filters, and software and understand that the image quality is only partially in your hands. Your success will also depend on the degree of atmospheric turbulence or “seeing” at the time you’re taking your images. The same techniques might produce dramatically better (or worse!) results from one night to the next.
Shooting Deep Sky Objects
It’s also possible to take photos of the brightest deep sky objects with a smartphone. Using the NightCap app, which mimics the long exposures of DSLR cameras, I was able to obtain a high-quality image of the Orion Nebula that was recently featured on the website io9!
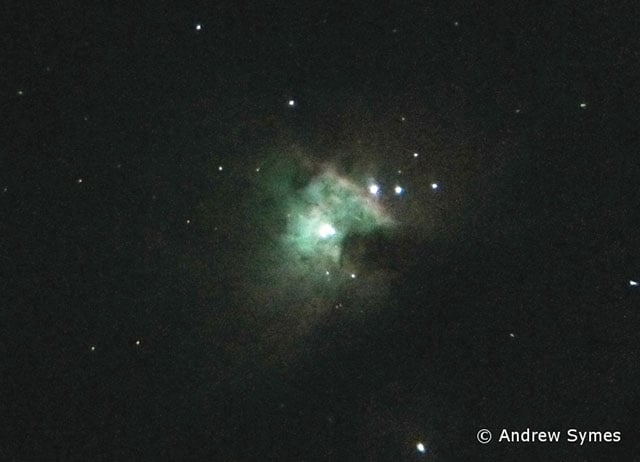
No stacking was required to record the colour and detail found in this nebula. I simply brightened the original image with the Camera+ app.
Lastly, I’ve created a Flickr gallery that contains my most recent iPhone astrophotos.
Examples
Earlier in 2014 I took some of my best iPhone photos of Saturn and Mars using the techniques described above: