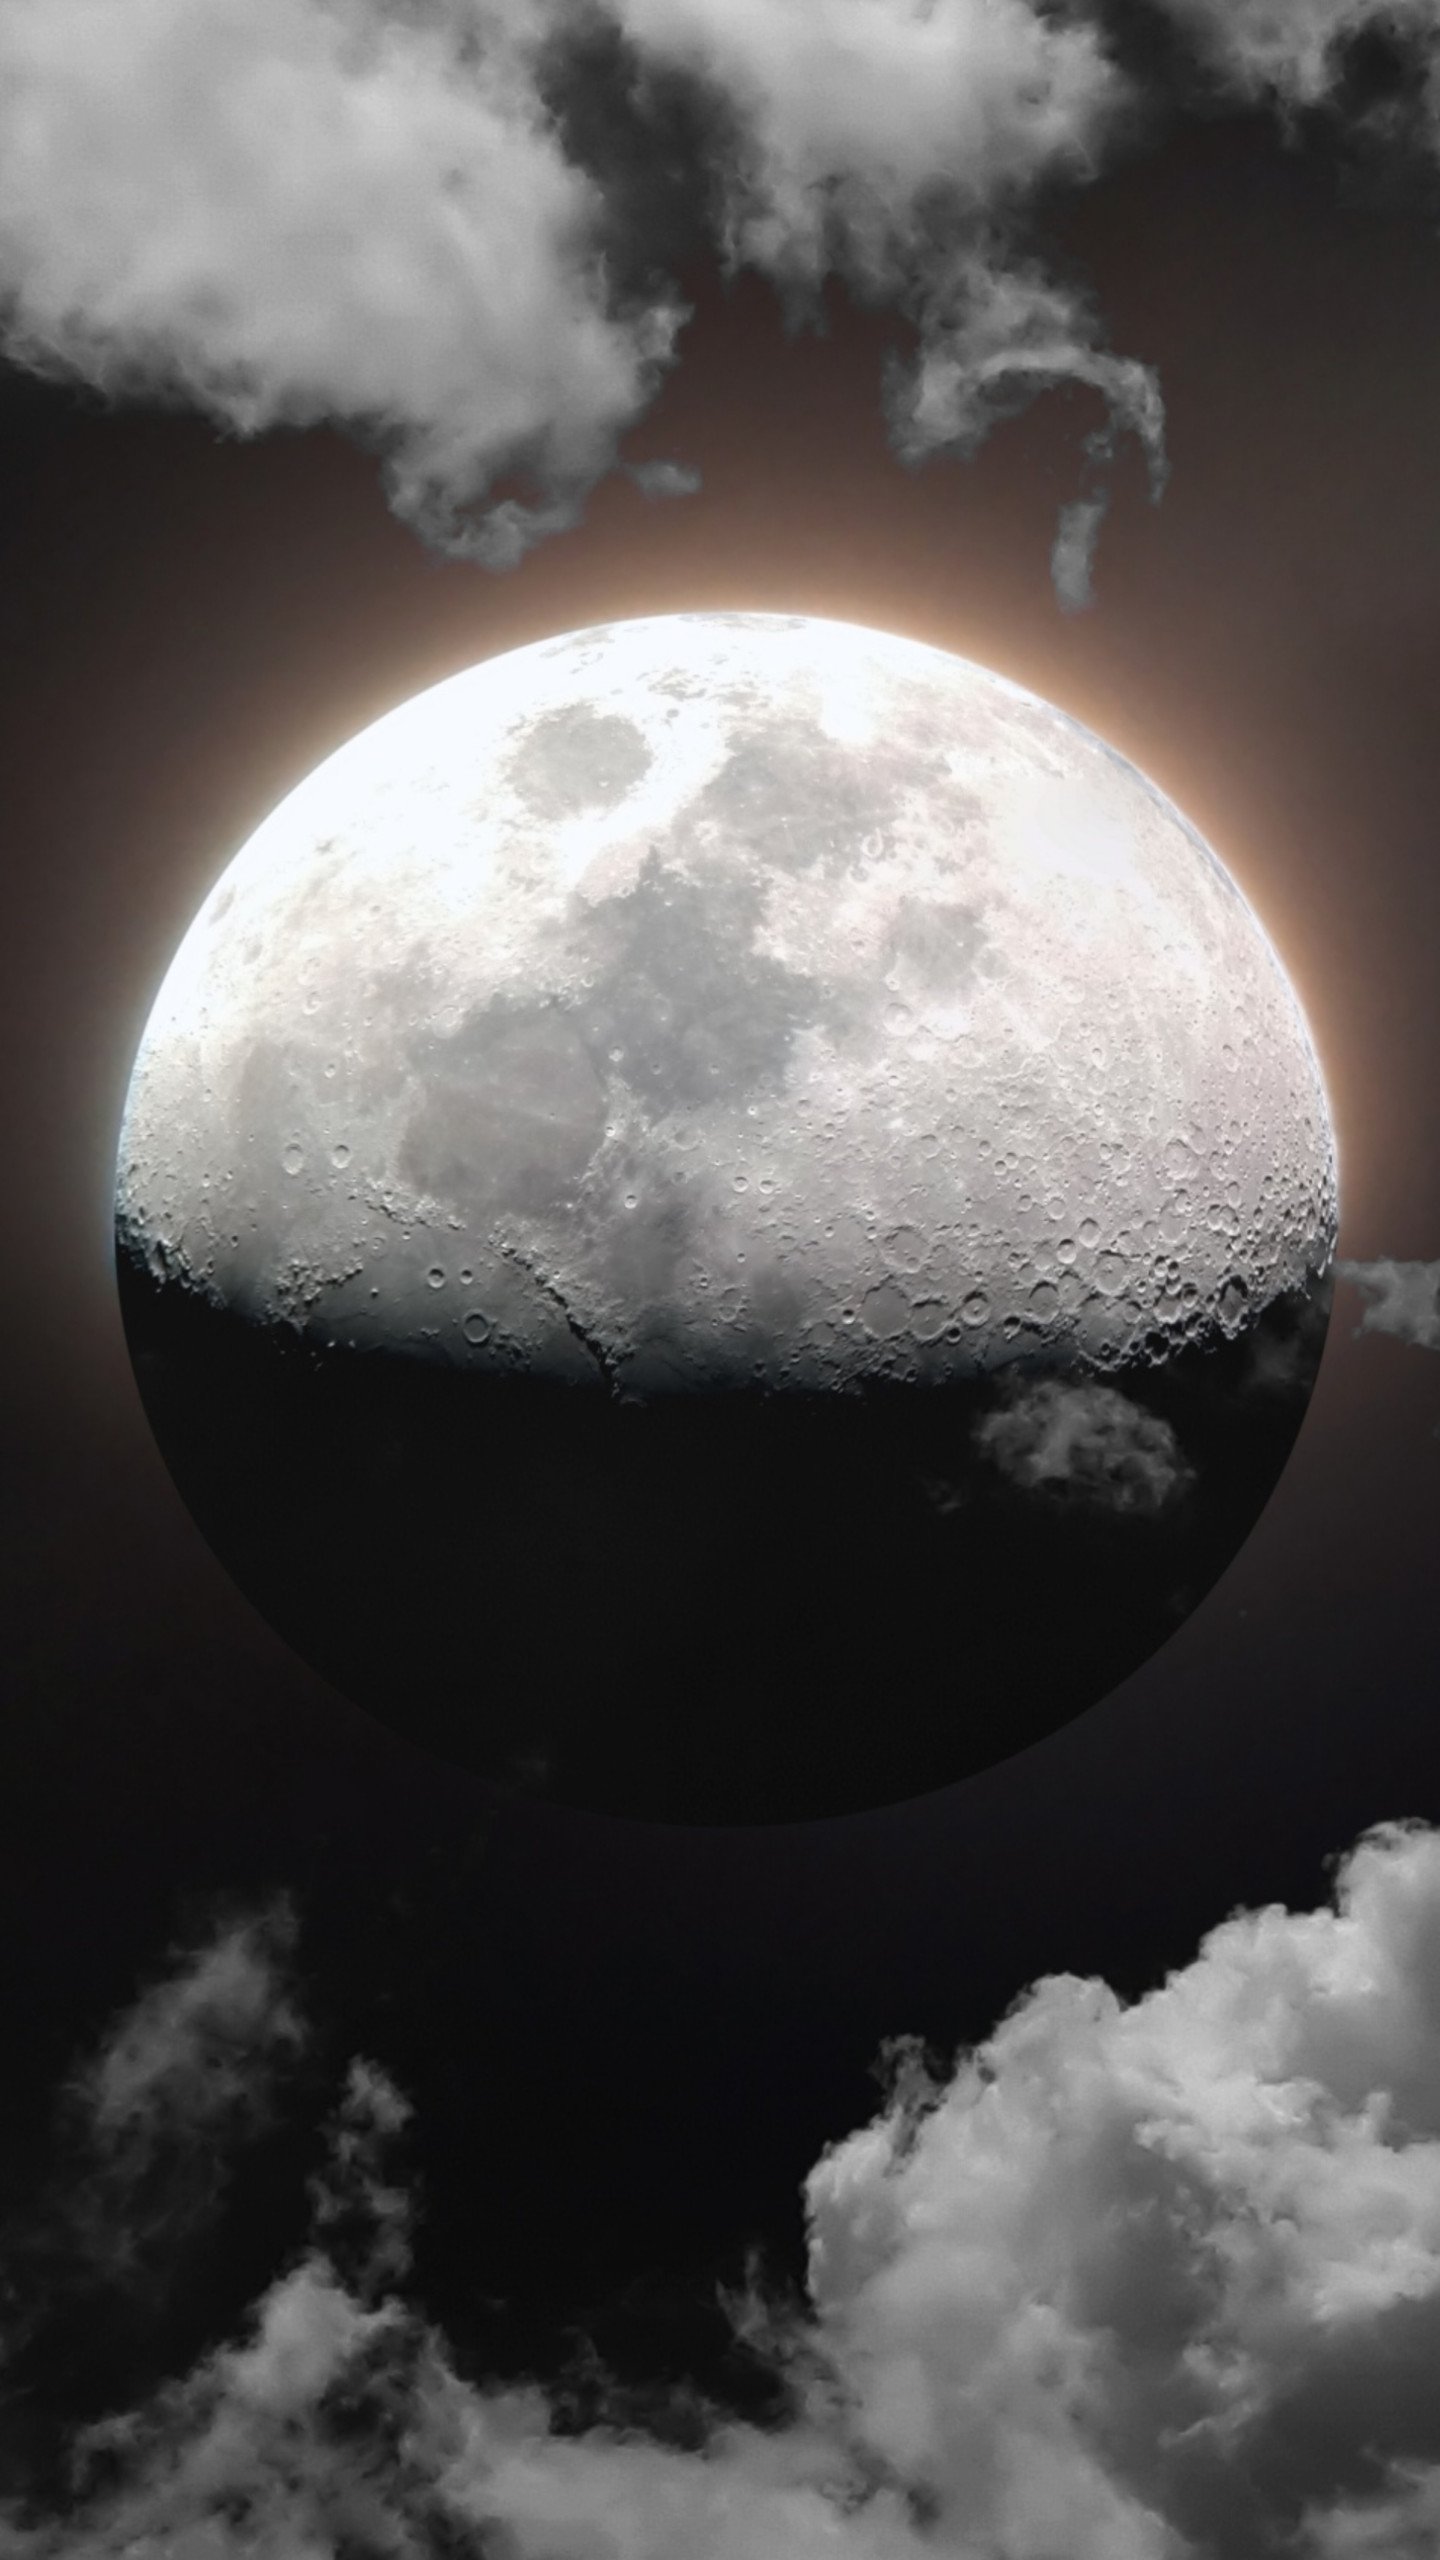
Teen Photographer Captures Incredible Moon Photo with His Phone
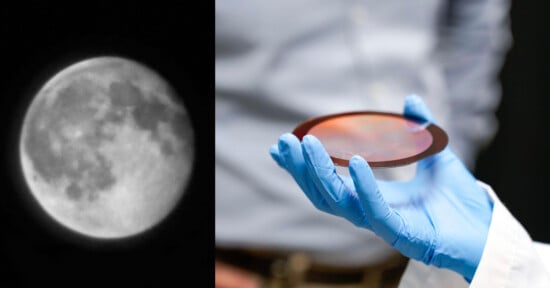
18-year-old Vijay Suddala created a stunning composite image of the moon from his home in southern India with just a $150 telescope and his smartphone.
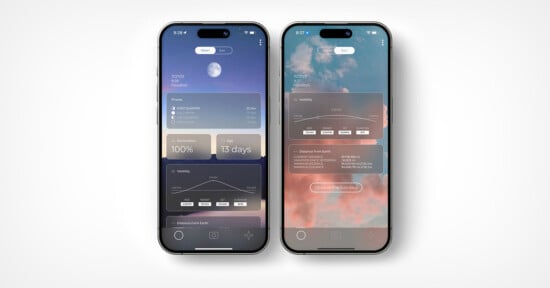
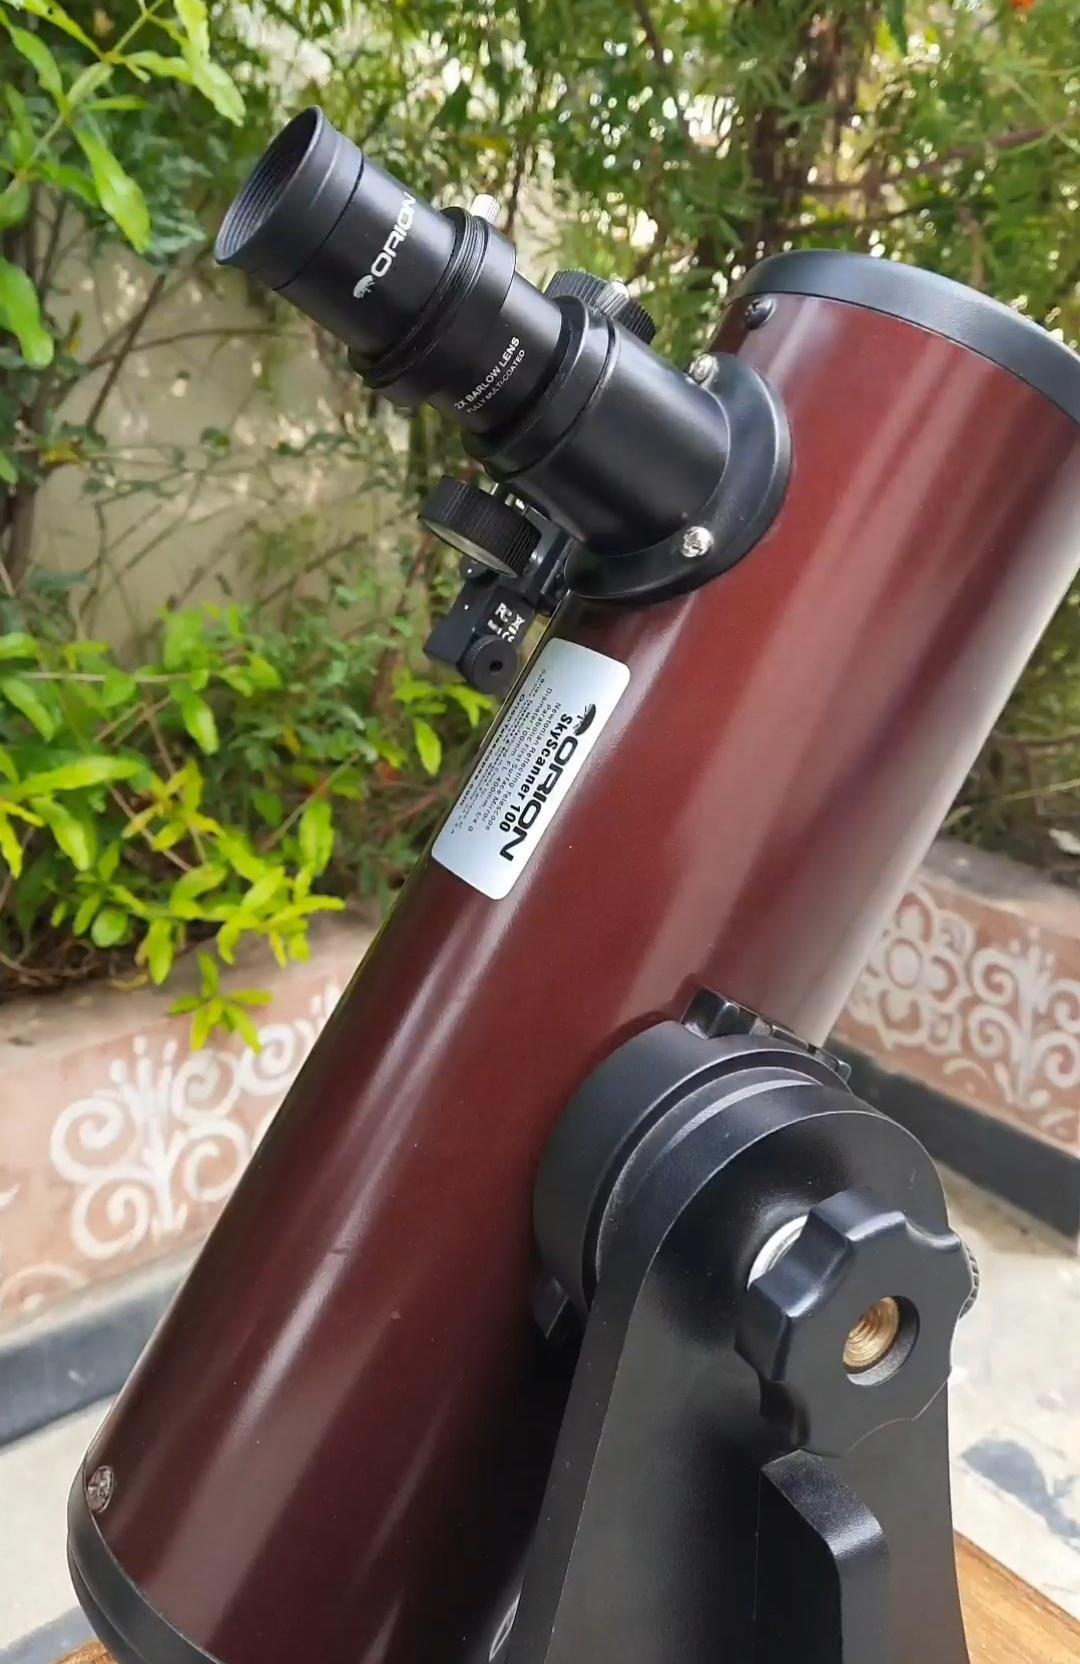
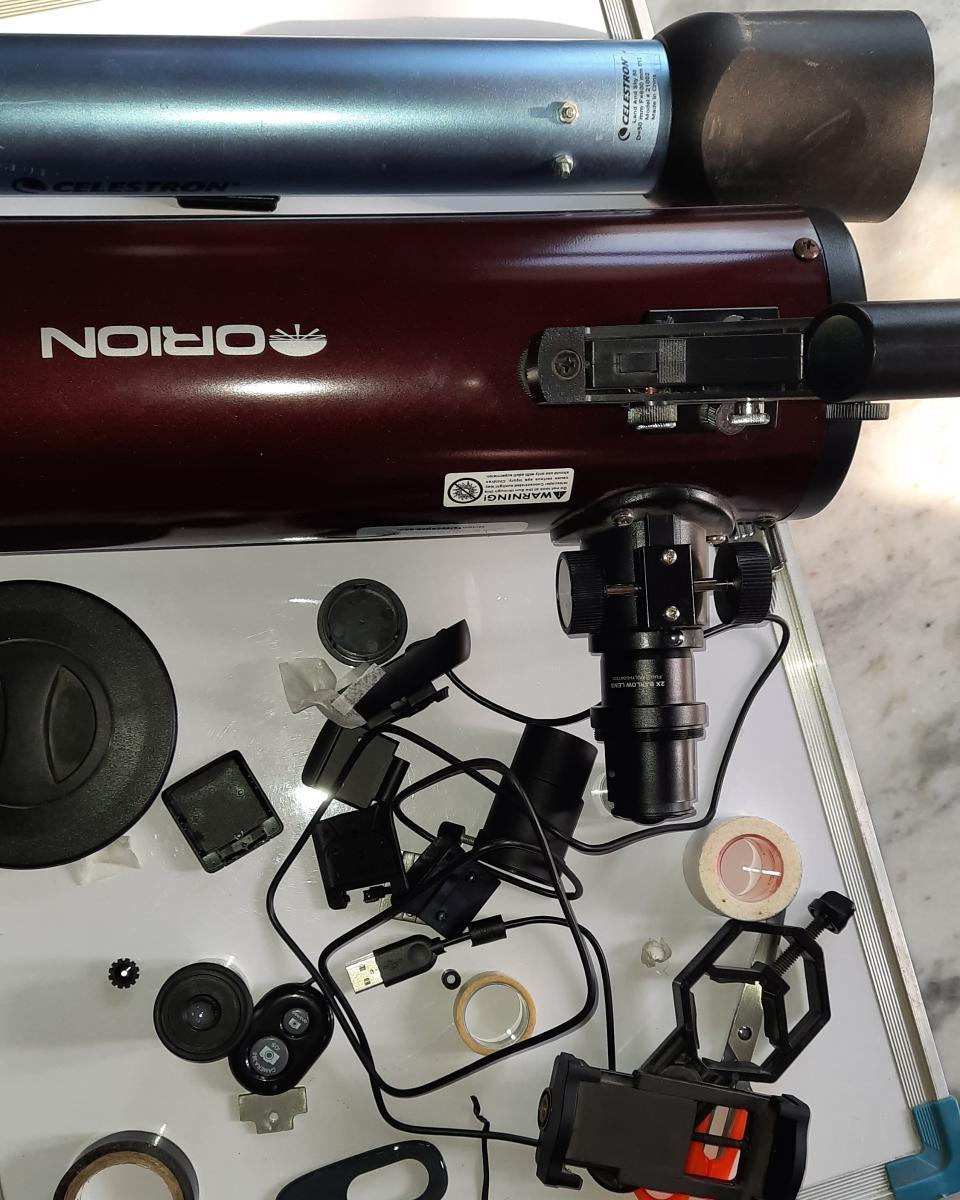
The teenager used an Orion Skyscanner 100mm telescope, Svbony Barlow lens, 10mm eyepiece, and a smartphone adapter along with his Samsung Galaxy M21 to capture the celestial image.
Speaking to PetaPixel, Suddala explains through step-by-step how he created his impressive HDR image using four images.
“Get your telescope aligned with the smartphone’s camera lens using a smartphone adapter. You’ll see a perfect circle on the smartphone’s camera view and you can use a distant object to check your focus,” explains Suddala.
“Point to the moon and snap pictures making sure it’s not overexposed. You can use ProCam X mobile application to change the ISO and shutter speed of your phone. Find a setting that best suits your smartphone.”
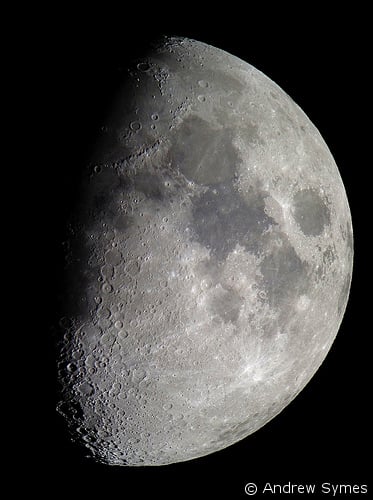
Suddala then captures the upper, middle, and lower parts of the moon to make the whole image sharp, and leaves a common area between all of the moon shots. Finally, he captures an overexposed photo of the moon.
“Once you get three or five single shots of the various parts of the moon you get them into a software called ‘Microsoft ICE.’ What it does is stitch them according to the common areas and get a complete image of the moon,” says Suddala.
“I get the stitch into Photoshop and the first thing I do is apply auto-color, noise reduction of a factor of 8, unsharp mask until you feel the sharpness is sufficient or good looking. You can adjust the black areas of the moon with curves adjustment.”

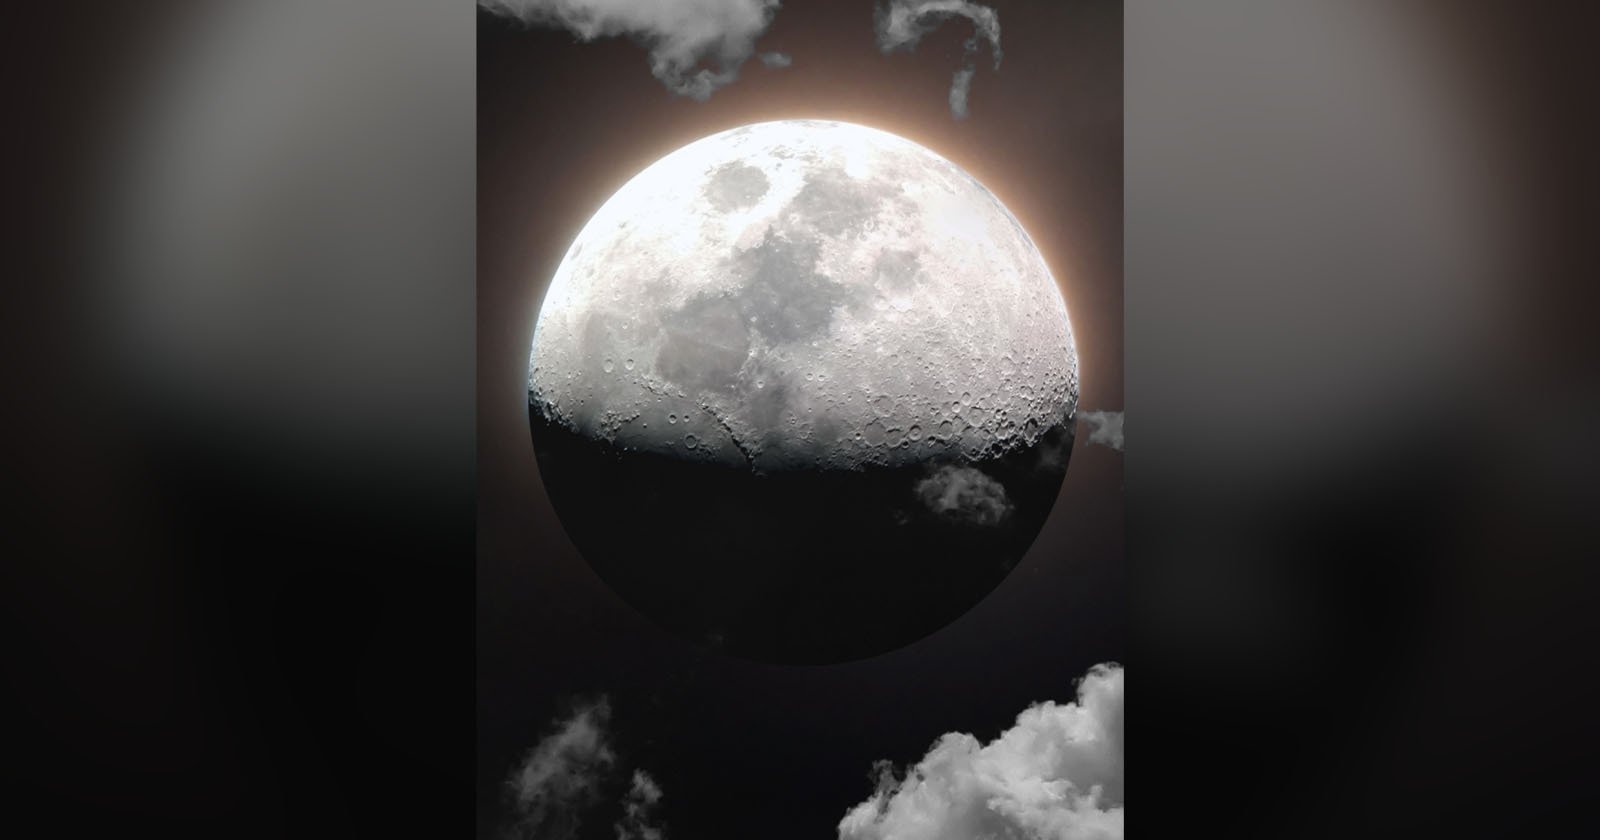
The smartphone astrophotographer then adds another image of a full moon for the HDR look using guides in Photoshop to align the two images.
“Use the elliptical marquee tool to cut the moon into a perfect circle. You can remove the bad edges with chromatic aberration by applying gaussian blur,” adds Suddala.
“You should align the overexposed photo of the moon layer with that of the above layer perfectly. This will give a nice glow to the moon,” he continues.
“For the clouds, I capture them in the daytime and convert them into black and white by removing the saturation. Then I load the layer of the Moon with the glow and the black and white clouds in Photoshop and change the blending mode to ‘lighten.’ That’s it.”
Anyone Can Do It
Suddala, who does all his astrophotography work on a smartphone, believes anyone can take exceptional images of the moon, even on a budget, and credits YouTuber Alyn Wallace for learning the technique.
“I used to have a pair of binoculars when I was a kid which I bought from a store. I used to watch the moon and I also used it for terrestrial viewing.
“When I was 12, I bought a Celestron 50mm refractor and watched the rings of Saturn for the first time with it. I also used it for lunar observing, but I got bored with it after a year or so because the views were not that pleasing.
“Later, when I was 15, I bought the Orion Skyscanner 100mm tabletop reflector telescope. That’s the same telescope I used for making the composite.”
More of Suddala’s work can be seen on his Instagram.
Image creditsAll photos by Vijay Suddala.