DIY: How to Turn an Old Nikon D80 Into a Permanent IR Camera in Four Easy Steps
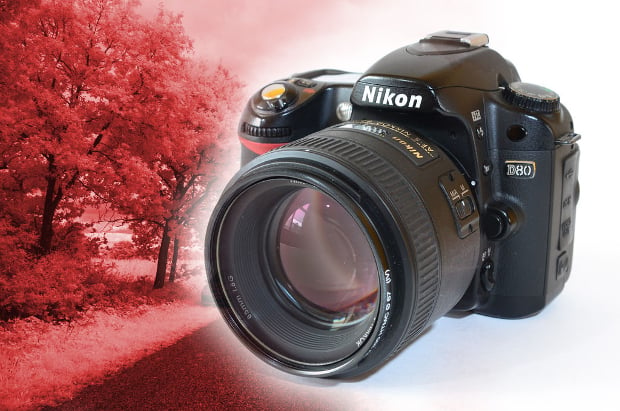
Here’s a DIY project for infrared photography enthusiasts who have a few hundred dollars and some time to spend this weekend. Instead of taking the typical routes when it comes to taking IR photos — i.e. using an IR lens filter or making the magic happen in post — why not DIY a dedicated IR camera of your own?
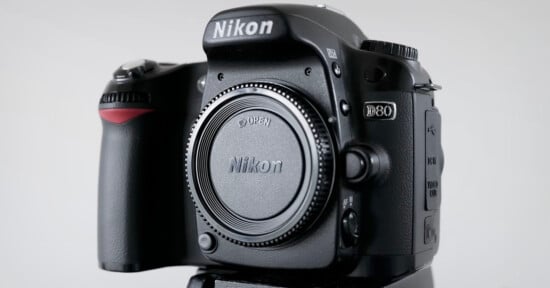
At least that’s what Instructables user Zoltan Acs decided to do, because buying an IR cam of your own is often expensive, and both the filter and post-production options come with decided disadvantages. So instead, he bought a used Nikon D80 online and turned it into a permanent IR camera in just four steps!
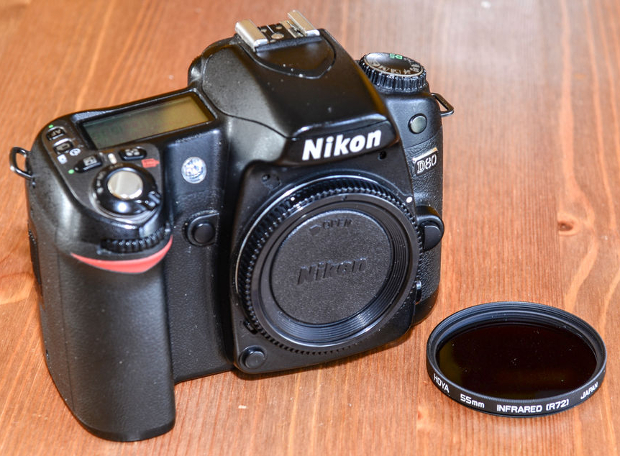
All you need to do to start is get your hands on a D80 (he got his for about $175), a cheap 50mm or larger IR lens filter, a small phillips head screwdriver and a pair of tweezers (and yes, that is already one step of the four):
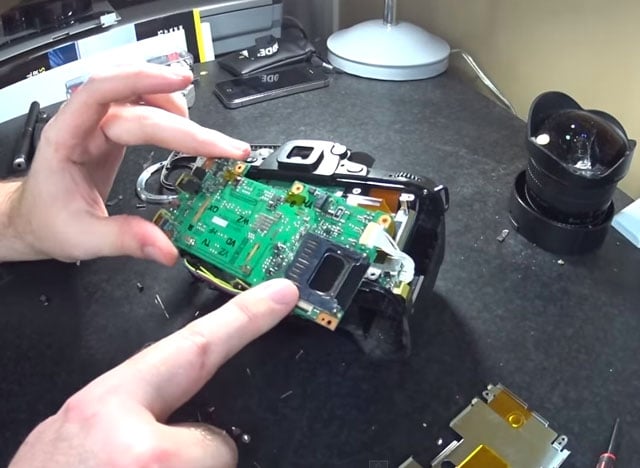
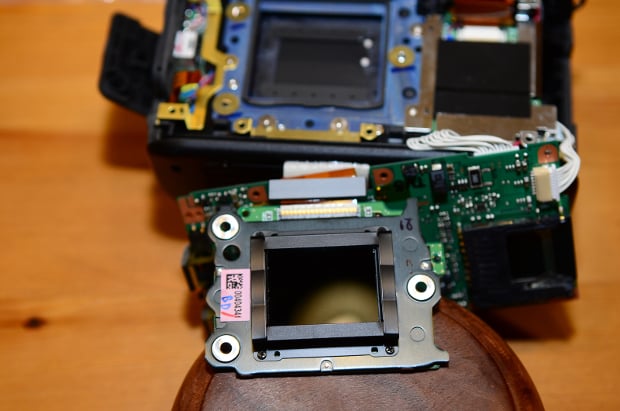
Now it’s time to take apart the trusty DSLR and expose the sensor mount so that you can remove the built-in IR filter. That filter is there to block IR light rays (as opposed to the filter you purchased, which is there to block everything else) and needs to be removed and replaced with the filter you bought.
Opening the casing is very simple, but there are a few screws you’ll run into once the external case is opened, so if you want detailed pictures that show every screw and the order they need to be removed in, head over to the full tutorial.

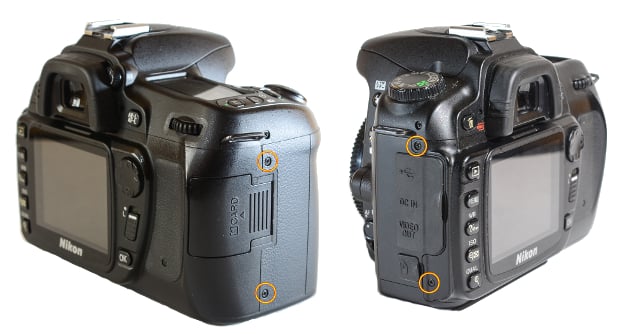
Once you’ve exposed the sensor, remove the IR filter bracket (also screwed in with just a few screws) and take out the built-in greenish filter glass. Keep the bracket though, that’s what you’re going to be mounting your filter in.

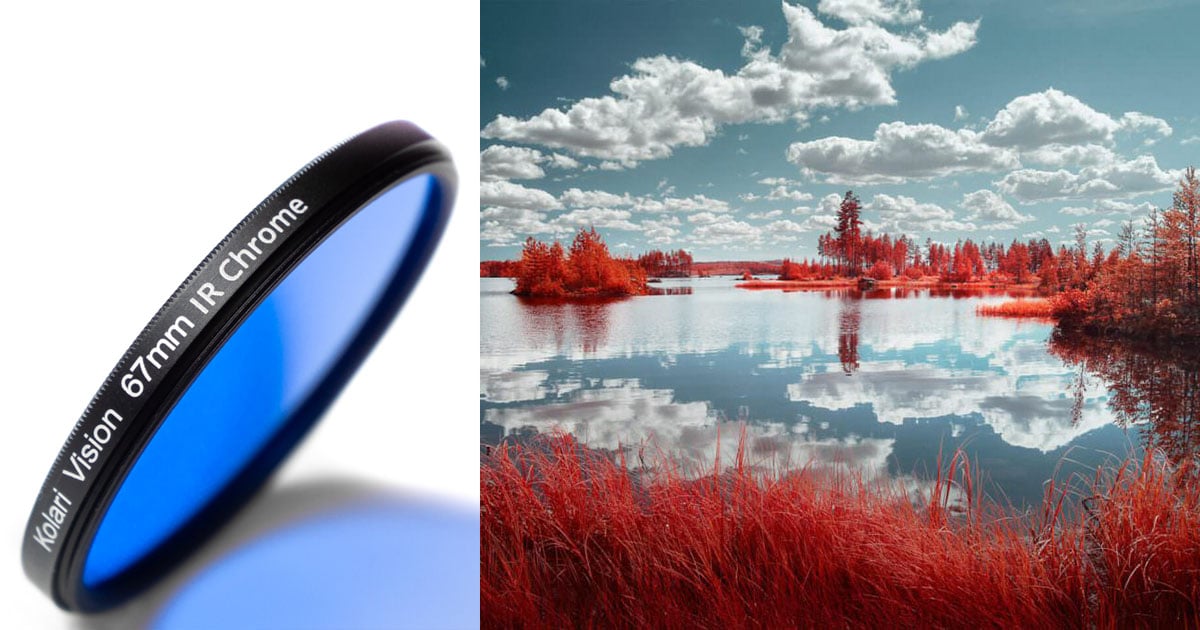
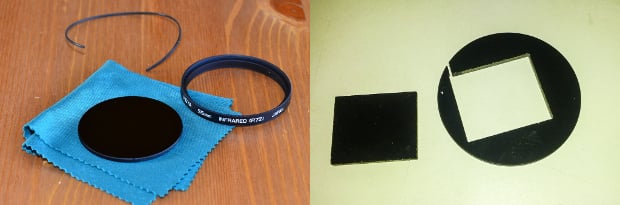
The second to last step is to cut the filter you bought to the correct dimensions and mount it inside the camera. Acs measured the recessed grooves around the sensor and found that he needed the IR filter to be about 29.5mm x 25mm to fit properly.
If you have access to a water-jet machine, now would be the time to use it. Otherwise, you can cut the filter by hand or send it out to a local water-jet company to cut for you. The choice is yours.
Once cut, the lens filter should fit decently well in the old filter bracket (although it is thicker than the built-in filter). All you have to do is attach the bracket back into place, close everything up in the reverse order you opened, and you’re done!
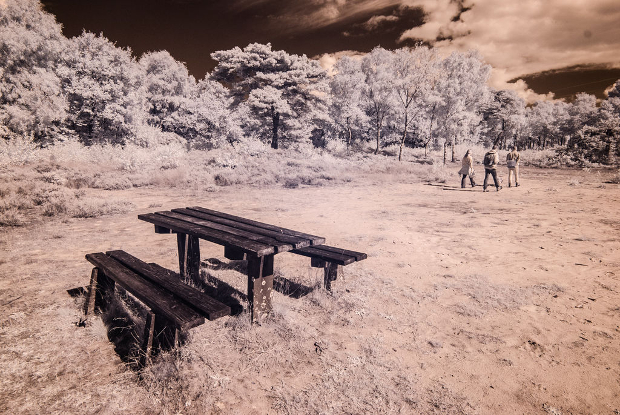
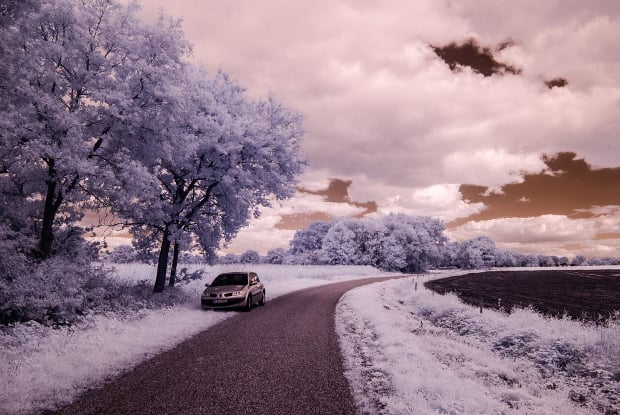
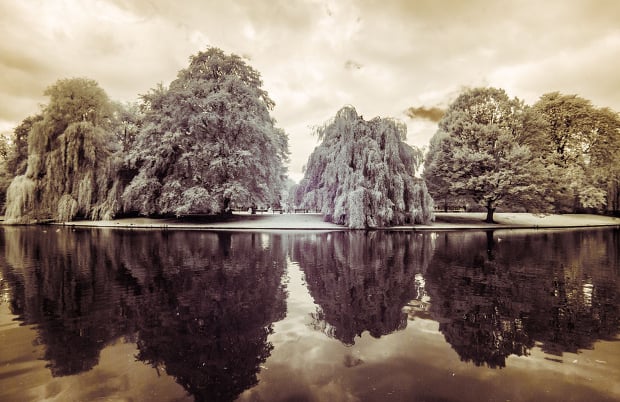
The last step is to go out and test your new permanent IR camera. According to Acs, “the plain shots from the IR camera look monochrome red,” so “some setup is required to achieve nice results.”
For him, that setup meant setting the white-balance “to the minimum” to offset the red, setting the ISO to 100 to keep the noise low, and making sure he was shooting RAW so he had some control in post-processing. Here’s what turned out:


It’s certainly not the most simple DIY we’ve ever shared, but it’s still fairly basic. If you’re into infrared photography and you want a dedicated IR cam, this is a relatively cheap high-quality solution.
For the full step-by-step breakdown and a lot more pictures, head over to the full Instructables tutorial.
DIY Permanent Infrared DSLR Camera [Instructables]
Image creditsPhotographs by Zoltan Acs