Quick Tip: A Cleaner Way to Sharpen Your Photos in Photoshop
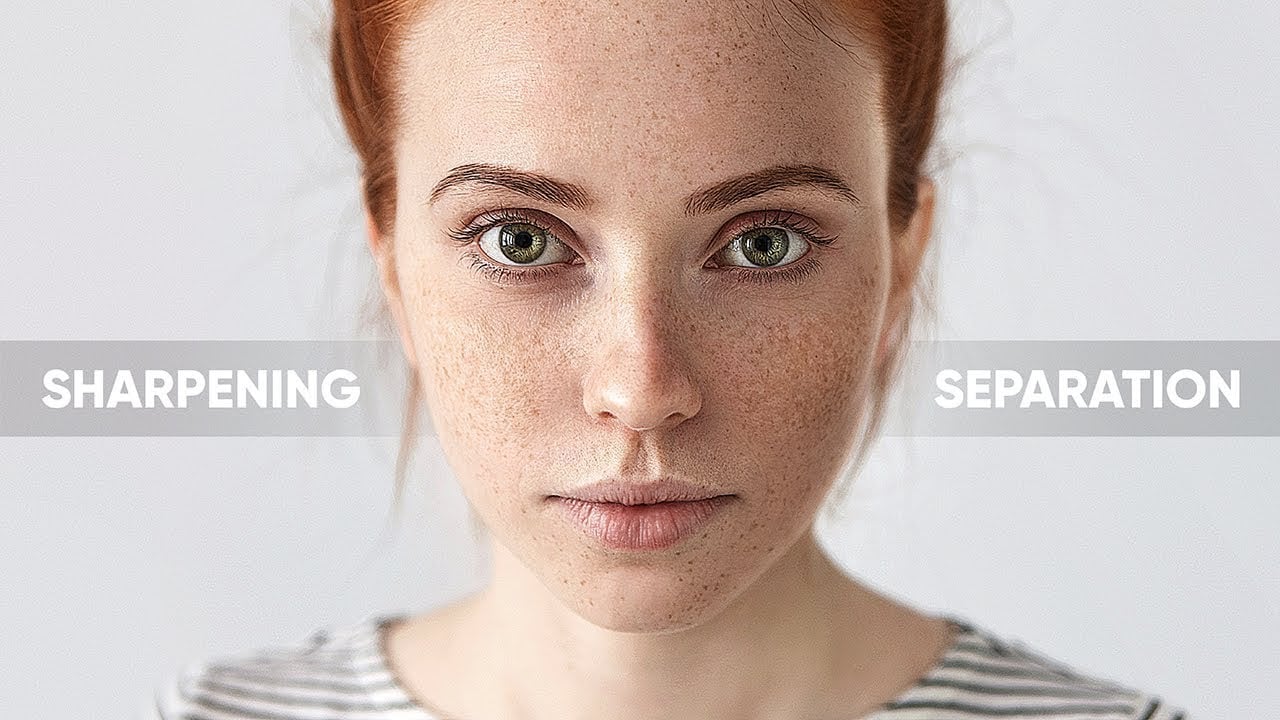
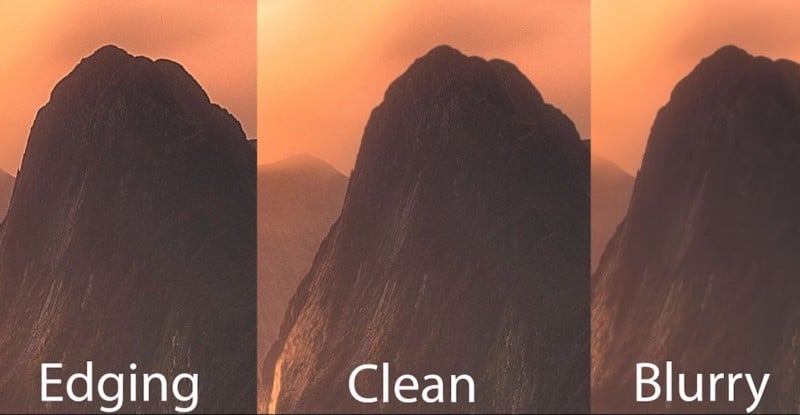
When you sharpen a photograph, what you’re doing is adding contrast to the edges in an image, but unfortunately, that often leads to black and white edging in some areas. In this short, useful Photoshop tutorial, Jimmy McIntyre will show you how to avoid this and sharpen your photos cleanly in Photoshop.
First things first, McIntyre has created a free Photoshop action that does this all for you. You can download it here. But if you want to learn how to do this yourself, he’ll take you through each step in the video above.
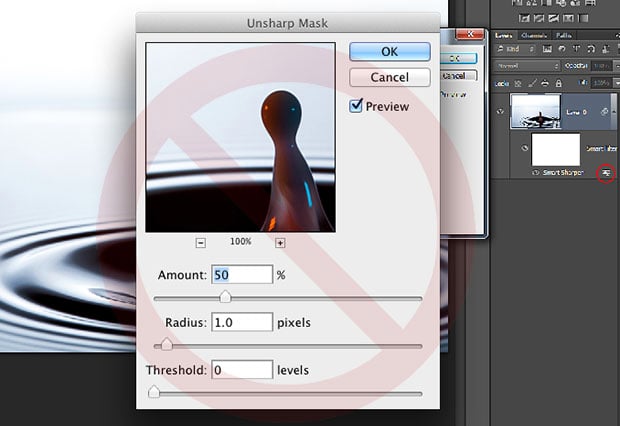
If you’ve been using unsharp mask, we suggest you give the video a look. The difference between the two techniques is obvious:
Fortunately, the process is pretty straight forward even if you do it yourself:
Step 1: Duplicate your background layer.
Step 2: Convert the duplicated layer into a Smart Object.
Step 3: Select your whole image (CTRL+A or Command+A), copy it (CTRL+C or Command+C), and create a new Alpha channel in the Channels tab.
Step 4: Paste your selection onto that “Alpha 1” Channel (CTRL+V or Command+V)
Step 5: Go to Filter > Stylize > Find Edges
Step 6: Open Levels adjustment (CTRL+L or Command+L) and adjust the sliders to create more contrast between the edges and white parts of the image (highlights down, shadows up, midtones up) making the dark lines thicker.
Step 7: go to Filer > Blur > Gaussian Blur. Use a radius that suits you (Jimmy uses 3.6) to soften the lines and make the edges of the image look a bit more natural.
Step 8: Repeat Step 5 above, bringing shadows slider way up to add back in some of the contrast that was lost in the previous step.
Step 9: Hold CTRL (or Command) and click on the “Alpha 1” channel to select these edges.
Step 10: Select the background duplicate layer, and create a mask.
Step 11: Select the same layer again, and go to Filter > Sharpen > Unsharp Mask and sharpen to your taste. The hardest edges are now masked out, so they won’t be affected and that black and white edging won’t be a problem anymore.
Check out the video up top to have McIntyre walk you through the entire process in Photoshop; or, if you’re not in the mood to do all that work, just click here to download his free action that does the same.
(via ISO 1200)