3 Easy Ways to Get that Faded ‘Film Look’ in Photoshop
Everyone’s digging that “faded” film look nowadays, but here’s a secret: you don’t have to have a VSCO preset pack to get it. In this short tutorial, Mathieu Stern will show you three very quick and very effective ways to “crush the blacks” and get that popular look using just Photoshop.
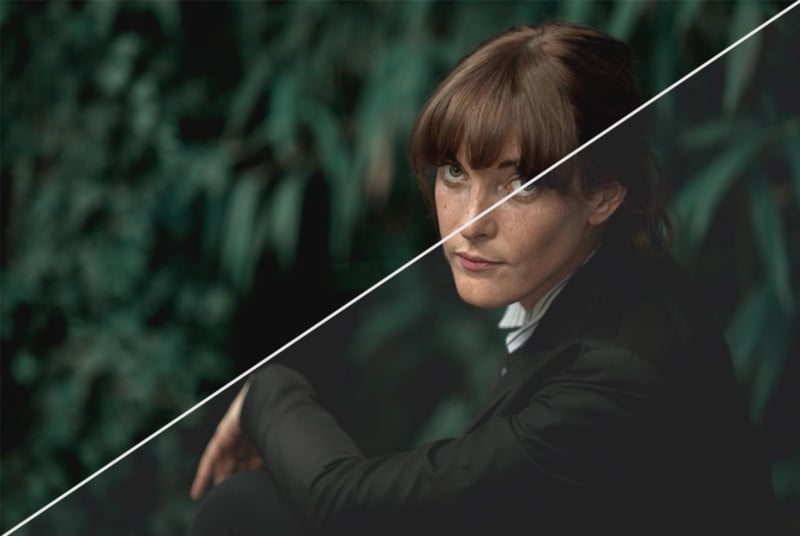
Not bad… Check out the video up top to see how Mathieu does this, or read on for a quick step-by-step breakdown of all three options.
Option 1
- Add a Curves Adjustment Layer
- Move the leftmost point slightly up and to the right
- Move the top-right point down slightly
- Adjust opacity to preference
Option 2
- Create a solid color layer filled with color code #4B4B4B4B
- Change blend mode to “Lighten”
- Adjust opacity to preference
Option 3
- Add a Selective Color Adjustment Layer
- Select Blacks in the Colors dropdown
- Reduce the Black slider
- Increase the Cyan slider a bit
- Reduce the Yellow slider a bit
- Adjust opacity to preference
As you can see, each of these options is a distinct way to crush the blacks in an image, making it look more filmic, or at the very least more faded. Check out the video up top to see Mathieu perform each of these, and then give it a shot yourself if you wanna join in on the #faded fun.
Related Articles

Discussion