Hack Your Reflector By Cutting a Hole in the Middle

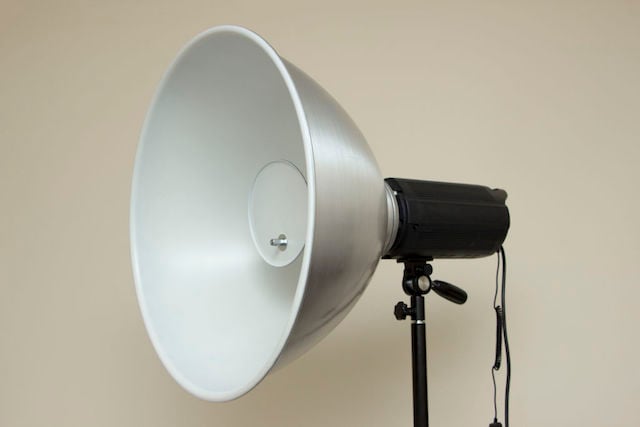
This is the cheapest yet most effective photography hack I can think of. Step one: get disc reflector. Step two: cut lens-sized hole in said reflector. Step three: profit.
First of all, the reflector’s fabric is really tough which means the hole will not spread. Secondly, the reflector can still be used traditionally, even with a hole in it.

The only issue that ever arises is if I am using the reflector to block the sun — now there is a spot of hard sunlight poking through. This problem is easily remedied: get a second reflector.
But… but… what about the Omega Reflector™??? Well, since you asked, not only is the Omega reflector around $100, it also requires the use of an assistant or reflector stand to use. I can operate a hacked reflector by myself.
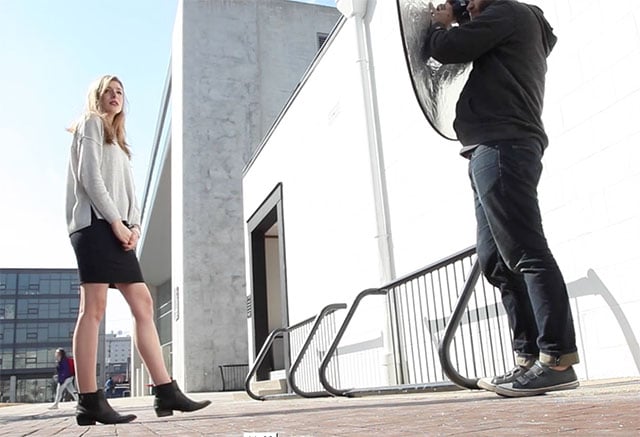

The camera lens holds the reflector in place, allowing me to use my non-camera hand to angle the reflector to the desirable position. Full disclosure: I use a cheap light rig (the Cactus RF60) and a hacked reflector but I have a really nice lens.
As long as you know how to get a proper exposure with your camera, the lens is the only thing that really matters. This is where I recommend photographers invest their money. Not only is a nice lens sturdier than a cheap lens but they also hold their value. You can resell them years later for what you paid for them, if they are properly taken care of.
All that to say, I use a Canon 85mm f/1.2L II lens, which allows me to shoot at a shallow depth of field and still get a sharp image. When it comes to gear, I travel extremely light and use the elements of wherever I am shooting to help shape my light.
For example, rather than lugging a soft box to a shoot, I take an unmodified flash, placing it behind my subject and firing it into a neutral colored wall behind them. I then use the hacked reflector for a fill light. This gives you a nice, ethereal looking portrait.


You can also use the hacked reflector with available light. Try placing your subject in between two windows and use the reflector to kick light back on to them.


Note that this method won’t work for a Steve Jobs-looking headshot. This technique produces a more angelic, soft-edged portrait, complete with a puppy dog catch light.


This technique can be used to pass as naturally occurring sunlight if used in specific contexts. I’ve used this reflector hack to fake the sun outside on rainy days. I place an unmodified flash on a stand behind my subject and raise it up to an angle that is similar to where the sun would be. Then I use the reflector to kick soft light back on their face.
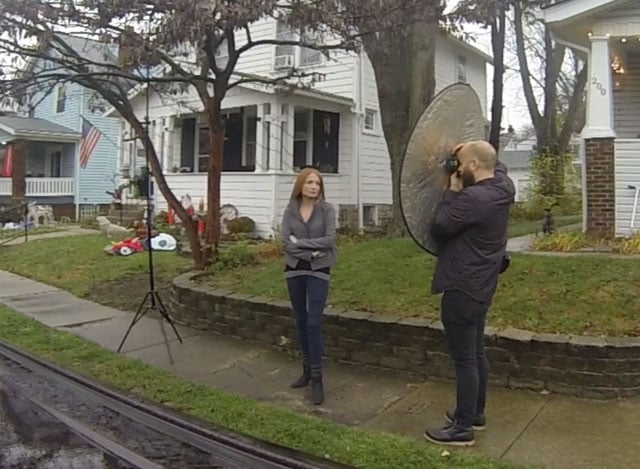

Note that in this scenario, the flash is aimed right at the subject, rather than bouncing into a surface behind them, so the light on their hair and shoulders is hard rather than soft. This works though, since we are faking hard sunlight.
For more tips and hacks like this, check out my book Studio Anywhere and follow me on Instagram. Also, make sure to tag your own #studioanywhere experiments so I can see them.
About the author: Nick Fancher is a Columbus, Ohio-based portrait and commerce photographer. You can connect with him on Facebook here. You can also find more of his work and writing on his website and blog.