How to Photoshop a Landscape Into a Mind-Bending World of Angles
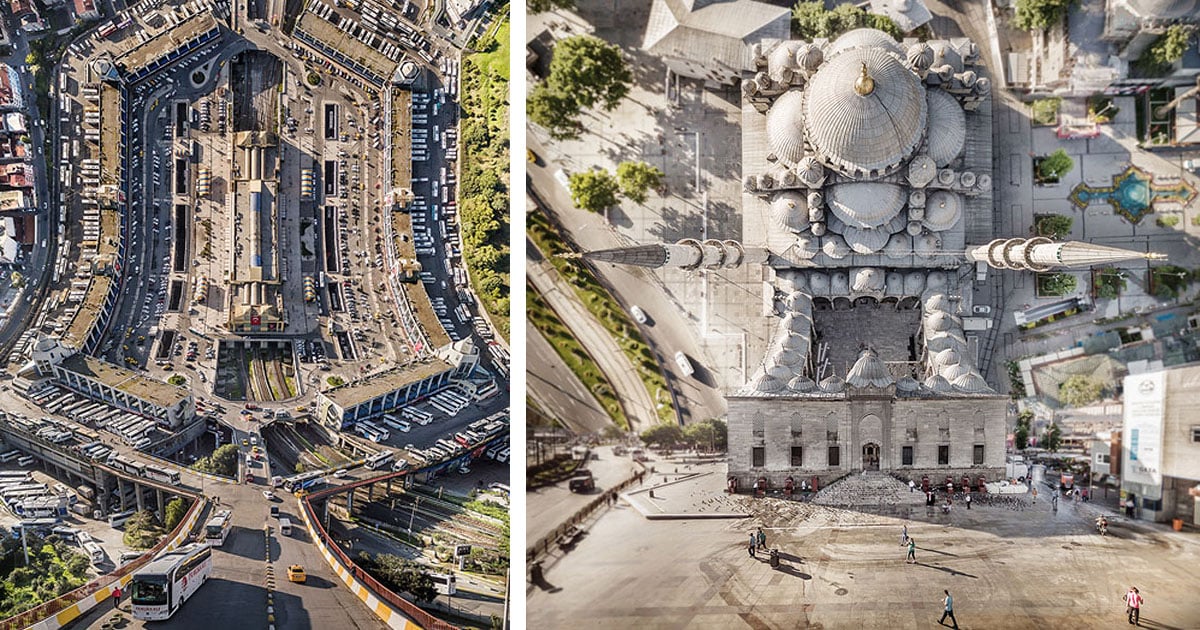
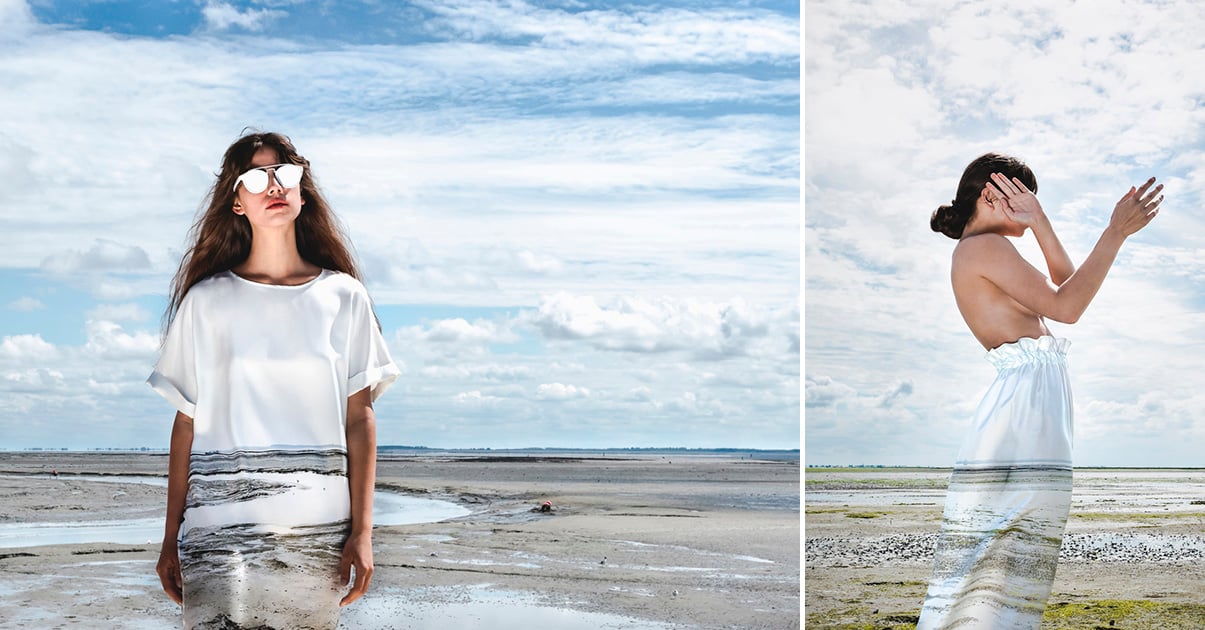
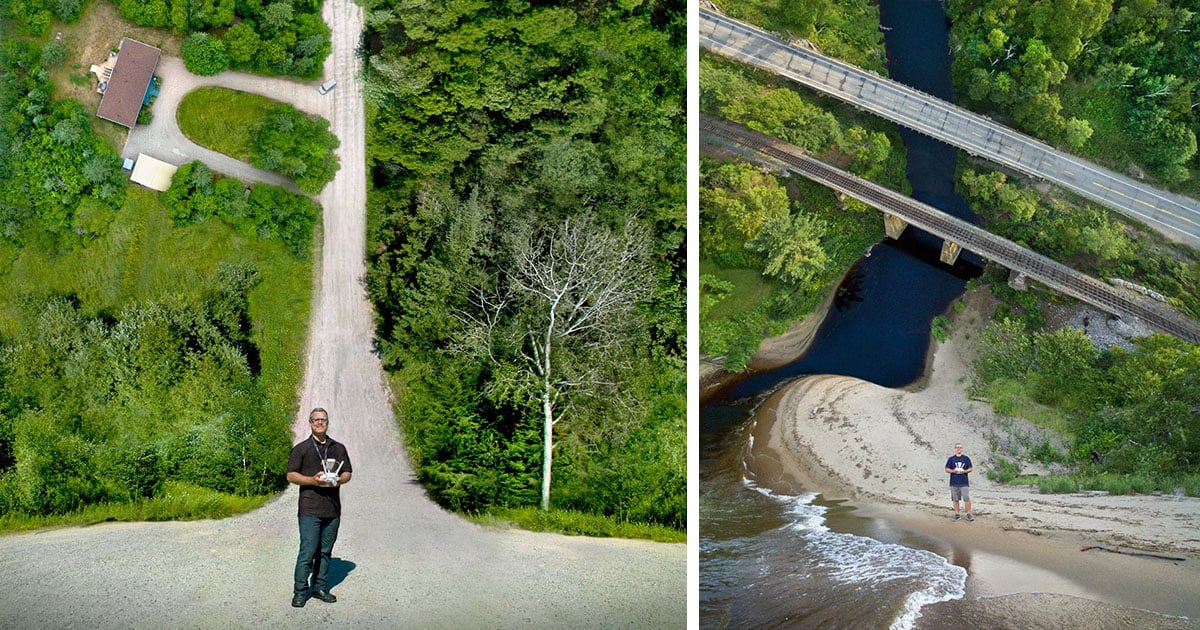
There’s a new fad on the Web. It involves creating trippy Inception-esque scenes by Photoshopping landscape photos into strange worlds with right angles in the horizon line.
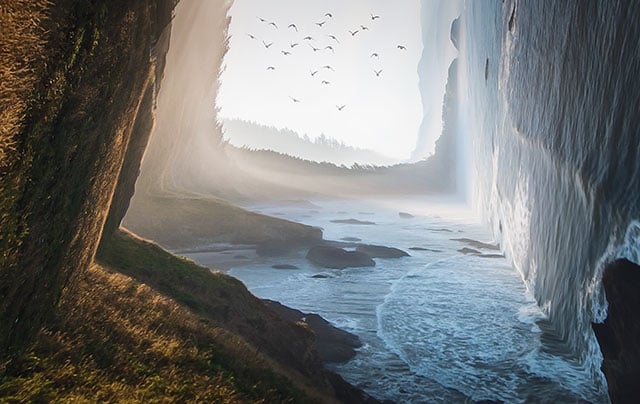
People immediately began trying their own hand at creating this concept and sharing their results. Redditor semiURBAN received a quite a bit of attention by creating and sharing this image using a photo by EugeneLawyer of Ecola State Park in Oregon:
If you’d like to learn how this type of image is created, today’s your lucky day. Here’s a simple Photoshop tutorial, courtesy of semiURBAN:
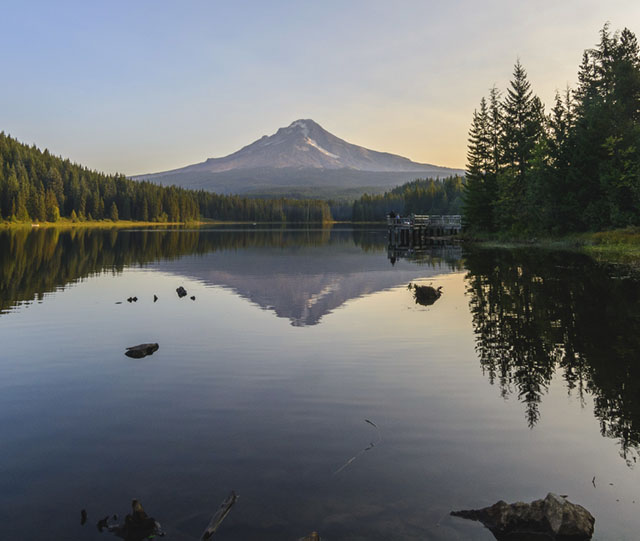
#1. Find a Landscape Photo
Here’s the base photograph semiURBAN started with:
#2: Create a Duplicate Smart Object
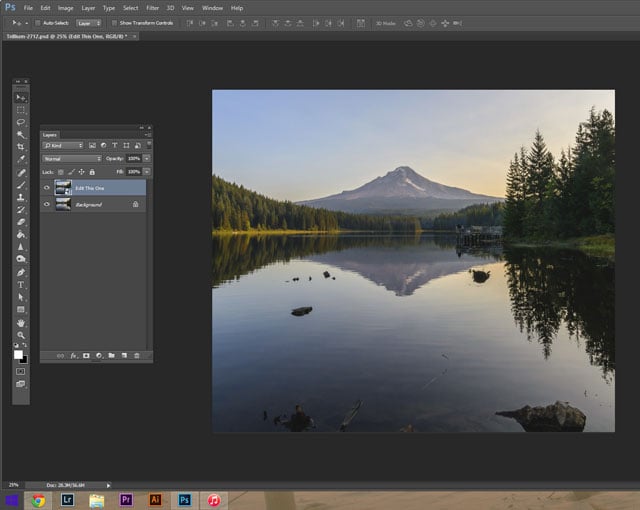
Open up your photo in Photoshop. Inside the Layers panel, right click the Background layer and select Duplicate Layer. This creates a new layer you can edit. Right click the new layer and select Convert to Smart Object.
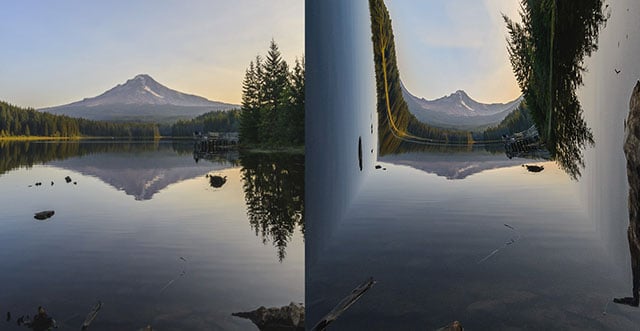
#3: Perspective Warp
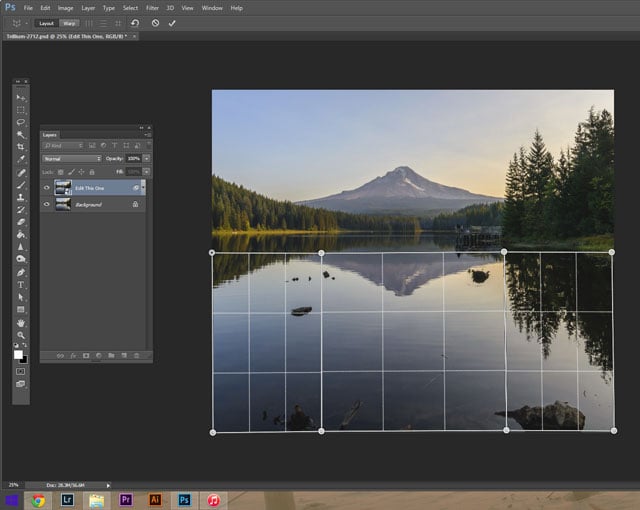
In the Edit menu, select Perspective Warp. Create your desired layout using this tool. “I just did 3 squares along the reflection in the water,” semiURBAN says. “Every photo will require different setups. This is trial and error.”
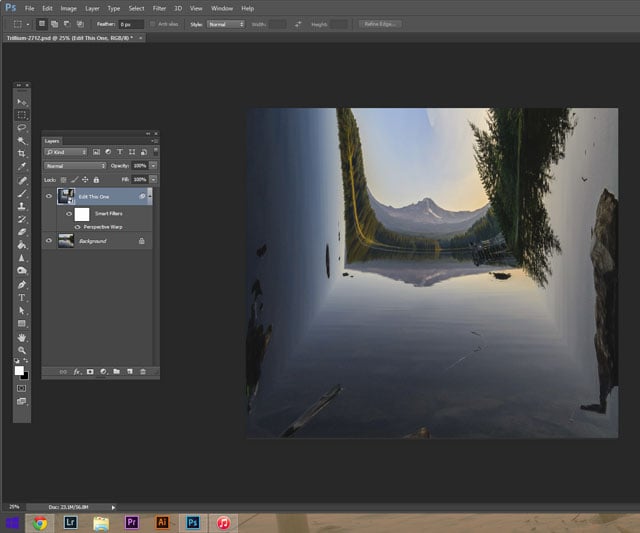
#4: Warp the Image
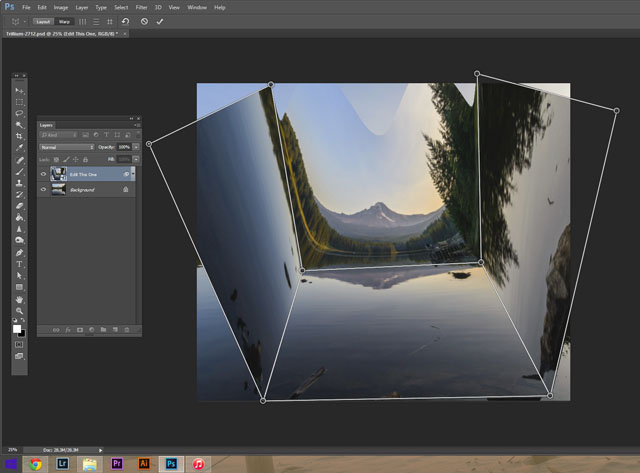
Once you’re satisfied with your layout, select Warp in the tool bar next to Layout. Work the points until you get something similar to what you see in the screenshot above. “Don’t move the points too far without adjusting the others or it can get FUBAR,” semiURBAN notes.
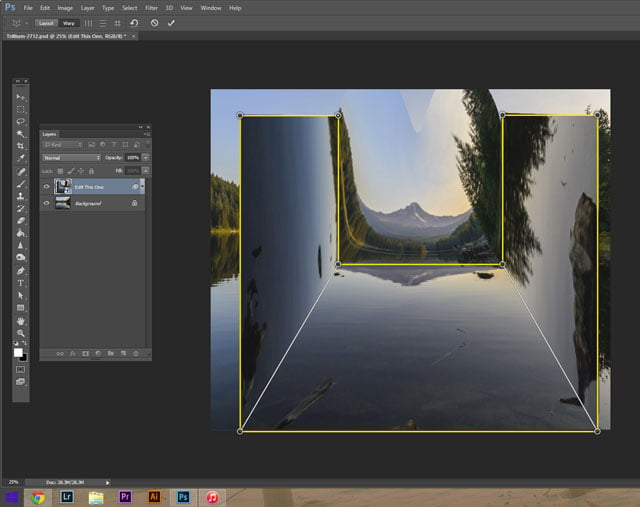
#5: Straighten the Lines
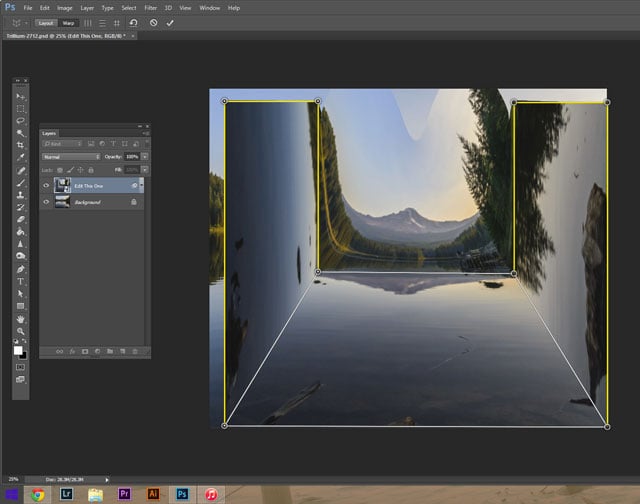
Once the scene is roughly warped, you’ll need to straighten the lines. Hold down the Shift key and select the connecting lines seen above. Straighten then out to create 90-degree angles.
#6: Position the Warp
Drag the warp around to find a composition you like.
#7: Crop
Crop out the unwarped areas of the scene on the edges of the scene to create your final composition.
#8: Voila! You’re Done

Here’s the final image that resulted for semiURBAN at the end of this process. Your results may look a bit different depending on your choices for positioning the warp.
If you do follow this tutorial and create a scene of your own, feel free to share your result with us in the comments below!
Image credits: Tutorial screenshots by semiURBAN and used with permission