How to Take a Self-Portrait with a Shooting Star

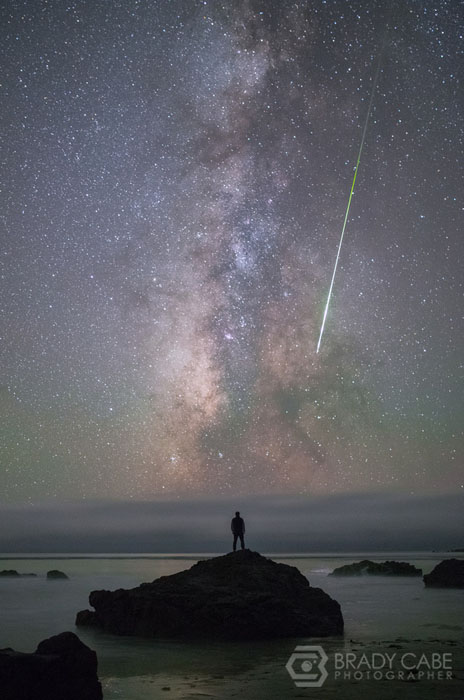
With a little bit of patience and a whole lot of luck, I was able to capture this photograph of myself perched on a rock above the Pacific Ocean. When I set out to photograph the annual famed Perseids Meteor Shower last week, I had a specific goal of capturing a “selfie” photograph with myself in frame and hopefully a meteor streaking overhead (along with a variety of other images throughout the evening). My hope turned into reality in the wee hours of Wednesday morning.
Where to Look?
Capturing a meteor in frame requires a bit of luck, regardless of technical skill. Meteors will fall all across the sky at random during a shower, and there is no practical way to predict where exactly to point your camera or your eyes. Aiming for the radiant constellation, in this case Perseus, does not necessarily increase your chances of capturing a meteor, although your chances of witnessing one do increase once the constellation has breached your horizon.
Gear
Canon 6D camera (any camera with high ISO capabilities)
Sigma 35mm Art lens (any wide angle lens with a wide aperture is preferred, longer focal lengths result in larger meteors but smaller field of view and shorter shutter speeds; 35mm f/1.4 lenses are perfect for this)
Really Right Stuff L-Plate for vertical shooting (most tripod heads will allow for vertical tipping however, an L-plate is my preference; very stable)
Really Right Stuff tripod and BH-55 ballhead (a sturdy tripod is a must)
Simple remote/cable release to trigger your camera’s shutter
Composing the Shot
Because of the erratic and unpredictable nature of the meteors, I decided to choose my camera configuration based solely on my desired composition. I’m a sucker for Milky Way photographs, so I decided to frame my shot with the Milky Way centered, and positioned my camera so this rock, and eventually myself, would be directly below the galactic core. I also setup a second camera with a wider angle lens off to the side to capture a second perspective.
Camera Settings and Method
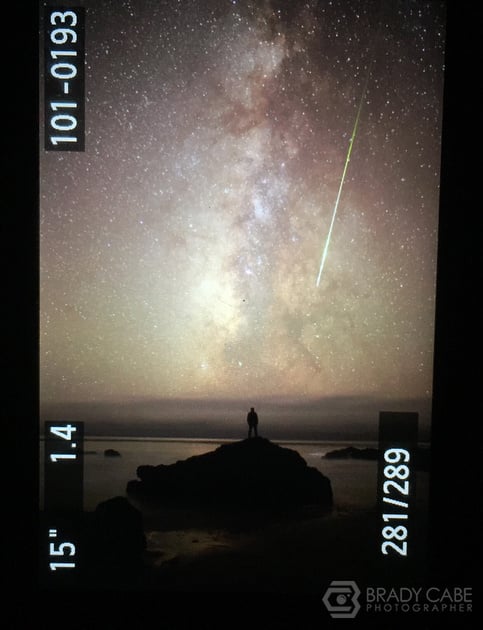
I set my camera settings to ISO 6400, f/1.4, and chose a 15 second exposure time which is optimal for my Sigma 35mm Art lens on a full frame camera and minimizes unwanted star trails. Using a shutter release cable, I pressed the button, sliding it up to lock it into a continuous capture mode, and took my place on the rock. While I was on the rock, I did my best to hold still and struck a variety of poses, and kept my eye on the heavens. Every time I saw a big meteor, I would hold that pose for as long as possible, to make sure both cameras had a chance to start a new exposure.
The Results
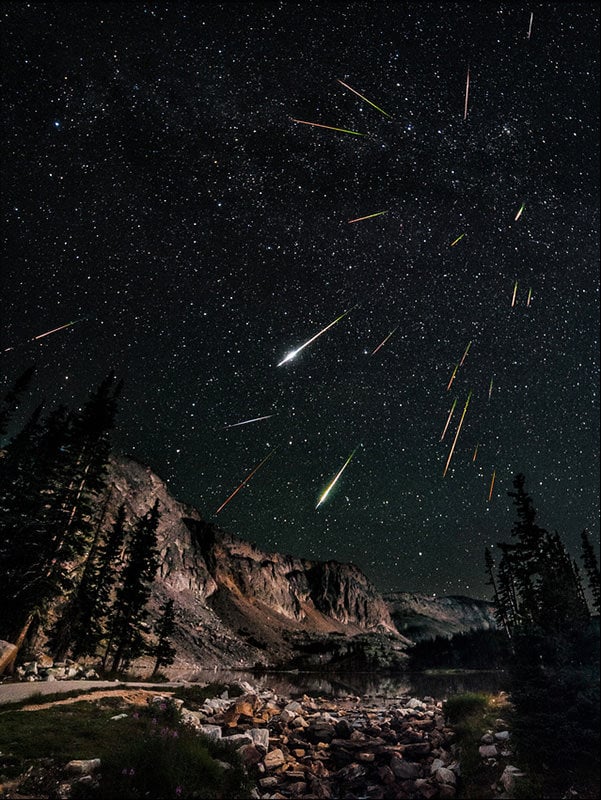
It took a little more than 30 minutes after setting up for this extremely bright meteor to streak across the sky. I knew immediately I had captured something special. My heart skipped a beat and I threw my hands up into the air. The exposure must have stopped just after I threw my hands up, because the photo shows my hands down, and if you were to zoom in you can see a faint silhouette of my hands in the air (like I just don’t care.)
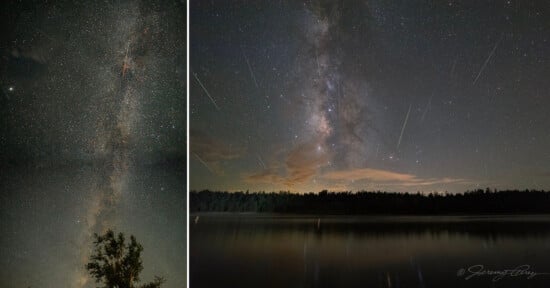
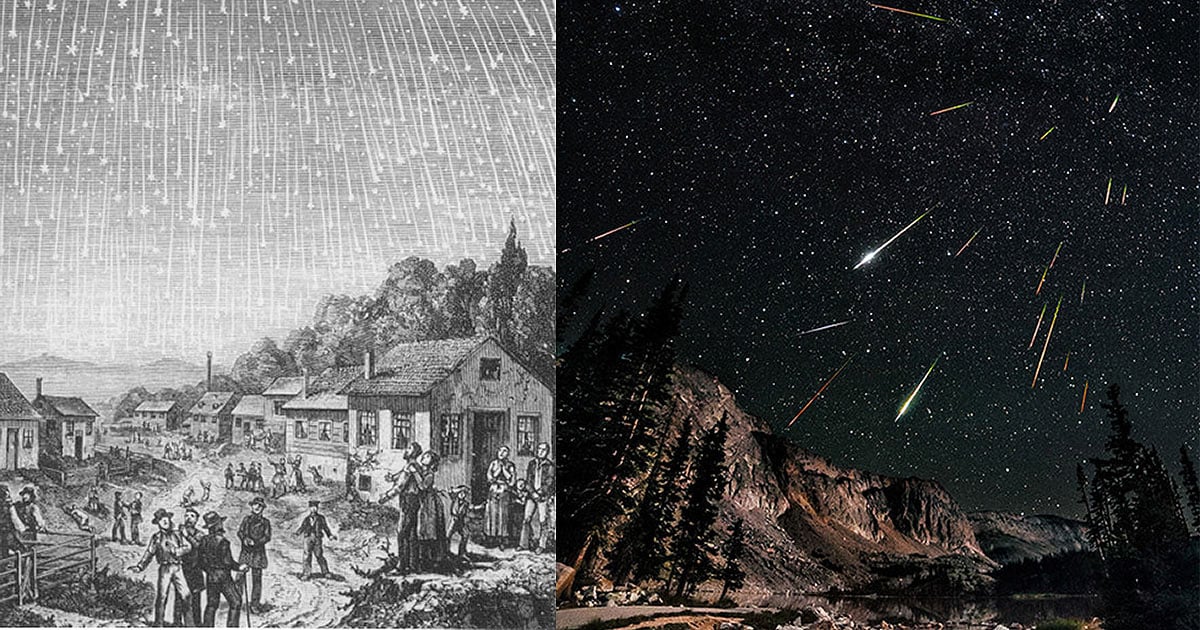
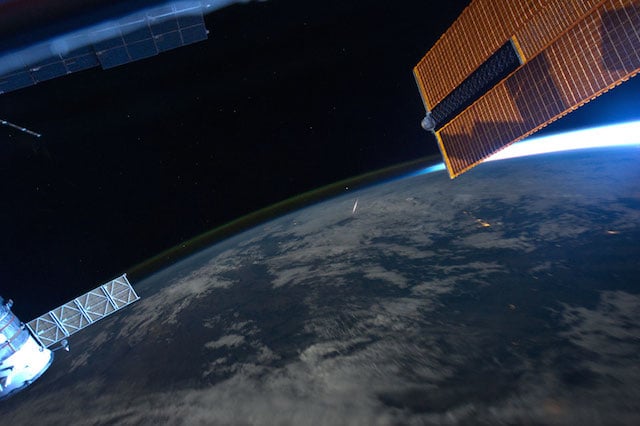
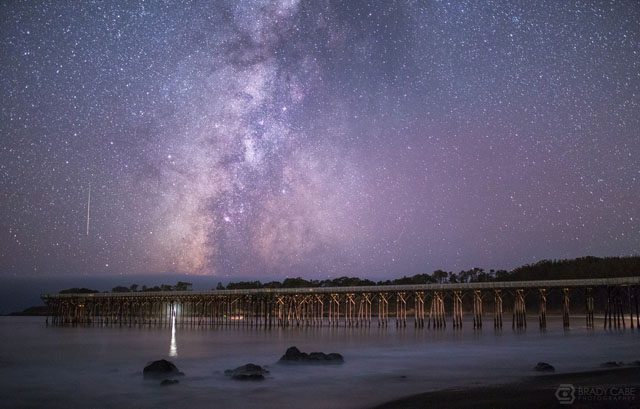
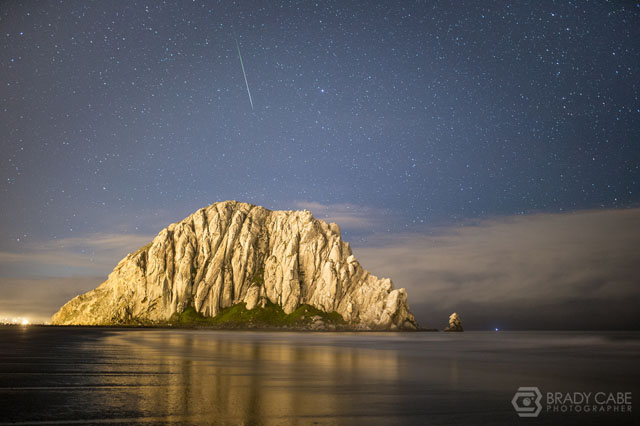
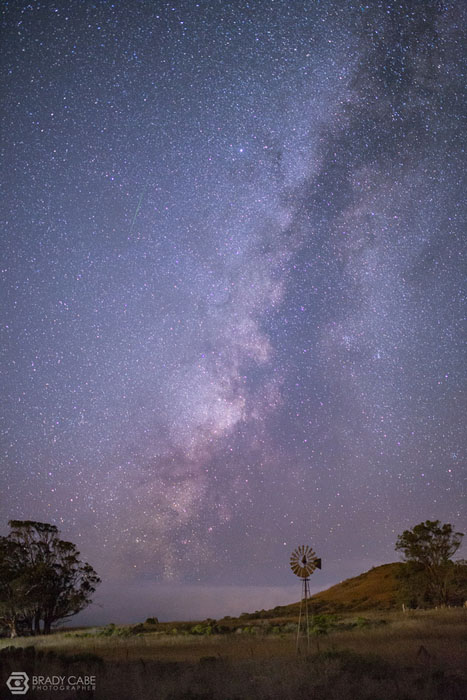
Here are some more photos from the same night:

About the author: Brady Cabe is a freelance photographer based in Grover Beach, CA, who shoots for the Santa Maria Times and the Santa Barbara News Press. He also shoots everything from portraits to weddings. You can purchase a print of the photo above, titled “Standing in Awe,” here. Cabe also teaches astrophotography workshops. You can see more of his work on his website. This article was also published here.