Hands-On: Emulsion for Mac is a Simpler Alternative to Adobe Lightroom
Last week, we took a look at an excellent Photoshop alternative for Mac OS X, Affinity Photo Beta. This week, we are taking a look at a possible Lightroom alternative, Emulsion, to see if it can also help you step outside of Adobe’s ecosystem. While Adobe provides an excellent range of products, some photographers are looking to expand their horizon with more affordable alternatives.
For $50 you can pick up Emulsion, which allows non-destructive editing, metadata manipulation, photo organization, and more. A free thirty-day trial is also available for those who would like to give the software a thorough run before purchasing. Current requirements for Emulsion include Mac OS X Yosemite and 4 GB of RAM.
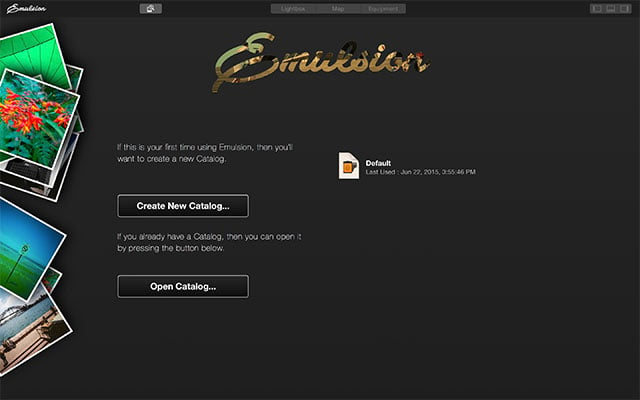
Upon launching Emulsion for the first time, you will be asked to either select an existing catalog or create a new catalog for your library. Indexing was extremely fast and seemed to move quite a bit quicker than Adobe’s Lightroom software.
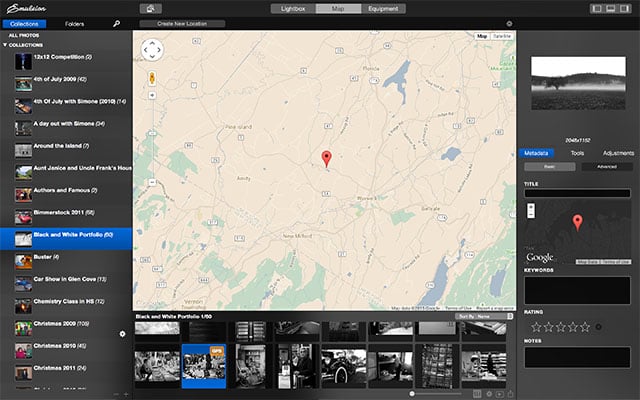
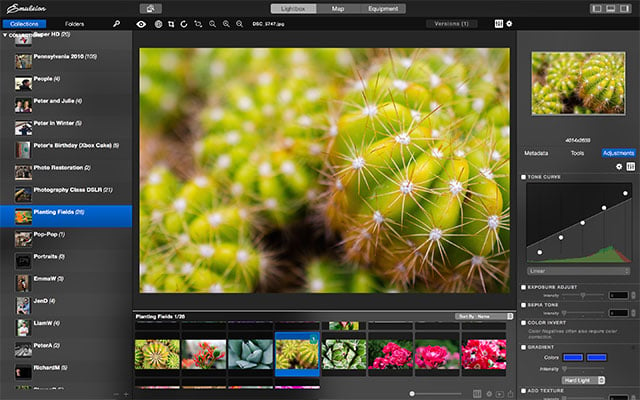
The left-hand side of the screen allows quick access to your imported photographs, as well as numerous filtering options. You can view your collections by folder, albums, tags, places, people, or ratings. You can also quickly search through all of your photographs by name or other metadata characteristics.
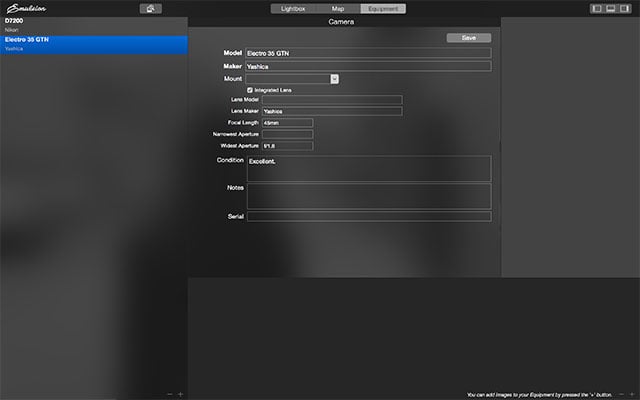
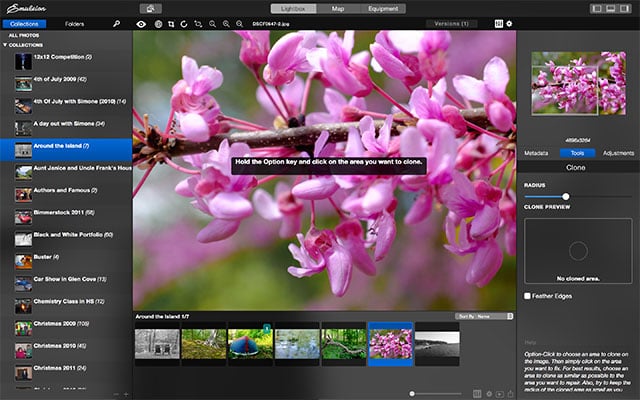
The top toolbar fits some essential tools including a clone tool, cropping, rotation, magnification, and preset filters. You are also able to shift through the program’s three views: Lightbox, Map, and Equipment. The Lightbox is the default view for photographs while the Map view shows geo-metadata for your pictures. If you are shooting with a film camera, then the equipment view may be a favorite, as it allows you to enter your camera body and lens information for easy metadata insertion when needed.
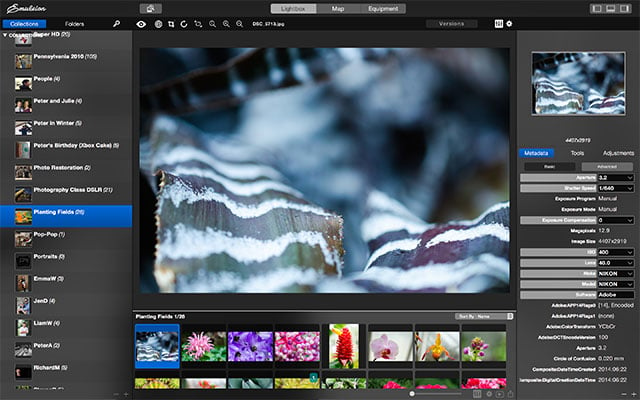
The right-hand side of the program is where you will be making all of your edits; this panel contains three tabs including metadata, tools, and adjustments. A full view of your photograph, as well as the location you are zoomed in on, is displayed above the editing panel. The tools tab simply showcases the settings for the crop, clone, or another tool you have selected.
Clicking the metadata tab gives you a limited number of apparent options, which include the photograph’s title, geolocation, rating, keywords, and notes. It is only when you click the ‘Advanced’ button that you are presented with a plethora of options. Any individual passionate about metadata will be overwhelmed with the amount of data. The most notable bits of information includes the camera’s make, model, aperture, ISO, shutter speed, and focal length.
The adjustments tab is the area most photographers will be interested in learning about. It should be noted that the setup is quite different if you are used to Lightroom, but with some practice, you can easily get used to it. The biggest difference is that your standard histogram is paired with a tone curve instead of an exposure curve. All other settings can be adjusted below the curve using sliders.
Emulsion allows you to edit the following aspects of your photograph: exposure, gradient, texture, tones, highlights, shadows, sharpening, gamma, saturation, contrast, brightness, RGB channels, noise reduction, vignetting, hue, vibrancy, and temperature/tint. A good collection of tools that we feel most photographers will feel comfortable working with in their day to day routines.
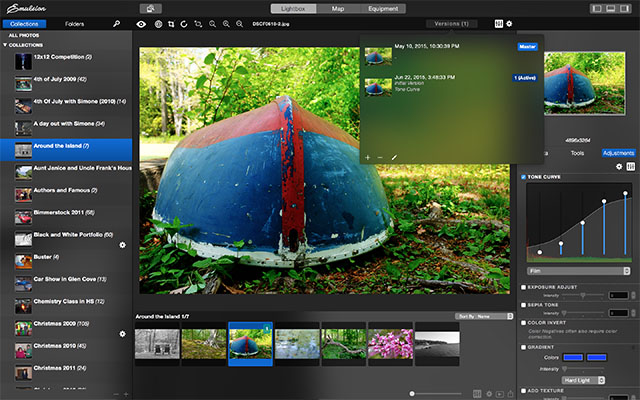
After you have adjusted the photograph to your liking, you can click the gear icon that sits above the adjustments to save your ‘adjustment set’. As mentioned before, a number of adjustment sets or ‘filters’ come preloaded with the application. The tone curve also has automatic presets for film including vibrant hipster, vintage, red earth, and pumped.
Other options hidden in the application’s menu bar include importing from iPhoto, using existing Apple Aperture plugins, scanning your collection for faces, and starting a slideshow. Since the application was designed for Yosemite, it takes full advantage of the operating system’s full screen mode. However, we found it odd that the application didn’t seem to support manipulating the current photo via trackpad multitouch gestures.
Overall, for $50, we found that Emulsion acts as a decent alternative to Adobe Lightroom. While Emulsion is not as powerful, it can do what most people seek at half the price. Our official recommendation is to stay with Lightroom if you can afford it, but Emulsion makes a great alternative otherwise. We also feel that those who are interested in working with film scans may enjoy the metadata and tone options that Emulsion presents.
It should be noted that some advanced features such as HDR merging and panoramas are nowhere to be found. We always recommend trying out different software with available trials before purchasing to make sure it fits your own personal needs. Emulsion may be nowhere near a Lightroom alternative or it may be the perfect solution for you – only you will know.
P.S. For more information on Emulsion, and to try it out for yourself, be sure to visit their website by clicking here. If you decide to purchase a copy, you can use coupon code PETAPIXEL for 25% off the total price.