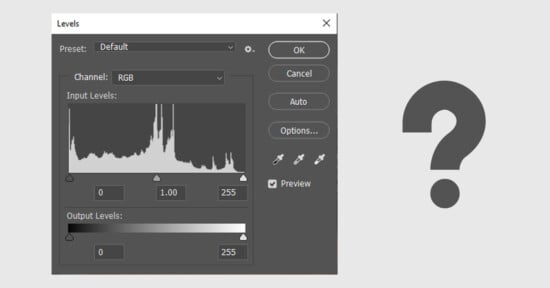
How to Add Dynamic Clipping Warnings to Photoshop
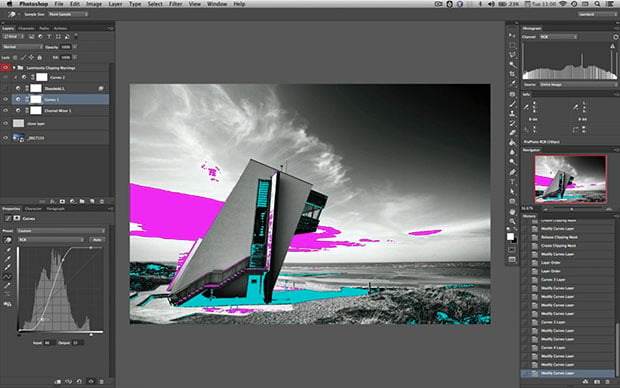
There are two types of clipping you probably try to avoid introducing into your images during post-production: luminosity clipping (when the brightest areas of an image become white, or when the darkest areas become black), and channel clipping (when the data within an individual channel becomes compromised). Both forms – unless you’ve made a deliberate decision to clip your data – are something to avoid.
Fortunately, there is a solution – a way to add a set of warnings that will provide real-time feedback on any shadow, highlight, and channel highlight clipping within an image – and I’ll show you how to do so in the remainder of this article.
Before we take a look at the solution though, let’s take a closer look at when and why you should avoid clipping the data in your images.
Luminosity Clipping
As I mentioned above, luminosity clipping is when the highlights within an image are pure white – in Photoshop speak, when the brightest pixels have an RGB value of 255:255:255 – or when the darkest pixel are pure black (RGB 0:0:0).
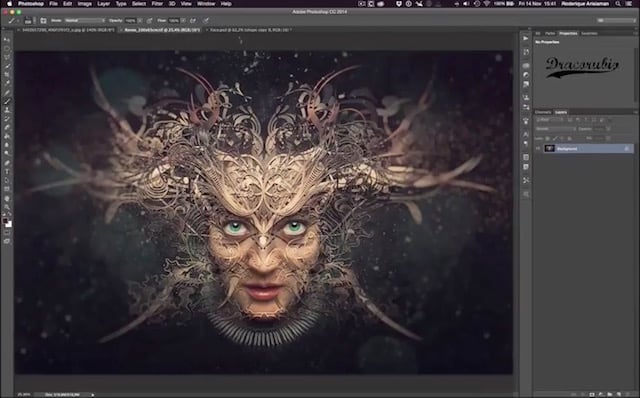
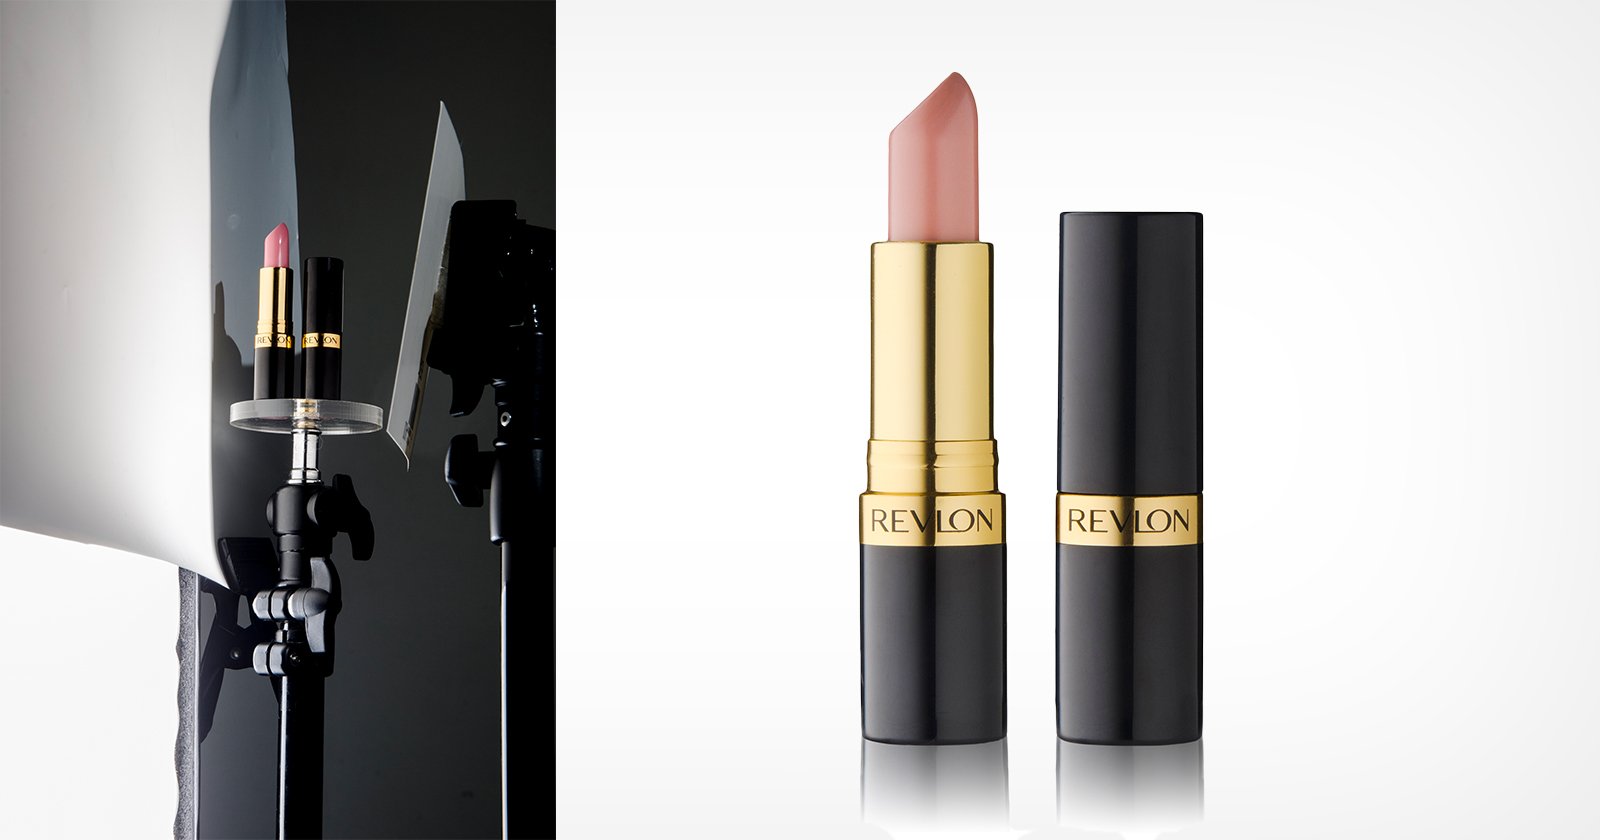
For some images, this isn’t an issue.
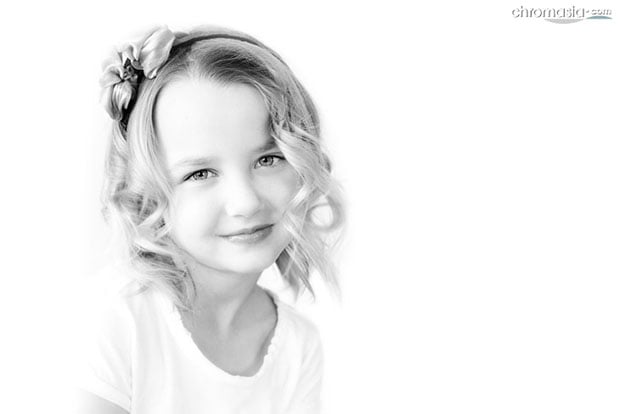
In the case of the both the above examples the clipping was added in post using a curve: to clip the highlights in the first image, and the shadows in the second. Equally, especially if you were shooting in a studio, you could blow the background for a high-key portrait, or allow the background to fall to black for a low-key shot.
The key point is that the clipping was deliberate, driven by a creative decision regarding the background.
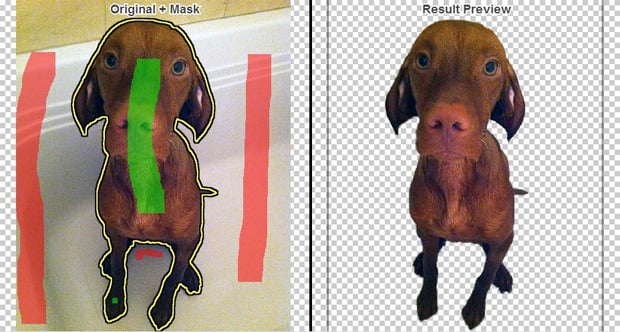
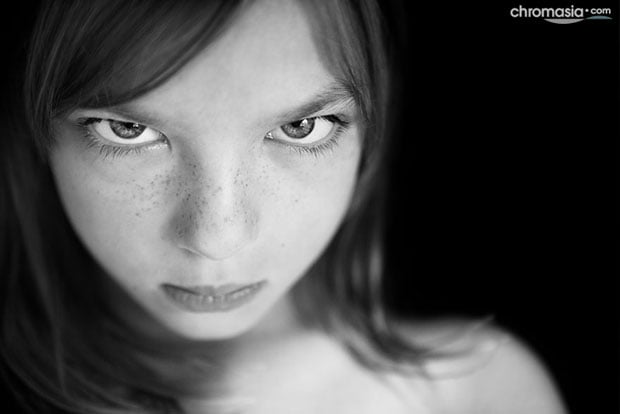
Here’s a slightly different example.

For this shot the clipping is less pronounced – it’s confined to the back of his hand, the top of his thumb, and the very bright edge of his clothing across his shoulders – but in this case it was introduced as the shot was taken. This was a back-lit portrait, and while I could have captured all the highlight detail, the only way to do this would have been to massively underexpose his face.
For this image then, because I didn’t want to compromise the detail in his face by underexposing the initial capture, I blew out the very brightest highlights as I took the shot. Again then, the clipping was deliberate, but this time it was driven by a technical decision rather than a creative one.
In all three cases the clipping was a) an intentional strategy, and b) improved the image (for either creative or technical reasons).
On other occasions, clipping can be much less desirable. Take a look at the following three versions of the same image and ask yourself which you prefer:
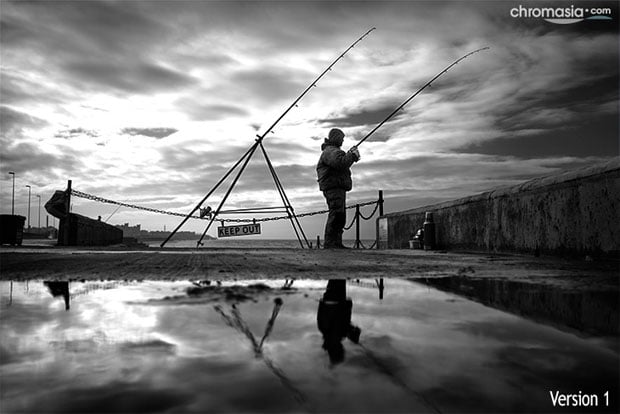
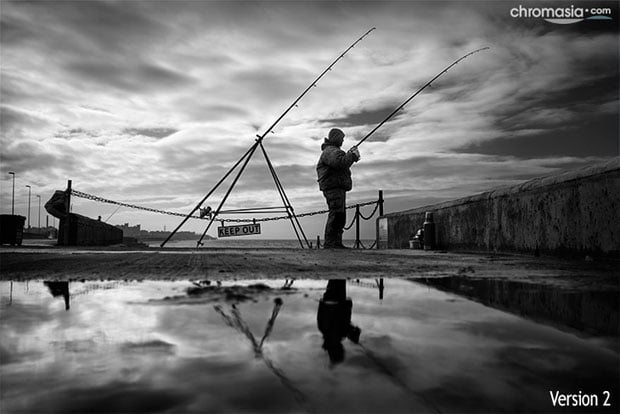

I would guess that all of you prefer Version 2, as the clouds look very flat in Version 3, while a significant amount of the highlight detail has been clipped in Version 1. In this case then, maximising the tonal range in the brightest areas of the image is clearly a good strategy, but overdoing it by clipping the highlights is not.
So, how can you maximise the tonal range of an image while ensuring that you avoid introducing unwanted highlight or shadow clipping? In the following video I’ll take a look at this in more detail: starting with a summary of three of the common, but ultimately limited ways of judging and avoiding clipping.
From there I’ll go on to discuss a much better method. As you’ll see, it’s more complex, but once you’ve got it set up it’s accurate, and will provide real-time feedback on any highlight and shadow clipping within your images.
Channel Highlight Clipping
So far we’ve taken a look at luminosity clipping – global clipping of either the highlights or the shadows – but there is another form of clipping it’s worth watching out for: highlight or shadow clipping within an individual channel. The following video explains what this is, why it can be problematic, and how to avoid it using a variant of the Photoshop action we took a look at in the previous video.
Conclusions
As I mentioned above, clipping isn’t inherently problematic, so for some images clipping either the highlights or shadows, or both, will be an intentional strategy on your part. What it should never be is an accident, and that’s what the technique discussed in both the videos allows you to avoid: it provides instantaneous feedback, allowing you to decide for yourself whether to incorporate the clipping into your final image, or to avoid it by varying the settings of the adjustments you make.
P.S. If you’d rather not create them yourself, I’ve created ready-made Photoshop Actions for both warnings. You can download them by signing up for the email newsletter of my Photoshop training business Chromasia.
About the author: David Nightingale, an internationally acclaimed, award-winning photographer and instructor, is the Creative Director of Chromasia. You can view his photography on his popular photoblog. This article originally appeared here.