What to Check for When Buying a Used Film Camera and Lens
As with buying anything secondhand, it is a good idea to have a good idea of what to look for when buying a used film camera lest you spend money on one that has major problems. Thankfully, there are some simple ways to check for problems in film cameras and their lenses… including smelling them.
The best way to test out a camera is to shoot a roll of film through it, but that’s pretty much never an option when you are buying a secondhand camera and when you are pressed for time (e.g. if you are meeting a seller somewhere and need to make a relatively fast decision).
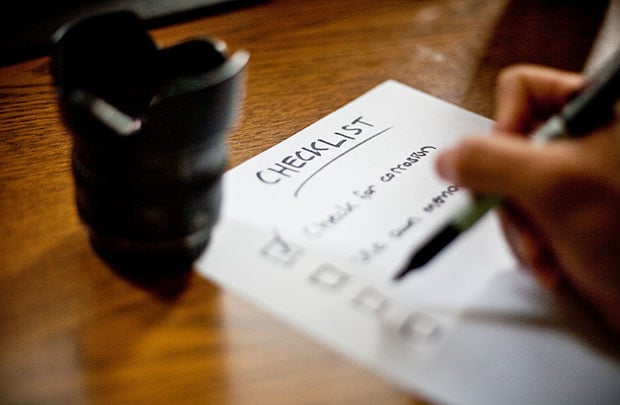
Here is a rundown of the different steps Legge recommends for both cameras and lenses:
11 Ways to Check a Film Camera for Problems
#1. Check the Shutter Mechanism
First, open up the back of the camera and take a close look at the shutter mechanism.
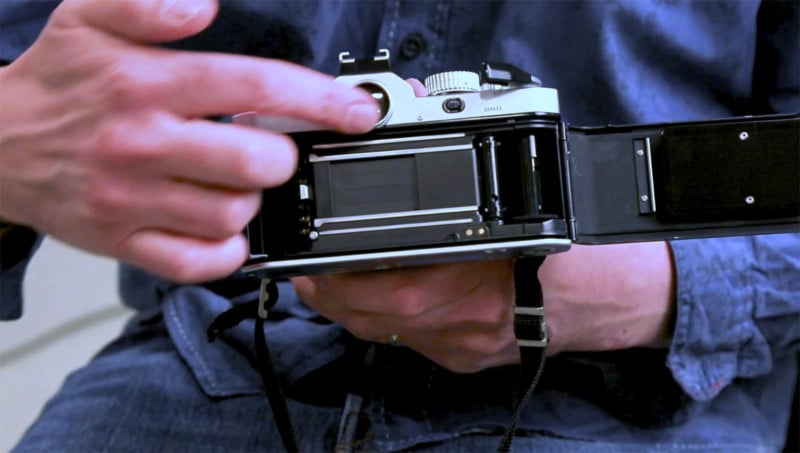
“What I’m looking for here is the shutter blades in this camera,” Legge says. “You can see these very fine overlapping metal blades.
“What I’m […] checking for is to make sure there’s no bulges or bends in those shutter blades. Make sure they’re all overlapping and they’re touching each other and there are no scratch marks on them.”
#2. Check Inside the Body for Visible Defects
In addition to examining the shutter system, look closely all around the inside and outside of the camera body.
“The other thing I’m checking for, especially around the edges of the door, is rust or any kind of bubbling, which usually indicates that the camera’s being kept somewhere damp and that might mean there’s something wrong on the inside of the camera.”
#3. Smell the Camera
Sometimes improperly stored cameras may look fine on the surface but have problems within the body in places you cannot see.
“It sounds a bit funny but one quite good thing you can do is smell the camera,” Legge says. “If it smells of damp, it’s probably been someone’s attic or somewhere a little bit damp for a long time, and [it] might be best not to go for that [camera].”
#4. Check the Light Traps
While you’re still examining the inside of the camera, you’ll want to pay close attention to the condition of the light traps. These are the pieces of felt-like material that help seal the film inside the camera from the light of the outside world.
These pieces are located in different locations in different camera models, but you should be able to figure out what they are based on the material.
“I’m making sure that all that stuff is still in place,” Legge says. “Sometimes when cameras get very old, that material can break down, so if you open the back of the camera and you see what look like little black crumbs inside it, that that might indicate that the light proofing material is disintegrating.”
While there are kits out there you can buy to replace the material yourself, and while there are repair shops that can help you make sure the camera is properly sealed from light, you may not want to go through the extra hassle and cost of having to fix these issues in light of what you’re already paying for the used camera.
#5. Test the Shutter
You should also cock the camera and fire off the shutter a few times to make sure there are not any red flags there.
“I’m looking to make sure that there’s nothing catching inside, that everything’s moving nice and smoothly,” Legge says. “When I wind the camera on it’s not sticking or jamming in any way, and the shutter blades are completely uncovering the picture area.”
#6. Visually Inspect the Outside of the Camera
Once you have finished your inspection of the inside of the camera, turn your attention to the outside and look for evidence of bumps and drops.
“One thing in particular that I’m looking for are any bad dents that indicate the camera might have been dropped,” Legge says. “You tend to find them
if they’re there on the pentaprism, [the] pyramid shape thing on the top.”
#7. Listen to the Shutter Speeds
While you cannot accurately time shutter speeds while doing a quick examination of a film camera, you can listen for the relative timings between shutter speeds.
“For example, if I set the camera to one-second shutter [and] fire the shutter, you can hear that’s about one second,” Legge says. “If you listen very carefully you can also hear the clockwork if it’s a camera that’s got a mechanical shutter.
“That [noise] needs to be nice and even. You don’t want it to sort of speed up or slow down or sound like it might jam.”
#8. Test the Shutter with Bulb Mode
The B (Bulb) mode on a camera keeps the shutter open for as long as it is held down, and this is a good feature to test the camera with as well.
“What I’m checking for is to make sure that the shutter releases cleanly,” Legge says. “[…] What should happen is […] there’s no delay. As soon as I release that button, it [should] click. That’s the shutter closing.
“If there’s any delay with that, it might indicate that the mechanism is a bit worn or this there’s some problem with the timings of the camera.”
#9. Look Through the Viewfinder
Take a peek through the viewfinder and look for issues.
“I’m looking for any signs of marks, scratches, stuff like that,” Legge says. “You might notice the odd fleck of dust that usually isn’t a problem — it won’t show up on your photographs — but it’s going to be a bit annoying if you’ve got scratches on the focusing screen.”
#10. Test the Light Meter
If the camera is equipped with a built-in light meter, look through the viewfinder and point the camera at various things to test it out.
“Check to see if the light meter is changing depending on if we point the camera somewhere dark or light,” Legge advises.
There’s also a handy rule of thumb that can assist you in this step.
“Now, it’s difficult to check the accuracy of the light meter unless you happen to have another handheld light meter with you,” Legge continues, “but one thing you can do is if you’re indoors in an artificially lit room or a room with a light coming through a window, the exposure is usually about 400 ISO, 1/60th of a second, at f/2.8.”
#11. Examine the Battery Compartment
If the camera uses a battery, open up the battery compartment on the camera and make sure everything looks clean in it.
“What I’m looking for is any signs of furriness, or corrosion, which might be caused by a leaky battery,” Legge says. “It usually looks like sort of blue fur or something like that.”
3 Ways to Check a Lens for Problems
#1. Examine the Aperture Mechanism
Most lenses for film cameras have mechanical aperture systems that you can open and close with a ring or lever. Open and close the aperture blades and examine them closely.
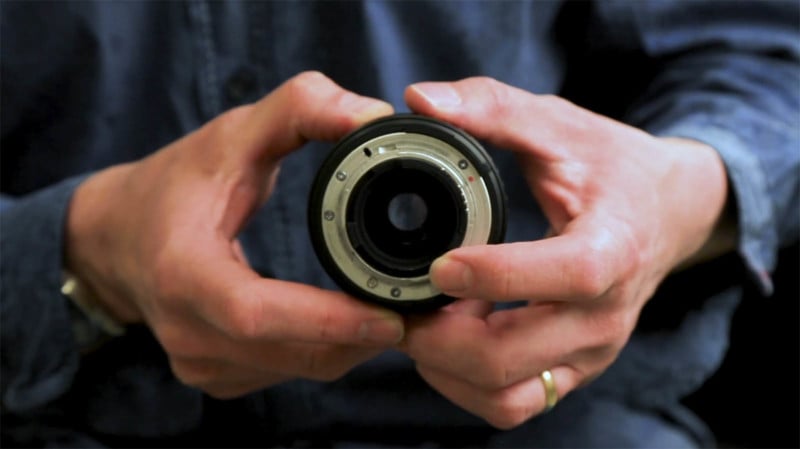
“What I’m looking for are any marks on those blades, particularly what might look like oil or grease,” Legge says. “Some cameras, as they get older, the lubricant sort of leaks into the aperture blades. If they’ve got oil on, they’re unlikely to open and close quickly.”
#2. Look for Physical Defects in the Glass
Take a look at the front and back lens elements and look for physical issues in the glass. This could be both damage and the presence of fungus.
“Obviously, you don’t want a lens with any chips or serious scratches on the outside,” Legge says. “The other thing I’m looking for is, you sometimes get mildew. This is usually with cameras that have been kept somewhere damp.
“It almost looks like little kind of spiders webs coming in from the edge of the lens.”
As with certain issues with camera bodies, mildew may be possible to clean, whether at home or professionally, you will need to ask yourself whether the risk and additional investment is worth it.
#3. Try the Focus and Zoom Mechanisms
Give the focus and zoom (if the camera is a zoom lens) rings some turns.
“Try the focus and the zoom […] just make sure that that’s smooth,” Legge says, “that it doesn’t get tighter as you turn it one way or the other and there’s no sort of squeaks or crunching kind of sounds, which might indicate that you’ve got sort of grit or dust or something like that.”
A Pass on These Film Camera Tests Brings Peace of Mind
“If you can do this quick […] check on a camera before you buy, you’re reasonably confident that you’ve got a good camera that’s working,” Legge says.
Used camera gear sold by a reputable shop will almost certainly come with some kind of warranty to protect you, but these easy self-checks are invaluable when buying camera gear in a private transaction.
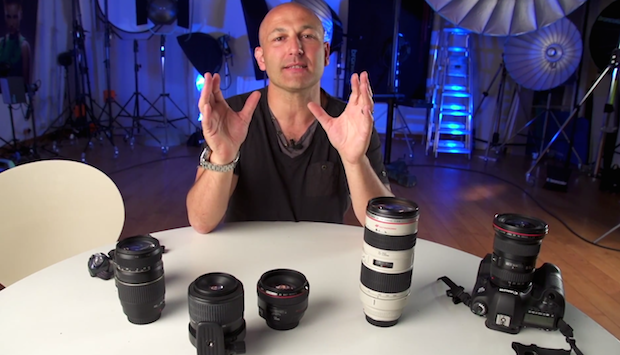
Watch the video by Legge above to hear him step through these checks and demonstrate how to do some of them. You can also find more helpful camera and photography-related content over on Skills Circle, a YouTube channel run by the Media Tech Crew from the School of Media & Performing Arts at Coventry University.