I Built a Custom Rig for What I Call ‘Ripple Portraits’
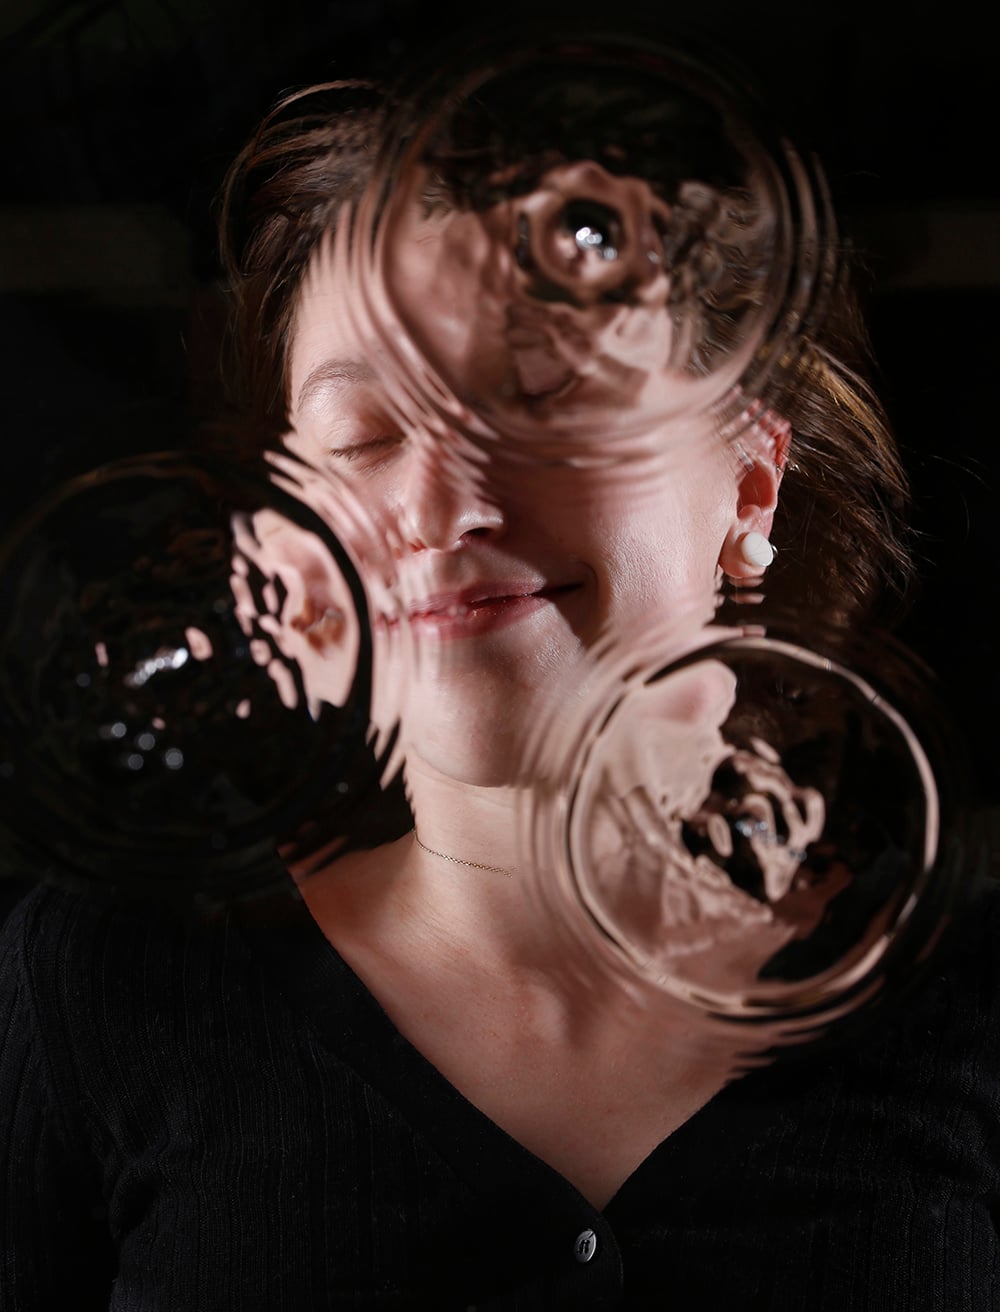
This project grew out of the many water-drop imaging experiments that my students and I have done over the years. I wondered if combining water-drop photography with portraiture might produce some unique and interesting images.
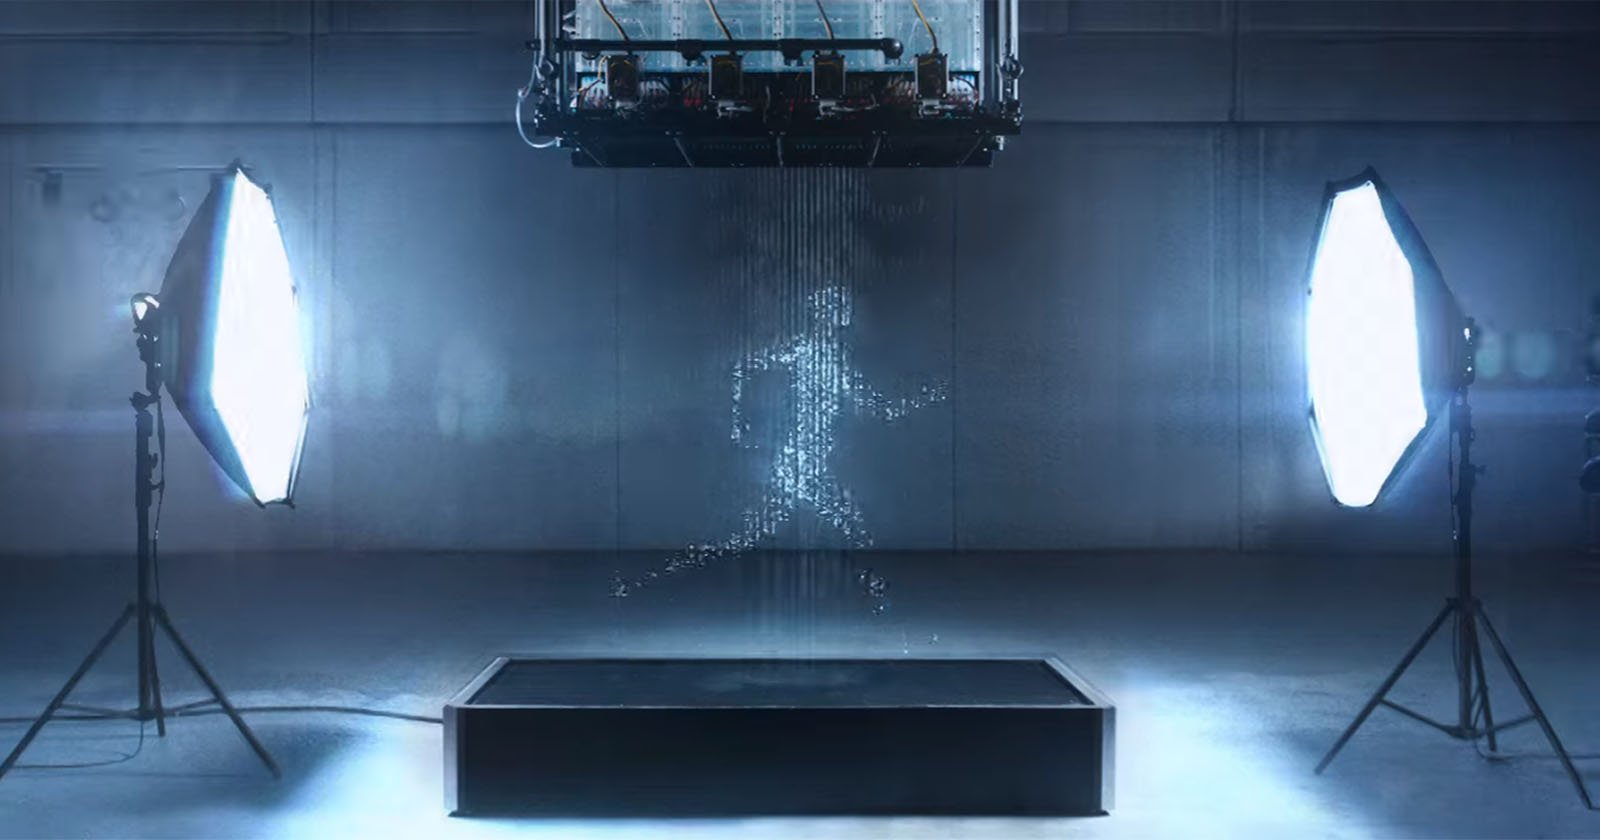
The subject lies on the floor beneath a shallow, transparent water tank. I found that the easiest way to build this tank was to apply a bead of RTV aquarium adhesive around the edges of an aluminum picture frame containing a sheet of glass. The water only needs to be about 1 cm deep, so the adhesive is not required to withstand much pressure. The completed frame is then placed on a sturdy wooden support, ensuring there is no possibility that the water tank could fall onto the model’s face.
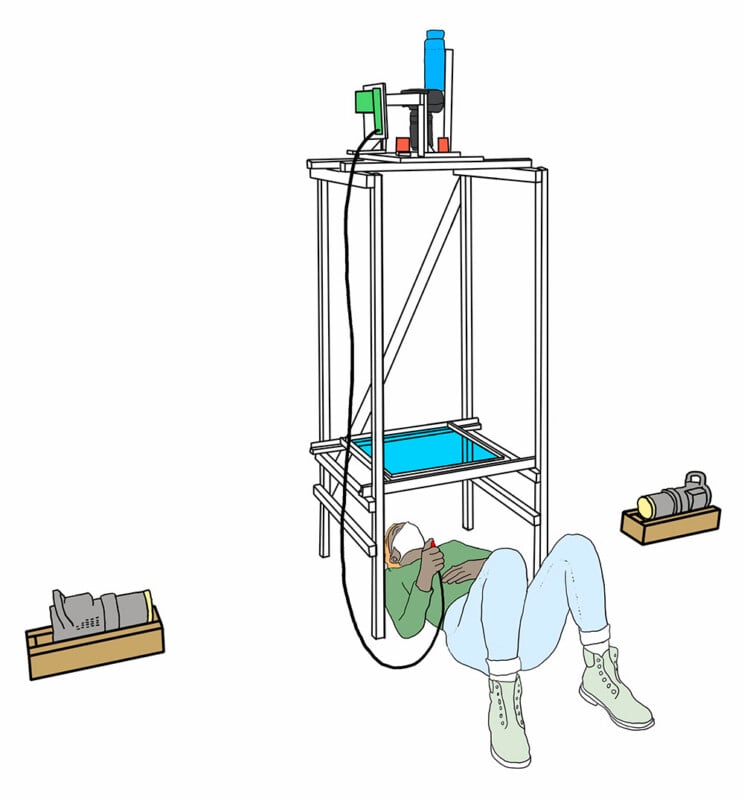
The model controls the photograph by triggering the water-drop system, effectively taking their own portrait. Many of my students became fascinated with the setup and captured more than 500 images during a single session.
The idea of the portraits in water project is to take a portrait of a person under a clear glass tray of water as ripples are formed in the water from controlled drips. This activity is excellent practices for control of a physical event and the subsequent control of the camera and flashes.
In this particular system, there are three drip valves all controlled independently, so if a specific dripper is not desired in the image, it can be turned off. The drippers can also be sequences, multi dripped, and moved around as the photographer sees fit.
Once the system is triggered, a programmable delay allows the water drop to strike the surface before the flash fires. By adjusting this delay, it is possible to photograph anything from the initial impact to a fully developed splash or expanding ripples. I have described the construction and timing of the water-drop flash system in previous articles.
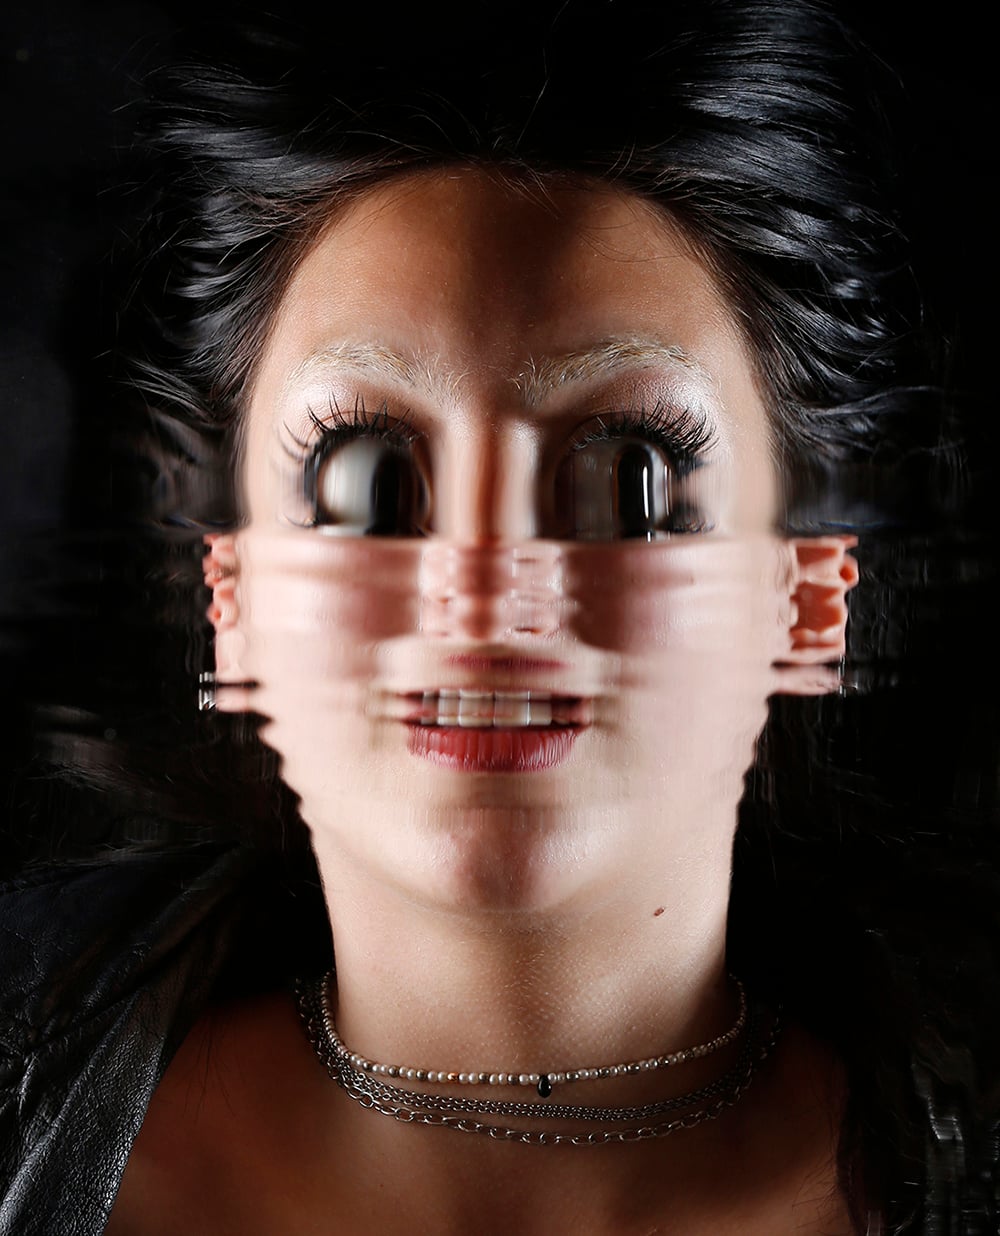
For this setup, I used two Profoto flash units placed on the floor and aimed upward toward the model. Because the water movement is relatively slow, almost any electronic flash will work well. In many cases, even the camera’s faster shutter speeds can freeze the motion without difficulty.
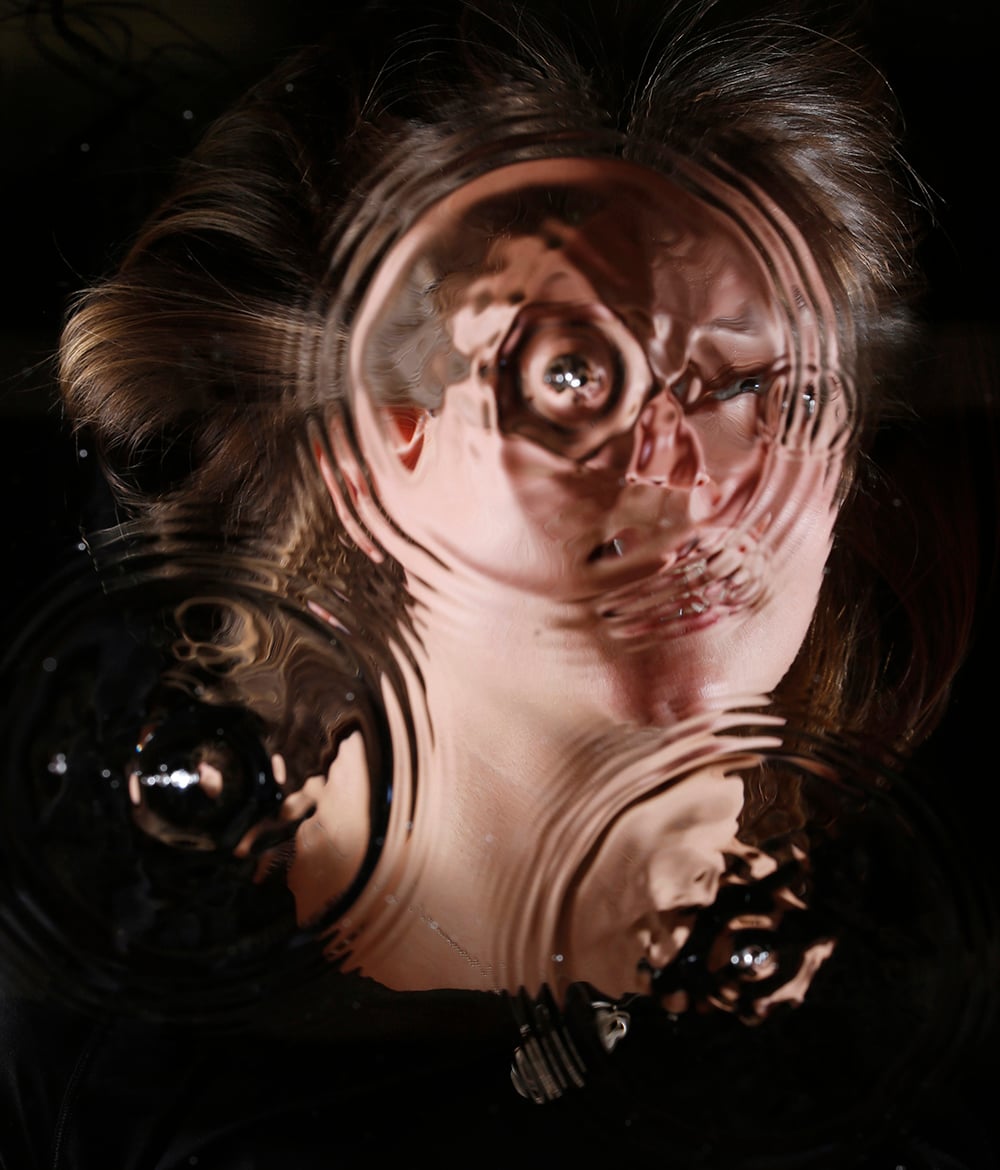
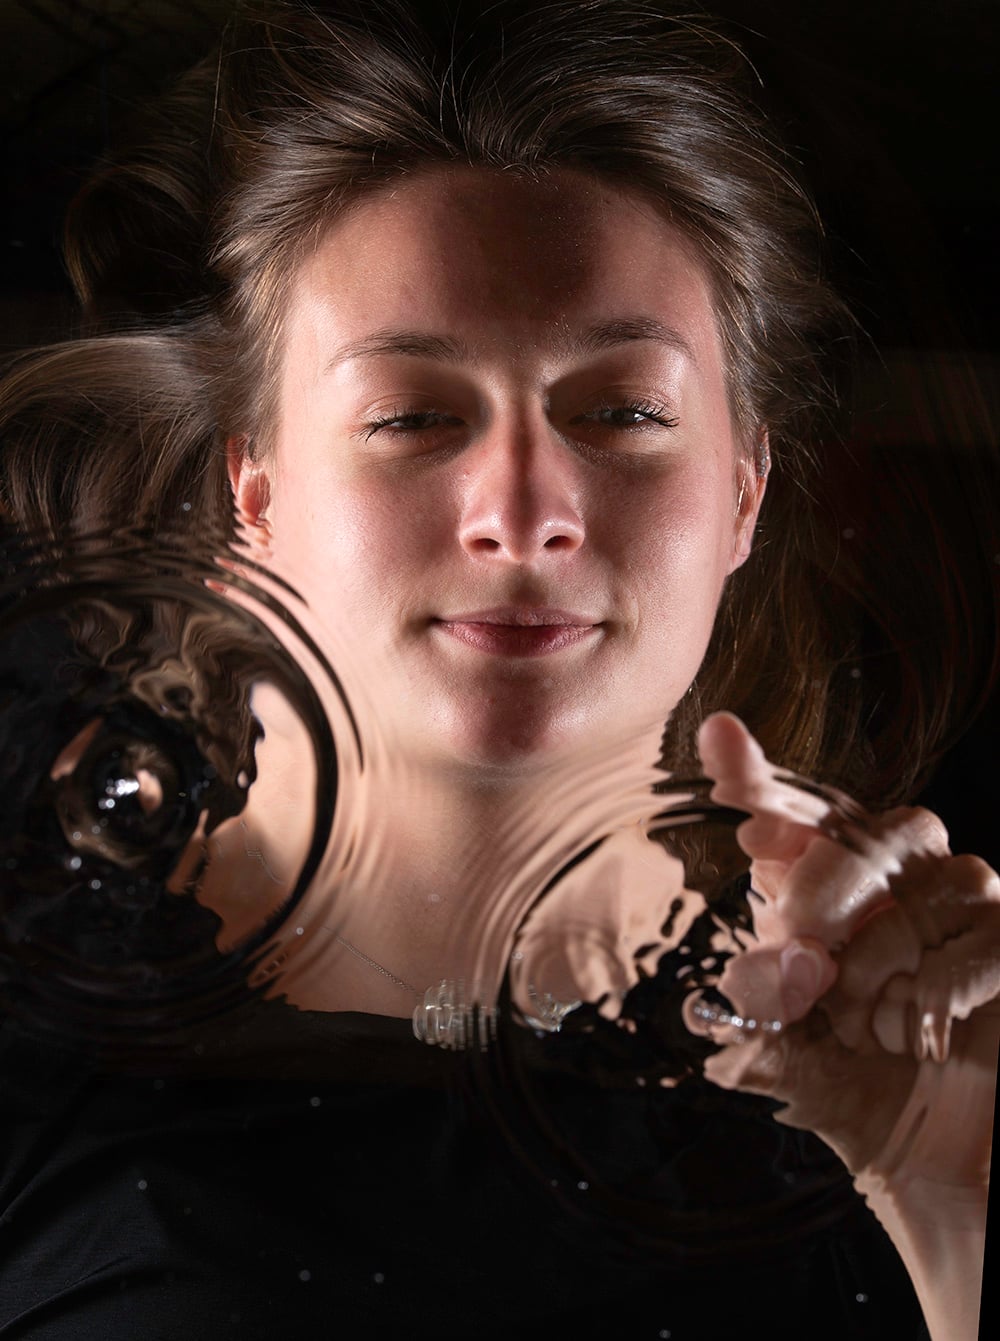
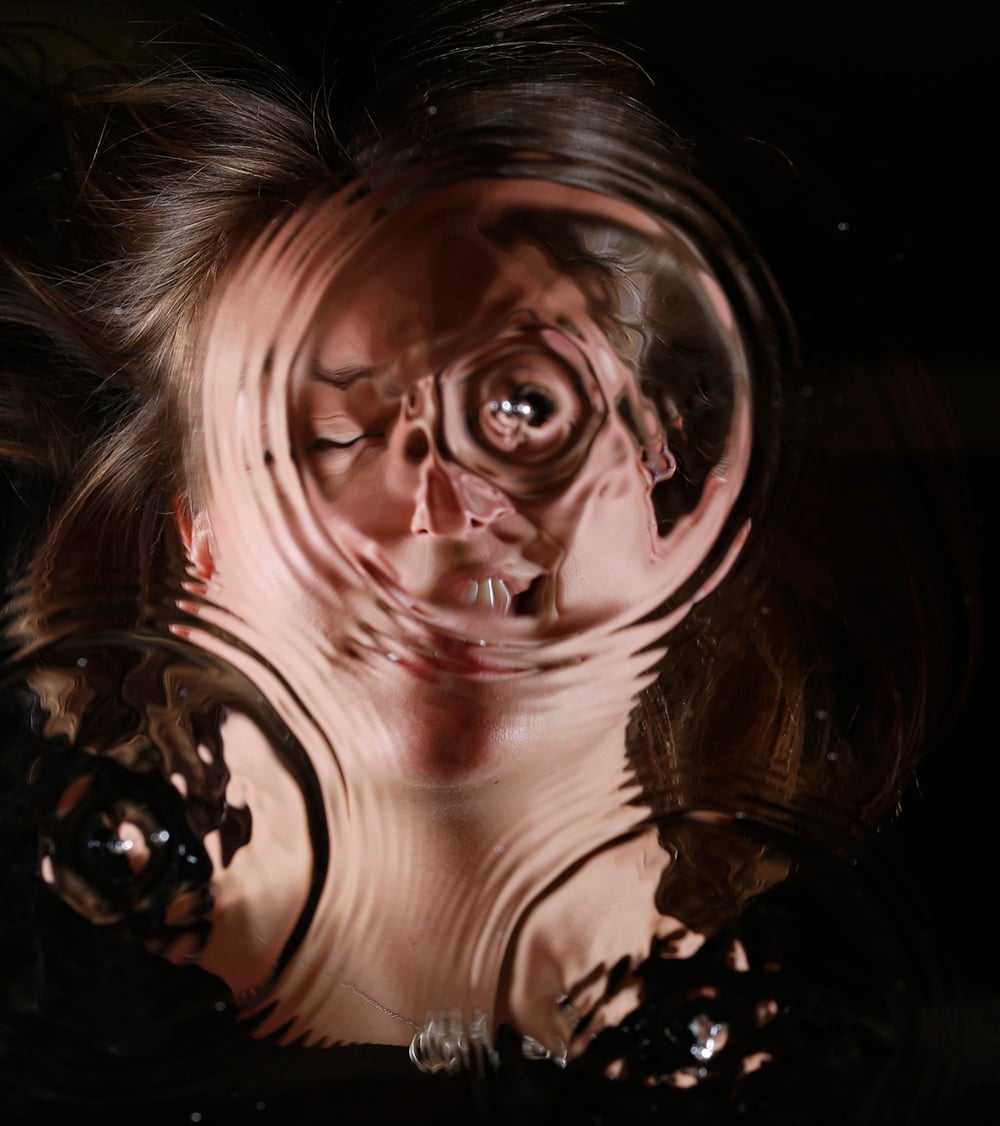
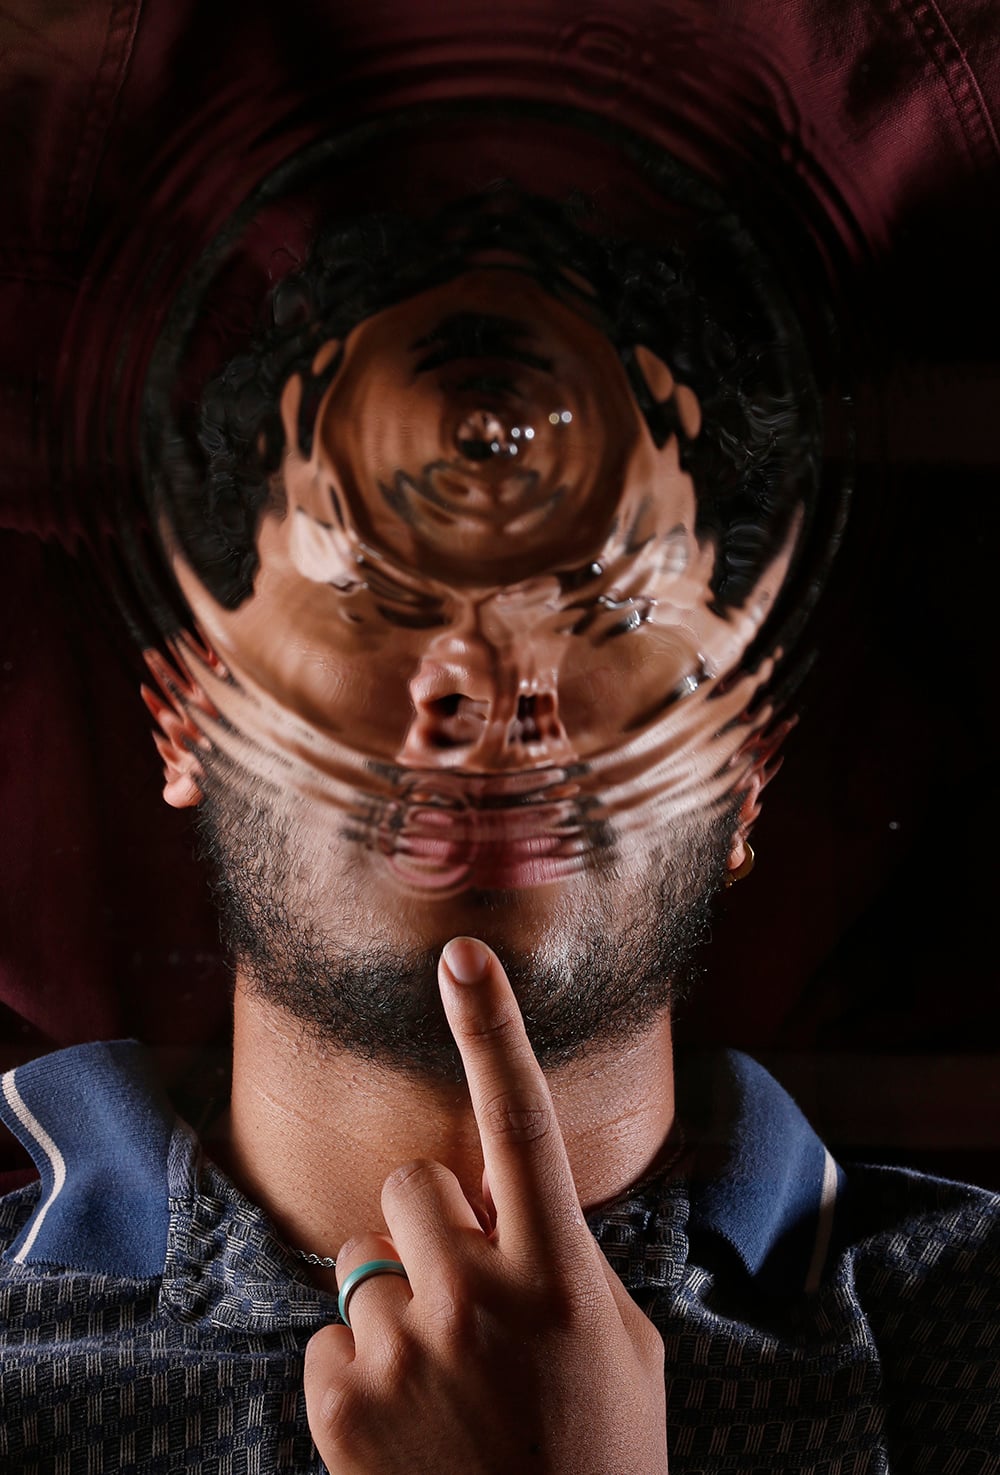
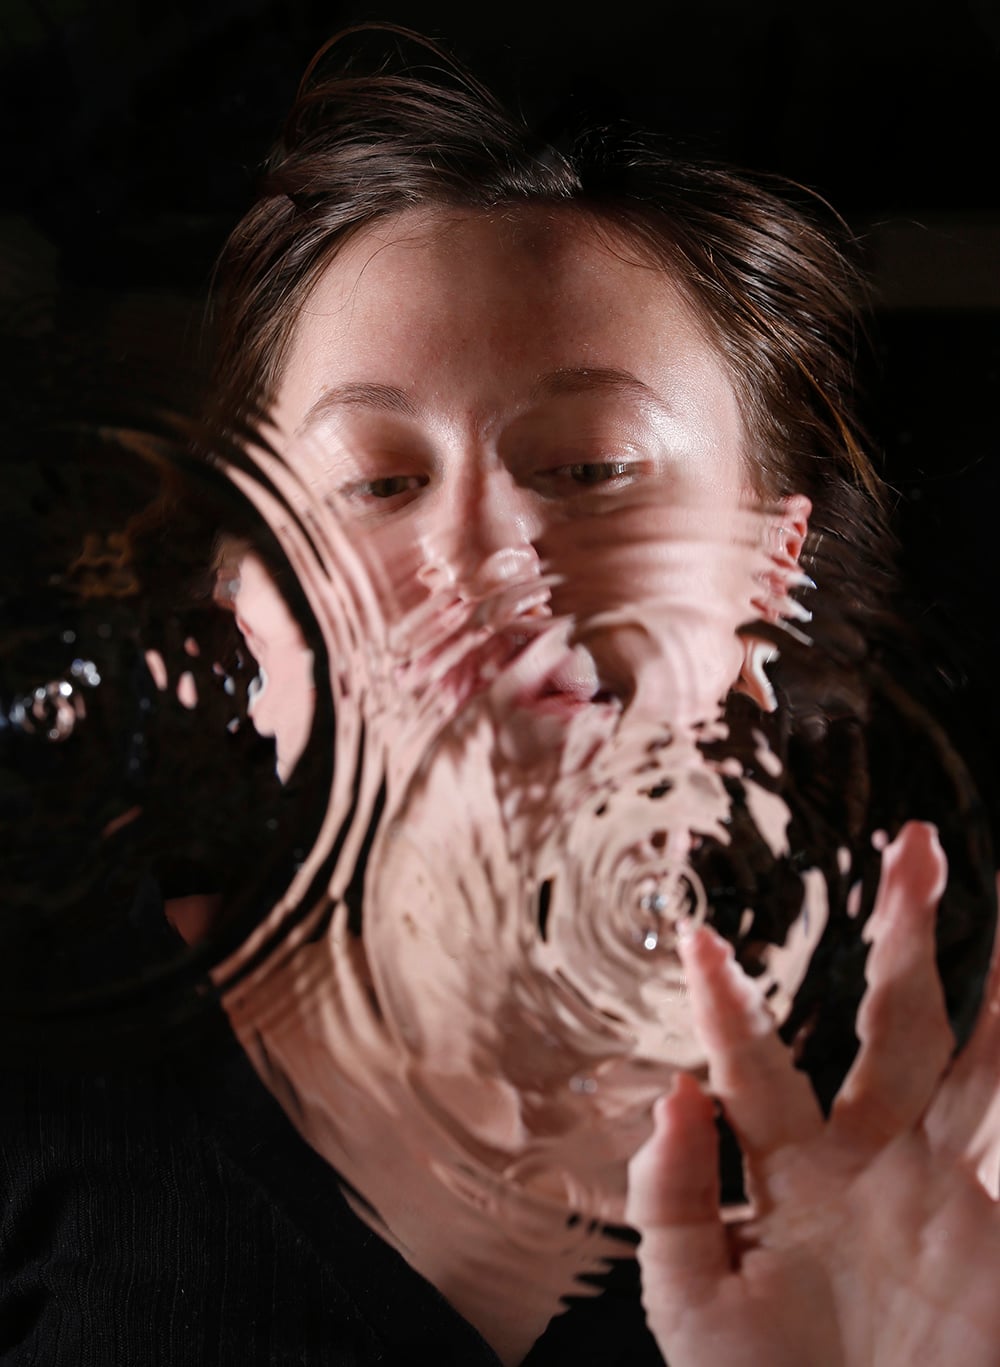
After the students had experimented with the system for several hours, I decided to try a much simpler approach. Instead of using falling water drops, I gently lifted one side of the water tray and allowed ripples to travel across the surface. Photographing through these moving ripples produced beautiful distortions without requiring any water-drop electronics. The photographer simply releases the shutter when the ripple pattern looks interesting.
This is a straightforward project that requires very little specialized equipment, yet it produces striking and unusual portraits. It is also an excellent way to introduce students to creative photographic experimentation.
I hope you’ll give it a try.
Affiliate Disclosure PetaPixel articles may include affiliate links; we may earn a commission if you buy through one.