Unistellar eQuinox 2 Review: An Expensive But Easy Telescope Camera
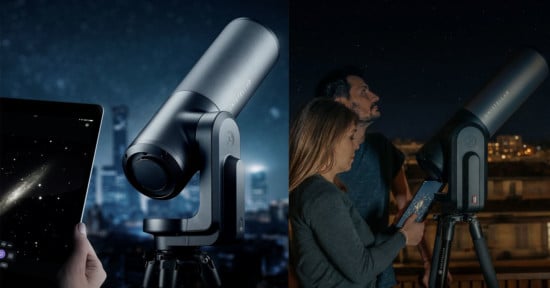
Most “serious” astrophotographers will balk at the idea of a smart telescope. While it may miss some of the professional level tools, resolution, and precision, the $2,499 eQuinox 2 from Unistellar does provide easy access to the cosmos for up to 10 viewers at a time, making it a great (albeit expensive) tool for beginners and casual stargazers to enjoy viewing interstellar objects in minutes.
The draw of these new smart telescopes is largely due to their internal software which gives stargazers who live in or near larger and light-polluted cities an easy way to view “cleaner” images of deep space objects than they would otherwise be able to get with just their own cameras or telescopes.
While the 6.2-megapixel images it generates may not be that impressive to digital camera pros, what the smart telescopes have going for them is a built-in tracking system and “enhanced” vision for whatever you happen to start observing using the device. It’s possible to do this with your own camera and some star tracker tools, but it can get just as expensive and is much more complicated to operate. This is where the eQuinox 2 becomes much more attractive, as its just plain easy to use.
This particular device, while incredibly similar in outward design to its predecessor, is the second generation of the eQuinox line-up that offers users an improved sensor size (an increase from the previous 4.9-megapixels) that can provide better detailed night-sky images with an adjusted field of view (34 x 47 Arcmin compared to 27 x 37 Arcmin of the previous generation). The big question for most interested parties is if this is a big enough upgrade to warrant buying the new version instead of just finding an used version of the Gen 1 model.
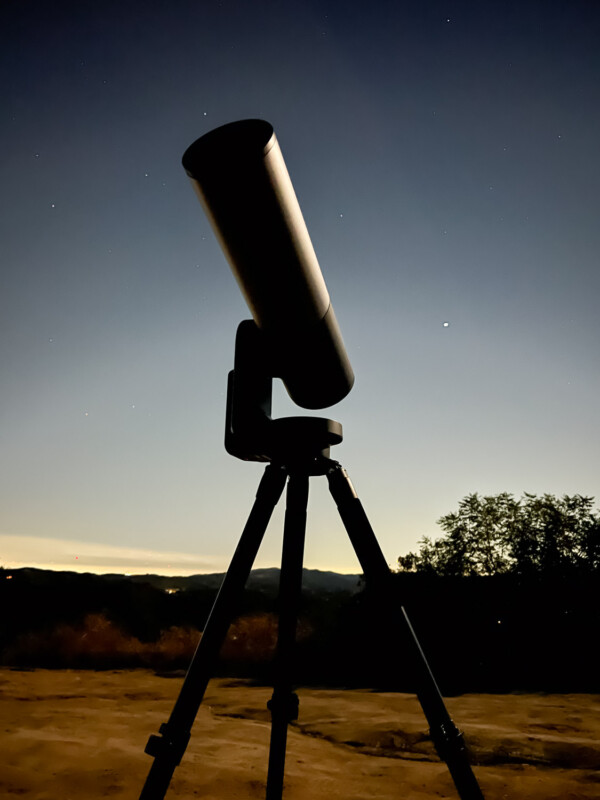
Unistellar eQuinox 2: Design and Build Quality
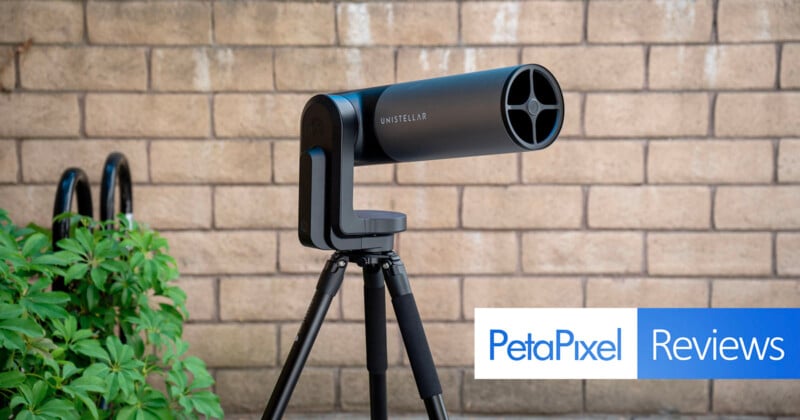
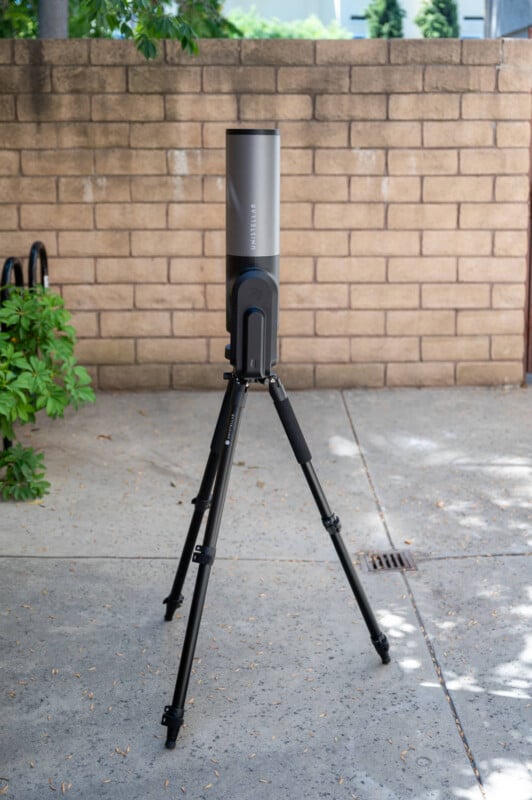
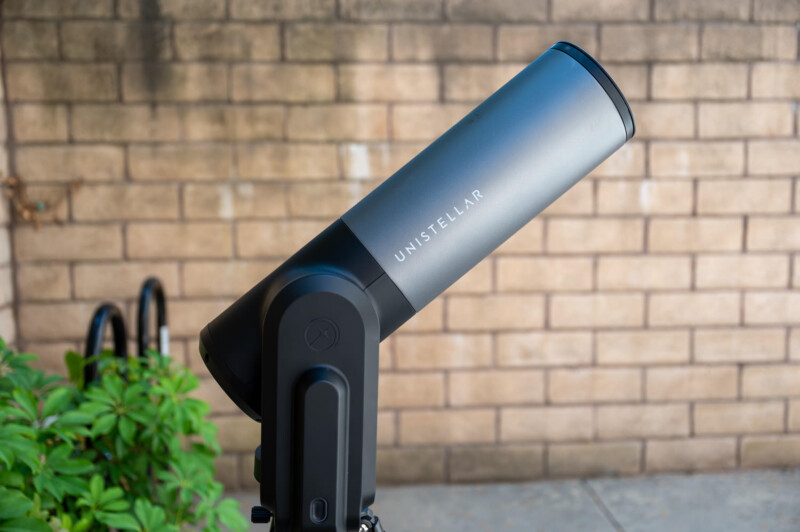
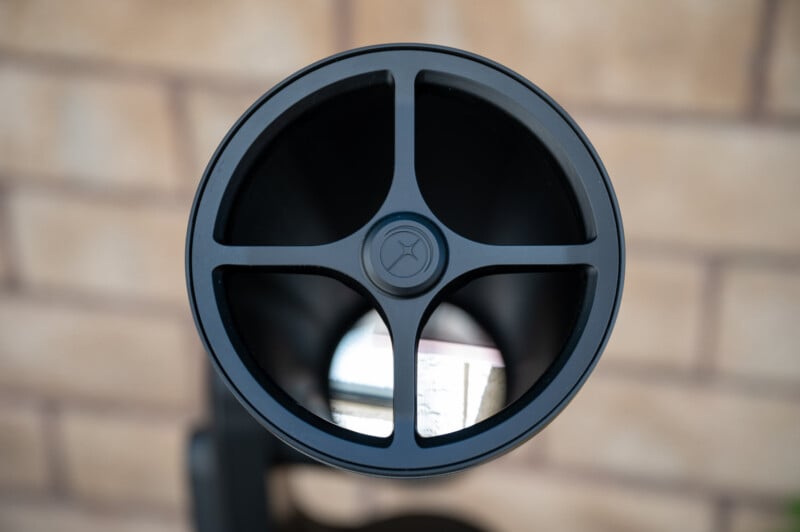
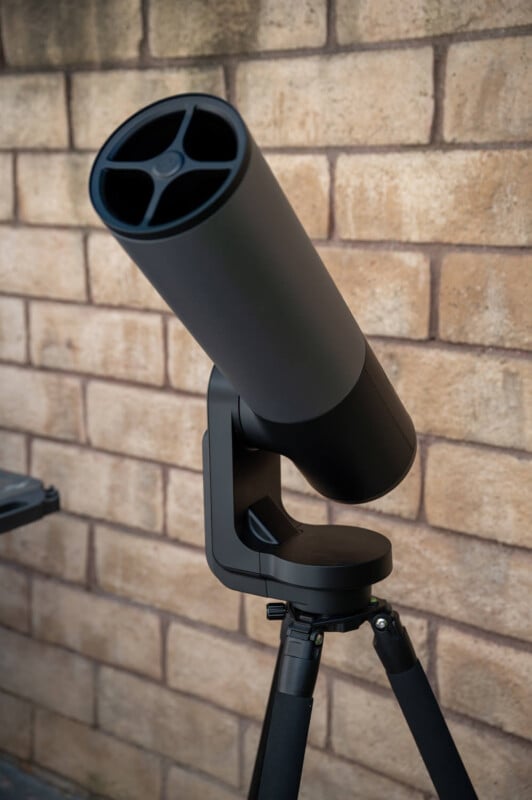
The eQuinox 2 is visually almost identical to its predecessor featuring a half matte black plastic body (base) and a brushed meteor gray metal tube with the familiar Unistellar “crosshairs” at the end of the barrel.
The system features a 450mm focal length with a mirror diameter of 4.5 inches (114 millimeters) with 64GB of internal storage and a battery that can last for up to 11 hours before needing to be recharged.
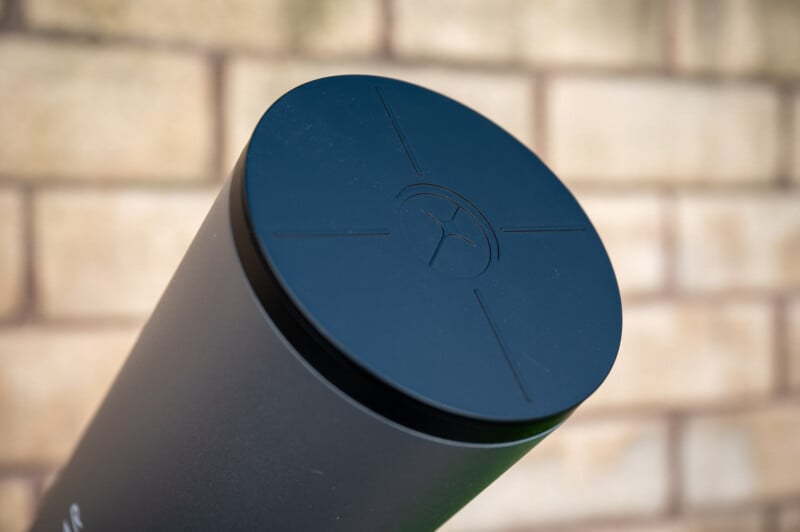
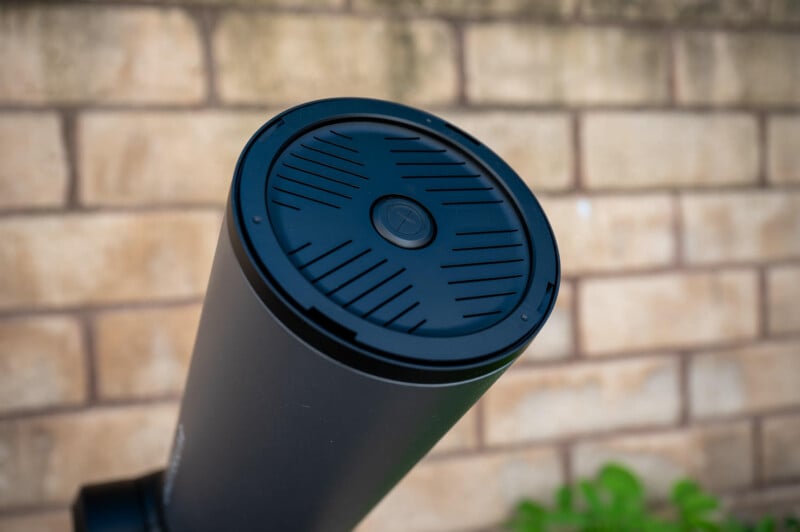
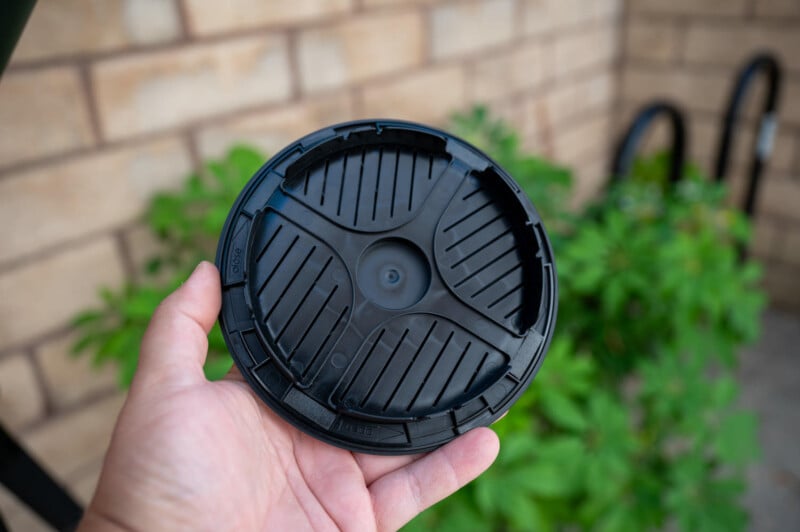
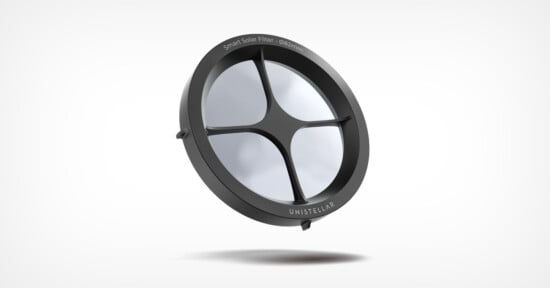
The telescope actually looks pretty great with its sleek design. It comes with an easy-to-connect black tripod that locks the device in place with two set screws located at the top of the legs next to the bubble level. At the end of the scope you’ll find the dust cover with the built-in Bahtinov mask used for fine-tuning your focus. While it may seem confusing at first, users can separate and replace the cover and mask with a simple twist making them pretty fast to install and remove when needed.
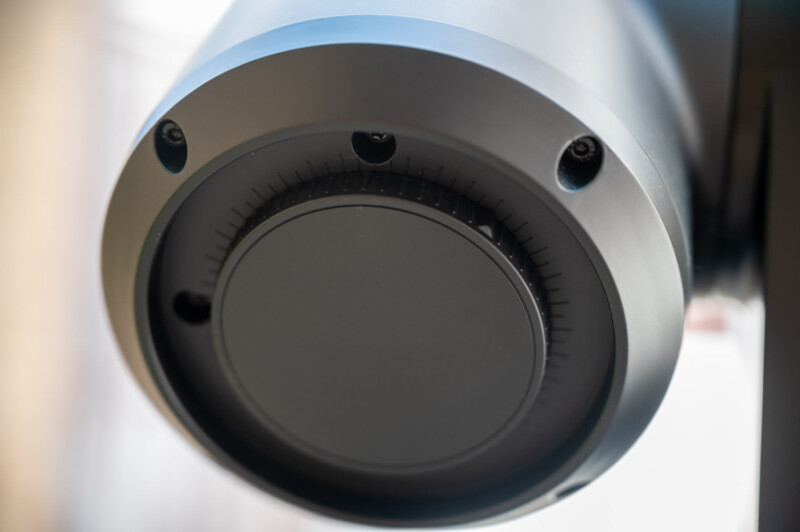
At the base of the scope is where users will find the manual focus dial along with the two screws that you’ll likely have to adjust to manually calibrate the mirror to ensure your focus is set properly.
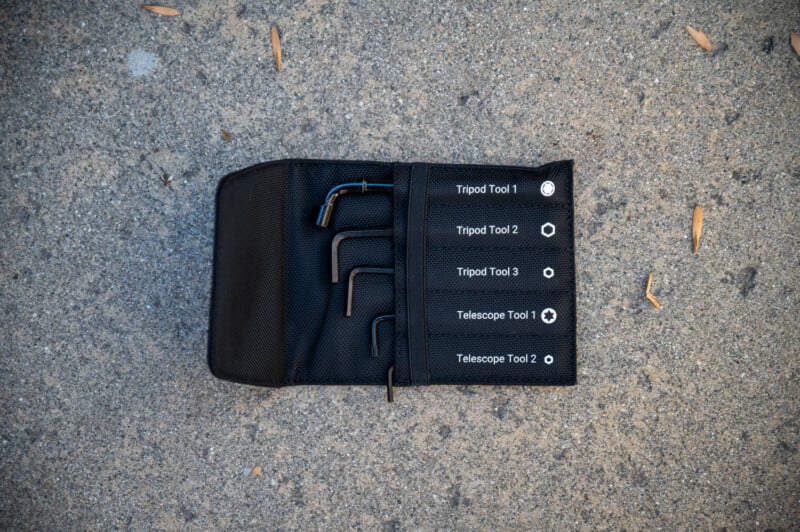
It’s worth pointing out that you’ll likely have to do this pretty frequently if you travel a lot with your scope. It can feel pretty confusing at first but it’s not that hard to get calibrated, especially if you watch the tutorial videos provided on the official Unistellar YouTube channel. Unistellar even includes the tools needed to tighten and refine the focus and grip of all the moving parts of the scope included in the box in a nice little carrying case to bring with you on the road.
Also located on the base of the device on the motorized mount, you’ll find a USB-C and a standard USB port for charging and data connections.
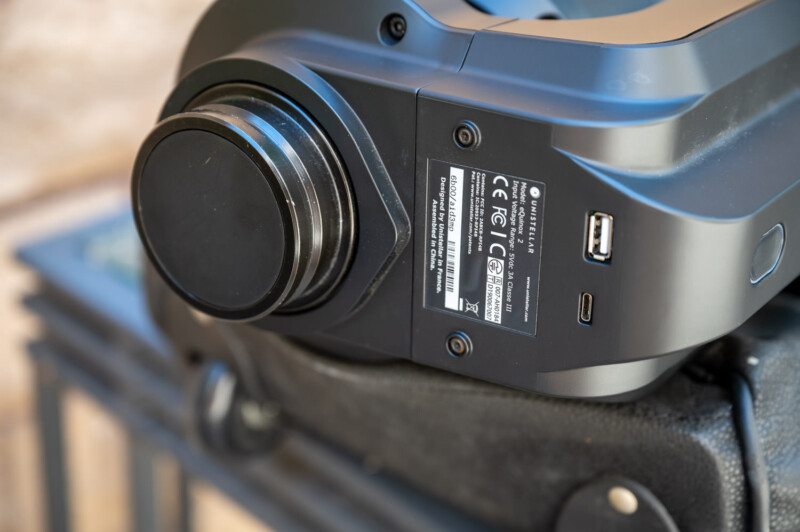
Along the side of the motor/mount is where you’ll find the on/off switch with a nice little LED light that indicates its status. The entire setup weighs about 20 pounds (9 Kg) and measures 25.59 x 9.06 x 4.92 inches, making it a bit awkward to carry without the optional travel/protection kit, but not exactly a major inconvenience either.
What users may notice before anything else is, unlike it’s bigger siblings, the eQuinox 2 does not have a viewfinder or any other complex “telescope” attachments. Everything is handled through the mobile app (which works on Android and Apple devices).
Users will have no choice but to use the app to find celestial objects, but luckily with the eQuinox 2, that’s rather easy. Once you run the calibration so the device knows where it is based on your GPS, it will automatically tell you how many of the over 5,000 celestial objects and 37 million stars it has in its database that you can view from your geographic location.
While there’s no external bells or whistles, the one thing that I did find nice was that there was just enough space under the scope on its base to place the dustcover and mask to keep it clean while out in the wild if you don’t have anywhere else to put it. The telescope can rotate and skew in any of it’s possible directions without connecting with it or knocking it over.
Unistellar eQuinox 2: Mobile App and Focusing
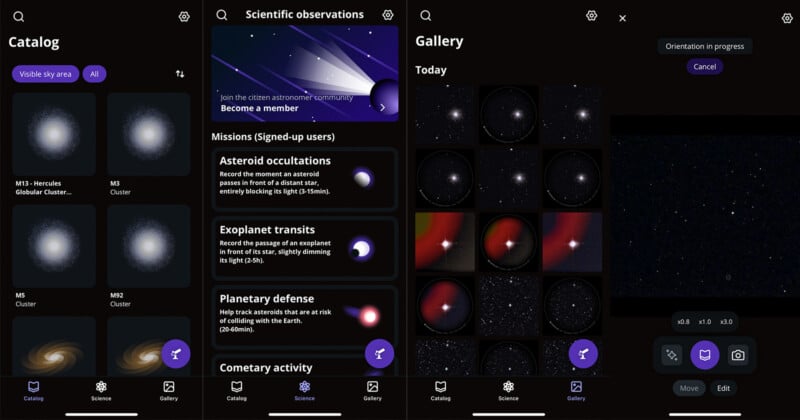
The smartphone app is pretty self explanatory and includes three sections to choose from at the bottom of the app with a fourth option that will float over any section you navigate too. The “Catalog” will show you any night sky objects that are visible to you and navigate towards them. You can engage with the Unistellar community and read up on celestial objects under the “Science” section. Photos you’ve taken can be found in the “Gallery” and, finally, you can control the telescope and view what it sees with the big purple digital button.
Additionally you will find a “gear” icon on the top right of the app that will let you make changes to the app and adjust the telescope’s settings.
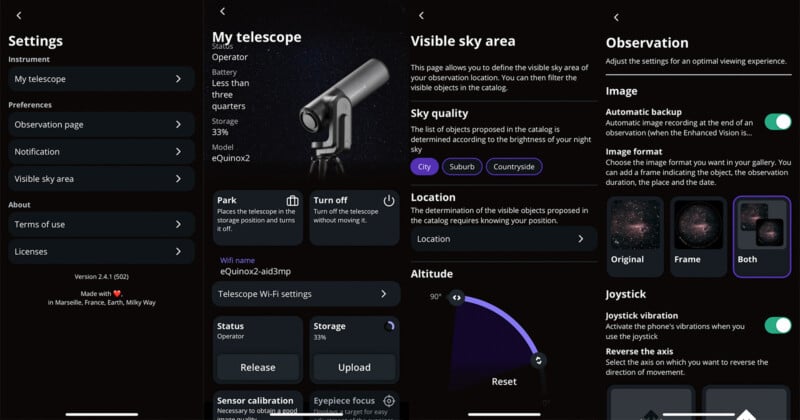
Once you power up and connect to the telescope using it’s built-in WiFi, the device will prompt you to calibrate itself using your GPS data. This will automatically align itself based on your geolocation and provide you with a list of visible night-sky objects.
Keep in mind, though, if you happen to be in an area where you do not have cell service, the Unistellar eQuinox 2 will not work. As much as you want to get away from the city to find a truly dark sky, you’ll still need a data connection for it to track properly and find the night sky objects.
I wasted a tank of gas and an entire night driving out to the Mojave to try it out when the device first arrived without knowing it would need that cellular connection. Also, you’ll want to be sure to wait till it’s well after sunset before you start to calibrate and set it up as the device can’t identify or see the stars if its still too bright out.
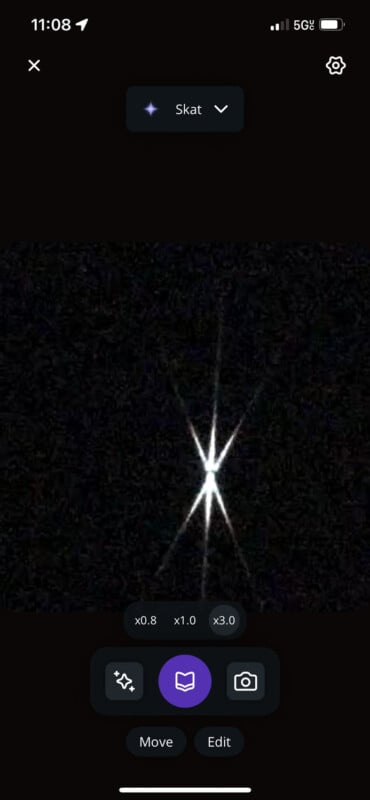
Focusing is pretty much done the same way as the Unistellar siblings using the manual dial on the back of the device. You’ll want to be sure the mirrors are calibrated and then find a nice bright star and put the Bhatinov mask on to leave you with a nice streaky X-like shape on your screen. From here you’ll see the center/vertical line hopefully dead center of the X. If it’s not, just start adjusting the dial for the focus until you’ve got it in the centermost position. It’s not perfect (at least in my opinion) since I like to have much more control over the focus, but the process is rather simple, if not frustrating. By this I mean, every time you touch the device you’re going to shove it’s POV a little, meaning you’ll likely have to keep the app handy with your other hand to manually move and reposition the object you’re using to set focus on back into the frame.
Basically, be prepared for some excessive jiggling and lag between the device and the app while you set the focus. Just take your time and you shouldn’t have too many problems.
If you remove the time spent calibrating the mirror and focusing, it typically takes less than five minutes to setup the tripod, telescope, power everything up and connect the app, calibrate/geolocate itself and get tracking. Once it’s on and connected, you can simply choose whatever you want to view from the provided library of pre-programmed objects and watch the scope rotate to find and start tracking the star, nebula, cluster, or planet.
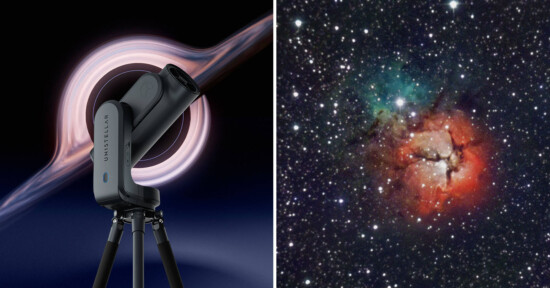
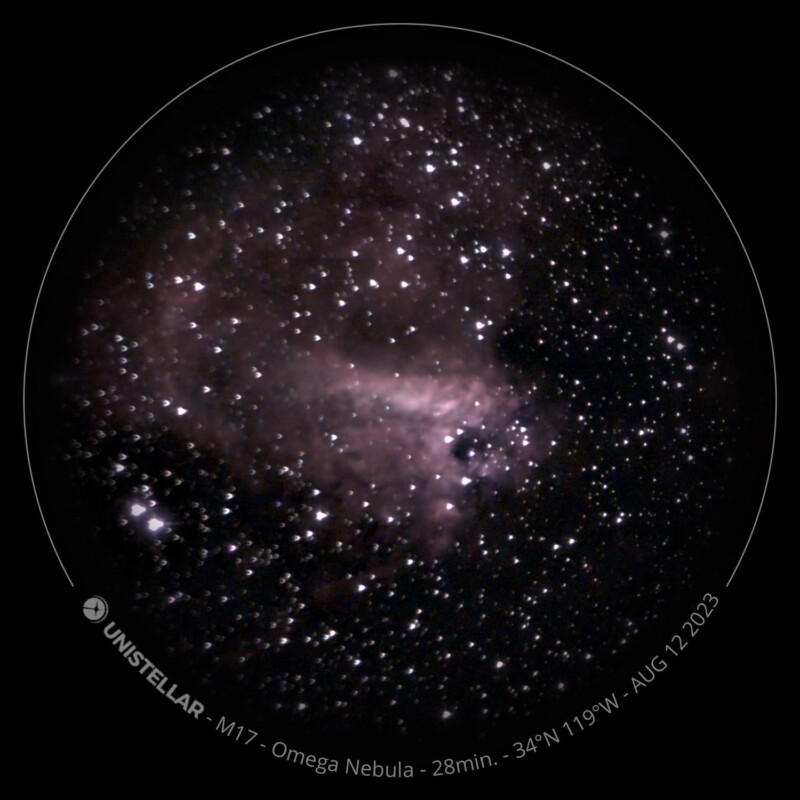
Once it does this, you can simply click the “enhanced vision” mode (the little three-star icon on the left) to start watching your object get clearer, brighter, and more colorful the longer you let it track. According to the team at Unistellar, the ideal time for a tracking on a celestial object is 30 to 45 minutes to get the most out of the image stacking and enhancements. You might see some slight improvements if you let it go longer than that, but from my testing I think the results after that time period will be negligible at best.
Unistellar eQuinox 2: Image Quality and the ‘Process’
Once connected and calibrated, finding visible celestial objects is actually rather easy and fast. You can search through the catalog of visible and soon to be visible objects, make their selection, hit the goto and start viewing. This part works really well. Then you just have to wait 20 to 45 minutes for the enhanced view to properly track, stack, and clean up the shots for you, leaving you with a pseudo-long exposure of the night sky without any of the motion trails you’d otherwise have gotten using a traditional camera.
The screen updates in real-time about every 30 to 60 seconds giving you a slightly better image with each updated pass. The telescope features a “Smart Light Pollution” reduction feature which digitally removes visible light pollution from images automatically, which is kind of useful in busier and brighter cities like Los Angeles where I am located.
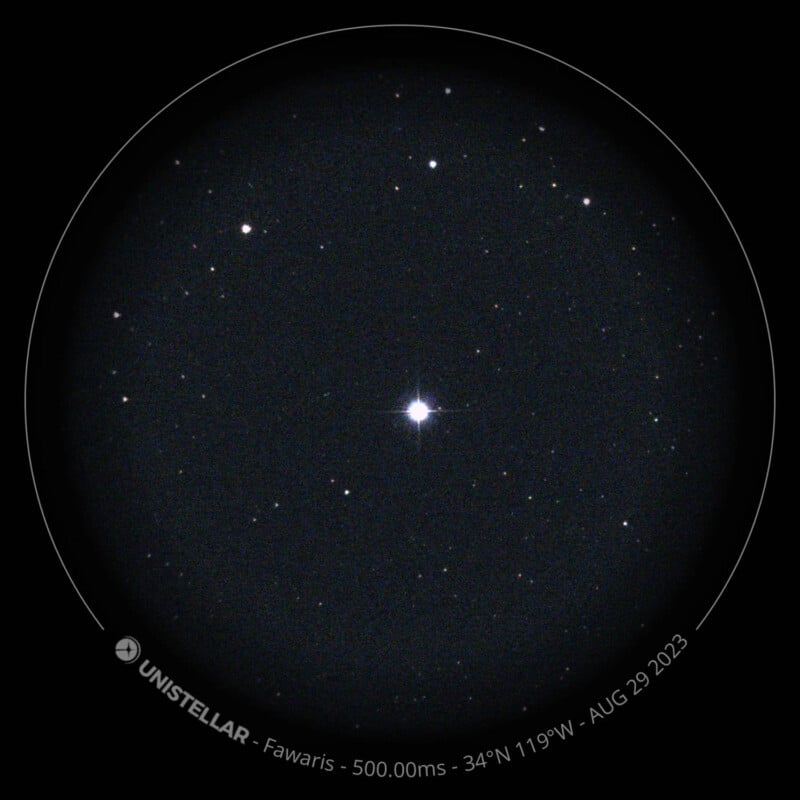
For instance, below is an image of the star Fawaris after just a few seconds:
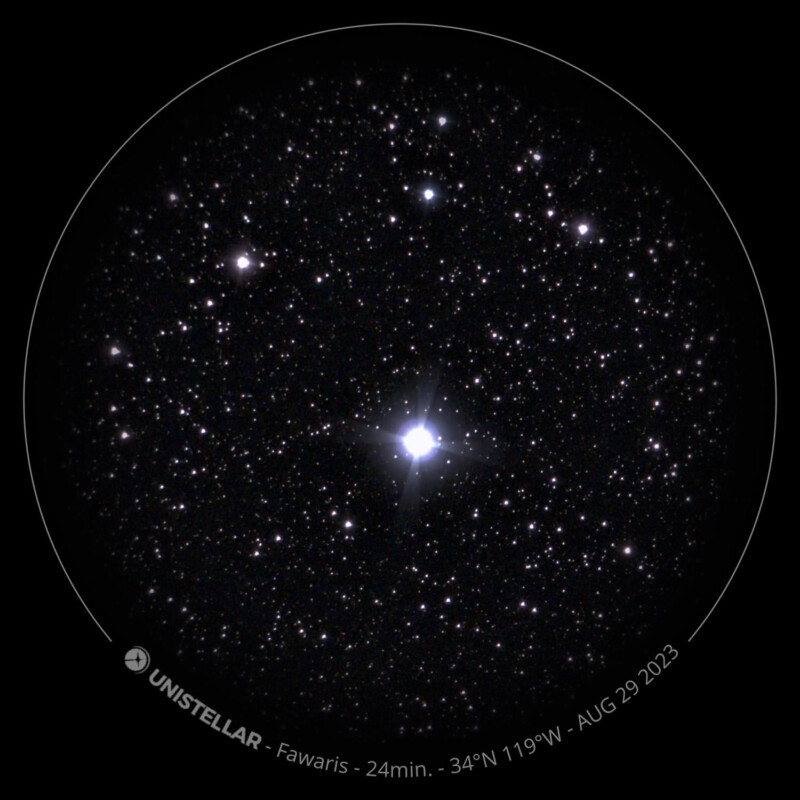
And the same star using the enhanced vision tracked and stacked it for over 20 minutes:
The downside here though is the image quality while shooting. You’re left to look at whatever you’re focusing on through a small window on your smartphone or tablet (unless you orientate to horizontal mode where it’ll go more full screen) where you’re limited by the size of the device in your hands. It’s not that big a deal though as once you get home, you can download and look at the images in bigger detail on your computer. But even then, the final output is a lower resolution than Unistellar’s eVscope 2, so unless you get some particularly lucky and crystal clear skies, the images won’t be as clear as you would get with a professional telescope and some proper DSLR cameras attached.

Fun And Easy To Use, But Still Lacking if You’re ‘Serious’ About Astro
Despite the minor frustrations and lesser image quality, the eQuinox 2 was a very fun smart telescope to drag out with my friends and enjoy the night sky with. It was quick, easy, and pretty painless to get going and shared with up to 10 people, but as a professional photographer, it did leave me wanting more out of the final images. While it’s not exactly cheap, it’s still much cheaper then most of the other smart telescopes in it’s class, making it a much more ideal stargazing solution for amateurs and hobbyists, or professionals who have the budget to burn on something fun for their family and friends.
Are There Alternatives?
Outside of the other and older Unistellar siblings like the $4,899 eVscope 2, you can find the $3,999 Stellina by Vaonis, or the $1,299 Celestron Nexstar.
Otherwise, you might want to look into a standard telescope with a camera mount adapter. This is significantly less “smart,” but with a bit of practice, at least you have near-immediate access to higher resolution photos.
Should You Buy It?
Maybe. If you’re a professional astrophotographer looking for a top-tier level device for high resolution astro images, you may want to look elsewhere. That being said, if you’re a hobbyist stargazer who just wants to enjoy the night sky with the option of sharing the view with friends from the comfort of their smartphones and tablets, there’s no denying that the eQuinox 2 is easy and fun to use. It’s just up to you to decide if it’s worth the $2,499 investment.