How to Photograph Sand Dunes
It’s never a bad day to capture landscape photography on the dunes. This day, in particular though, was truly one to remember and I share a variety of techniques for how I take photos of sand dunes.
Scouting Ahead
Scouting is a crucial part of any photography endeavor, but when it comes to photographing dunes, it requires even more meticulous scouting. Finding an organized and compelling composition can be quite challenging. To tackle this, preparation is key.
Start by conducting online scouting using tools like Google Earth. This helps you familiarize yourself with the landscape, identify parking areas and hiking routes to the dunes, and gauge the size of the location. The 3D textures provided by Google Earth can give you a sense of the relative sizes of different dunes. Use this information to mark potential vantage points for your photography.
Scouting in the Field
However, online scouting should be complemented by in-person exploration. Download offline maps using Google or Gaia GPS to assist you during your on-site scouting. Ideally, allocate a full day for scouting, allowing ample time to explore, experiment, and mark spots that you may want to revisit under different lighting conditions.
If you have only one day, ensure that you still give yourself enough time, as truly immersing yourself in the landscape takes a few hours. Avoid showing up just 30 minutes before sunset and expecting to capture outstanding images. Remember, the creative process requires time, and photographing dunes can be particularly challenging
Lenses and Gear
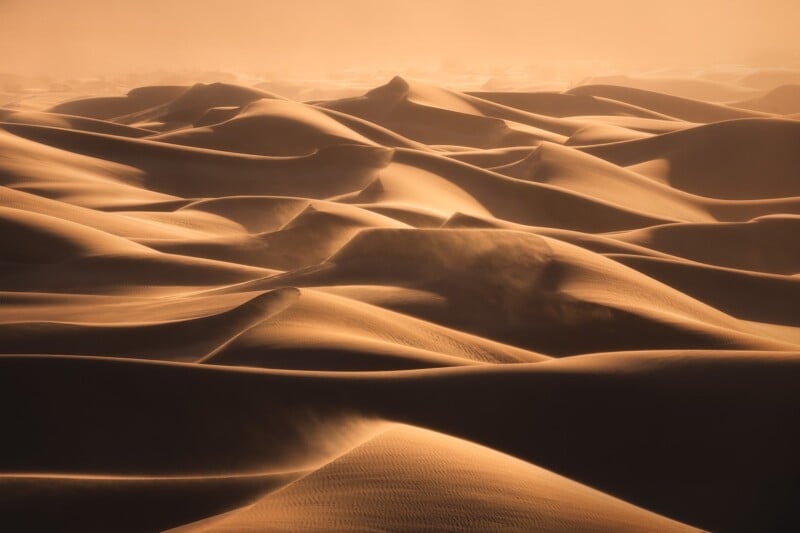
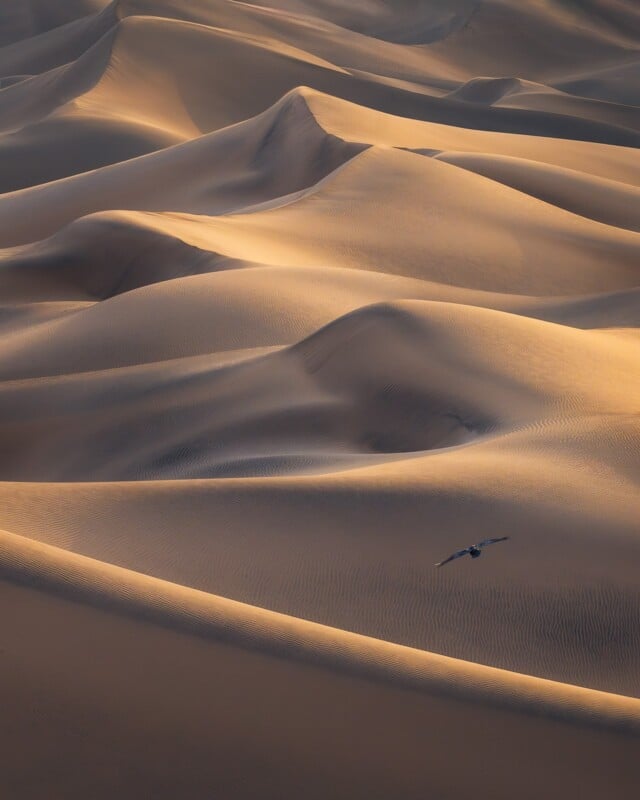
Regarding gear, my personal favorite lens for dune photography is a telephoto lens. The versatility of my 100-400mm lens allows me to capture intricate details in the distance. However, there are instances when a wide-angle lens can be beneficial, especially if there is an interesting sky with texture.
I typically find myself either using the telephoto end (100mm+) to create simplicity and focus on details or opting for the almost ultra-wide end (16mm or wider) to accentuate leading lines and distortion. I rarely capture mid-range dune photos, so I usually leave that lens behind during dune hikes. Nonetheless, the choice of lens depends on your shooting style. While on the dunes, I try to minimize lens changes.

In windy conditions with blowing sand, it’s best to have the lenses you intend to use already attached to your camera. To protect your gear, consider using a filter on the front element to guard against high winds and dust storms. Personally, I prefer having a polarizer on my lens to reduce reflections, which also doubles as lens protection. Alternatively, a UV filter works just as well.
If you need to remove dust from the lens, avoid using a lens wipe, as it may smear the dust and potentially scratch the lens. Instead, use a dust rocket blower. If you feel concerned about your camera body, you can use a plastic bag for added protection, although it may become burdensome and hinder your photography. Additionally, consider bringing protective glasses for yourself and a scarf or bandana to shield your mouth from sand ingestion.
The Photography
Upon arriving at the dune field, take a moment to absorb the surroundings before reaching for your camera. Observe the location attentively. Look into the distance and observe how the lines of the dunes converge in certain sections. Start moving in a particular direction while keeping an eye on the same spot. Notice how the lines and shapes transform as you move. Pay attention to the edges of shadows and light, the color tones, and the quality of the light.
These elements will guide you in building your composition and story.
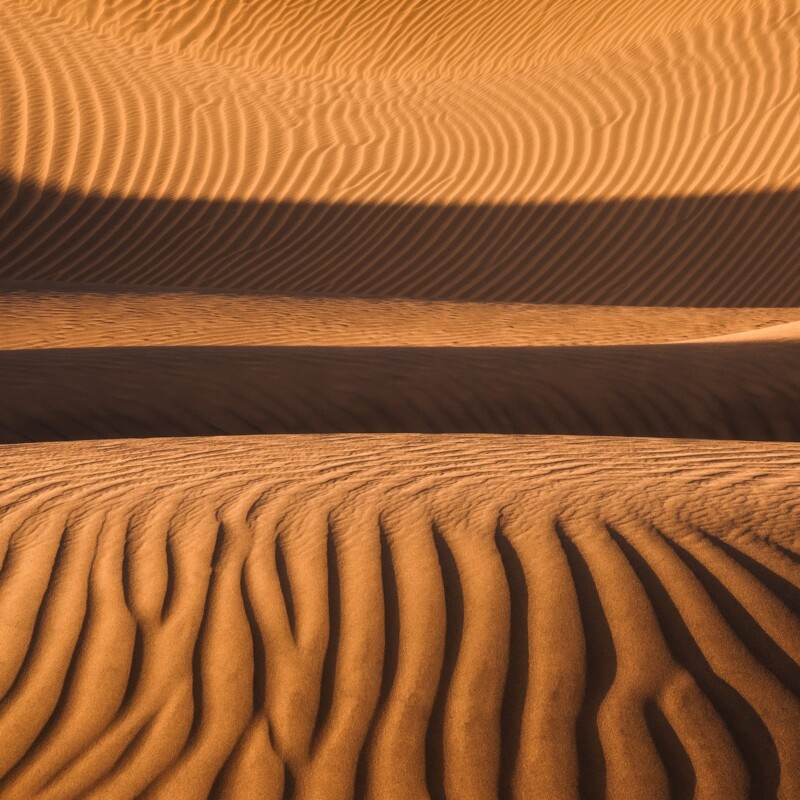
One technique that has proved helpful in dune photography is to begin with a wide shot, capturing the overall view or the specific feature that caught your attention. Then gradually zoom in to highlight the most captivating element of your composition, whether it’s a repetition of shapes, a balance of light and shadow, or the textures of sand ripples. If it proves helpful, take a moment to review your photo on the camera’s display and zoom in for closer inspection. Starting wide and progressively zooming in allows you to slow down and start to see the intricate details of the dunes. Additionally, while it may seem simple, use your fingers to cover parts of the scene and visualize different compositions/crops. I have found this technique to be remarkably helpful in my own photography.
When photographing dunes, my aim is to capture the entire scene in a single image. To achieve this, I typically select an f-stop of at least f/11, or sometimes even f/16, in order to avoid the need for focus stacking. However, there are situations where focus stacking becomes necessary, especially when dealing with dune layers at varying distances. In such cases, a few well-chosen focus points should suffice. I take separate shots for the closest dune, the midground, and the background. In some instances, when I’m in close proximity to the layers, additional focus points may be required.
If I plan to use a telephoto lens, it can be key to slightly increase the ISO, providing more flexibility with the shutter speed. Usually ISO 400 on some cameras, or on the Sony A1 at ISO 500, which is the second base ISO. This adjustment proves particularly useful during sunset shoots or in windy conditions. For obtaining crisp images, it’s important to set the shutter speed to approximately double the focal length, unless you have the advantage of optical or in-body stabilization, which allows for more leeway. However, when I’m exploring the dunes in search of captivating images, I prefer not to obsess over the exact shutter speed needed. Instead, I opt for slightly higher settings to ensure I capture sharp shots, erring on the side of caution.
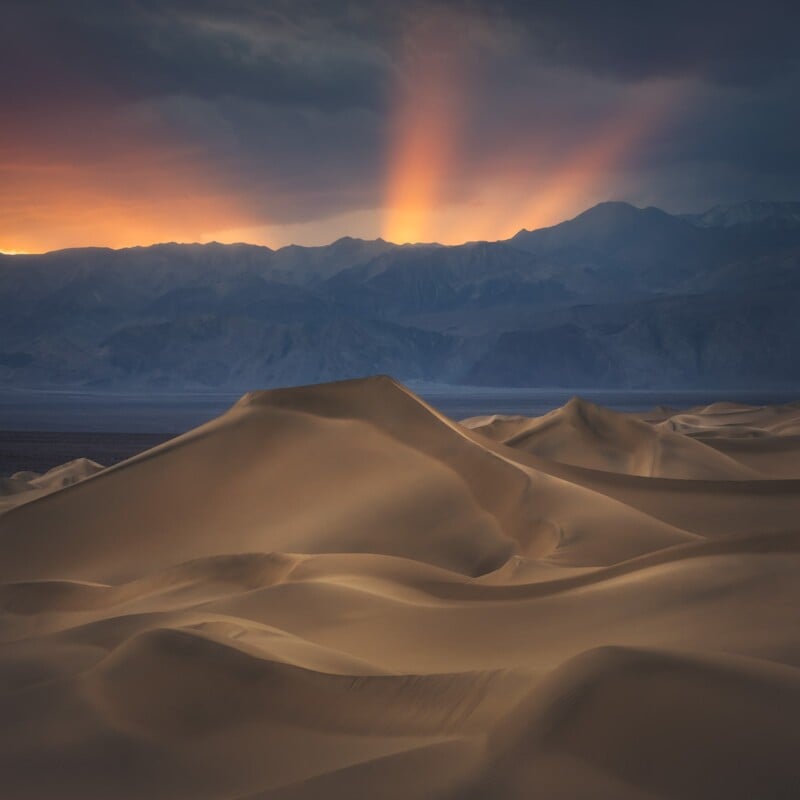
The conditions on the dunes are remarkably versatile, offering opportunities regardless of the weather. Whether it’s a clear day or one with rainy, stormy clouds, you can always find interesting subjects to photograph. It’s also crucial to experiment with different compositions and shots. While making my video, I focused heavily on telephoto compositions and neglected to use the wide lens to showcase the captivating light rays and stormy atmosphere I encountered. Hence, don’t hesitate to diversify your approach and explore various compositions.
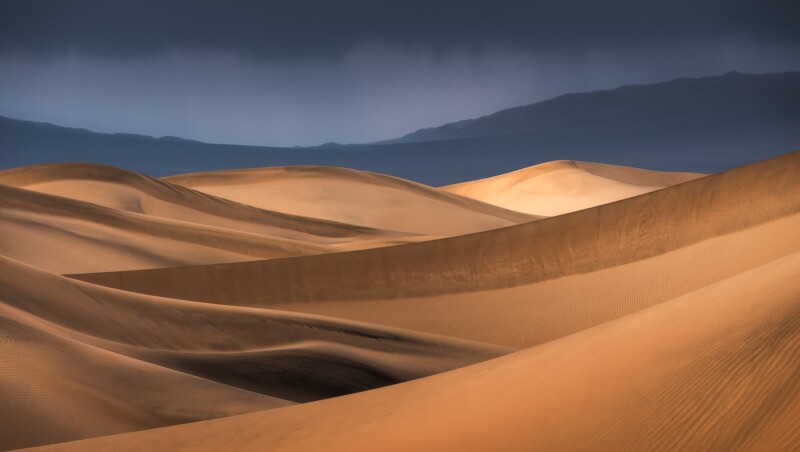
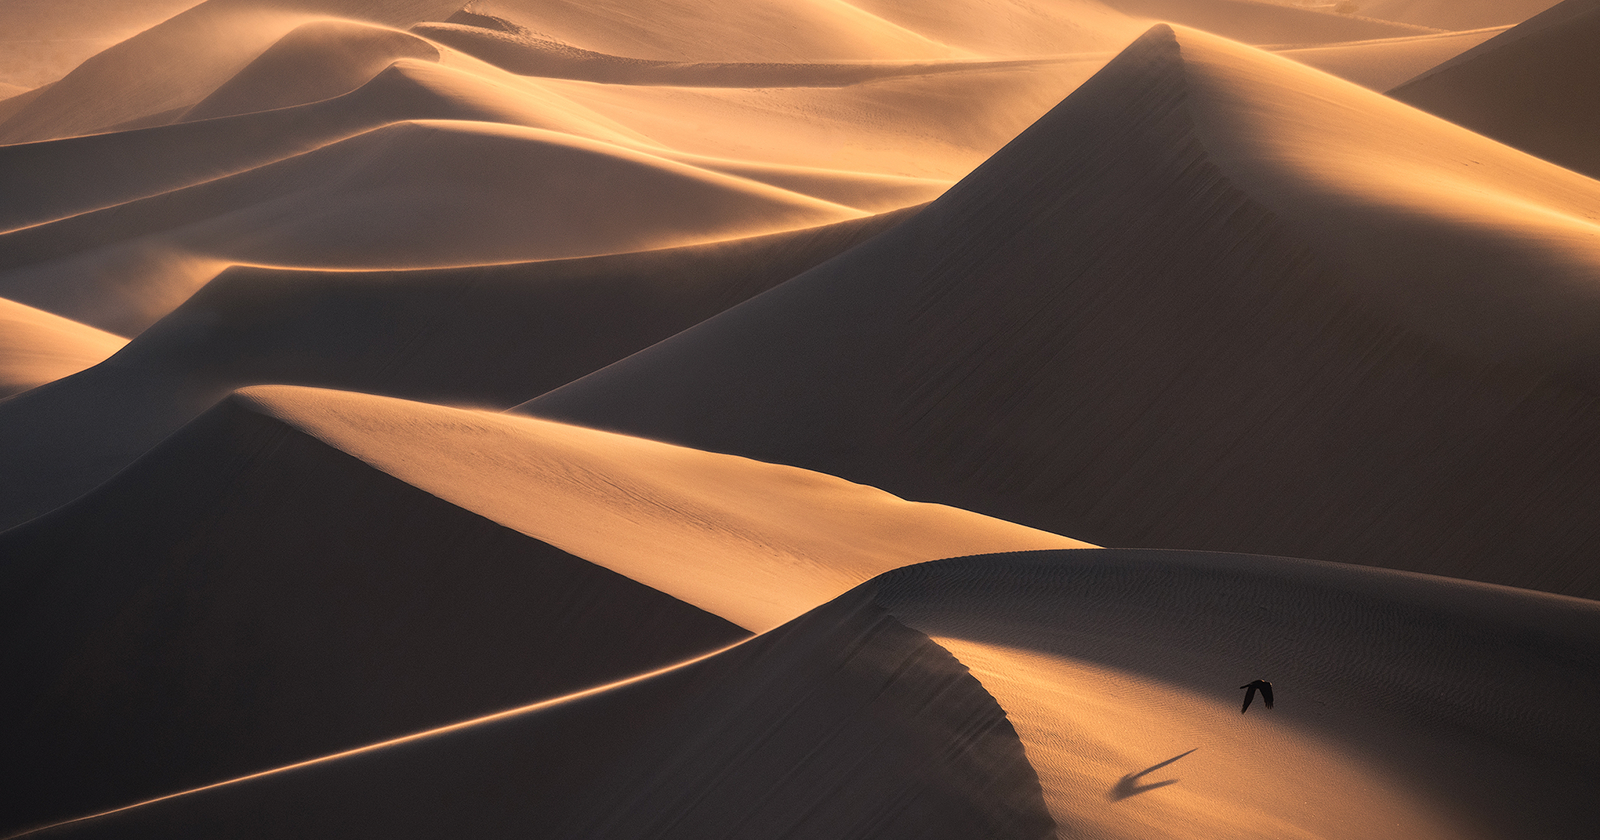
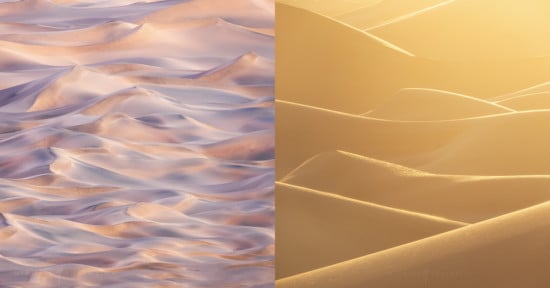
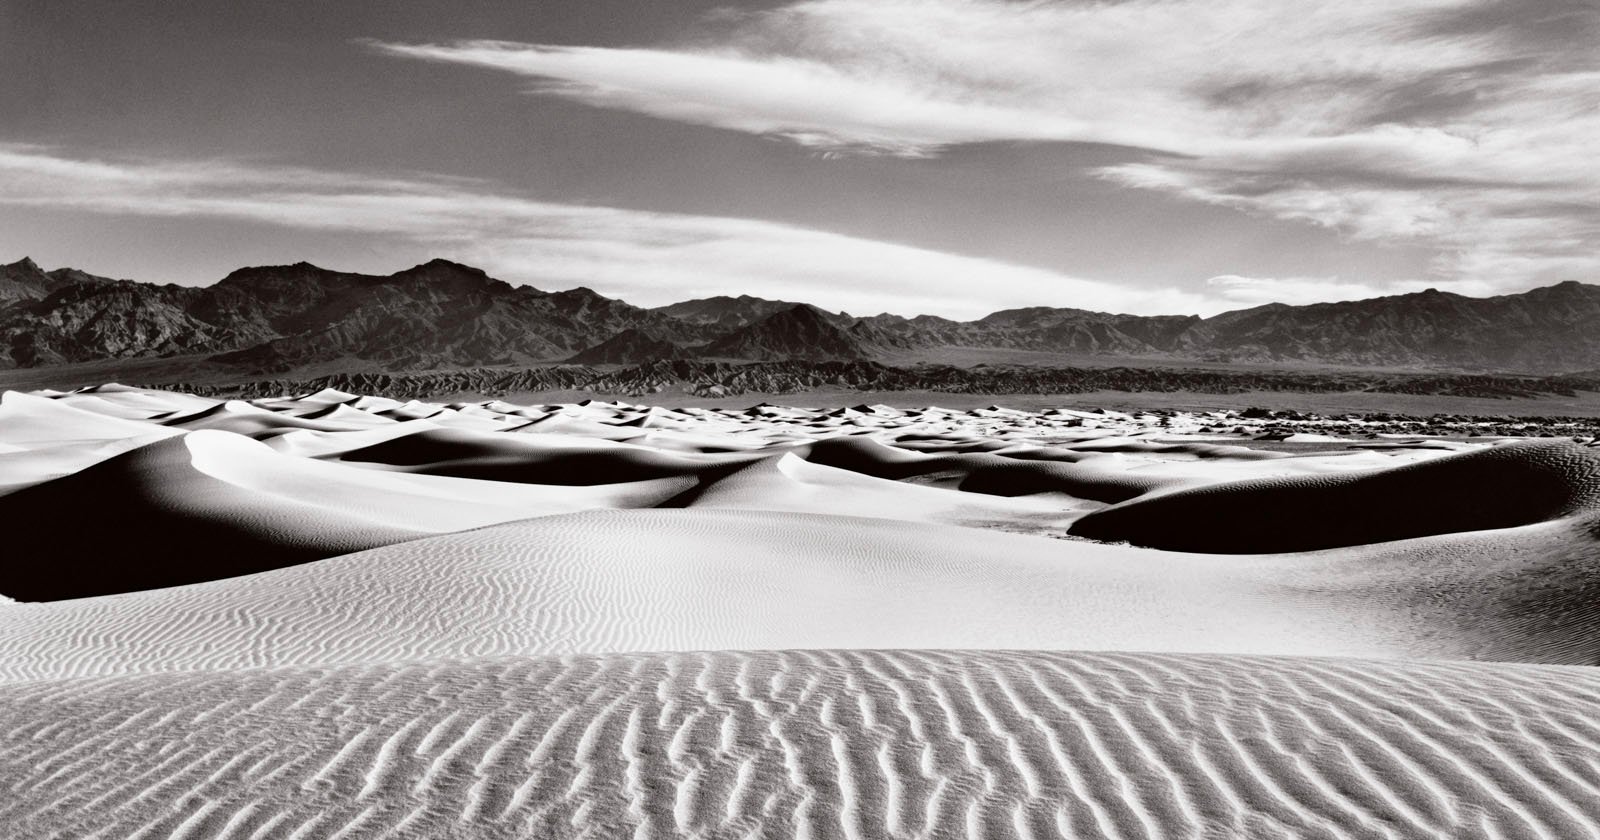
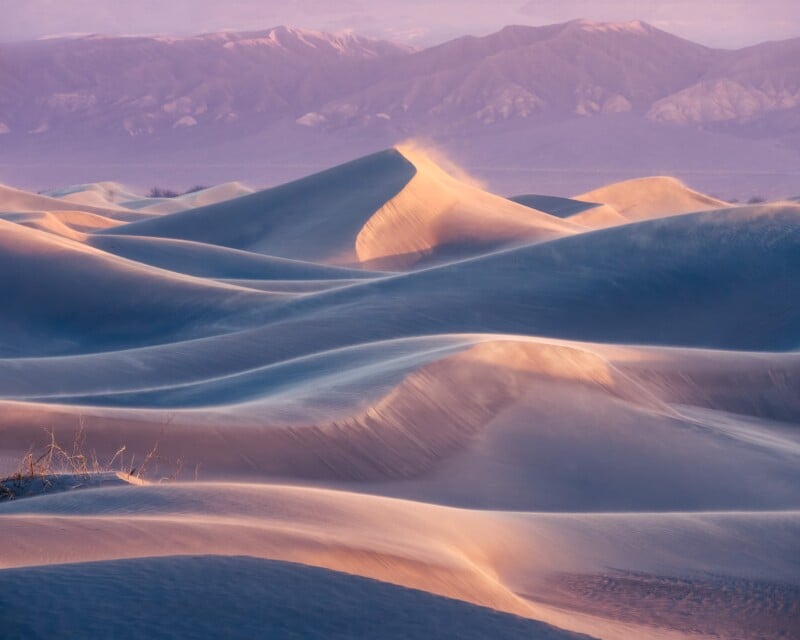
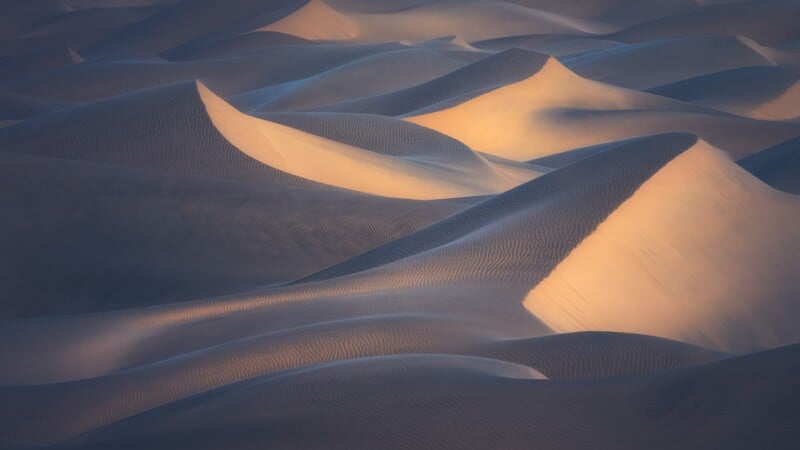
Contrary to popular belief, the time of day doesn’t have as much impact as you might think. Dunes can be captured throughout the day. The midday light is excellent for emphasizing deep, contrasting shadows and focusing on distinct lines and textures. During sunset, the golden directional light can beautifully highlight the dunes, casting a warm glow when facing the sun or creating captivating spotlighting when facing away from it. Even after sunset, don’t rush to leave; sometimes, the reflected light in the sky produces stunning pastel hues that bathe the dunes. Keep in mind that the lighting and colors on the dunes can change dramatically, offering a range of shooting opportunities within a single morning or evening.
When you feel overwhelmed on the dunes, it’s crucial not to get discouraged. Moments of frustration can arise in this demanding genre of photography. In such instances, take a break. Sit down, immerse yourself in the view, enjoy a snack, and give yourself a moment to relax. Eventually, you will find the perfect shot, and sometimes the unexpected moments yield the best images.
Remember, photographing sand dunes requires time, patience, and an artistic eye. Embrace the challenge, experiment with different approaches, and allow yourself to appreciate the breathtaking beauty of these natural formations.
About the Author: Michael Shainblum is a photographer, filmmaker, and educator based in San Francisco, California. He has been working professionally as a photographer and filmmaker for 17 years since the age of 16. He has been commissioned by clients such as Disney, Nike, Samsung, Apple, and Google. He also shares his knowledge via his Youtube Channel, Instagram, and workshops. This story was also published here.