How to Use Wedding Photography Flash in a Way That Looks Natural
Using flash in your wedding photography can take your work to the next level. It can look more professional and dynamic. Additionally, there are a variety of scenarios when flash makes certain things possible that wouldn’t be if you’re relying on natural light.
I’m going to be talking less about the specific techniques and more about general philosophy. While you may just want a recipe that you can follow and reproduce, I am more interested in teaching you how to make decisions. There are great arguments for a variety of techniques out there and you may end up adopting one in particular but I find myself using whatever technique helps me accomplish my goal.
Let’s start there.
Identify Your Goal
The first step before bringing in a flash is to identify your goal behind using it. I’ll talk through a variety of possible goals that you might have but essentially the first key to making wedding photography flash look natural is to have a purpose behind using it. If you start with purpose then your result will be an image that looks purposeful.
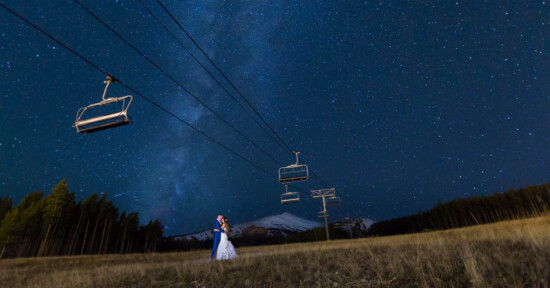
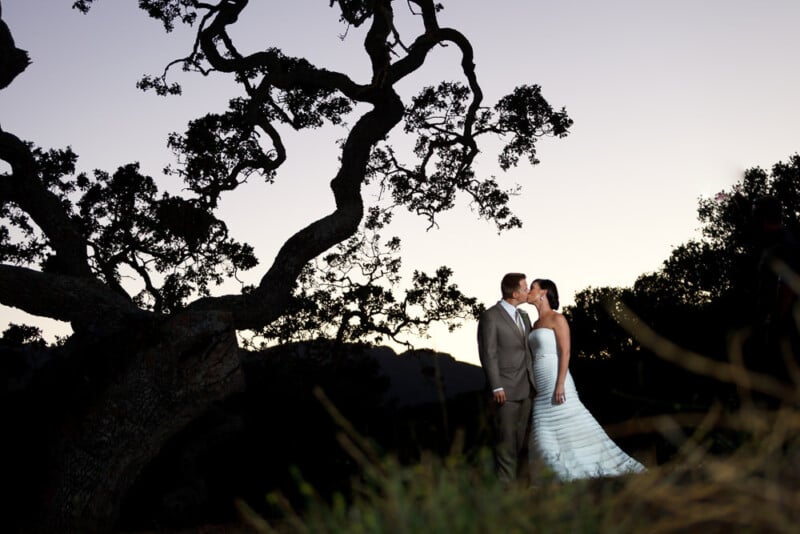
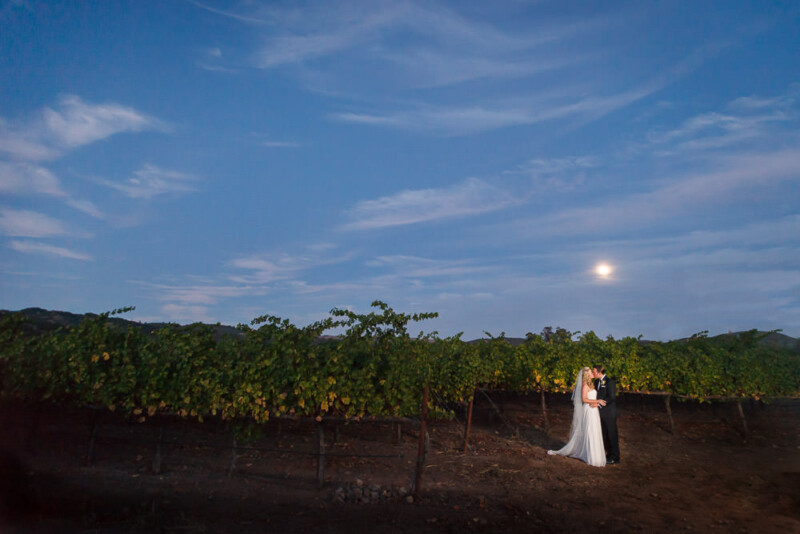
One common goal for using flash is when you’re trying to balance exposure. A typical example is when you want to shoot a portrait or group photo in front of a pretty view even though the light is terrible, there will be shadows under their eyes, and the background will be overexposed. Another example is when you want to photograph a couple at sunset and you want to balance the exposure between both the couple and the darkening sky.
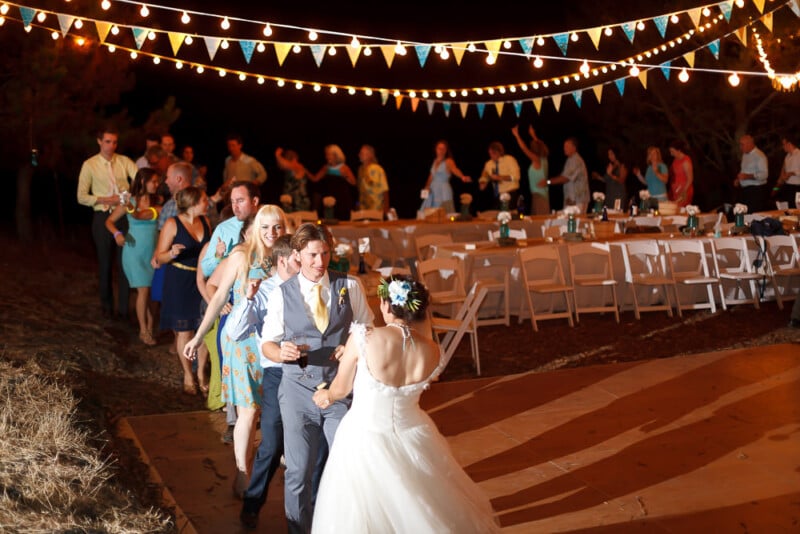
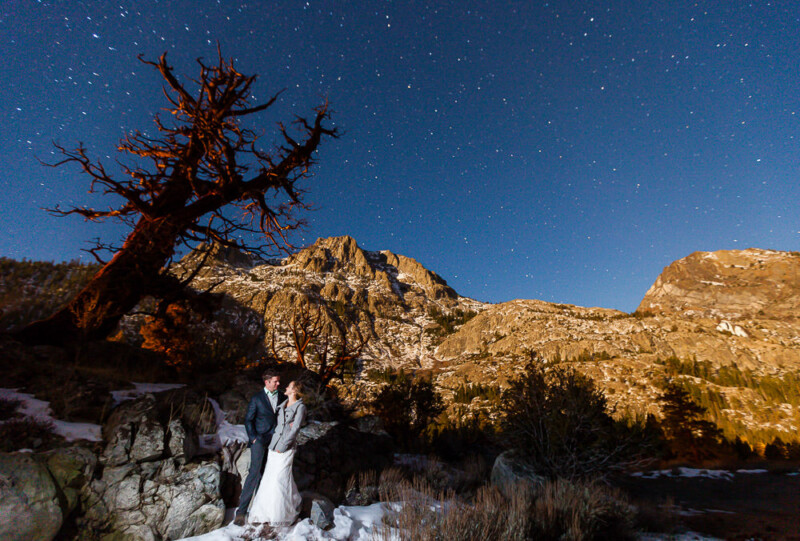
Another common goal for using flash is when it’s just plain dark. The main examples are poorly lit getting ready rooms and receptions after the sun or the lights go down.
Some photographers love to use flash to simplify a scene. A good example of this is when you’re shooting the getting ready room which can be cluttered with food, make-up, clothes, and more.
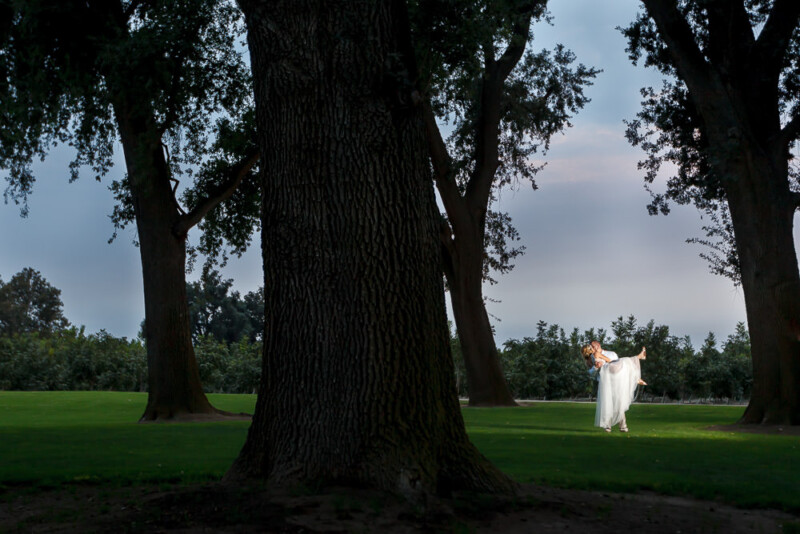
Other goals for using flash are when you want to make your subject pop from a background, fill some shadows, or create something artsy. Are there other goals you can think of? Identifying your goal will help you decide the “how.”
Decide How to Accomplish Your Goal
The way to accomplish your goal while making it look natural is to understand what that means. Some people would say that natural light means soft light, while others would say that natural light means a directional light source like the sun. I think what we’re really looking for is something that looks beautiful, which is unfortunately subjective but let’s talk through it anyway.
Light has a variety of qualities such as color from warm to cool, it can be hard or soft, and it can have both intensity and directionality. When you’re thinking about how to accomplish your goal you can think through what you want in terms of these qualities.
Soft and Hard Light
Soft light, for example, is a popular goal especially when it comes to those beautiful wedding day portraits. It’s the reason you see so many pictures of brides looking out a window. It’s not because the window is symbolic, it’s because the light is beautiful.
The best way to get soft light is to shoot window light or open shade which means the goal for using flash to create soft light would be to replicate those effects. What that means is that you want to diffuse and disperse the light in order to soften it. Think of hard light as direct light from a small source and soft light as diffused light from a large source.
One main difference between hard and soft light can be the size of the light source. It is also important to consider the distance from the subject to the source. The sun is a huge source but it is so far away it becomes a hard source, the same can be true for a very large softbox if it is very far away from your subject. To get soft light you need a source that is relatively large and close to your subject so it wraps the light around your subject.
But hard light can be “natural” too. Without cloud cover to disperse the light, the sun creates some pretty hard and intense light which can be beautiful. If your goal is to create that sort of dramatic effect you’ll likely want to think about direction so that you can create both light and shadows.
Balance and Direction
If you’re using flash simply to help your couple pop or stand out from the background, I think that the most important thing is balance. Balance the color temperature and balance the intensity. And then be intentional about the direction, where is the light coming from, and why? The best case scenario is to make the light appear to come from somewhere logical like a lamp post or building even though this is often difficult to do.
Sometimes I like to add light that appears to be sunlight but is a little more intentional. It always looks better and more natural in a landscape if I can have it come from that direction. I love when there’s a sweet little ray of sun lighting my couple but if there’s not then I can create it while keeping the natural look.
Creative Goals
When it comes to creative light such as artsy portraits or reception lighting, making it look natural is less about trying to replicate the sun or another light source and more about using the qualities of light to create something. For example, if you’re using light to simplify a scene and make everything except your subject fade to black, that’s not natural but it can look natural and beautiful as long as you are intentional.
As we get more into the weeds on these types of light usage, it can be easier to turn to thinking about what we need to avoid: what looks unnatural.
Things to Avoid
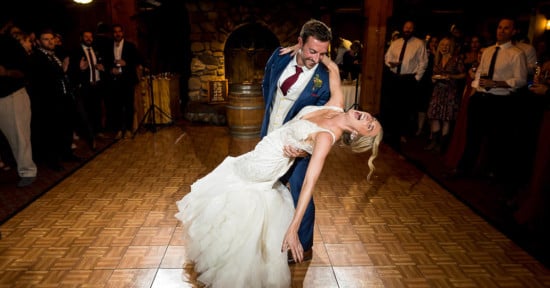
Avoid direct flash, it rarely looks good (i.e. on-camera flash pointed directly at your subject). It’s fine in a pinch because it’s fast and easy but it’s generally too harsh and unflattering. Most of the time it’s just as easy to bounce your light off something whether it’s a bounce card, ceiling, or wall, or to put your flash off-axis from your subject. This will give the subject shape and create a more dynamic image.
Avoid mixing color temperatures unless it’s intentional. A bride lit with a cool spotlight in a warm candlelit room will look odd. Luckily, it’s something you can often fix in post-production if you’re unable to match it in the moment.
Avoid limiting yourself. I think having systems is a great idea and you should have a plan for how you’re going to do things. And I also think that there’s a time to play and experiment, I’ve learned a lot just by trying something new and different.
Avoid harsh light whenever possible. I never like to find myself in a position where I have to use an undiffused and high-power flash to try to overpower the sun in order to fill eye pocket shadows while also balancing exposure. The sweaty people will wonder why they look so shiny having no clue about the terrible lighting conditions you were trying to battle at noon in 100 degrees with no shade.
Summary
If you want to make your wedding photography flash look natural it helps to know and understand why you’re using flash to begin with. From there you can determine the best way to accomplish your goal while avoiding some common mistakes. Adding flash to your wedding photography tool belt is often essential to deal with challenging scenarios or level up your work.
Develop an understanding of light and build your flash philosophy first. Then you’ll be better positioned to determine the specific techniques you want to use. From there you can try new things, fail, learn, and create beautiful light.