Varlens App Review: Bringing the Film Experience to the iPhone
It’s easy to overlook a good third-party photography app on a smartphone because they just keep popping up, but Varlens may be one worth keeping close by at all times.
Its official title, at least on the App Store for iOS, is Varlens — DSLR for iPhone. The “DSLR” part is telling because it refers to adding some manual control to Apple’s phones that require third parties to deliver. But that’s really only a part of what this app does because the value proposition is in the multitude of film emulations it offers.
Again, not a new thing. Other apps have already done it, yet there is something unique about how Varlens lays it all out, and what the results could say about how to introduce (or reintroduce) smartphone shooters to the artistic qualities that made film so unique.
Learning the Interface
First, it’s worth pointing out that the app is free to download, but it will cost you to unlock everything it offers. While discounts do happen, you can choose to pay $2.99 per month or as low as $14.99 for the year. The “2045 Singularity,” which amounts to a lifetime subscription, goes for $74.99. These figures can always change, but even if they do go up, they won’t be expensive compared to other options on the App Store.
In fairness to the developers behind Varlens, they do cram in a lot for the price. That’s why it’s probably best to break down the app into a few of its constituent parts. For starters, it brings in as many manual controls it can squeeze into the interface. On top of the standard shutter speed, ISO, white balance, exposure, and spot metering, it also lets you choose between manual, automatic, or continuous autofocus, as well as RAW or ProRAW. Even for video, you can select from Dolby Vision and HDR10. A Smart HDR setting also lets you opt for a “De-sharpen” mode when you want to push back against any excessive sharpening when the phone processes a photo after you’ve taken it.
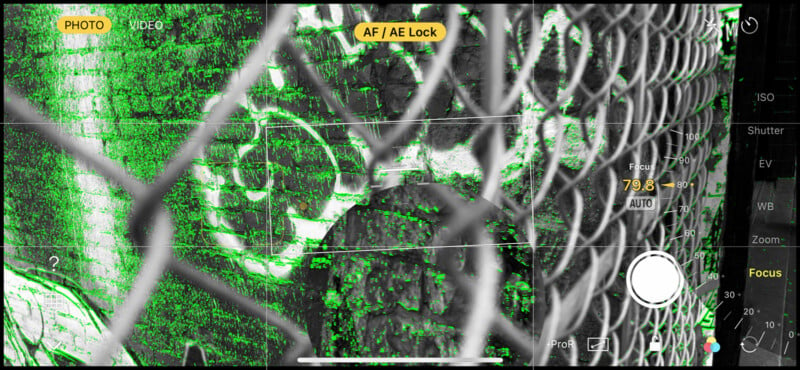
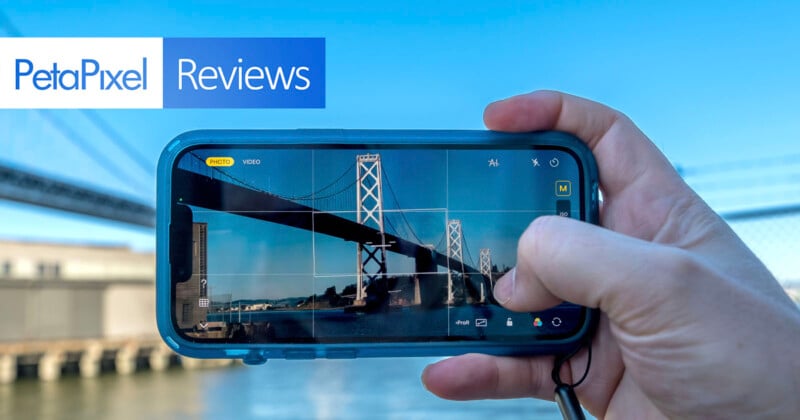
Rather than give you shortcuts to each rear lens, you get an onscreen dial with callouts to focal zooms that coincide with each lens on the iPhone; that’s why 0.5x and 3x stood out on the iPhone 13 Pro I tested the app with. I would’ve preferred easier shortcuts to the other lenses because it takes too long to get to them in a pinch whenever I had to quickly change focal lengths while shooting.
I could also choose to have grid lines (including a leveler), zebra stripes (for clipped highlights or shadows), and a histogram present onscreen at all times. Focus peaking is also available in manual focus. Formatting also varies, ranging from standards like 4:3 and 16:9, to 21:9, 3:2, 6:7, and 1:1. You can also shoot in full to cover the phone’s screen.
Tapping the “?” icon leads to a quick refresher over what the controls do, where to find them, and how to use them — useful for beginners but also for seasoned shooters who want to move fast when shooting with the app.
Film Emulations Abound
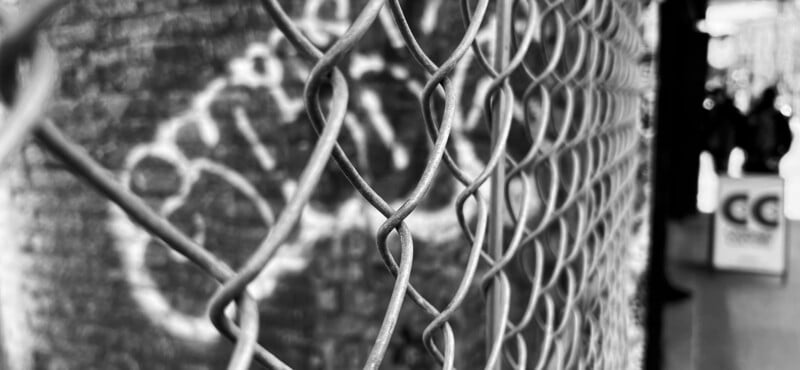
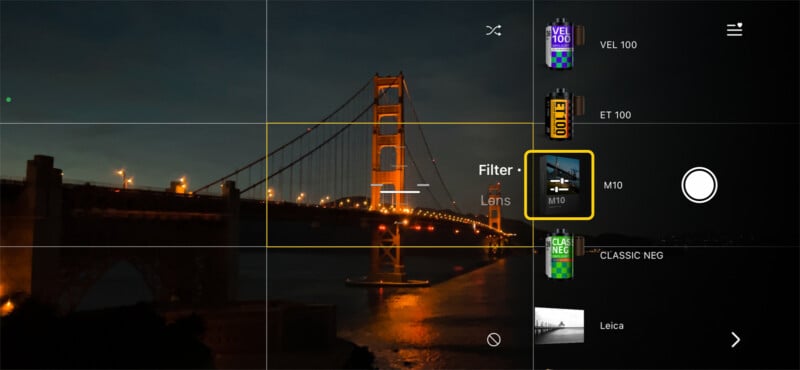
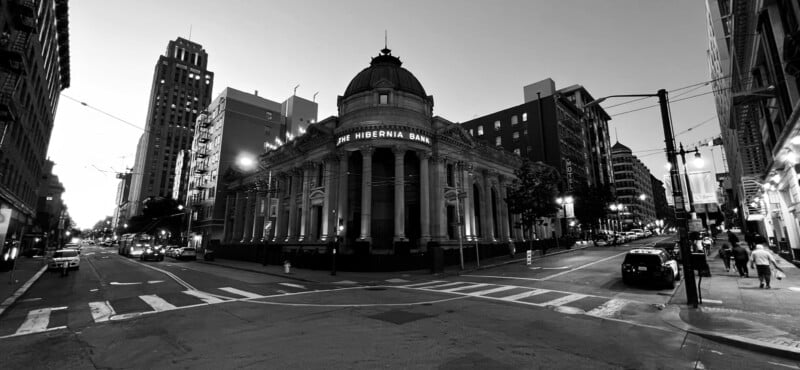
Tap the balloon icon and a Filter menu pops up showing a series of film or photographic styles. As of this review, Varlens has roughly 40 of them, some of which are storied and accomplished — think of Leica’s M10 and black and white, along with classics, like Kodachrome 64, Kodak Gold 200, Pro Image 100, Tri-X 400, Fuji Velvia 100, and Ilford HP5, among others.
A Varlens representative confirmed with PetaPixel that there was no collaboration with any of the brands who created the original film stock. It is instead more an homage to them, and it also explains the legal tightrope likely involved since the names for these films are largely generic or slightly altered in the app.


An array of other filters complement those emulations, some of which are similar to Lightroom presets, or personalized styles coming from photographers in various countries. A few come from movies, like Dune, Tenet, and Amelie. Others are more generalized, with names like Sunrise, After Rain, Mint, Young, and Romantic. You have to “download” each filter you want to use so that it becomes readily available to you. No matter how many you want to take, you get to manage them, including the order and categories in which they appear.
The best part is you’re not limited to just those Varlens gives you. It lets you import your own, including LUTs for video, so long as they’re .cube or .3dl files. I found the easiest way to do it was to upload the files to either iCloud, Google Drive, or OneDrive and access them from there. Once in, the filter appears in your list, letting you name it how you want.
Bring On the Presets
In a subsequent update, Varlens added what it calls Presets as a separate section, made up of a small group of emulations — this time for retro cameras. As I write this, they are the Nikon F2, Contax T2, Fujifilm Instax, Ginfax Z80, and Pentax 67.
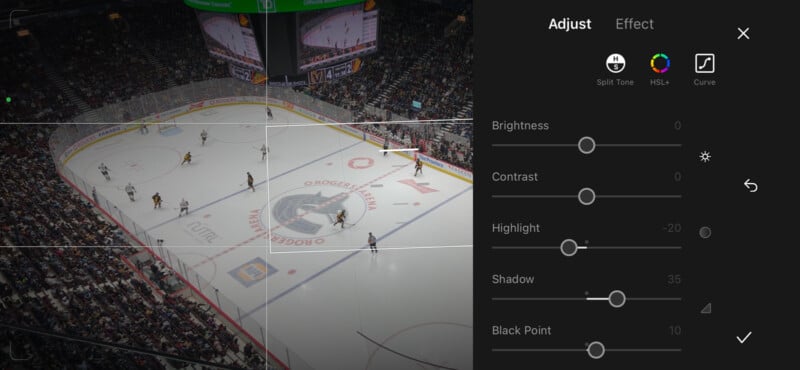
Whichever one you select lets you make all kinds of adjustments to how much of the effect you want, as well as split toning, HSL+, curves, and even visual treatments, like grain, light, or date stamps.
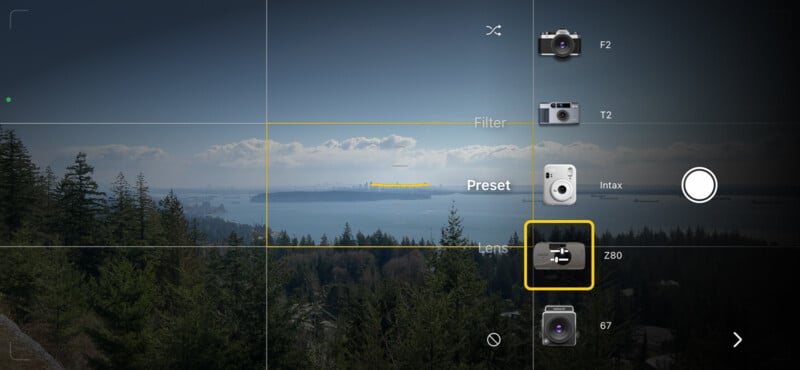
This is an interesting take on bridging together cameras from yesteryear with the iPhone, though I wasn’t always thrilled with the results. That’s why I appreciated the granular control to find a mix that worked best with both my style and the subject I was shooting. Unlike filters, though, you can’t import anything into this section, so for now, it’s just what’s there in front of you.

Image Quality
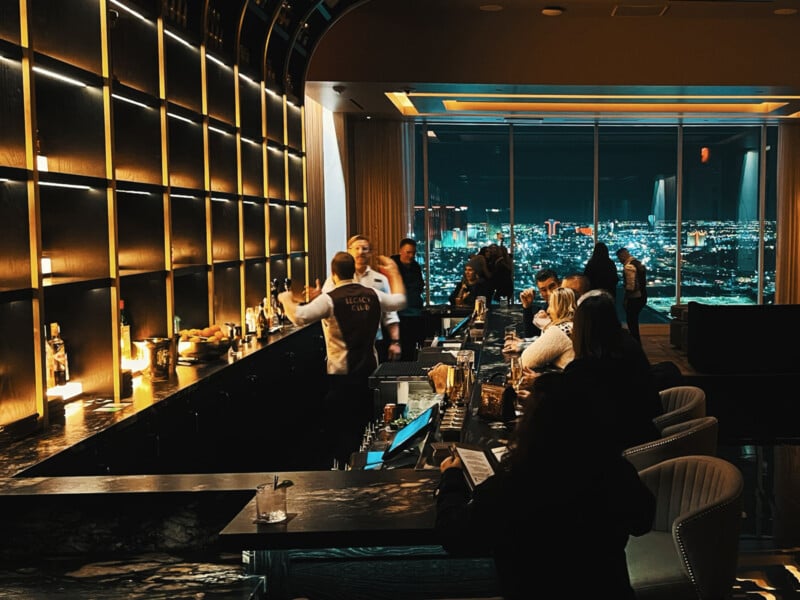
With so many iPhone users around, it was easy to compare shots with others, regardless of their photography knowledge or experience. Most telling was the overwhelming response to both the quality and versatility of what the app was giving me. The simulations aren’t like the pedestrian ones overrunning apps like Instagram, which more than a few people have used over the years. There is an artful elegance to much of what Varlens presents, changing the perception of a simple snapshot in the eyes of others to something more interesting.


More than that, novices I spoke with liked how simple it all seemed. They could just choose the filters they liked most and shoot in auto, whereas others more comfortable with manual controls could fiddle with various settings. Shooters of all stripes will find something to work with. Auto and manual modes are joined by Portrait, Time-Lapse, Light-Trail, and Program.
The app saves two versions of every photo, particularly if you shoot in RAW or ProRAW. There’s the HEIC image with the chosen filter or preset, plus an untouched RAW image you can then work on later. The best part is you can apply any of the filters or presets to a RAW image after the fact, which you can then tweak within the app’s own settings or migrate over to a program like Lightroom or Capture One, for example.

It might be overly optimistic to assume an app like this could teach every iPhone user something about photography, but the granularity is hard to ignore, especially when the filters are well thought out and lacking the cheap imitative qualities rampant on social media. Indeed, the app is so deep and interesting, I all but abandoned Apple’s own camera app, save for the odd night or low-light shot to take advantage of the proprietary processing Varlens doesn’t have access to.
Even for video, the app makes things interesting. Under the Lens menu, you can select Anamorphic with either a 1.33x or 1.55x letterbox effect. You can shoot with any of the lenses, including in 24fps or 25fps and in 4K up to 60fps. For 240fps slow-motion shots, you’ll need to dial it down to 720p. I mentioned Dolby Vision and HDR 10, though you also get ProRes. The one downside is you can’t apply any of the filters or presets to footage shot in Dolby or HDR10.
Whatever you shoot, Varlens is still limited by what it can tap into on the iPhone. Low-light and night shots won’t benefit from Apple’s computational processing, making them more susceptible to shake. There is also no bracketing mode within the app to offset that, unless the developers bring it in a future update.
Standing Out from the Crowd
While I thought it would feel a little gimmicky to use it, the app won me over by its sheer level of customization in bringing film-style photography to the iPhone. I could tell developers put some thought into making the emulations, and it shows in how different results can turn out relative to other apps, including ones purely for editing. While it can take time to figure everything out in how it works and where everything is, I don’t see any reason why any iPhone user interested in photography shouldn’t at least try it out.
Of note, Varlens is currently on iOS, and when PetaPixel inquired about an Android app, reps said it is “in development” and set to launch sometime in the second half of 2023. It’s not clear if the app will work differently between Android phones or not, but we will be on the lookout for when it finally goes live.

Are There Alternatives?
Look in the App Store, and you’ll find other apps offering film simulations, or at the very least, enough manual and granular control to make photography look and feel different on an iPhone. VSCO comes to mind, as do Halide Mark II, Moment Pro, ProCamera+, and Hipstamatic X, among others. Each of those have their strengths, and are certainly worth keeping handy on your iPhone, but Varlens earns its keep along with them based on what I experienced after shooting with it for three months.
Should You Buy It?
Yes, it’s worth the cost. Anything that fosters creativity for mobile photographers in such a user-friendly way is worthy of consideration. If you’re down to learn more and shoot better on an iPhone, this is one app that can help.