5 Things Every Budding Street Photographer Should Know Before Stepping on the Street
Steam vents, suited businesspeople, the neon glow of the night, umbrellas on windy days, stray glances through bus windows, beachgoers in a boardwalk scene, or silhouetted figures dancing in the sunlight: as photographers, we want to capture things that give life and vivacity to the subjects of the streets. We capture their spirit and do it in a visually interesting way.
There are varying levels of experience that people possess when they start down this path. Some people have spent years at art school, some have directed movies or on-site commercial photography; Still more people have just taken thirty photographs of their cat at home with their phone, or simply like the idea of being a photo tourist in their own town. It doesn’t matter where you are on your own journey. The key is to put effort into knowing how and why you are doing it and then executing that plan.
So here I will go over what I have learned over the years on my own journey into street photography, and hopefully it will help you get a frame of reference so you can find success when walking the streets.
1. Master Your Settings
First and foremost, I would make doubly sure you are comfortable with your camera settings. Yes, I’m really going there with this first section even if it seems mundane for many. Mastering your camera settings is vital before hitting the streets. Make sure you know how to adjust settings on the fly to adapt to changing situations.
This may sound obvious, but street photography is about opportunities. Opportunities are often fleeting. If you want to capture that decisive moment, you’ll want to be ready in an instant before the moment is gone. Otherwise, that interesting subject is a blur, or the exposure is wrong, or the focus is off, and what would have been your artistic masterpiece is completely lost.
There are some hard lessons I have learned over the years I have pursued photography, and one of them is that no matter how good a scene might look, you have to be ready to capture it clearly and in the way you’d like to artistically render it in order for it to be a winner.
How would one prepare with their settings in mind? Well, on a very basic level, that shutter had better be fast enough to capture the motion you are looking for. The last thing you want is a blurry photo that obscures the subject – unless that is the look you are going for specifically. In good daylight, a high shutter speed can be great to overcome situations where you can’t quite get set in your shot before losing the moment. The higher the better, right?
Well, not necessarily. If you set the camera to a high shutter speed, you also risk losing depth of field (the part of the photo that is in focus) or creating distracting noise through high ISO levels. I find that setting your shutter speed between 250 and 500 at a base level can help avoid most camera shake or subject blur issues. This assumes you are shooting traditional full-frame focal lengths such as 35 and 50mm. Longer focal lengths or high-speed activities like sports of course require higher shutter speeds.
For aperture, I will simply say that the easiest way of reducing depth of field errors is to ‘f/8 and be there.’ Set your aperture to F8 unless conditions mean you can’t get the shutter speed you want, or artistically you’d like to have a shallower depth of field to isolate subjects.
What about focusing? Make sure you master the focus settings on your camera. Oh, you rely on face detection on your fancy new mirrorless camera? What happens when there are eight subjects in the photo and it doesn’t focus on the face you want (switch to spot focusing)? What happens when the camera fails to acquire focus because of lighting conditions and you lose your opportunity at a primo shot? Not every camera can focus well in the dark of the night, and not every camera has the most advanced focus settings to assist you in varying situations. In fact, many of the street masters you have ever heard of never even used such a thing as autofocus! So how did they do it?
One strategy is to pre-focus on a scene. You find your framing, compose the scene, and let the subject walk into the scene. Boom. No need to focus on the fly. Another strategy is zone focusing. What is zone focusing? This could be the subject of an entirely new article, but the TL;DR version is that you manually focus a certain distance in front of you (fixed) and get good at estimating that distance when a subject is in that space. Then click. It doesn’t always turn out when subjects are fast-moving or you don’t estimate correctly, but it can be a great strategy for hip shooting and getting those fleeting opportunities that you might see only for a moment before it’s gone.
My final focusing tip is simply this: If your autofocus isn’t acquiring focus, make sure your camera is capturing enough light. For a long time, I grew frustrated that my camera wouldn’t always acquire focus in low light. After all, I could easily detect the subject on the screen with my human brain. Why couldn’t this camera do it? As it turns out, the camera often needed more light, and when I turned up the ISO, all of a sudden acquiring focus was no big deal. Sometimes, I just had to live with the grain if it meant capturing the moment clearly.
2. Know Your Subject
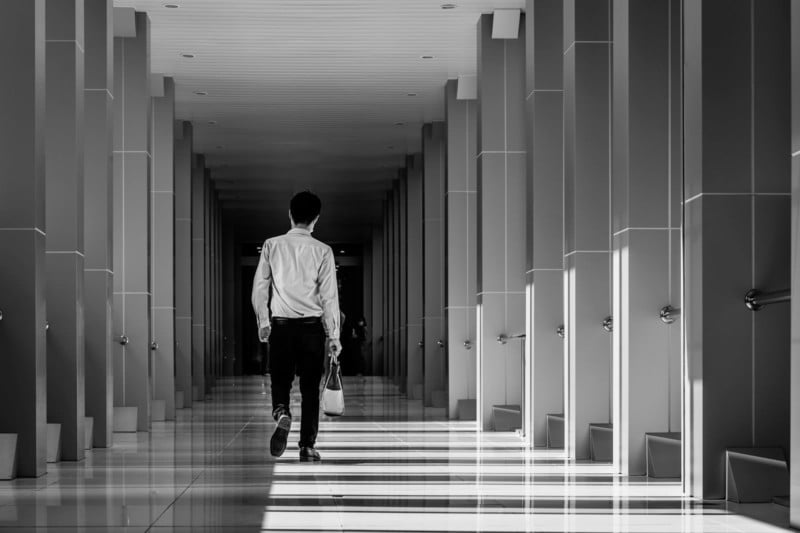
Not everything is about planning in street photography, but planning your subject of choice can help you find the type of shots you are looking for. You want to catch people in fancy clothes on their way to work? Find the business district where those people are likely to be. Do you like geometry in your street photos? Do an internet search for the most interesting new architectural buildings or structures in your area, and go for a walk in that area.
I would even go so far as to say you could walk without your camera and do some scouting for locations if this is your thing. I’ve certainly done this on occasion and it ultimately leads to better results. It also helps you visualize components in the scene you may not have initially considered. “At 5pm, there is this really interesting ray of light that shines through the windows onto this specific spot where people are walking.” You might not know this before scouting a location. Or perhaps you are already in a location but without your camera. Well, if you have a smartphone, use the camera in your pocket to capture the scene. Note the time of day, and return when lighting is optimal.
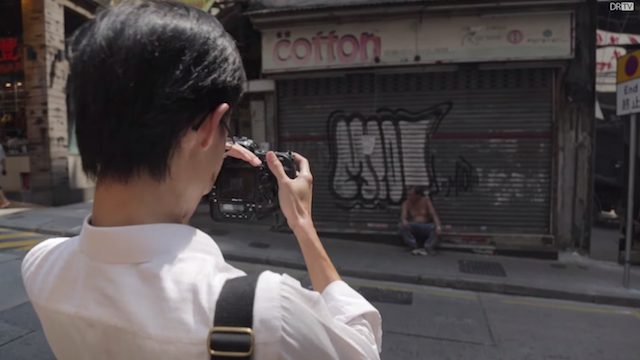
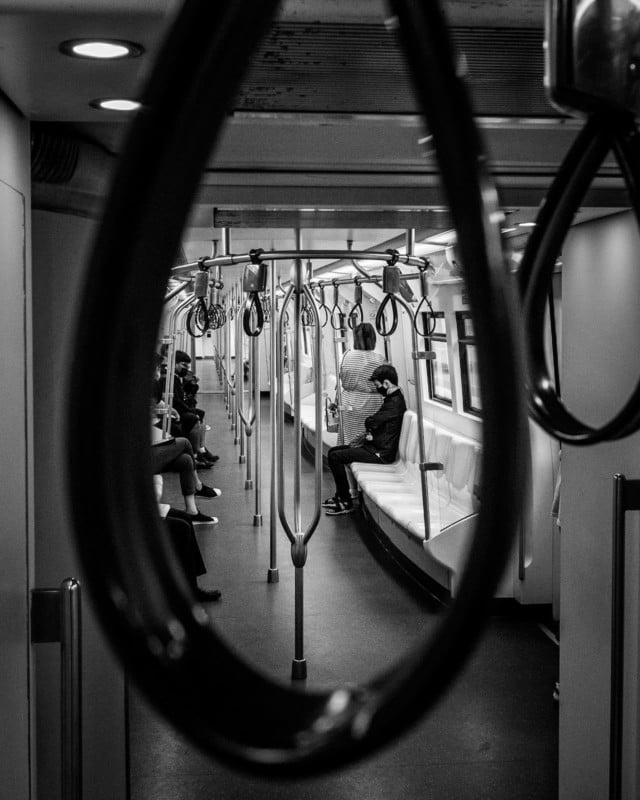
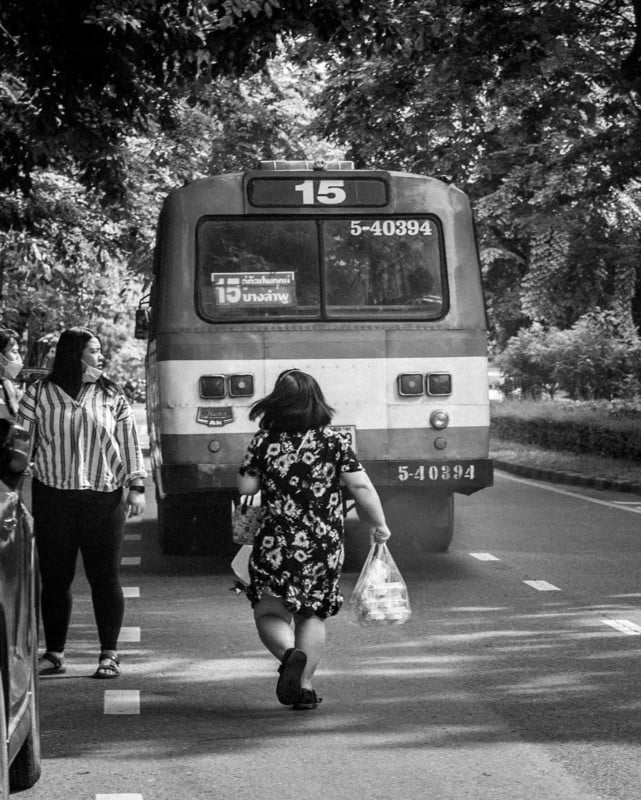
Not only do you have to know the scene, but also think about your ultimate subject so you can understand how you want them to be portrayed. What are you trying to say with this photo, if anything? Maybe you like people on public transit like the bus or subway train. Find a fluorescent-lit traveler drawing on the fogged glass of a passing bus, and perhaps you’ve got something that projects that feeling of sonder we often get while lost in thought. Perhaps what you want to convey is motion, so you can set up your camera with a long shutter speed to show many people passing by a stationary subject. What you’d like to convey is often just as or more important as the subject itself.
3. Find Your Composition
Composition is important in more ways than one. Composing shots requires the ability to quickly analyze a scene and find balance in the way the components are arranged. Too many street shots have very little sense of composition. While a subject may be interesting, the entire photo can seem a bit unfinished or boring as a result.
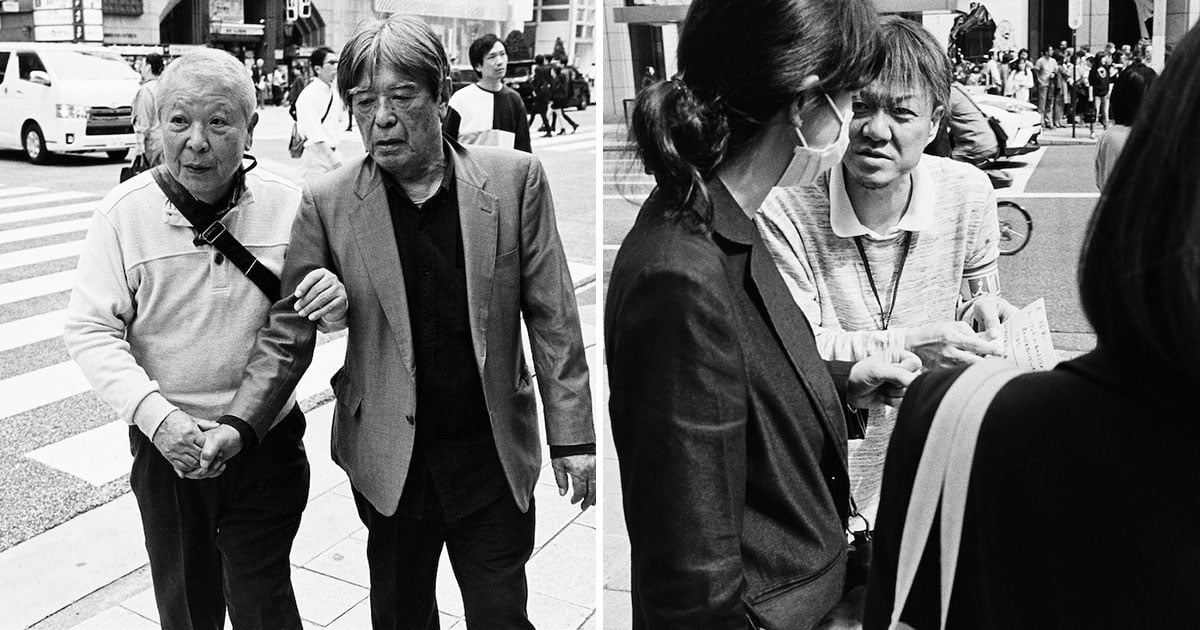
The way you frame or place your subject relative to the scene can have implications you might not expect. Perhaps a subject is looking off into the distance, but they are looking directly off frame and you can’t see what they are seeing. It creates much more meaning when you can understand the intention of your subject in addition to the interest of just the subject alone.
Even on the website you are visiting at this very moment, there are loads of resources on how to compose your subjects. Look up the rule of thirds and other compositional techniques, and incorporate them into your photo-taking process.
Composition can also be used as a tool for storytelling. A person stands looking at their cell phone but does so underneath the sidewalk billboard depicting someone seeming to peer down and look at what they are reading. A person is yawning, but a steam vent behind them makes it look like they are blowing steam from their mouth. In humorous photos or other genres, composition can make or break a photo.
4. Find Your Style
You can decide, ‘What type of street photographer do I want to be?” There are many styles, but I find there is an initial decision you have to make also: Are you out there to stealthily record candid moments or are you going to be interacting directly with your subjects? For the most part, classic street photography falls into the former category (unobtrusive). We are looking at ‘people in their natural habitat’ in a way, seeing how they operate in the real world. Interacting with subjects can break this fourth wall, so to speak.
That being said, there are instances or styles which require interaction for the photo to work (such as intrusive street photography). Bruce Gilden comes to mind. His style is not only interactive but confrontational. Or perhaps you can ask for a stranger to interact with you, the photographer, in a way that makes the scene feel natural. Sometimes this can be necessary in places where consent is required from both parties.
Personally, I like to blur the lines between these two. I find some of the most interesting shots happen when the subject is acting naturally, but either glances towards or ‘sees’ the photographer in action. That eye contact can make for a very interesting photo, and if consent is an issue, the photographer can always approach the subject after the fact. I realize many people are not this extroverted to do such a thing, but it can be a good strategy for some.
Street photography is absolutely not just a matter of taking snapshots of whatever you see. If you’ve ever studied some of the great street photographers in history, it is evident you can find some sort of defining style for each. They have something to say or something to express, and they do it using their own unique vision.
Here are a few other variations on themes to consider that you might see in the street photography world:
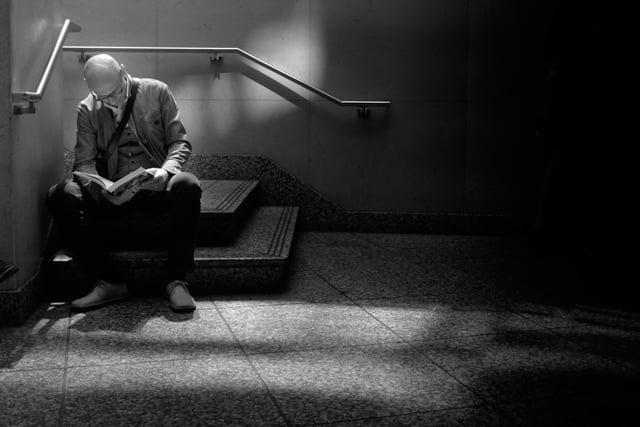
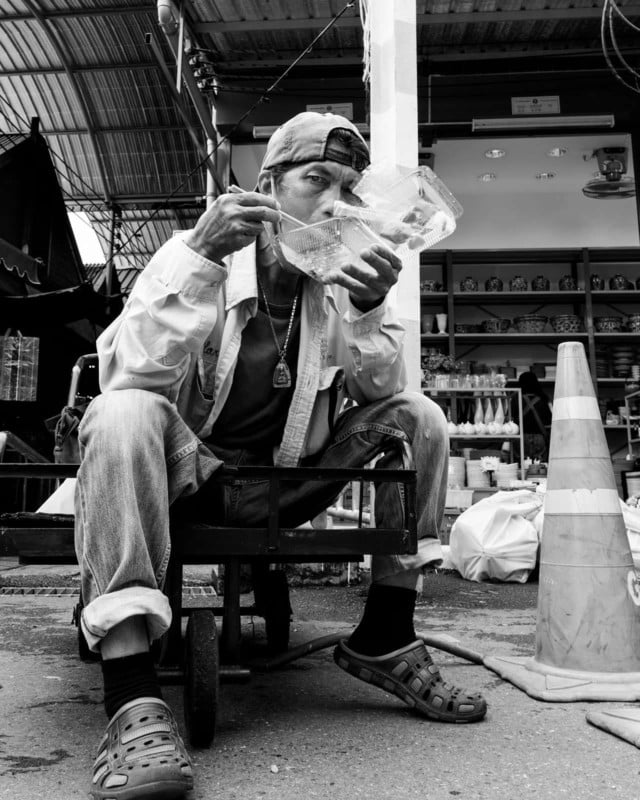
- Environmental portraits are a classic representation in street photography. Not just a portrait of a person, but one with an environment that tells a story: The elderly man with a newspaper in the coffee shop peering over his spectacles, or the couple in the park giving each other a knowing look.
- Humorous (‘smart’) street photos, as described earlier, take ordinary scenes and compose them in a way that brings humor to the canvas.
- Playing with color. You might find opportunities where color becomes the focal point of a shot. Themes of a certain color can bring coincidental objects in the photo together, or alternatively be a contrast between subjects.
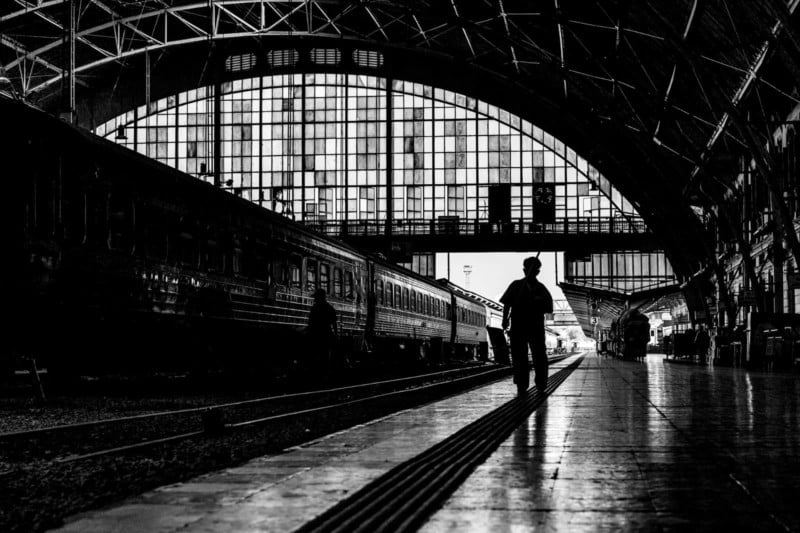
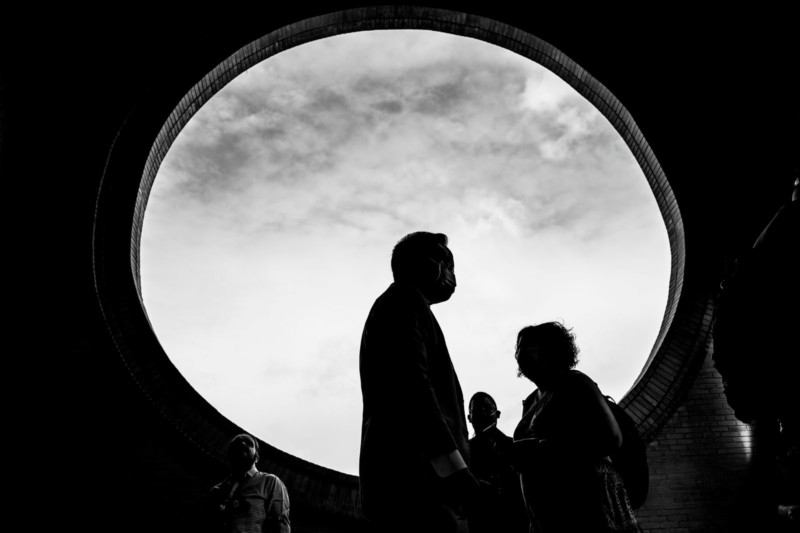
- Silhouettes portray the figure of a subject against a brighter background and can be an interesting departure from traditional subject portrayal.
- Abstract scenes can be an intriguing subject if done right. The subject might not be immediately apparent or may be an incomplete subject, but it nonetheless is displayed in a way that hints at context. For example: a hand hanging out of a window, a figure behind misted glass. This and the two above could be considered ‘fine art’ street photography.
- Geometric scenes can fulfill your need for compositional framing with a modern look and is also great for incorporating interesting architecture in the scene.
The ideas listed above are not exhaustive. You can use these as a starting point, or simply create using your own unique vision.
5. Find Your Moment
As the famed Henri Cartier-Bresson once noted, photography is about capturing the ‘decisive moment.’ Sometimes the scene can be right, the subject looks great, you’ve composed everything well, lighting is perfect, and… it’s just not a moving photograph. Why? Part of what takes a photograph to the next level is that feeling of action or intent. Is this just a model posing for the photo? Or does it evoke emotion?
At times, a sideways glance can be that decisive moment. Or perhaps it is a child jumping over a puddle, or a silhouetted person diving into the water, or even someone leaning their head on the shoulder of another. Something is happening in the photo that sparks interest.
This moment can be one of the most difficult things to capture, and that is why it is so valued in street photography. You might take 1000 shots to only get a handful with this element in it. Over time, your hit ratio will improve as you learn to anticipate a scene. Look down the sidewalk to anticipate what is coming in the next few moments. Scout a scene and be patient to wait for it to happen. Learn where the action happens, and be there with a click to freeze that action in time.
Above all, get out there and practice as much as you can. Everyone started from somewhere and grew into who they became. Implement your action plan, venture out, and create art.
About the author: Adam Klann is a freelance photographer based in Bangkok, Thailand. The opinions expressed in this article are solely those of the author. You can find more of Klann’s work on his website, Twitter, and Instagram.