Retouch4Me Review: AI Retouching That Actually Works
Some may enjoy editing, but most photographers will agree that actually taking the photos is the best part of the job. So finding a way to speed up and reduce the amount of time spent at the computer is more than welcome, which is where Retouch4Me comes into play.
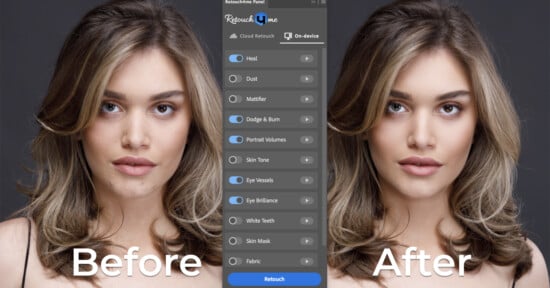
The Retouch4Me plugins are designed specifically to address the most common workflow issues portrait photographers face in their day-to-day work, with each plugin separately developed to address a specific retouching situation. The company has plugins that specifically target background cleanup, healing skin blemishes, cleaning up wrinkles and tears in fabrics, cleaning up and enhancing eyes, whitening teeth, making skin tones uniform, adding “volume” and contrast, as well as an overall dodge and burning of the visible skin in the image.
While each tool is a separate task, they actually speed up the retouching process by a noticeable amount, making it easy to breeze through dozens of images with only minor required manual corrections, effectively freeing up hours of post-production time.
For this review, I tested all of the available plugins, including the whitening teeth tool and the “heavy-handed” eye brilliance tool on an Intel based MacBook Pro and M1-equipped Mac mini.
What Do The Plugins Do?
As full-time photographers, we don’t make money while we’re sitting behind the computer doing the edits. So we take classes, buy tutorials, and then buy plugins and actions to speed up that post-processing work so we can get out and book the next client.
Naturally then, I was both excited to see if the Retouch4Me plugins worked and skeptical given how tools to this point have not come close to the performance expectations of a professional retoucher. Luckily enough, I was actually very pleasantly surprised with just how powerful these plugins actually are.
Unlike most software suites where everything is baked into one application as a big all-encompassing platform, Retouch4Me is offered as individual plugins that, while not cheap, allow potential users to pick and choose exactly what steps in their workflow they would like to have sped up and automated.
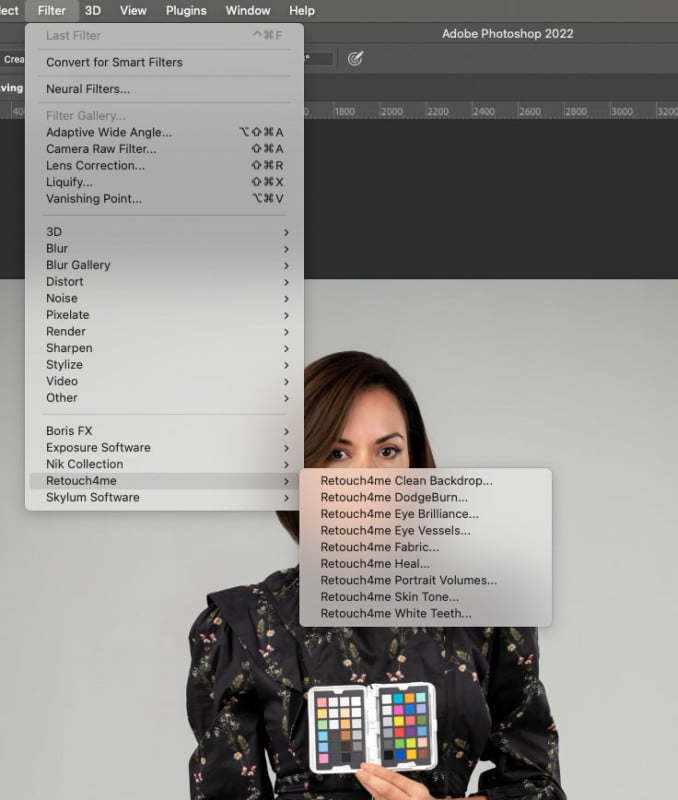
Retouch4Me currently have nine individual plugins for a variety of tasks that can be used as a stand-alone app or launched through Adobe Photoshop, Lightroom Classic, or Capture One Pro. In their current state, each plugin has to be run individually on a particular image (meaning there isn’t a bulk-edit option), however, you can make your own Action in Photoshop that can automate the process of running multiple plugins one after the other. This can lead to some hiccups and crashes (from my experience) depending on the images and what is in them, so while you can do this, I’d personally recommend just running things manually.
Overall, the plugins are designed to take the stress and pressure out of portrait retouching, while saving you time behind the computer. While the plugins can get expensive (they range from $124 to $149 per plugin), once you start adding them together, their value in the time saved will be beyond measure.
Using Retouch4Me To Edit Images
For the purpose of my review, I tested the plugins through Adobe Photoshop as a “filter/plugin” applying masks and opacity changes as they were needed. The first thing worth noting is that the Retouch4Me plugins work on whatever the current layer you have selected in Photoshop, so if you start using multiple plugins or prefer to keep things organized in your layers, you will have to pay close attention to click the tools as they do not label themselves or create new layers.
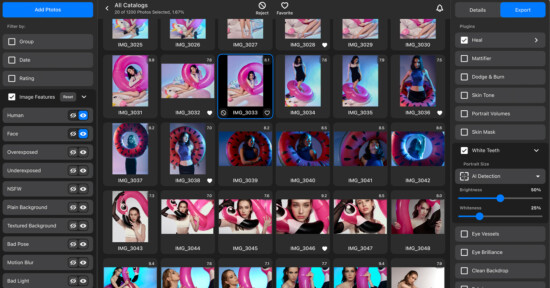
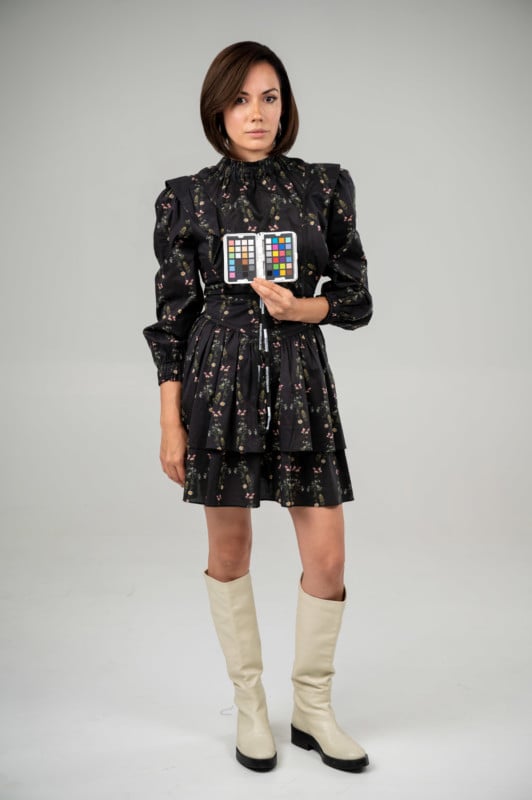
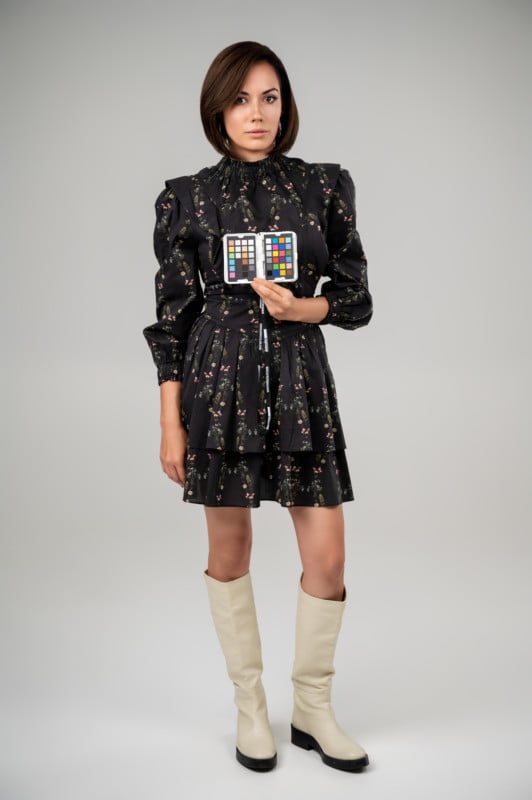
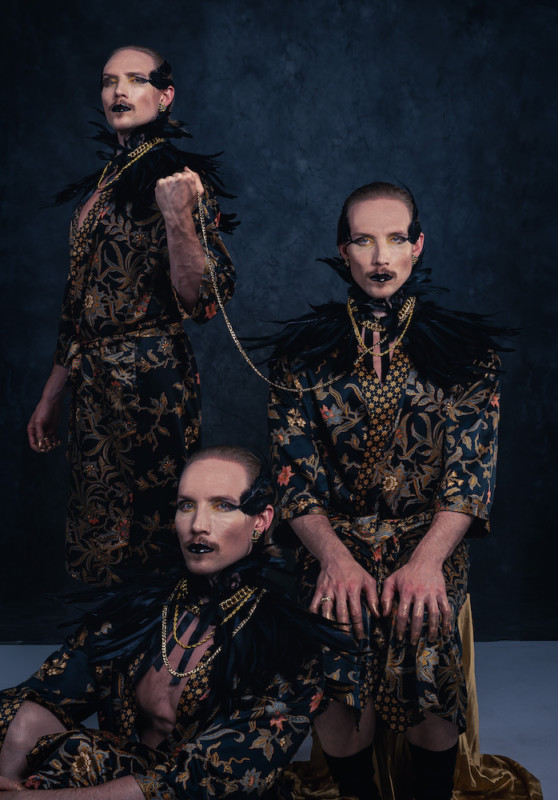
I recommend creating a new layer for each plugin you plan to run, that way you can mask and apply as lightly or heavily as you like after the fact. In the gif below, I took a RAW file from a recent fashion shoot and did a fully automated retouch (with some minor manual tweaks in between) on new layers for each tool labeling each along the way.
I choose the following workflow order: Backdrop Clean up, Skin Tone, Portrait Volume, Dodge and Burn, Fabric, Eye Vessels, Eye Brilliance, and then Healing.
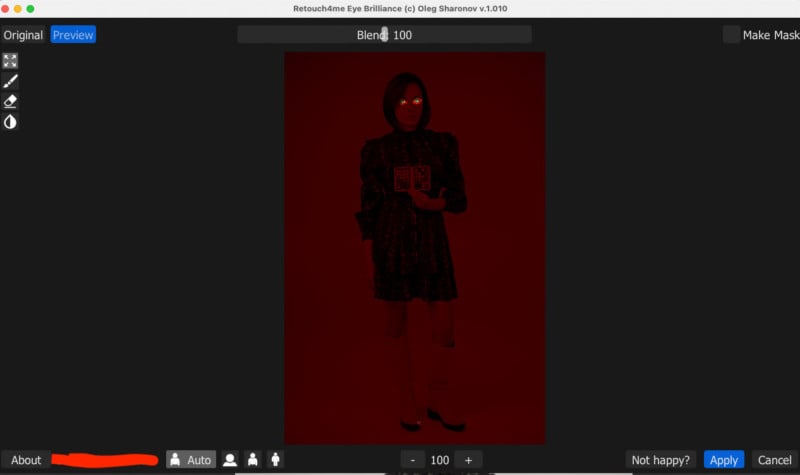
For this particular image, everything worked almost perfectly with no adjustments needed except for dialing back the Eye Brilliance (it was super heavy-handed and I ended up turning it down by about 70%). While Eye Brilliance does work, there is never a good reason to go that crazy on it unless you’re making a superhero or monster movie poster.
The plugins work impressively well and the entire process took less than five minutes from loading into Photoshop and saving as a final jpeg. In most situations, especially in fashion work, there will be some things that need cleaning up like stray hairs and fixing bulges or folds in the clothing, but that’s the easy part most of the time. The skin work and fabric and backdrop cleanup in this particular shot were executed pretty flawlessly.
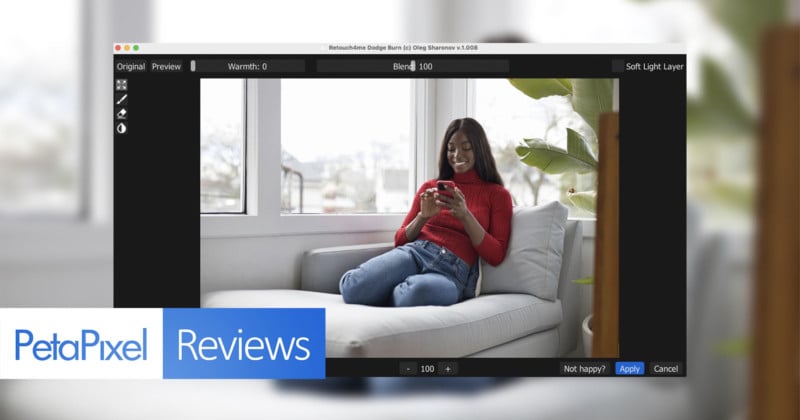
While each application is run individually, the layout and tools available within them are rather similar to one another. For instance, below is how the plugin windows look while running the Fabric Clean up tool on the above image:
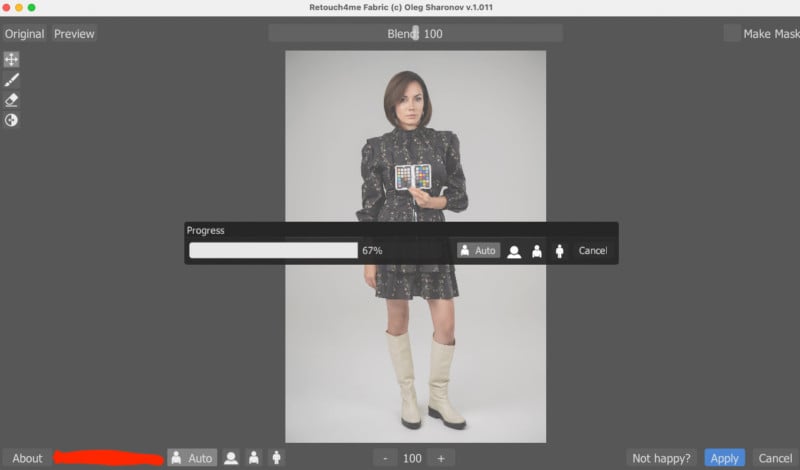
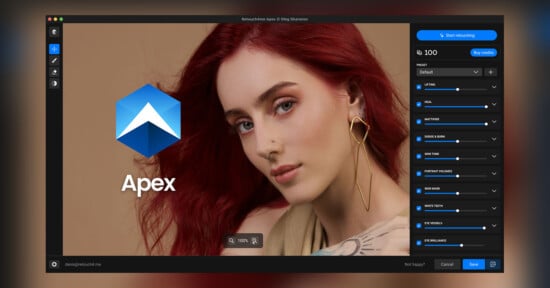
When you load the layer into the plugin, the program analyzes the image and then chooses what it feels the best course of action is to “fix” the image. You can choose between a full-length, three-quarter, close-up/headshot, or “Auto” modes to operate with. For the most part, the auto mode works brilliantly, at least in clean studio images, but for busier shots with lots happening in the background or foreground, you may want to play with these options to ensure you get the best results.
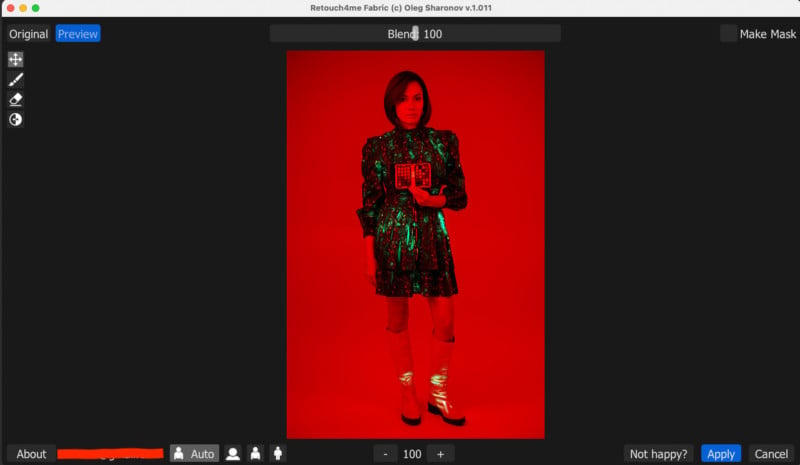
The plugins allow you to see the before and after of the edits and even provide you with some tools to paint in additional areas or even erase them where the app may have gone a bit heavy. While those tools do work, at least in my experience they didn’t work very well and were quite laggy. It was actually a lot easier to just let the application do what it needs to, then mask/paint things away in photoshop directly afterward.
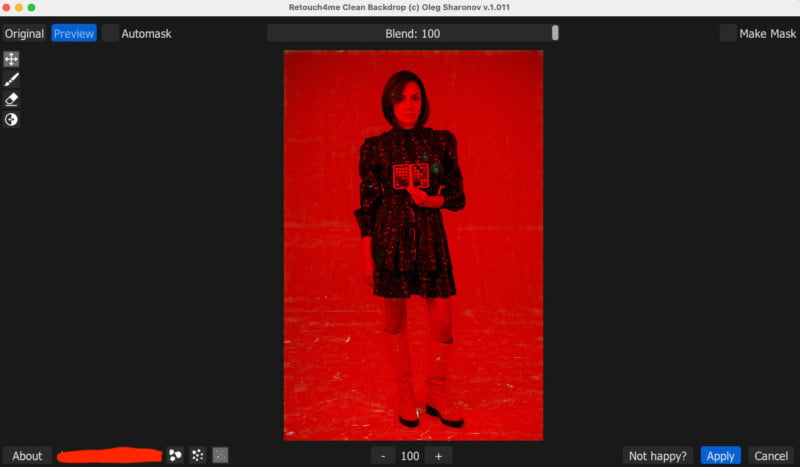
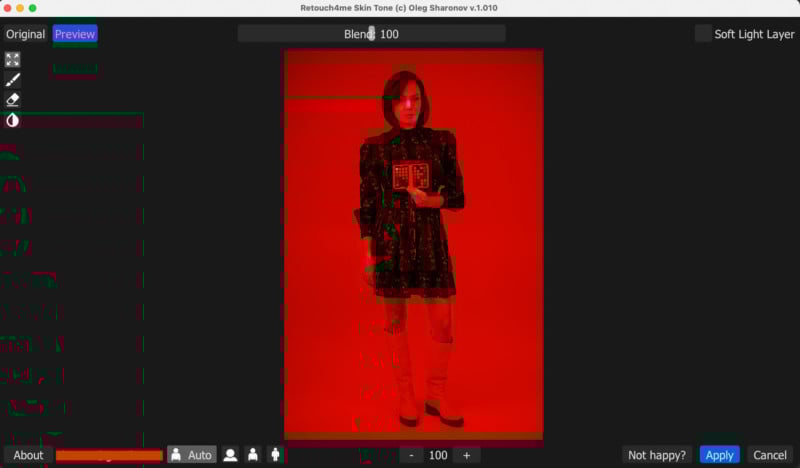
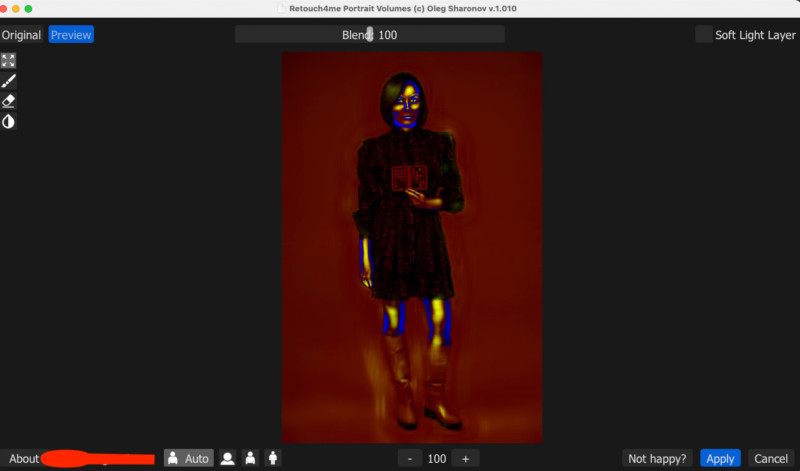
Here are the masks and edits applied from the rest of the toolset:
Not Perfect, But Still Really Useful
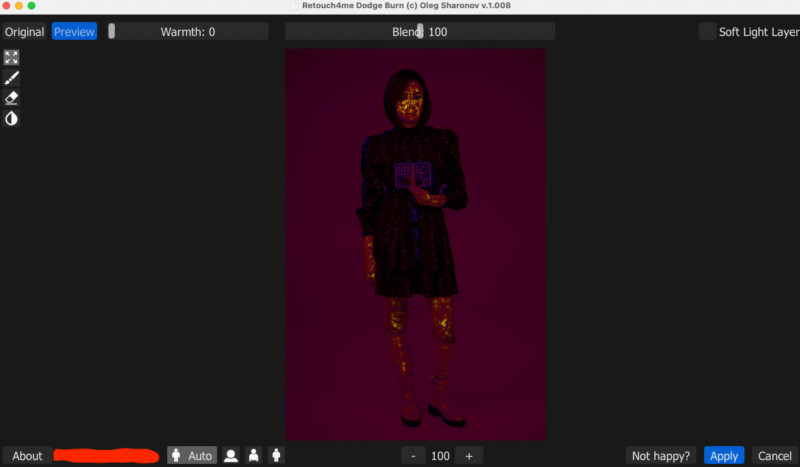
As you can see from the images above, sometimes the masking and AI tools can go a little heavy-handed, or even miss things like some threads on the floor. For example, the Eye Brilliance tool and the Dodge and Burn screenshots show some unnecessary masking and applications.
And like most plugins, Retouch4Me can go pretty heavy-handed on the tools, meaning in practical applications you may want to scale back the opacity on some of the effects. For the image above, I left everything (except the eye brilliance) at 100% just so it could be easy to see how it all works, but in actual use cases, most every tool was scaled back anywhere from 90% down to 30% opacity depending on the project.


One plugin, in particular, gave me quite a few headaches, and that was the “healing” tool. While it works really well, it often goes very overkill with its healing by removing jewelry, piercings, and even tattoos or tufts of hair, as the application interprets it as a “blemish.” Other than it going a bit hard on my subjects, it still did a great job fixing the skin, and 90% of the time I’d let it go at 100% and then just mask the areas away where it shouldn’t have “fixed.”
Additionally, it is worth noting that there were some crashes in the application that would cause not just the plugin, but Photoshop as a whole to crash. This would cause me to lose anything that wasn’t saved before running the particular plugin , so you are going to want to save often.
When communicating with the support team, they said the crashes were caused by me having too many things running on my computer, (Capture One, Lightroom, Photoshop, Chrome, etc.) which could cause my computer to run out of memory during a process, causing the crash.


To me, that sounds like the plugins can gobble up a lot of memory and/or there is a memory leak issue. I did some heavy testing of this and did find that after running the plugins on dozens of images, everything did slow down and the plugins did indeed chew through memory. A simple reboot seemed to fix those issues when they would happen.
For the most part, the heal, dodge and burn, portrait volume, skin tone, eye brilliance, vessels, and teeth whitening tools all worked perfectly and as intended 100% of the time. The plugins that I found were more likely to cause a crash were the backdrop cleanup and fabric tools. With images that were incredibly busy and colorful or had extremely shallow depth of field shot outside of the studio, running the fabric and background tools could cause a total crash. The support team is working on this, but at the time of publication, I still haven’t gotten an answer.


What I believe is happening is the application is scanning the image and looking for imperfections in the background or clothing, but gets overwhelmed with everything it finds and just crashes. The behavior I would have expected is the app simply doesn’t do anything in that case or maybe throws an error back saying it couldn’t work, but instead it just crashes. It doesn’t happen all of the time, but it is consistent enough to warrant a warning for potential users to be sure to save their files frequently and especially before running those particular plugins, just in case.

Clunky at Times, But Remarkably Powerul and Impressive
Despite the occasional application crash or heavy-handed application of a tool, the Retouch4Me plugins can transform your images incredibly fast with minimal effort. If nothing else, they can help you get into a great starting point to do some manual tweaks and retouching by hand, which still saves you hours of work behind the computer.
The fact that the set of plugins is broken into separate components can feel clunky, but I understand the decision since it allows users to pick and choose the elements that give them the most headaches and target that area to eliminate.
The best part about these tools is that unlike other AI-based applications, the Retouch4Me plugins do not require an active internet connection to work. All of the edits happen locally and your client’s photos remain secure on your computer.
The bottom line here is yes, these plugins are actually good! Even with some of the quirkiness, the results speak for themselves and I definitely plan on incorporating these plugins into my commercial client work moving forward.
Are There Alternatives?
It should be noted that none of these are actual full-on replacement alternatives for what Retouch4Me has here, but AI has become heavily integrated into editing software in recent years, so there are a lot of applications out ther for photographers to choose from based on their personal preferences.
One of the most popular and commonly known is the $89 Luminar AI / Luminar NEO tools from Skylum that offers a broad suite of AI and manual editing tools under one roof. ImagenAI is another all-in-one solution that even offers batch processing from $0.06 per image, but this application is really meant for high-volume photographers who deal with thousands and thousands of images, and works specifically with Lightroom catelogues.
Additionally Topaz Labs has a series of AI based tools ranging from $59 to $99 per application, or available for $199 as a bundle. Finally, even Adobe Photoshop is getting into the AI game with its Neural Filter beta program which includes things like Sky Replacements, Skin Smoothing, and JPEG artifact removal. While these aren’t exactly time savers like some of the others, they can provide some good starting points and creative features for retouchers looking for a head start on their work.
Should You Buy It?
Yes. Honestly, every one of the tools that Retouch4Me has built (except for the Eye Brilliance) is worth the investment. If you spend a large amount of time behind a computer retouching your portrait work, any one of these individual tools can potentially save you hundreds of hours of retouching time every year.