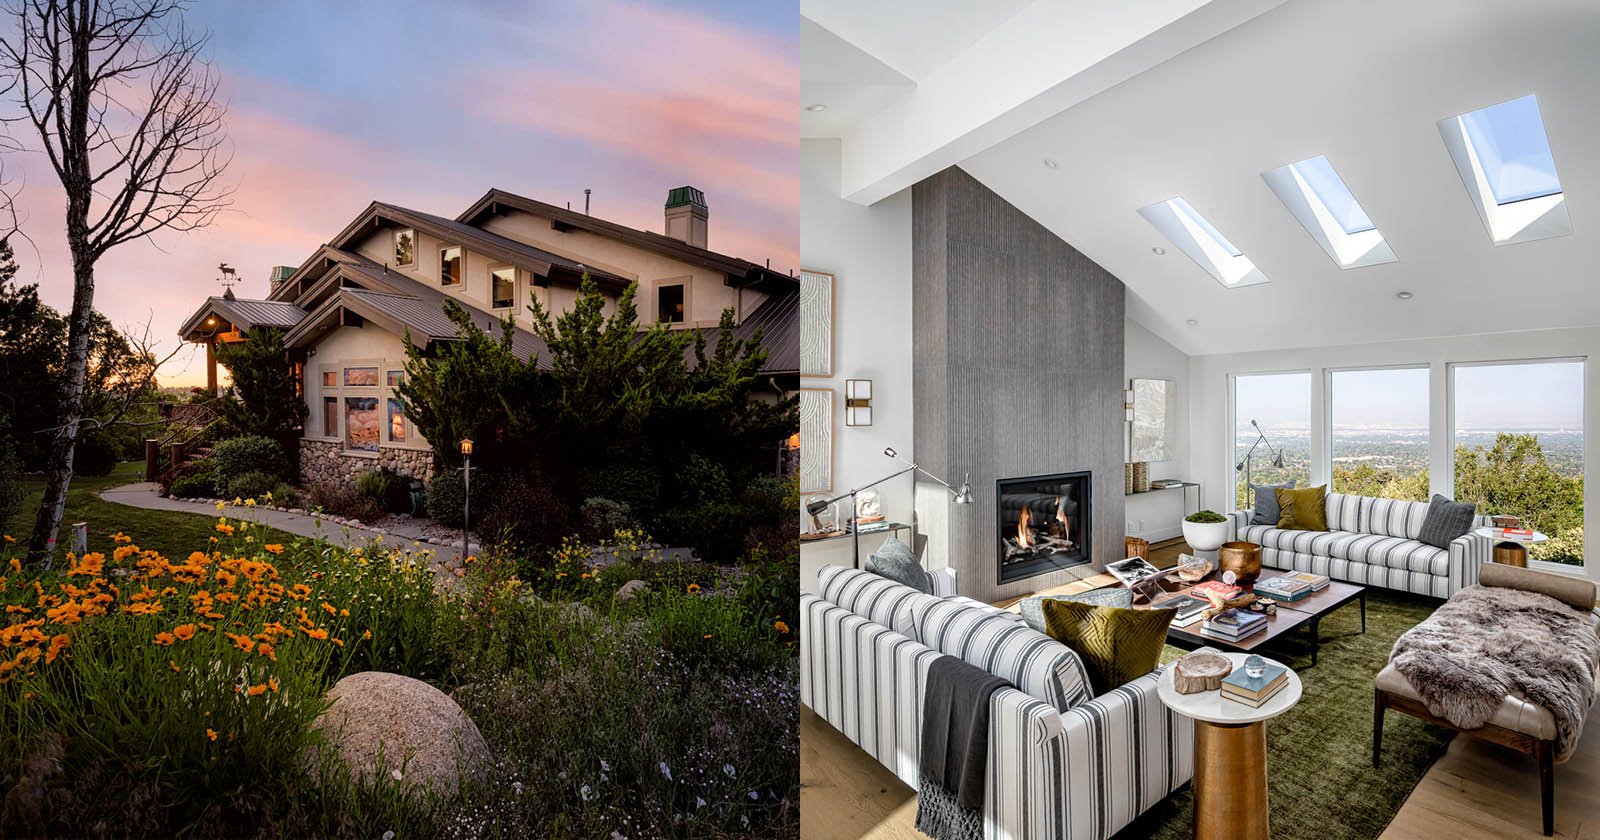
How to Shoot Real Estate Photos with HDR and Flash, From Start to Finish
“Flambient” real estate photography involves combining flash and ambient light for beautiful, high-end results. In this article, I will show how you can capture great real estate images using high dynamic range (HDR) and flash techniques.
Table of Contents
Ethical Considerations in Real Estate Photography
Shooting images for real estate is a whole different process than most other types of photography, with a whole different mindset and substantially different goals. For instance, when taking pictures of homes you will want to shoot as quickly and as efficiently as you can; time is money in real estate photography. There are many things you can do to speed up the process without sacrificing quality, and we will discuss those. But first, there are a few ethical considerations you should think about when shooting real estate.
Our main goal is to accurately represent the property being sold for the property owner or their agent. Much like a photojournalist, we cannot change or misrepresent our subject. We cannot patch a hole in the wall, or remove high-tension wires over the backyard. Conversely, we are compelled to take steps to make the property look as good as possible. We do our best to remove color temperature imbalances and temper blown-out windows as a couple of examples of things we regularly do change in our images. Edits that do not change the actual property but rather make it visually more appealing are generally fair game; those that change the property structurally should be avoided.
There are some ethical gray areas. Most photographers will do sky swaps if they do not have great weather for the shoot. But greening a dead lawn is probably crossing the line (in my book at least). And removing anything permanently affixed from the house or the yard crosses the line. You have to find that line for yourself, and not just do some photoshopping because an agent asks.
On to the shoot!
Shoot Exteriors and Do a Walkthrough
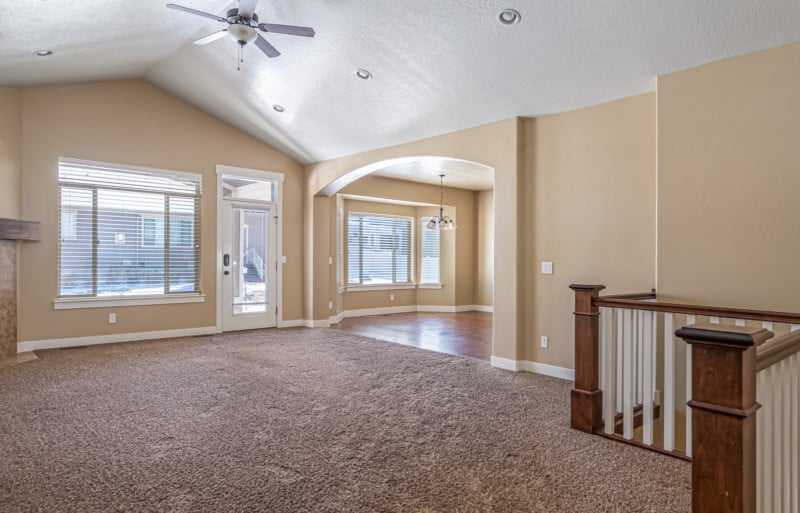
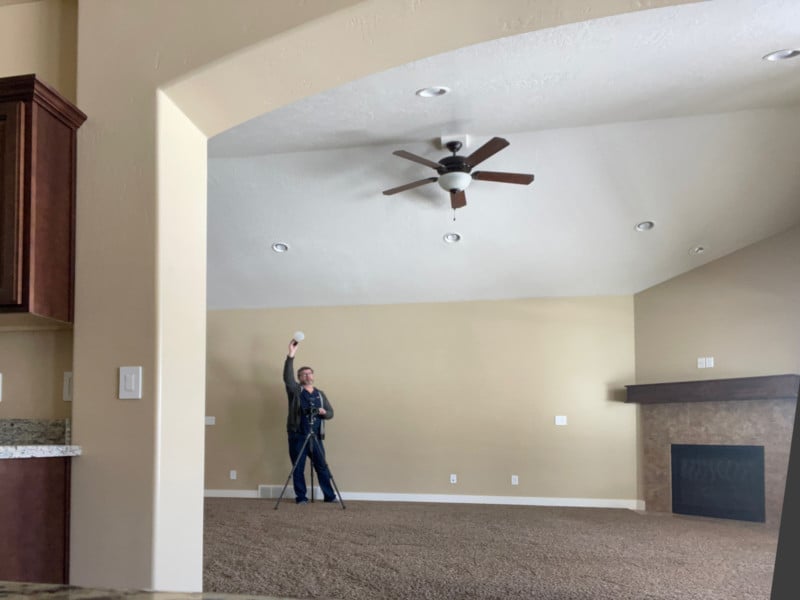
Once I am on-site, I like to walk through a home first. This gives me an idea of how it flows and gets me thinking about how I should present each room. I also look at the home’s lighting, noting where I need to supplement the light, and where and how the existing light works in each room. Judging the light is just something that you will develop an eye for; dealing with that light effectively will come with experience. Generally, when starting out, I would advise you to stay away from angles that shoot into harsher lighting environments and to pay particular attention to rooms with mixed lighting sources.
Once I have seen the home, I will usually go back outside and shoot the exteriors. This bit of time gives me a chance to “warm up” and make sure everything is working properly away from the homeowner. And it gives the homeowner a few minutes to fix up any last details they need to address before we get going on the interior. Keep in mind the homeowner will probably be very stressed; do your best to lead them through the process while trying to minimize that stress level.
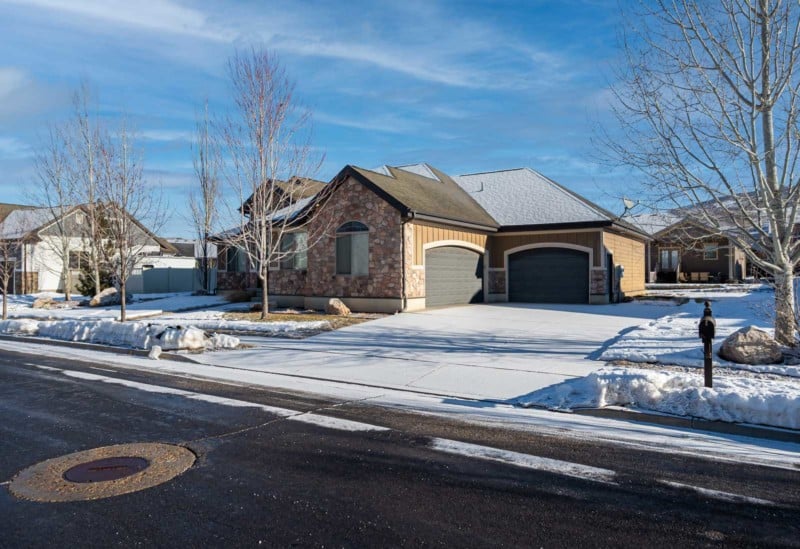
For exteriors, we will want a few angles at varying focal lengths, in both the front and the back. Unless there is something special about the property — a hot tub, for instance — 6-8 total images should suffice for exteriors.

If you have a drone, use it. All your shots do not have to be from 200 feet. Even shots from 10-20 feet provide new and unique views of the property.
When I am ready to move to the interiors, I bring in all my gear. I will want my camera, my tripod, light stands, and flashes. I bring in everything I anticipate needing; going back out to the car would just slow me down. I pretty much know what I need, and I keep all my gear in a solid flight case.
Gear and Settings in Real Estate Photography
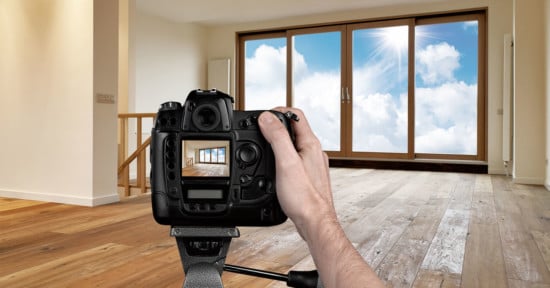
For a camera, any modern DLSR will work. Mirrored or mirrorless does not matter. Neither does full-frame or ASP-C. My final images will be 2000px wide, so we do not need high-megapixel cameras. I actually downgrade my camera’s output to medium megapixel RAW images just to keep file size down and the computer running snappy.
As I said, we will be shooting RAW. If you are unfamiliar with this, you should know that RAW is not an image file, but a data file. As the name suggests, this is the raw data taken from the camera sensor and stored in this file. Thus, we can manipulate the RAW file after the shoot in a program like Lightroom and get the same results we would have gotten by making the changes on the camera at the shoot, all with no loss of fidelity or quality of the image.
We will shoot with the camera set to AWB or Auto White Balance. Modern cameras do a fine job of judging white balance, so let them. If the camera messes up, we can easily fix it in Lightroom. We want a moderate ISO — interiors are usually dark, so we need something above the base ISO, but not so high we get image noise. Anywhere from250 to 600 or so in a modern camera is a good range (and you can increase it for a quick shot in a really dark room or basement if you need to).
We want to keep a consistent f/stop. I suggest a mid-stop so you get a decent depth of field (how much is in focus front-to-back) while still considering we will be making images in darker spaces. I find that these mid-stops also are usually around where the lens is at its most sharp, so bonus there. Look to set the lens between f/7.1 and f/11.
Your lens should be wide-angle or very wide-angle, at around a 14-24 for full-frame and a 10-24 for ASP-C. I use a 16-30 f/4, which is substantially better priced than the very wide f/2.8’s and does the job very well. It is the only lens you need to get started.
We will vary our shutter speed for each shot, depending on the light in each room. Expect to shoot in ranges from a couple of seconds to 1/20 of a second or so. This is one reason why a good, steady tripod is so important.
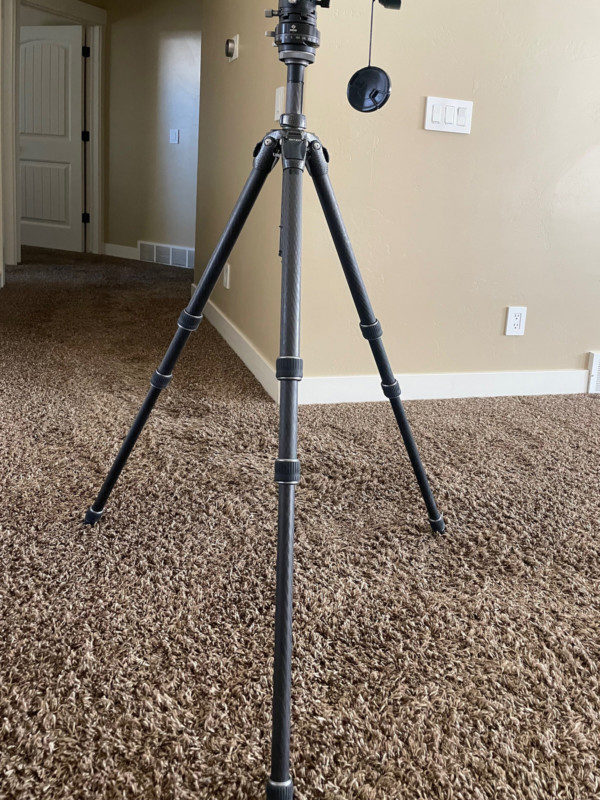
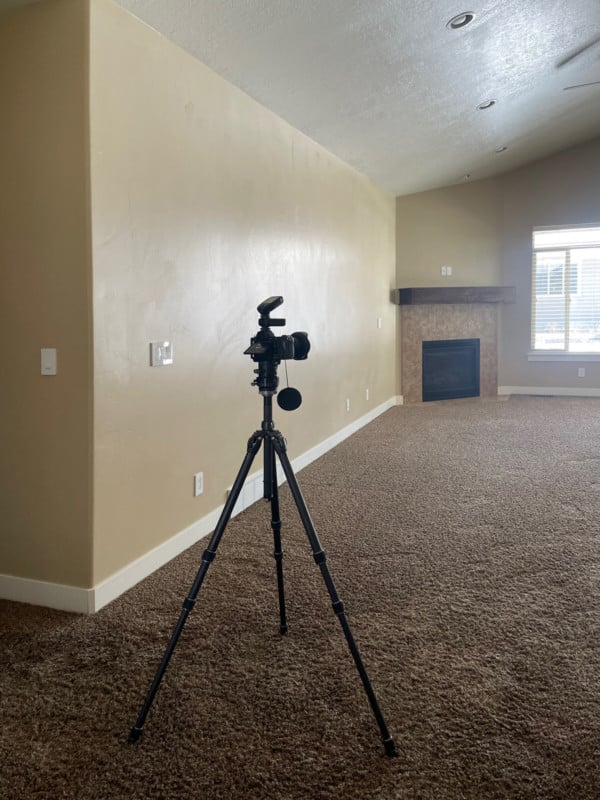
I like to set my tripod up so the base plate is just above my belt line. I will vary this for high-ceilinged rooms and kitchens. Generally, it is a good idea to keep the lens at about ½ the height of the full room. Extend your largest leg sections first for more stability. If you have a center column, do NOT extend it.
Setting Up for an Interior Real Estate Photo
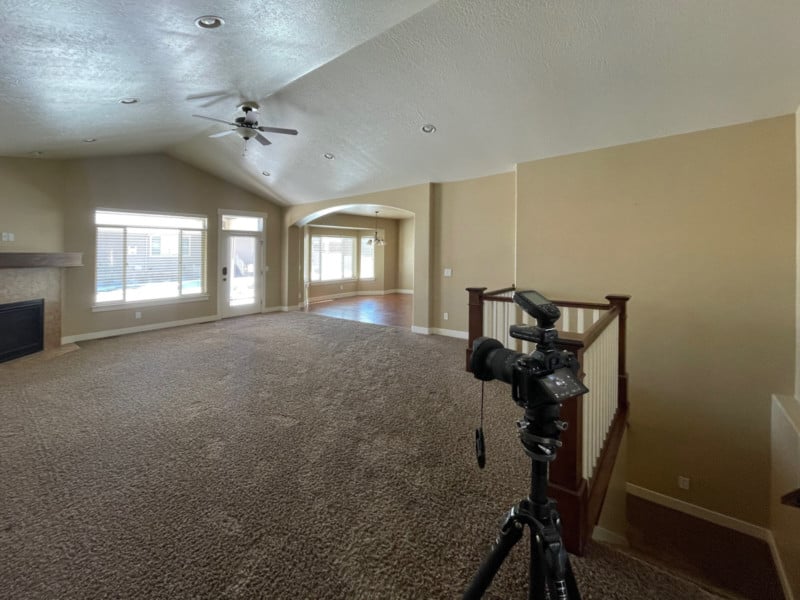
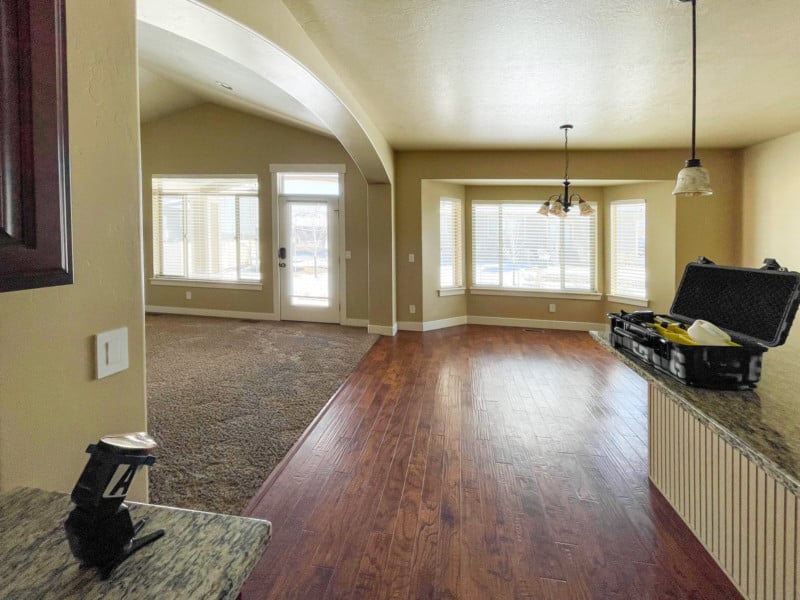
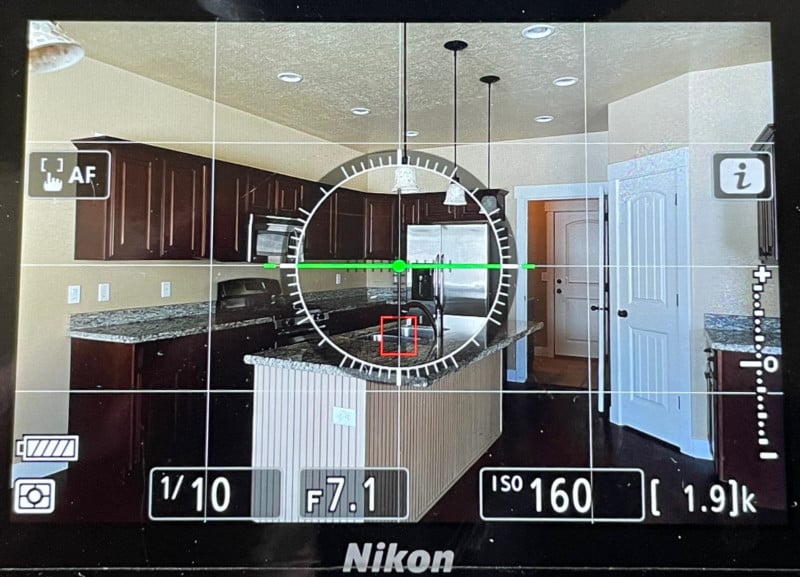
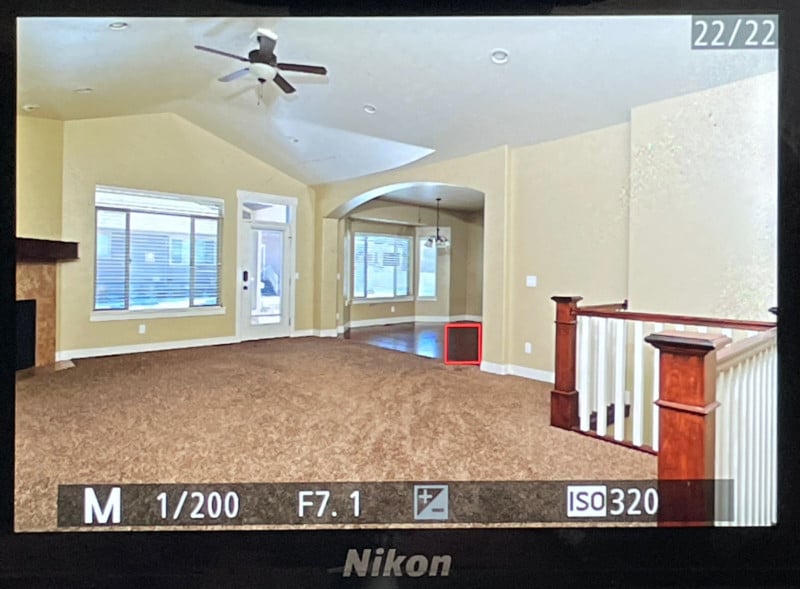
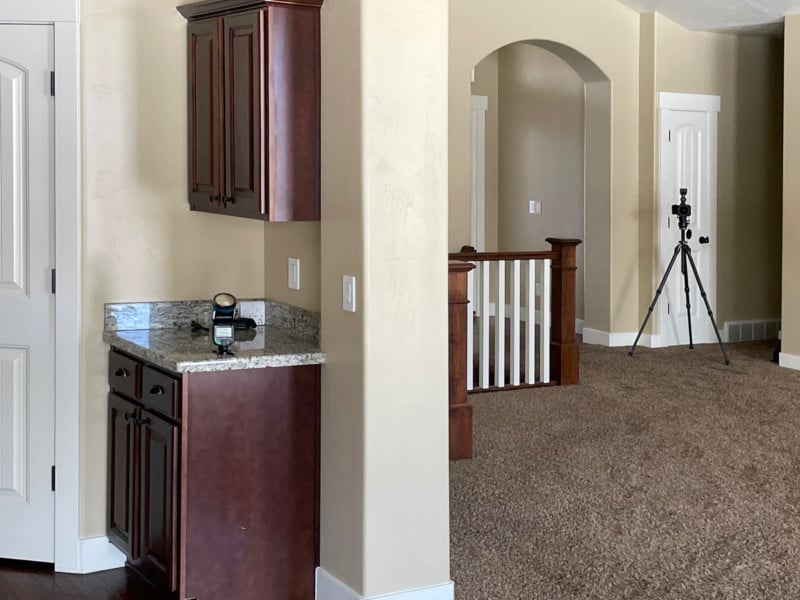
Now place your tripod where you want it and let’s set it up for our first image. The generally accepted place to shoot real estate is from the corners of the room. This gets old fast. I recommend instead you LOOK at the room and see what is interesting in it. Set up your camera to show the room but also include the most interesting features. This may put you in a corner, but try to vary this position as much as possible.
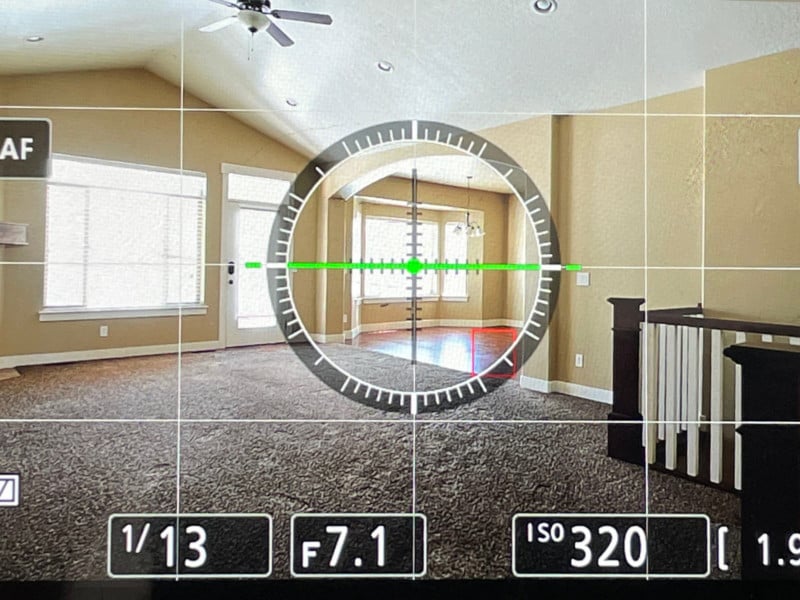
Now rough in your shot. Get the framing to where you like it. Most cameras have a level adjust — turn this on for the final adjustments. You want to make sure you get the camera straight, flat, and level. This is a must, and there are no expectations.
As you can also see, I keep the Rule of Thirds lines on. This is to help me in composition. It is not required, but it will help you place items of interest on the visual power points, so I recommend it.
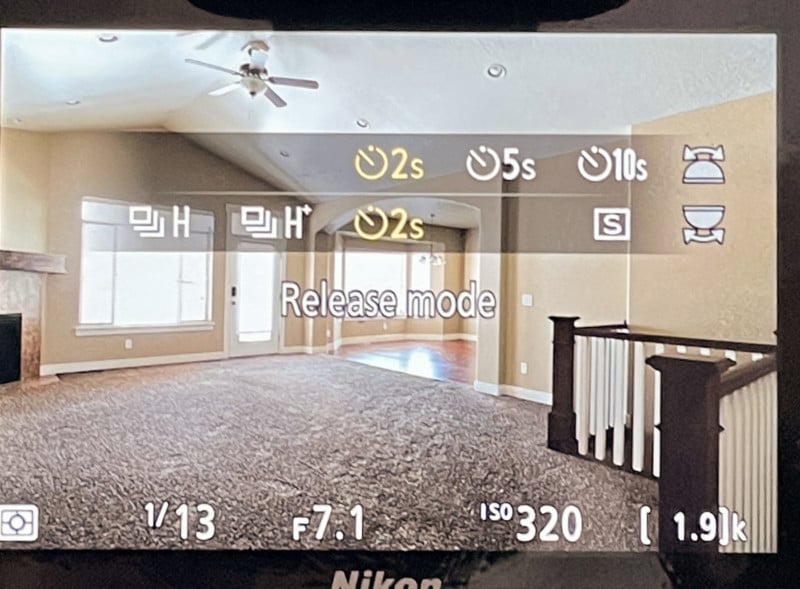
Bracket Your Exposure for HDR
Now I will show you how to bracket your exposure in anticipation of your using the HDR method of image development. As you can see, I use Nikon. If you use Canon, Olympus, Fuji, or Sony, the procedure is similar; refer to your manual as needed. The process we want to activate is exposure bracketing or something similar. What this will do is automate the process of shooting a series of exposures of the same shot.
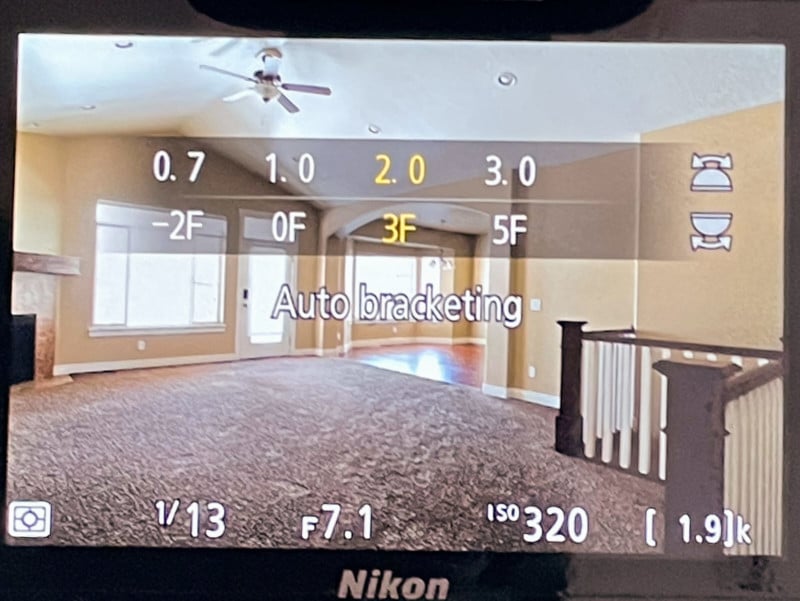
I have mapped a shortcut to this operation to one of the function buttons on my camera. With a single press of that button, I can call up bracketing and set it all up rather than wading through a deep menu. If you go into this profession full-time, you will want to also do this to save time setting up bracketing.
What I shoot is 3 frames, two stops apart. That is what is set up here. I know some people shoot five or even seven frames, a single stop apart (and I do too when I need to make sure I have something in tricky light). You need to play, experiment, and see what method works best for you. And discover the advantages of other bracketing methods — if you need more options in higher-contrast situations, for instance. There is no right and wrong, there is only what works best in this situation.
One more bit of advice I can share with you is to set the delay shutter timer. Set this up for a quick delay, and the shutter will pop 2 seconds after you press the trigger. This is good for getting all the shake from pressing the trigger out of your camera — that wiggle WILL spoil shots.
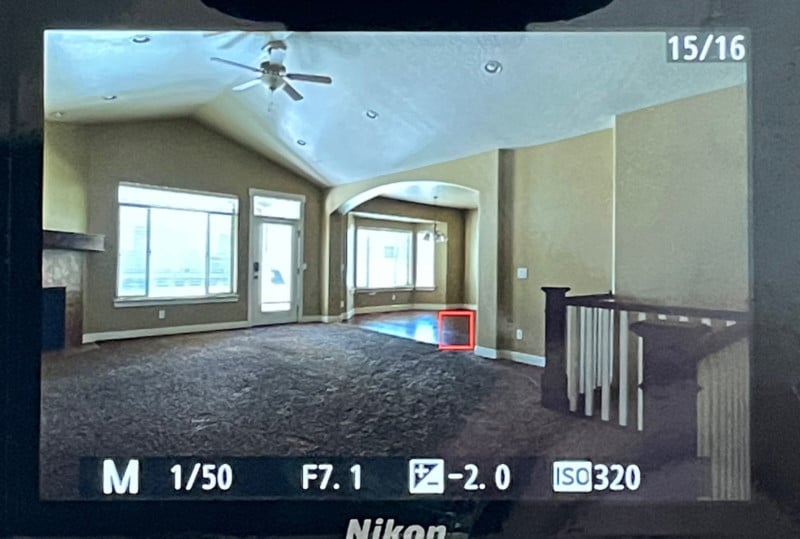
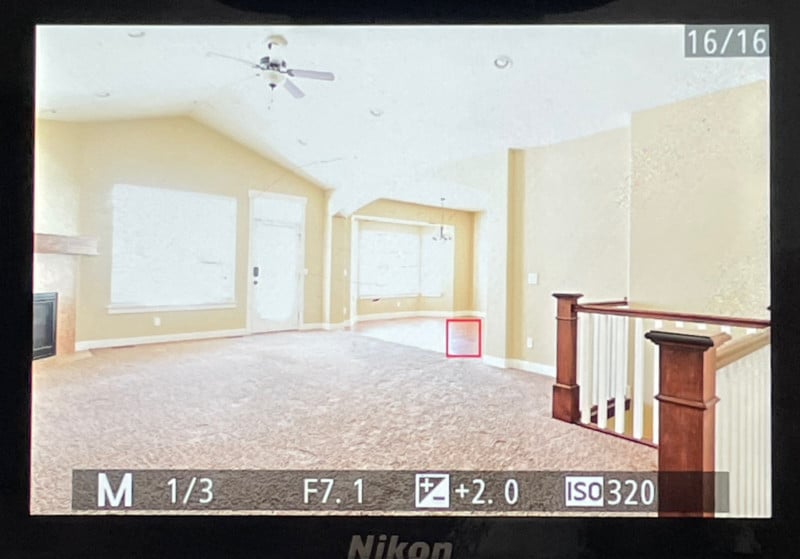
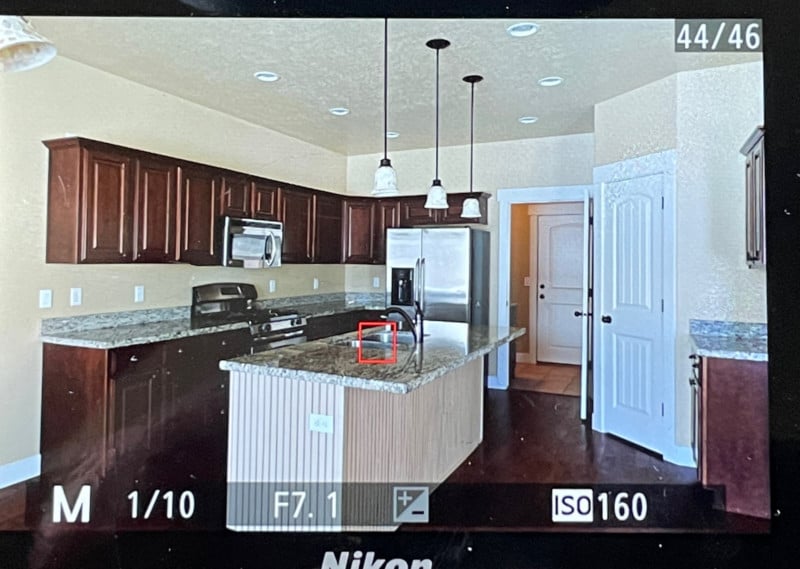
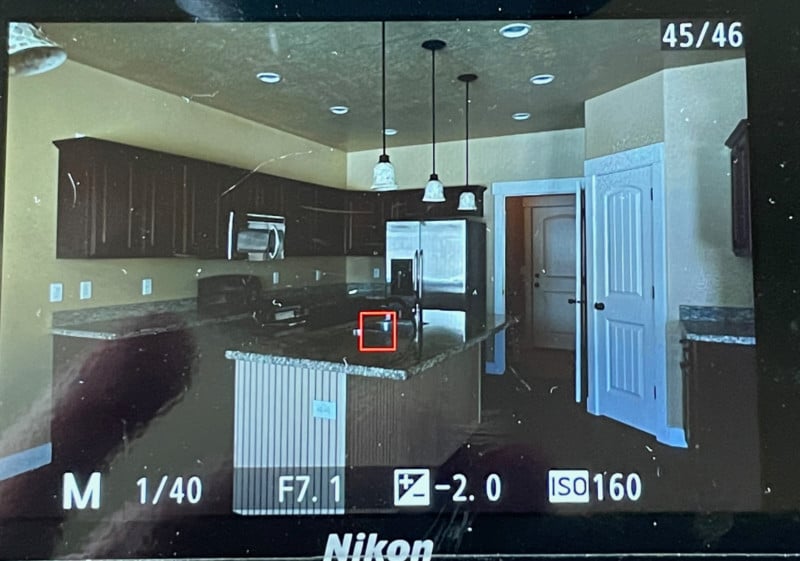
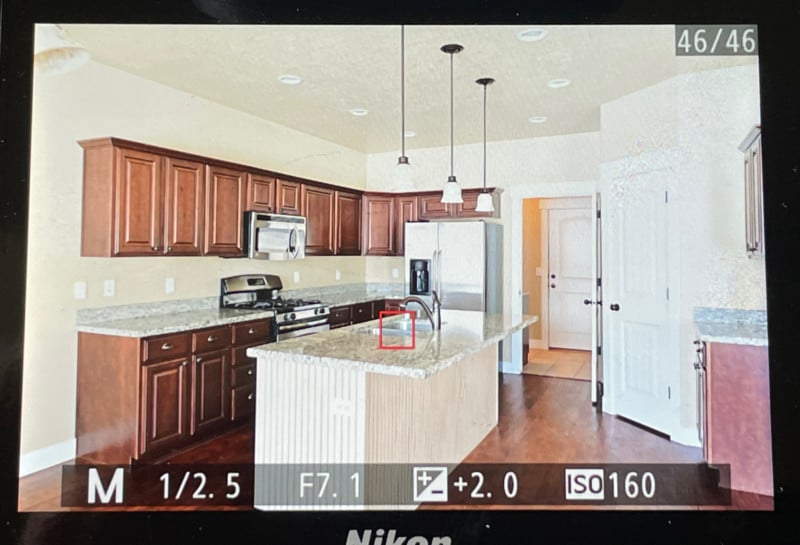
Once you have thin all set up and you have your exposure set, push the button. You will be rewarded with three frames, like these (the main exposure, two stops under, and two stops over):

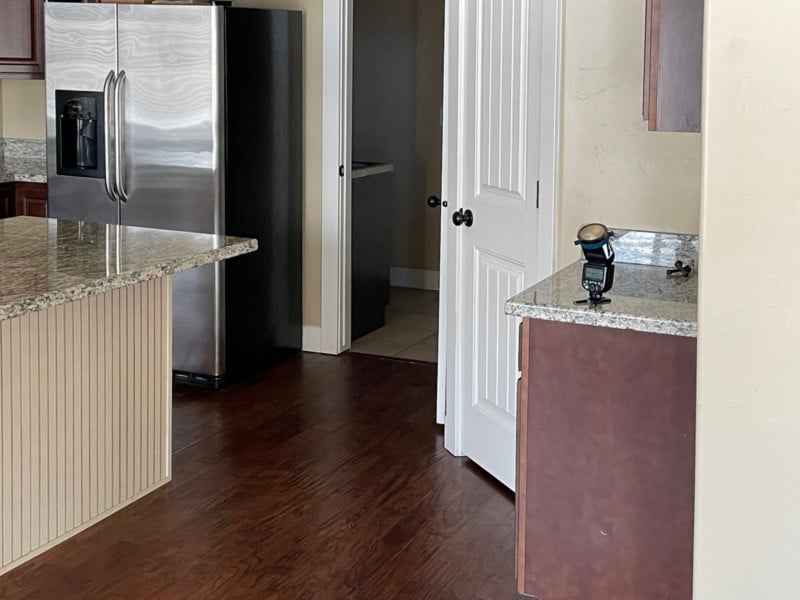
Here is a second set up in the kitchen:
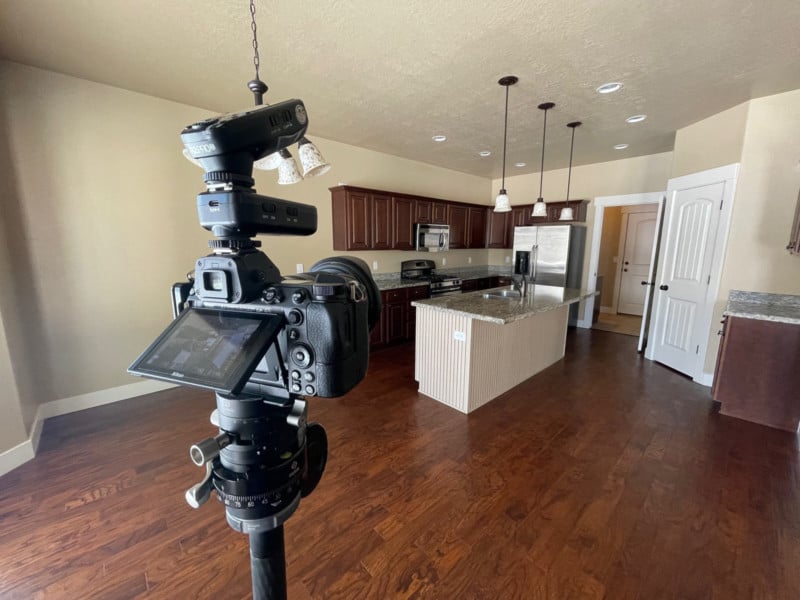
Bracketing is on, so we take three shots (again, we have the main exposure, two stops under and two stops over:
Repeat through the whole house. Then it’s time to develop your final images.
Developing the HDR Photos
Import the images into your Lightroom, and start looking for your “groups of three.” Make any adjustments you need to the main image, and copy the adjustments to the over and under images. Highlight all three and right-click. Choose “Photo Merge” and then “HDR.”
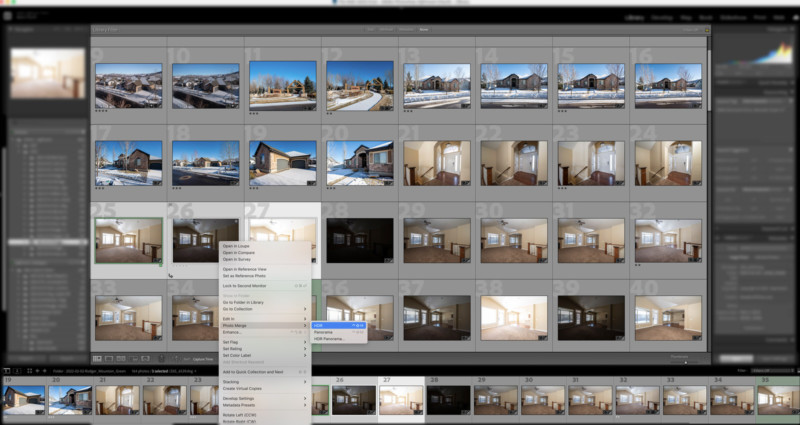
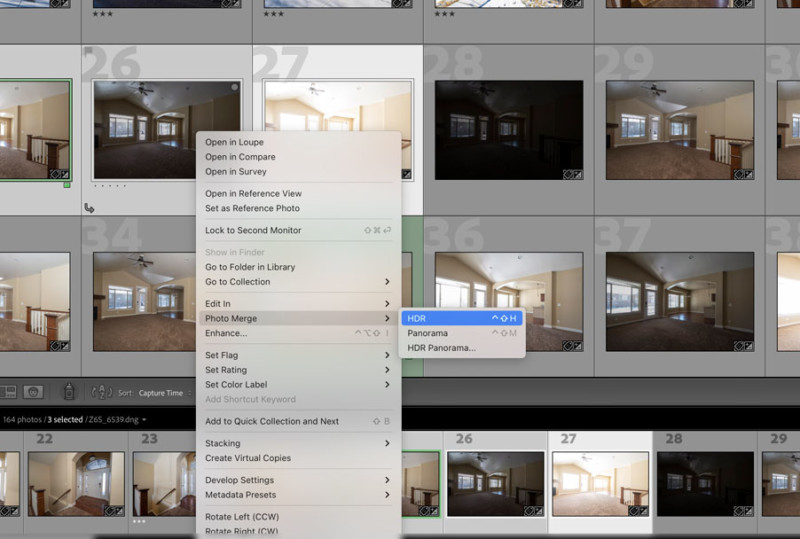
Once the HDR process starts running, a dialog appears. You will want to tick Auto Align and Auto Settings. For real estate, you do not need to de-ghost because nothing moves. Click merge and let the magic happen!
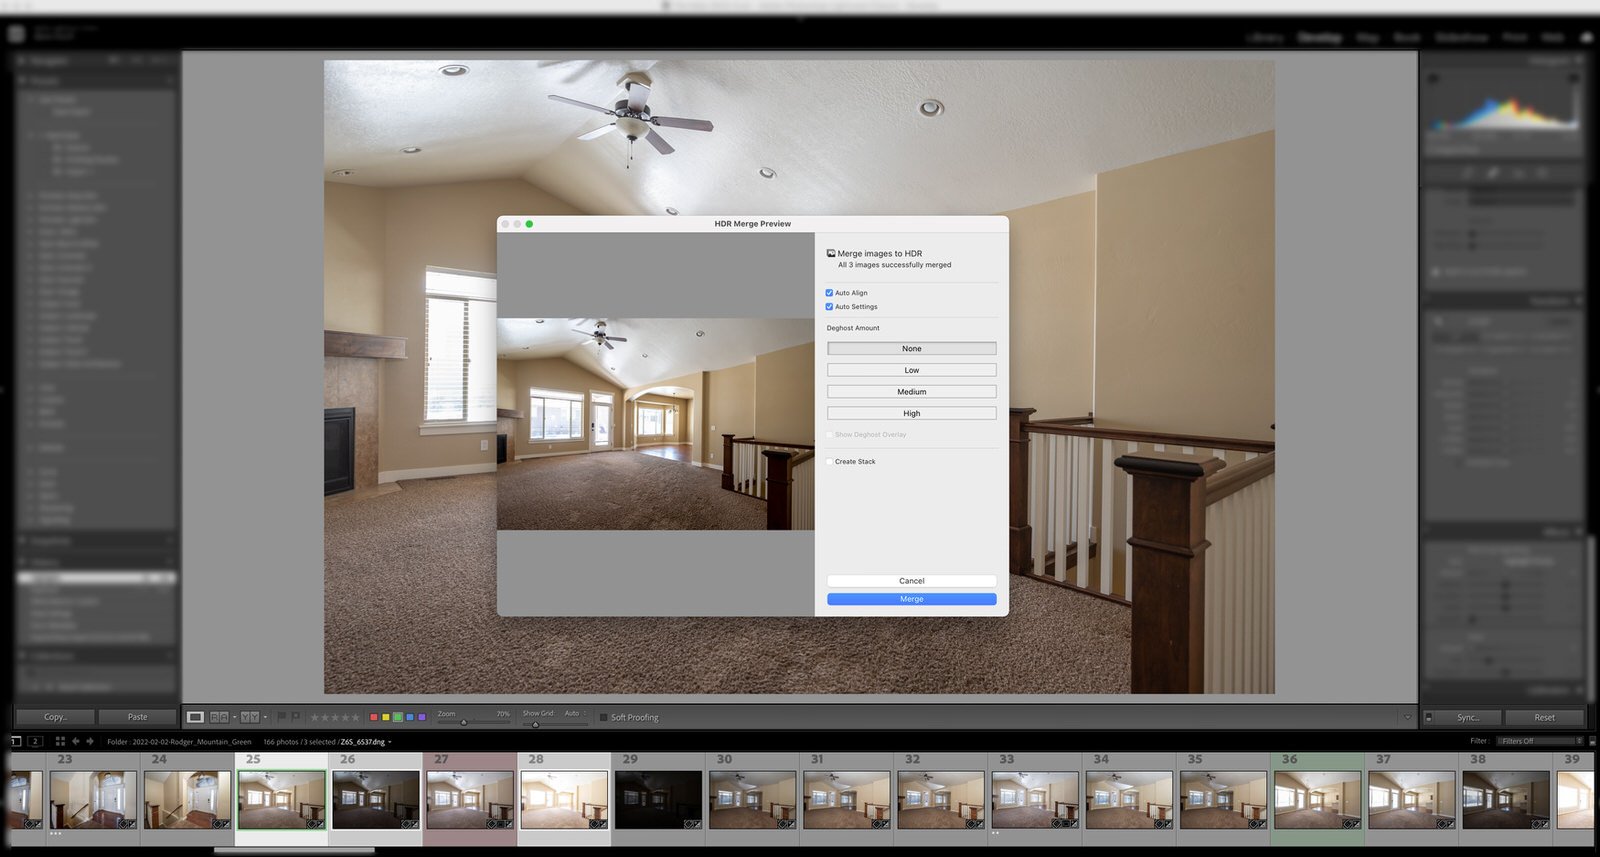
In a few seconds, Lightroom spits out images that, with a little correction, can be returned to your client and used on the MLS.
This is, for sure, the simplest and easiest way to make HDR images for real estate use. And it is a great way for you to get started in HDR. There are ways to make much better images, even with just HDR images.
One option is to use more source images, perhaps five or even seven images taken a stop apart. There are also dedicated HDR processing programs such as Enfuse, Photomatix, and Aurora HDR. These give you much more control and allow you to create recipes to fine-tune output for your style of shooting. And you can automate the process, too.
HDR is a great way to get started in real estate photography and to learn about light. The next step is to augment the light. That is, to add flash. It is not as scary as it sounds.
HDR Photography Pairs Nicely with Flash
Shooting real estate with HDR techniques — and shooting those spaces well — can be quite a challenge. It is not something you can pick up (and do well) in a week or even a month. The people who are good at this technique have years of experience and are always learning more.
The main challenge is learning how best to deal with light. How do you deal with front light and have it not look flat? And how do you deal with the glare of the backlight? And you are always faced with different degrees of light. There is no simple, one size fits all answer.
That is why I like to point out that experience is the one thing you can always do with more of. Before you discount HDR and think rushing to flash is the answer to your shooting problems, you should really know a lot about dealing with the problems natural light presents. If you haven’t solved the problems at the HDR level, you will be lost trying to solve your problems with flash.
And let’s not discount the Dunning-Krueger effect. If you think you know the answers, straight up: you don’t. My point really is don’t try and rush through this. There is a natural progression, and shooting natural light is part of that progression. It may even be the end of it — I know some great photographers who only shoot natural light. But that’s not me, and not the style of image I want to create.
So I add flash.
Adding Flash to an HDR Real Estate Photo
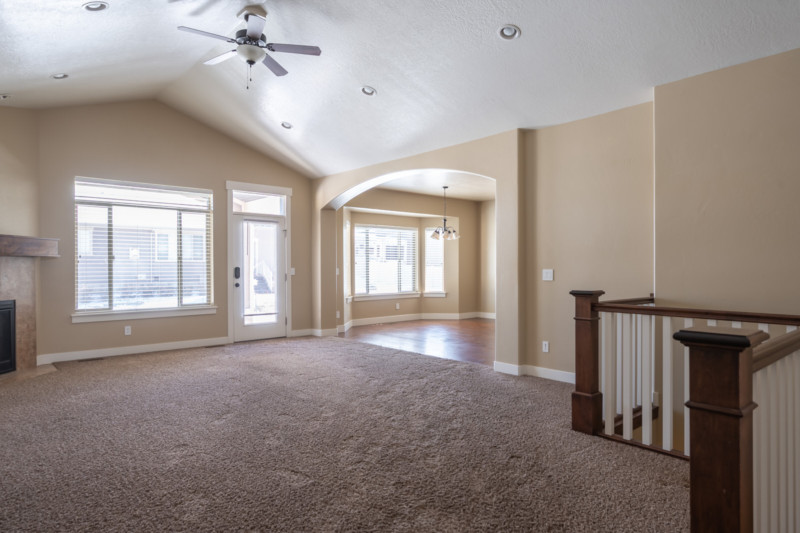
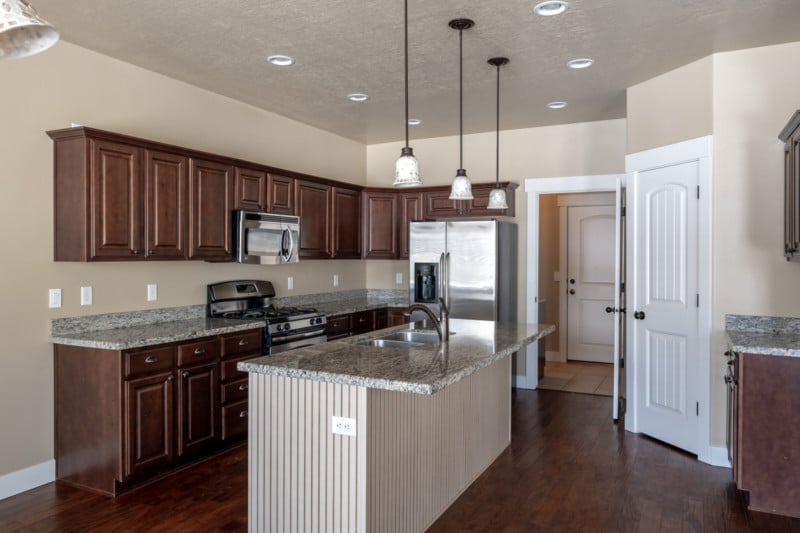
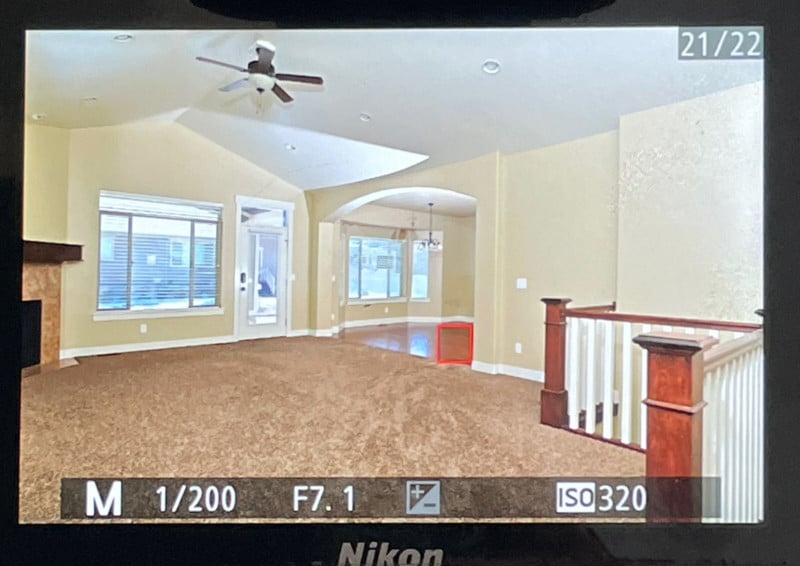
Let’s go back to our final image from the HDR section.
By and large, we have natural color and a natural feel to the light. I do not like the wide dynamic range though; I think the contrast is too great for my style. To lower that high contrast range, I must put some light into the darkest areas and bring them up.
The first place I consider a light is behind the camera into my main room. For my own speed on-site, I will generally hand-hold this light (the infamous “statue of liberty” pose so common to real estate photography).
Here I am using an Godox AD200 that I consider the workhorse of my flash work. This beast outputs about three times the light of a typical strobe. Because of the way I use light, I need a good amount of light from my source. I like to diffuse and reflect the flash to soften it, and that takes down the effective output of the flash a lot.
I am doing two things here to diffuse that light. One is I use a Magmod MagSphere on the end of my AD200. I really like what this modifier does to the quality of the light. Because I usually use the main “beam” of the flash to bounce off white ceilings, I get a certain amount of fill from the sides of the sphere that goes into the scene directly. I like the balance of the direct and reflected lights from the same source, and it has become part of my working style.
I then take a test shot with this flash. Yes, we shoot a LOT of test shots in real estate photography because you just can’t know what a flash will do until you pop it. Take the shot, then check to see if you accomplished what you needed in the shot.
What we want here is good exposure in the windows. Check. Bright, powerful colors. Check. Less glare from the backlight. Check. And as close to even lighting as we can get. Fail!
As you might expect from a single light at camera, we light the main room fairly well. The bounce off the ceiling gives us a very wide source of light, which results in a very even (if somewhat flat and ugly!) spread of light. Believe it or not, that is exactly what we want!
Adding a Second Flash and Adjusting Settings
But if you look closely, you will see the dining room is dark. I will add a second light — a strobe — to fill that area out. Again, I use no stands, I just place the flash on the counter and angle up for diffusing and spread. As you can see here, the flash will fill the area I need lit and remain out of the shot.
Again, we pop a test, and this looks a lot better. It is okay (well, it’s unavoidable!) to get light hot spots on the ceiling — that is not what we are looking at here. What we need now is nice, even light and color across the walls. I am always judging the walls.
What would I have done here if the dining room was too hot? There are two ways to adjust the intensity of the light. You can move the light in or out, depending on your needs. I use the Flashpoint system (available at Adorama). This same exact system is also called Cheetah and Godox through other vendors (and I believe there are other names). The controller allows me to remotely raise and lower the flash level from the camera position. This saves me a ton of time adjusting lights.
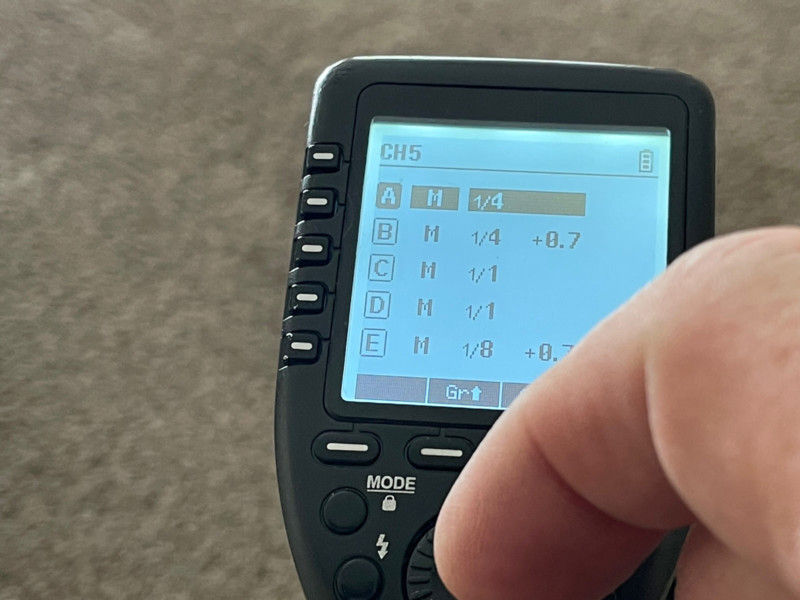
Perhaps you noticed the big “A” on my strobe. In the above image, you can see that the strobe is set to ¼ power. If I needed more light, I would raise that to ½ or even 1, and conversely, if it was too hot, I would bring it down.
The key here is to shoot tests and study your results. Find the problems and fix them in the field. With digital cameras this is easy. I came up in the old film world and we did not have the luxury of chimping.
Combining HDR and Flash in Post-Processing
You are probably scratching your head and thinking that this image looks good, but it’s also very “flashy.” And not at all what you are used to seeing. You are correct. The magic happens in editing, so let’s head on over to Lightroom and work on this image.
For your ambient layer(s), you can combine the brackets into one HDR image, or correct a single ambient layer into a usable layer. Then take your final flash layer and do your minor correcting to that, too. By minor, I mean color correct, set whites, blacks, contrast, and similar items. We are not yet going to straighten, or clean up; that is all held for the final image.
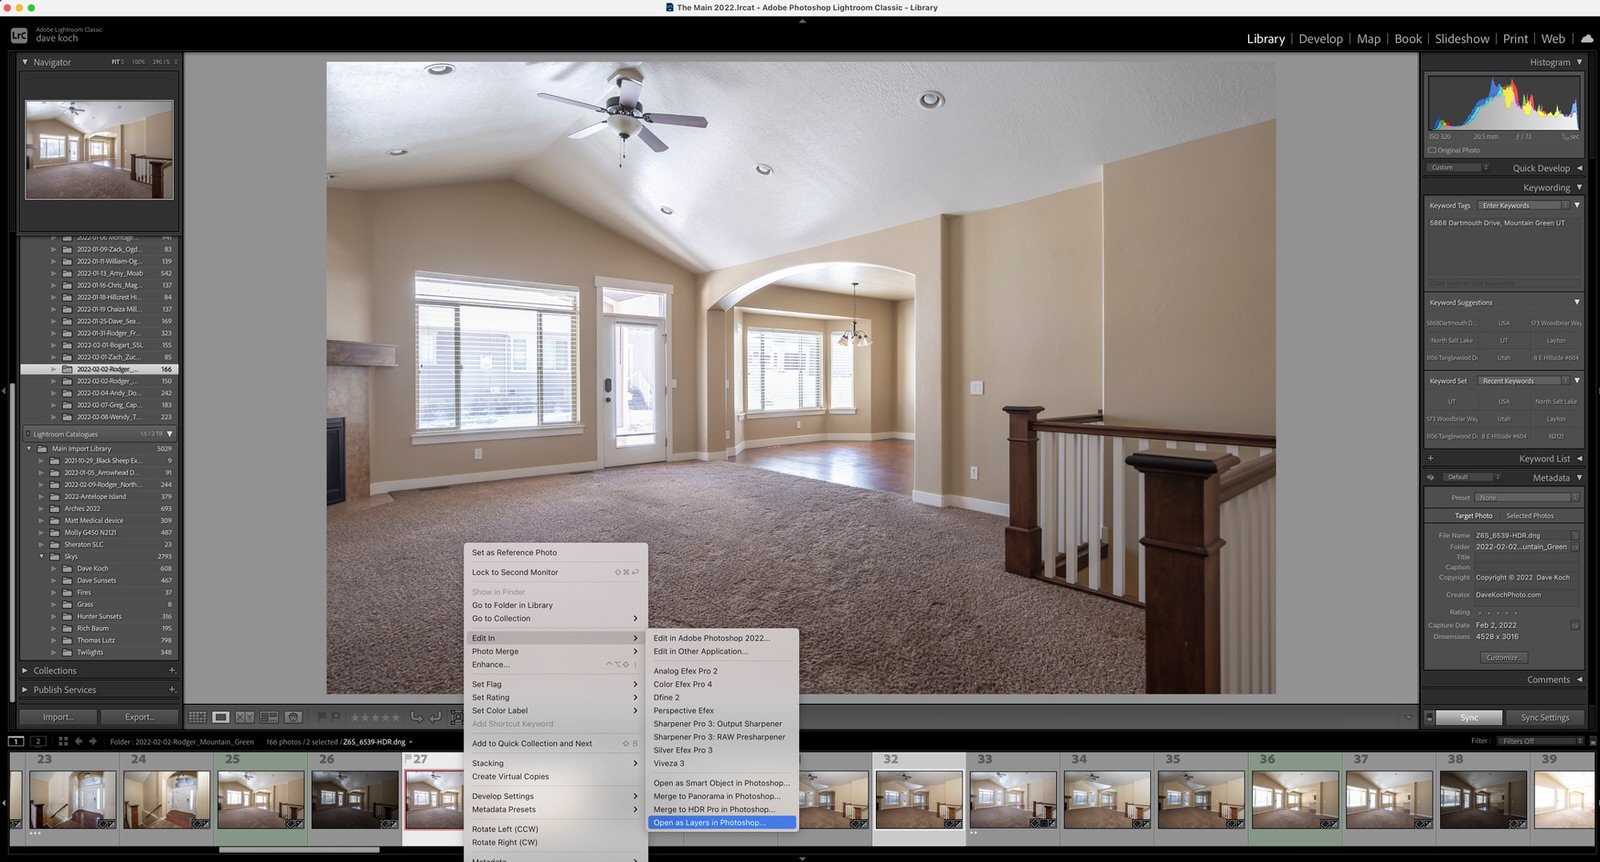
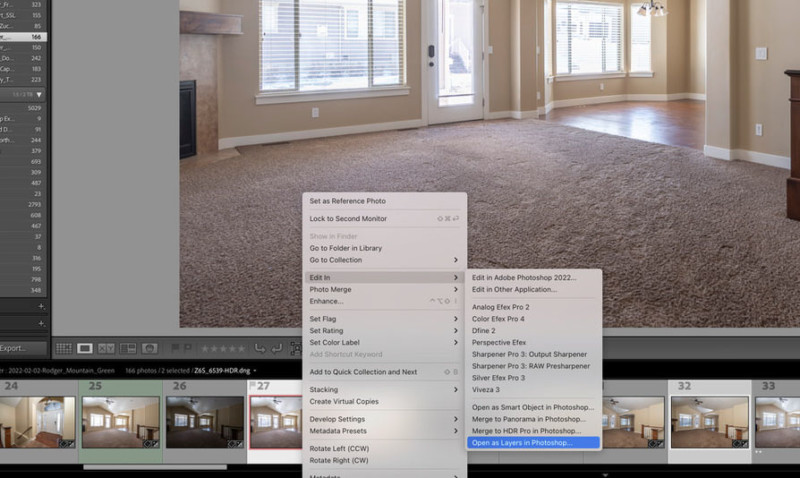
Now highlight your two images, the ambient final and the flash. Right-click, and choose “Edit In…” and “Open as layers in Photoshop.” This will place both images on top of each other as layers in Photoshop.
Once in Photoshop, I like to align the layers just to make sure any camera wobble is negated, then I put a black mask on the ambient layer (which should be your top layer) thus revealing your flash layer.

Now pick your Brush tool, and on the tool properties bar at the top, lower the flow to 15-20%. Adjust the brush to a good size, choose white as your color, and start painting white in ON THE MASK where you see the image being overly flashy. By painting white, you are allowing the ambient layer through. Try to avoid the windows as they will look better in the flash layer. Most of the rest of the picture will benefit from some degree of mixing the flash and ambient layers. Pay particular attention to the ceilings to try and work out the unnatural flash blooms there. Also, look for shadows caused by the flash and brush them out. Our lower flow will allow us to bring this in slowly and achieve a natural look.
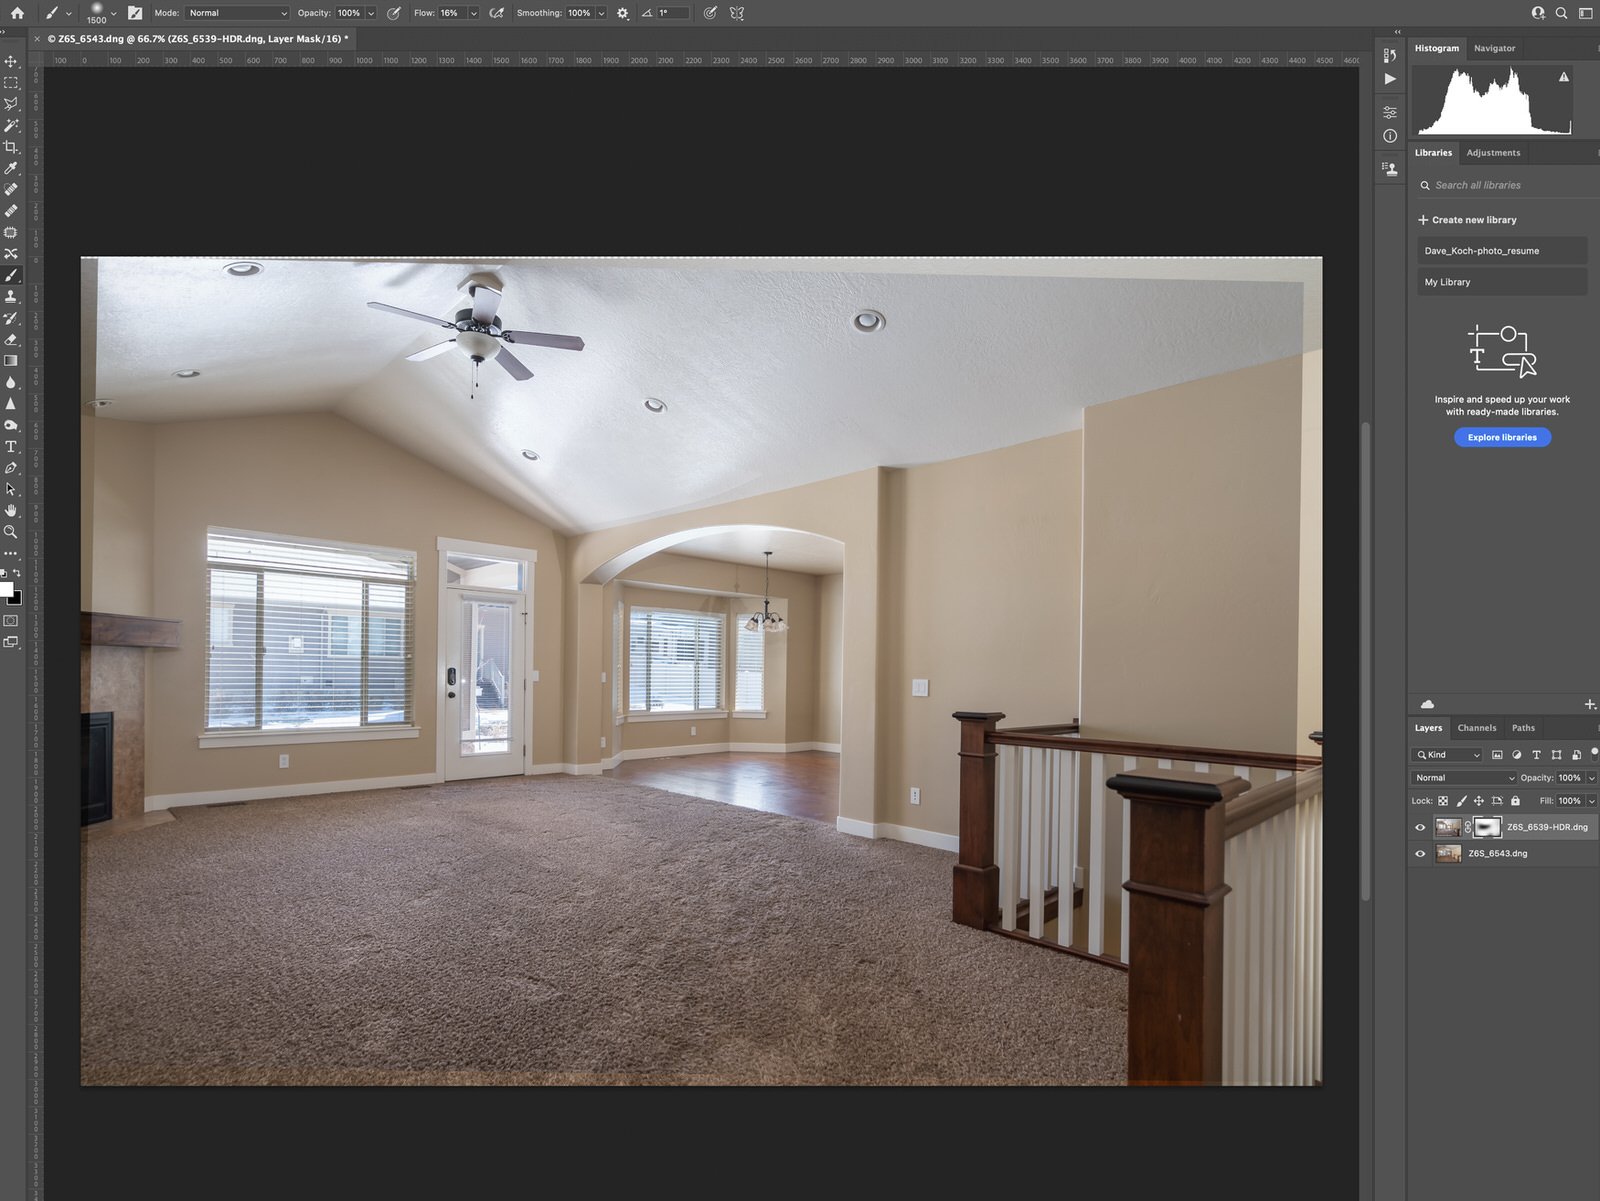
If you go too far, just hit the “X” key to reverse the brush color to black, and paint over the mistake on the mask in black — it will back out! When we are done, we should have a much more natural-looking image that combines the better color of the flash with the natural shadows of the ambient — the best of both worlds.
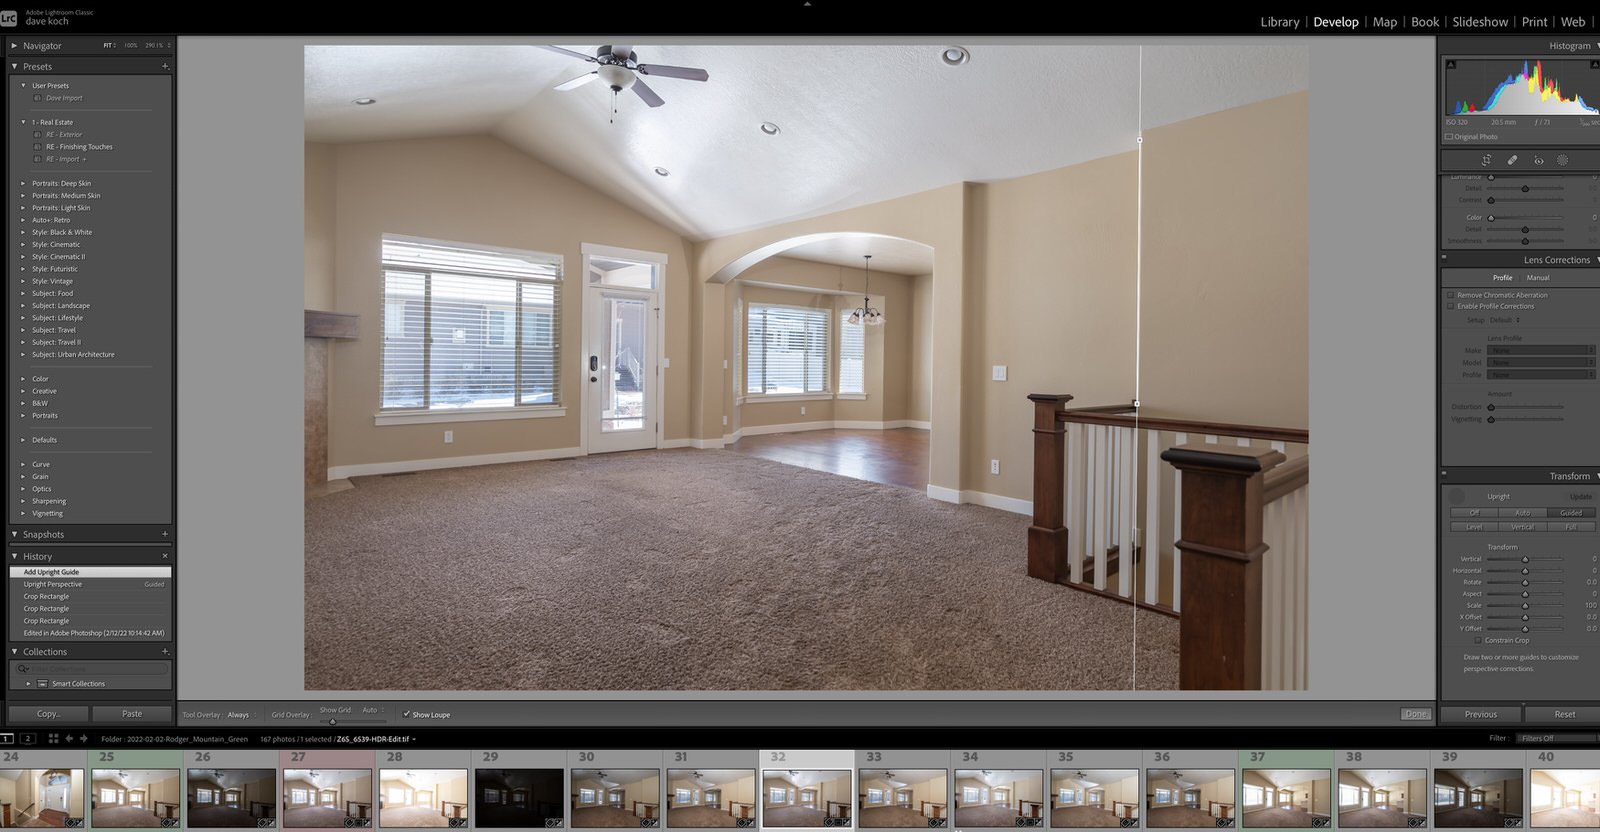
Save the image in Photoshop, and the final edited image is saved back into Lightroom. Now you can make final adjustments such as crop, contrast, and final color. And do not forget to set your verticals so all the walls are straight! I typically use either the “Vertical” option or the “Guided” with which I match lines to vertical components in the image. If you set your camera up correctly, this will probably just be a minor adjustment in transform. But keep in mind that the walls of the home do not lean in (or out); they are vertical. Professional photographers do not return distorted images.
Here’s the finished “flambient” real estate photo created with a combination of HDR and flash:
I hope you found this tutorial on using HDR and flash in real estate photography useful for your own work. If you are just starting out in real estate photography and would like a more general overview of the photography genre, be sure to read my complete guide on real estate photography.
About the author: Dave Koch is a working real estate and commercial photographer based in Utah. With over a decade of experience in the field, Dave has been recognized by his peers with the Best of State award twice for his commercial photography. Before stepping out on his own, Dave spent fifteen years as a professional photojournalist across California, Arizona, and Utah. For fun, Dave enjoys spending his free time exploring the length and breadth of his adopted home state of Utah with his wife and daughter. You guessed it: taking pictures. You can find more of his work on his website, Facebook, and Instagram.
Image credits: All photographs, unless otherwise labeled, by Dave Koch.