How to Photograph and Composite an Advertising ‘Cosmetic Drip’
In this 15 minute video, we break down a step-by-step approach to capturing the images needed to composite an attractive cosmetic drip.
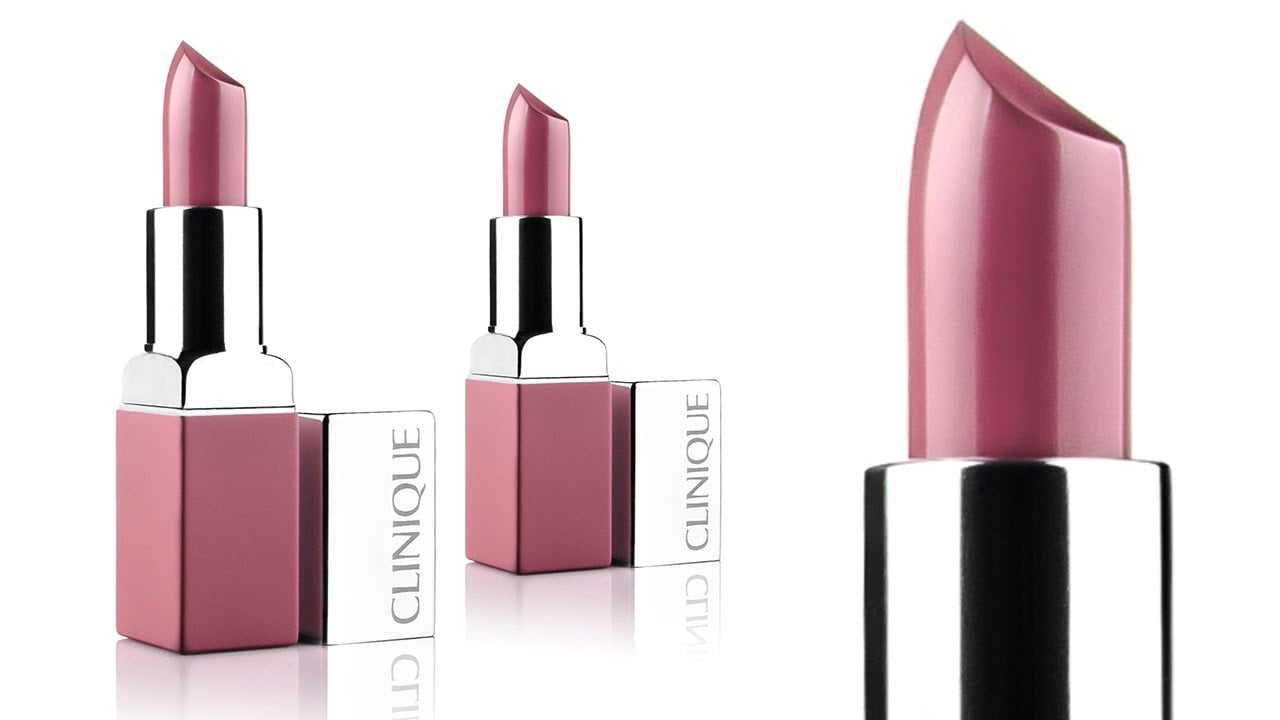
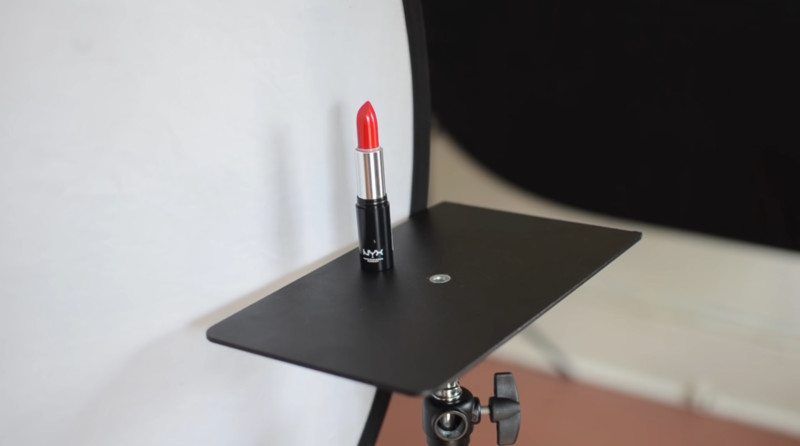
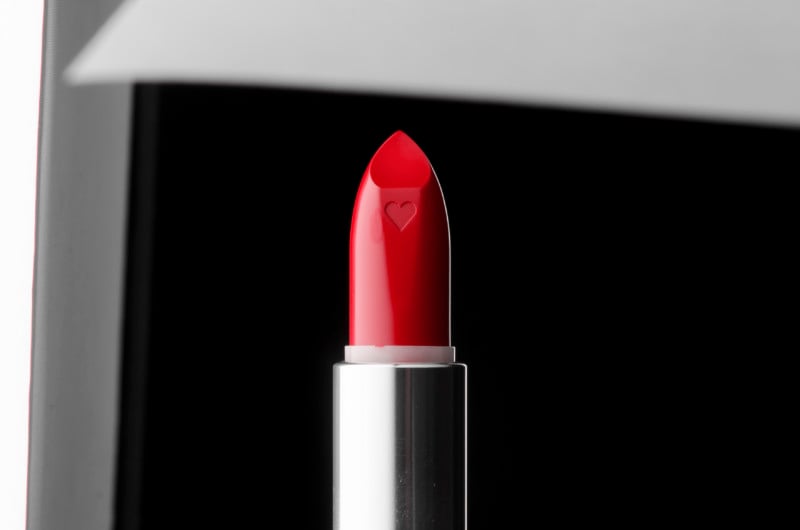
We start by capturing the cosmetic portion of the image by extending the lipstick out of the tube as far as possible. With a cheap nylon diffuser and a speedlight, we can create a large highlight on the left portion of our cosmetic.
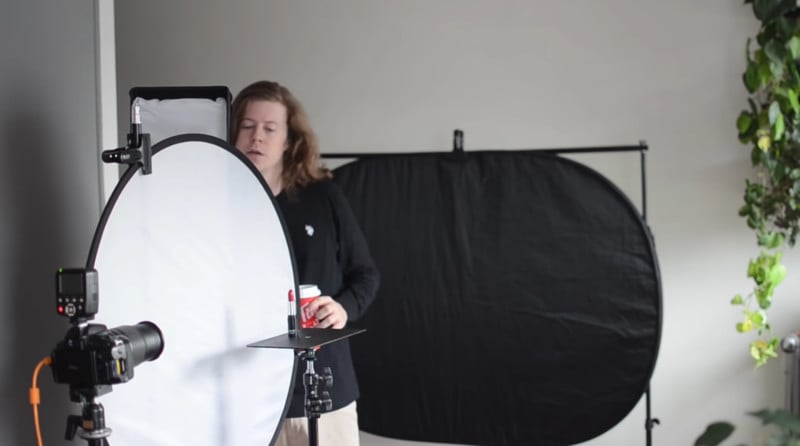
Not only does this flatter the lipstick but it will also provide us with a nice light source for the drip. A thin edge light created with an additional stripbox and speedlight combo will carve out our cosmetic (and drip) on the stark black background.
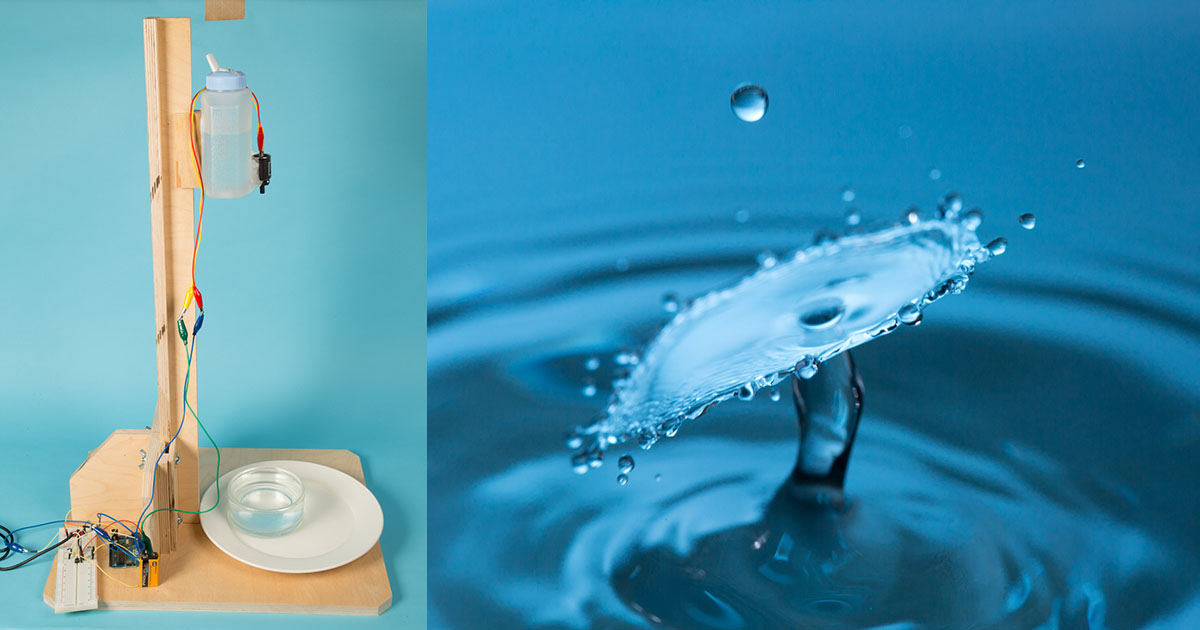
To capture the motion of the lipstick “melting” into a drip, we used a wooden stick and red acrylic paint. It is important to match the color of the acrylic paint with the cosmetic, for an easier time in post-production. Carefully using a two-second remote mode, we applied acrylic paint heavily on the wooden stick to begin capturing the frozen motion.

It took a few times for an attractive drip to time out perfectly, but once we capture an ample amount of options we have everything needed to complete the composite. It may be necessary at times to use an additional reflector to bounce light into the scene, since we are mainly using a light source from one direction.
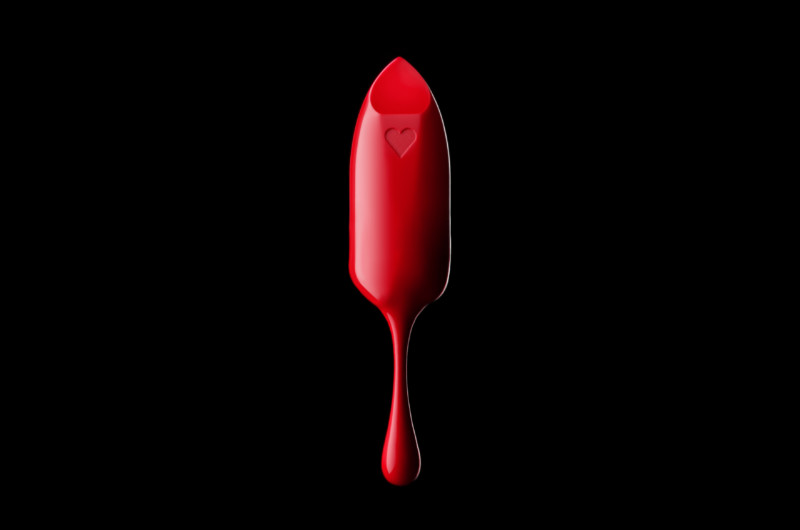
To combine the upper cosmetic with the lower drip image, we used a variety of techniques in Adobe Photoshop. We begin by simply masking the products and crudely attaching them together to get a basic visual to work with. By using a tool known as the Warp Mesh Tool, we can individually twist the layers around to connect seamlessly and complete the illusion of the cosmetic melting.
It might take a few tweaks to leave the image in a way that is visually seamless, but once the illusion is created it brings together all the beauty from the lighting and leaves a stunning visual on a stark black set.
About the author: Dustin Dolby from workphlo, is a Canadian product photographer and educator on YouTube. You can find more tutorial’s on Dustin’s workphlo YouTube Channel or Skillshare, and purchase their custom light stand attachments on the workphlo online shop.