A DIY Way to Fix Loose Rubber Rings on Camera Lenses
After purchasing Takumar 55mm f/1.8 lens years ago, I started building my collection of vintage lenses, and because I don’t like spending a lot of money on them, I became a frequent visitor of thrift stores, flea markets, and online auction sites.
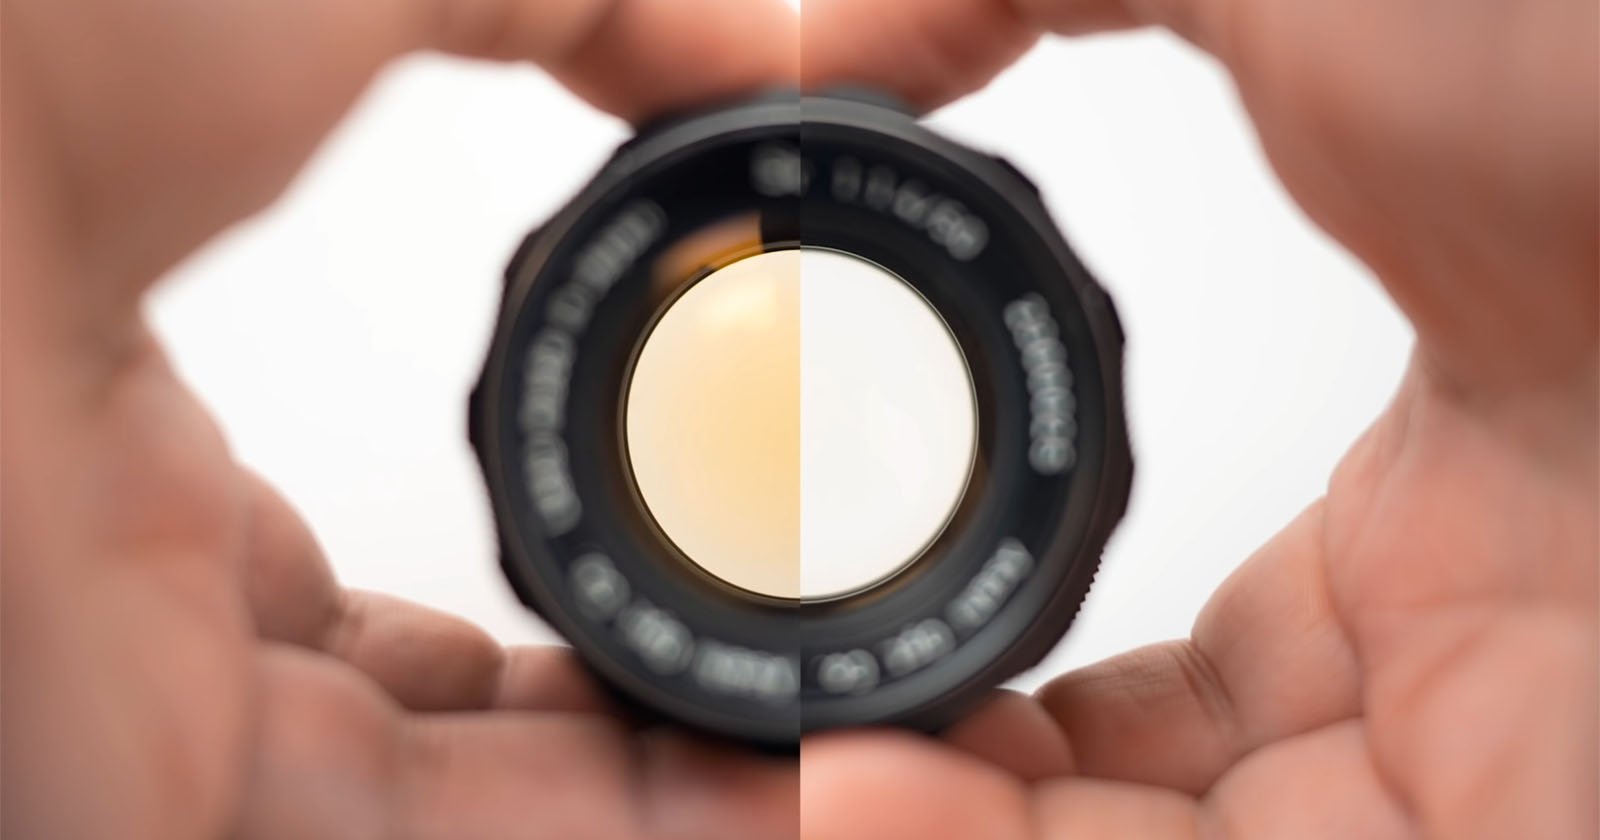
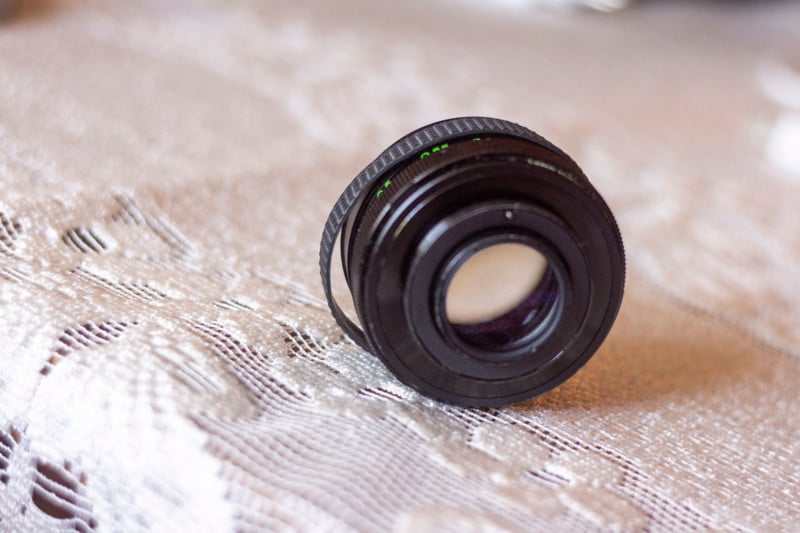
I just recently purchased the dirt-cheap Cosinon 50mm f/1.7 lens (shown above). The lens works flawlessly, but the rubber ring was loose when I purchased it.
I think a lot of you know the above sight all too well because it’s a problem that literally every lens with this type of ring meets sooner or later: with time, the rubber stretches, gets loose, and sometimes turns gray-white due to micro-cracks and dirt. Sometimes it loses its strength and splits in two or simply falls off.
There are tutorials on the Web about fixing the stretched rubber rings, that you can put into two groups:
1. Try applying heat: put the ring in boiling water or use a heat gun/hairdryer. The heat should make the rubber shrink a bit (tried it, did not work).
2. Cut it and use some glue. (I thought I’d pass on this because maybe there’s some method of refreshing the rubber that I simply am unaware of).
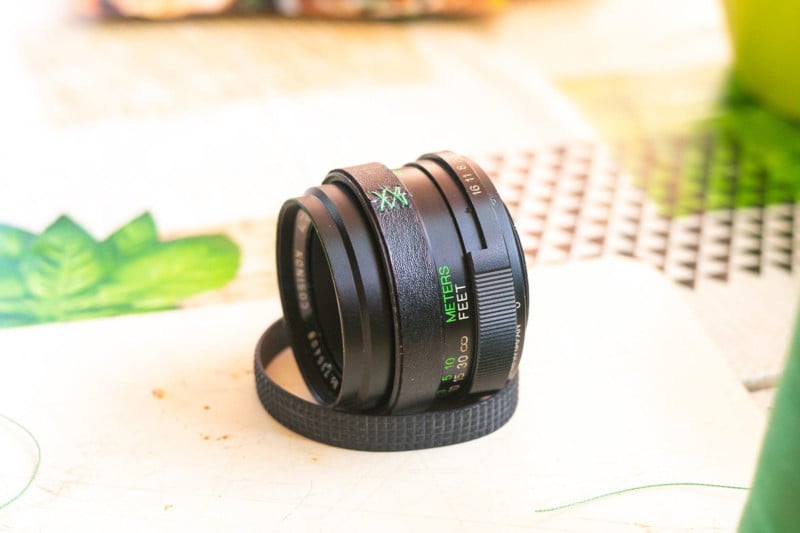
After my attempts at boiling the rubber failed, I thought that it’s worth trying and making a new ring. I know I can purchase something similar (silicon rubber, geared cine ring, adjustable one, etc.) but I’m pretty impatient and also the idea of paying double the price of the lens for a part that may or may not fit properly makes no sense to me. So, I looked around the house and found a piece of leather from an old shoe. Turned out a bit thicker than the rubber is but it’s not an issue for me.
A Walkthrough
First, cut a strip that’s the same width as the rubber:
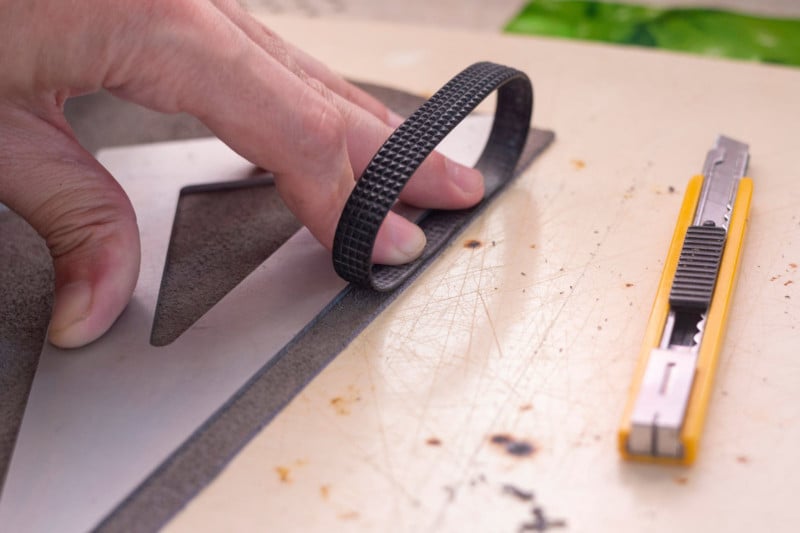
Next, carefully cut it to length. If you want it to sit as tight on the lens as possible, cut it 1 mm shorter. The leather can stretch a bit, so you’ll be able to put it on the lens without any problem.
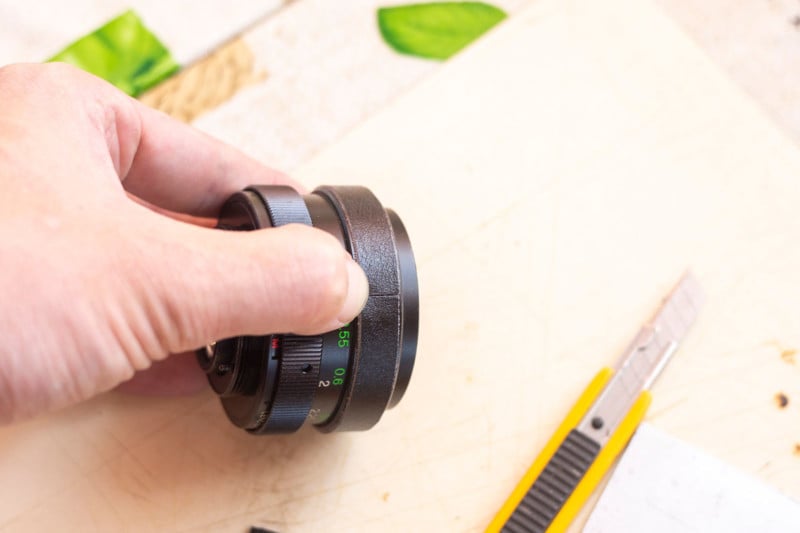
Either glue it like this (I have no idea what kind of glue to use, though) or get a needle and strong thread and sew it.
It’s best to make holes first (takes a bit of force to push the needle through) and put the thread through them later. The type of the seam and the color of the thread is up to you.
If you have the skills or know someone who works with leather, you can easily achieve a better result. For example, you can make the stitches flat, stamp a pattern for better grip, round the edges, make some embroidery (e.g. your name), etc.
There is a way of making a seamless, continuous ring, but the process is time-consuming, requires a form of some kind, and your fingers may hurt a bit (do a search for “wet molding leather”).
Things to Consider
- I don’t know about its durability. From my previous experiences with leather, this will probably last longer than the lens itself but I can be wrong.
- It needs conditioning from time to time or it will start cracking.
- Leather doesn’t like being wet. Lenses neither, so let’s skip this point.
- Don’t use your standard, cotton thread. It will be destroyed by chemicals that are present in the leather. Use nylon or polyester (or kevlar if you need something bulletproof).
- You’re not limited to leather. I just thought about nylon cable braid, thin paracord, and even copper, stainless, or brass wire.
I hope this article was helpful to some of you who are also dealing with loose rubber rings on lenses!
About the author: Marek B. is an amateur photographer with a lot of strange ideas and a love for vintage lenses. The opinions expressed in this article are solely those of the author. This article was also published here.