Lessons Learned From Making My Own Large-Format ‘Cyanocamera’
I started learning digital photography in 2016 with an old DSLR. It’s been a lot of fun, and I’ve taken quite a few pictures and timelapses I’m proud of, but until recently, I’d never considered the analog world.
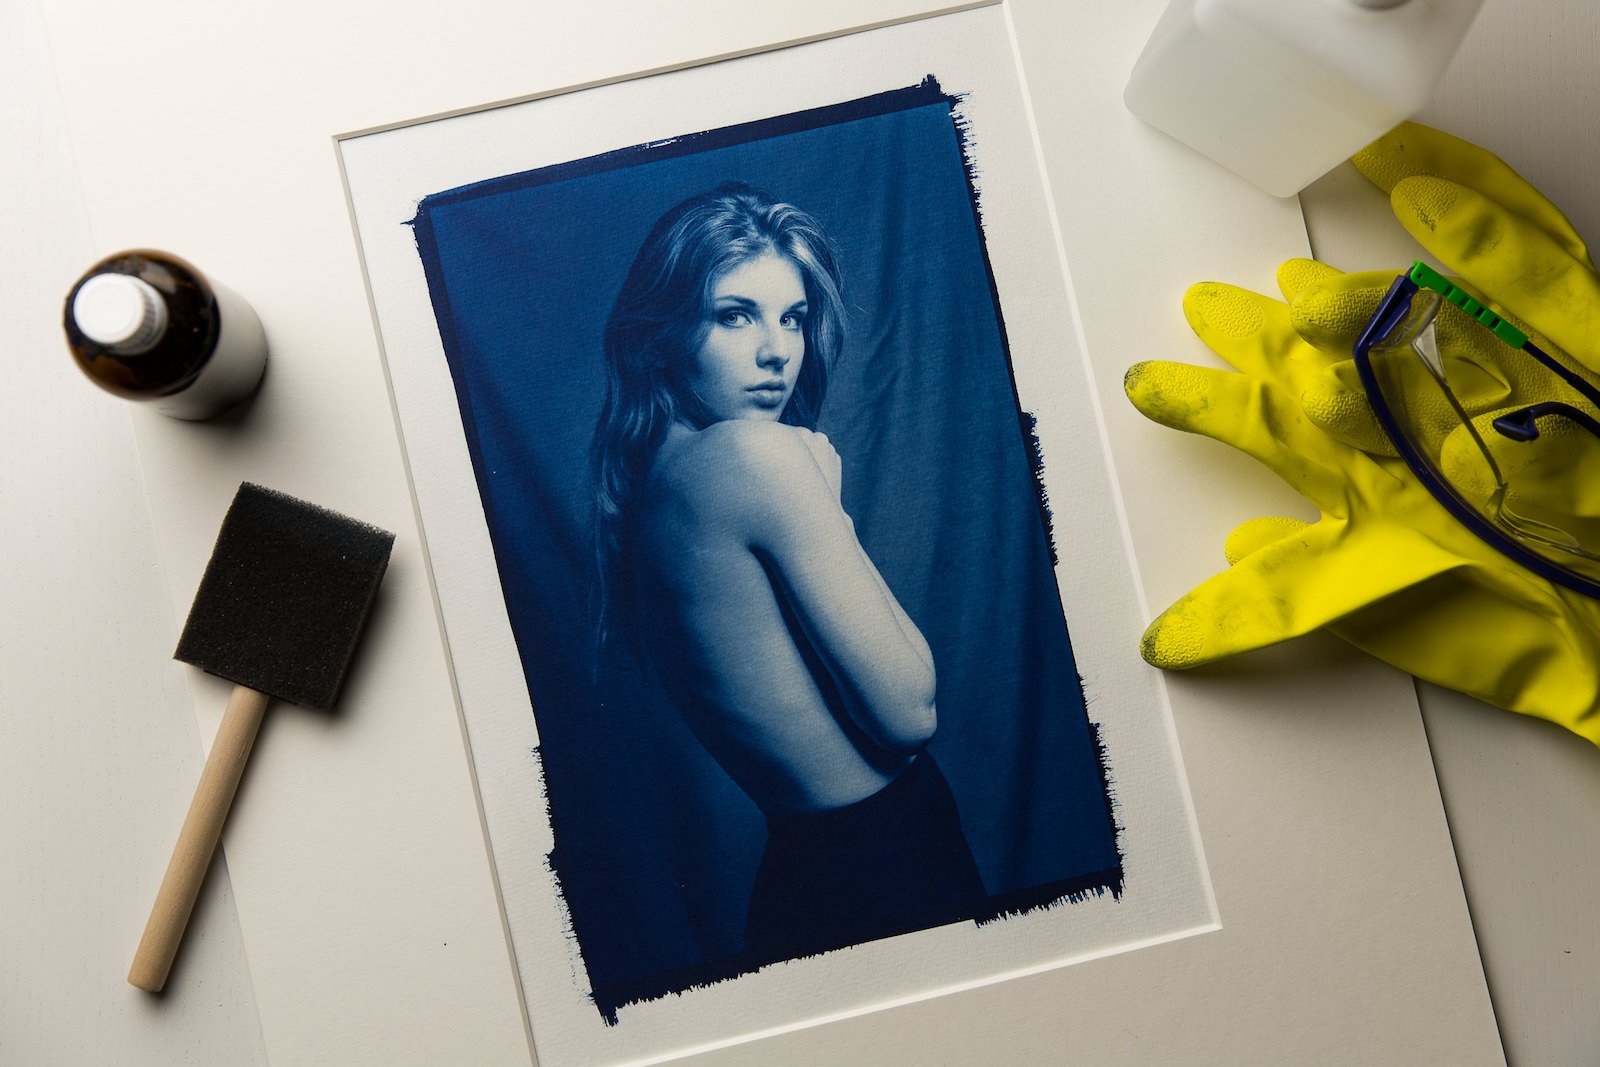
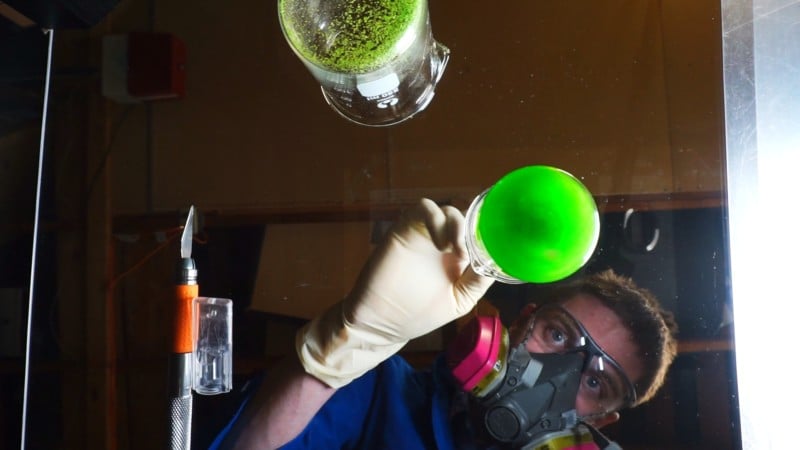
Figuring that if it was worth doing, it was worth overdoing, my first analog camera was an 11×15-inch large format camera that was designed to use Mike Ware’s New Cyanotype Process, where it would expose a negative cyanotype photograph directly onto coated paper. It turns out that there are many reasons that this hasn’t taken off as a common technique, but I found the entire process fascinating!
The Chemistry
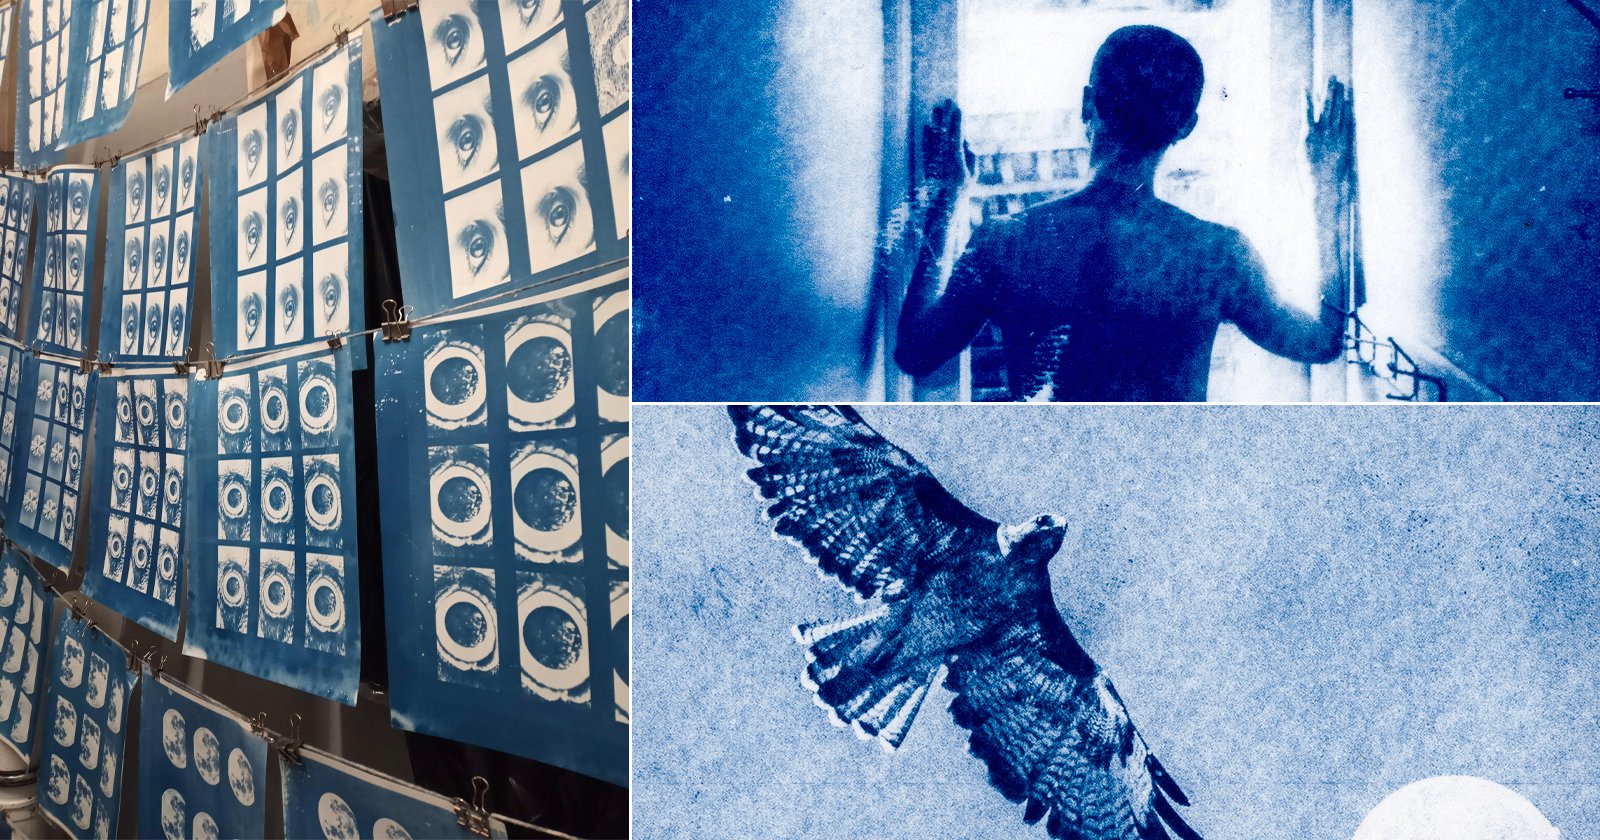
The Cyanotype process isn’t typically a photographic technique, but rather a printmaking technique developed almost 200 years ago by the famed astronomer (and mathematician, and photographer, etc.) John Herschel. The original formulation, which used ferric ammonium citrate and potassium ferricyanide, could be leveraged to replicate photographic film negatives or create shadow prints of objects placed on sensitized paper and left out in the sun. Upon exposure to ultraviolet light, this combination of chemicals reacts to produce a crystalline material called Iron Ferrocyanide – a pigment known as Prussian Blue.
Interesting side-note: “cyanide” is actually named after the color “cyan” because cyanide-based compounds were first isolated and identified from this cyan-colored pigment.
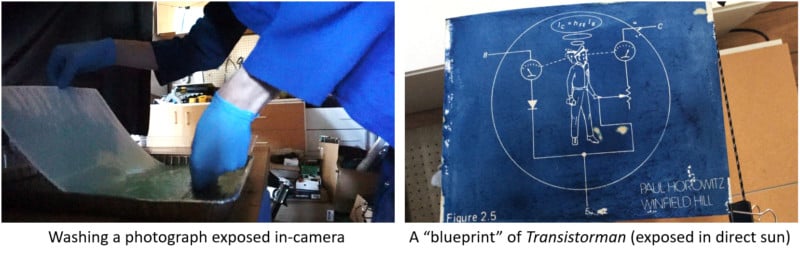
This process was used to create photographic prints and architectural blueprints until the late 20th century when computers and electronic printers started to win the design/drafting/printing game. More recently, Mike Ware developed a slightly modified formula for photographic printmaking that produces the same pigment by a similar reaction, but exposes much faster and has improved contrast. Since I wanted to use cyanotype in a CAMERA, with very limited light, I opted for this faster chemistry. Ware’s formula is admittedly more difficult to prepare, and somewhat more toxic than the original, but I felt up to the challenge!
The Camera
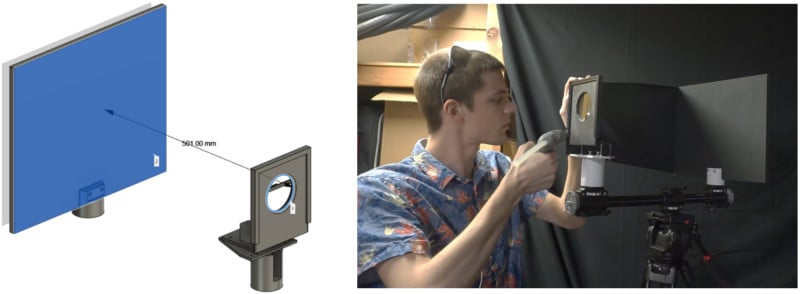
At its foundation, a camera is nothing more than a guide for light that makes sure light approaching the lens from different sources is focused to points at different locations on a light-sensitive array of pixels or chemicals. In a perfect world, you only need one lens to do this, so in an effort to keep things simple — and at the expense of image quality — I bought a variety of cheap three-inch spherical glass lenses and designed a single-lens camera. I used Fusion 360 to block out the camera in 3D and dimension a few 3D-printable brackets, then mounted both the screen and the lens on a large tripod slider so I could easily adjust the focus by watching the projected image and physically moving the entire lens assembly forward and backward.
It’s kind of strange to look away from your subject while lining up the camera, but my viewfinder was just a hole in the side of the shroud, so to line everything up, I’d look at the image on the paper through this gap and it actually worked really well (I sealed it up when I was done).
At some point in the process, I realized that my three-inch lenses weren’t letting enough light into the camera for the extraordinarily slow cyanotype process, and my images were really blurry. I quickly began to understand why modern camera lenses have so many aspheric elements and extremely complex designs.
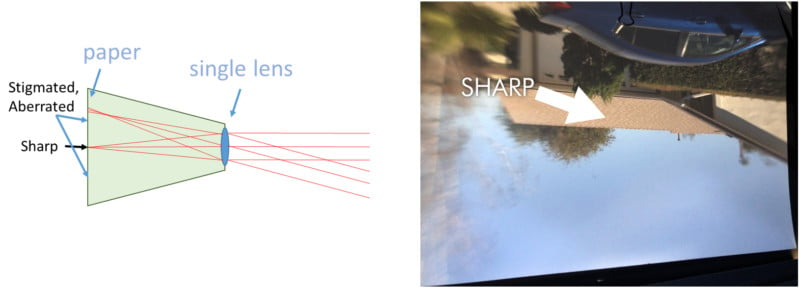
Because I was trying to project such a large image, the spherical aberration was significant and without cutting down the aperture or adding aspheric elements, I was limited to a strange curved field of focus and significant astigmatism. From an artistic perspective, I think you could do a lot with such a strangely distorted camera, so I tried to look at the bright side, but it really wasn’t all that great.
In the below picture on the right, I just used a digital camera to photograph the image this lens projects onto a sheet of paper — you can see that while the center is in beautifully sharp focus, the image quality degrades very quickly at high angles.
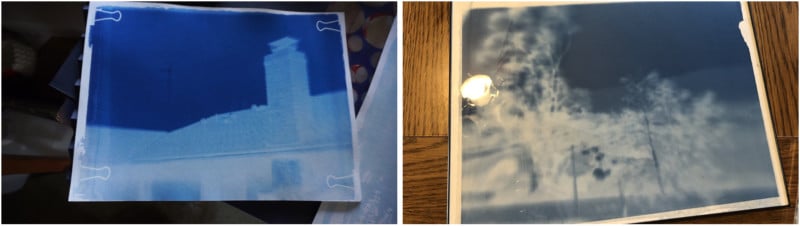
The camera in this configuration has produced some pretty nice prints, with a lot of detail visible on static subjects like the roof of a house, but significant blurring for mobile objects like trees in wind. These two prints are nice enough that I actually found some 11×15-inch frames and hung them up, but it’s not like they’re digital quality. I love them more for the technical challenge than the actual image quality. Maybe that just means the images are only special to me, but then I’d recommend a project like this to any hands-on maker/photographer so you can produce your own!
Lessons Learned
The best part of building your own stuff is that it’s never truly complete (a bit of a builder’s joke here) and the most significant problem with this camera is light gathering. Even using Ware’s fast cyanotype formula, a single exposure takes about a day and that’s extremely limiting in terms of subject matter. If I switch to a larger or faster spherical lens, it just makes the aberration worse. Thankfully, the YouTube comments section has my back, and there are many paths forward I may pursue.
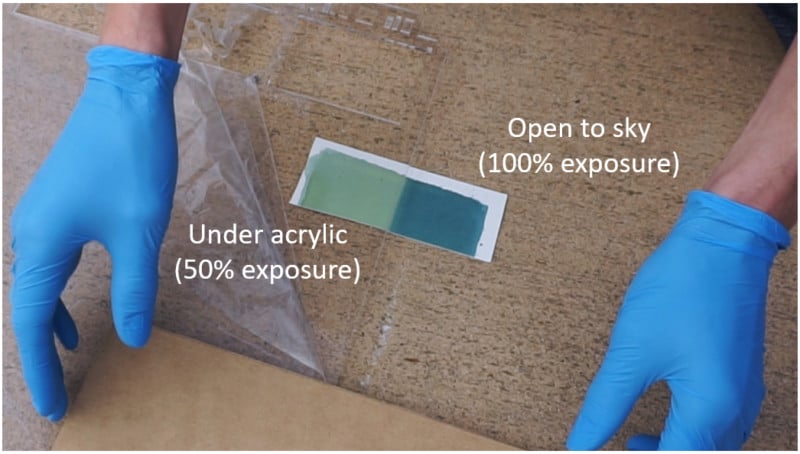
UV Transparency: While I tested the UV-passing capability of a sheet of hardware-store acrylic (1/8-inch cuts about 50 percent), I failed to test the UV transparency of my glass lenses. It’s very possible that my one-day exposure times could be sawed down significantly just by finding a material that passes more UV light, but such a lens is probably a lot more expensive.
Spherical Aberration: Stopping down the camera by placing an annulus on the lens and cutting away a lot of light would improve focus at the expense of exposure time, but maybe with a different lens material, I could get away with it. Alternately, multiple commenters on YouTube recommended (and I have since done some research into) “projector lenses”, cheaply obtainable from projection TVs or literal old overhead transparency projectors from classrooms. Granted in both cases, I may still run into problems with UV. In an experiment that didn’t make it to the camera, I also attempted to curve the paper to match the focal plane, but unfortunately, this still resulted in severe astigmatism.
Multi-step treatment: Another viewer alerted me to the very promising “Cyanotype Rex” chemistry, where the classic cyanotype ingredients are NOT pre-mixed, but instead the paper is only coated with the ferric ammonium citrate and then exposed to light, resulting in a faint image that can be developed by washing with potassium ferricyanide, producing the same Prussian Blue pigment with 2-4 stops less exposure time (great!). This process avoids the self-regulation of the classic formula where the pigment chemicals slow down the reaction by uselessly absorbing UV light.
Simply photograph brighter things: I want to get a lens arrangement which allows for the projection of a larger image so I can photograph the sun. Tracking the sun may prove a challenge for my homebuilt star tracker, but exposures couldn’t get much faster…
Reflective, not refractive elements: The certain way to make sure you’re getting all that sweet ultraviolet light is to not use lenses at all, but instead use curved mirrors like a telescope – if there’s no opportunity for your light to pass THROUGH anything, it can’t get absorbed, right? Unfortunately, this is a tough nut to crack, and the geometries of mirrors you would need are pretty extreme. I’ll say that I’m planning to try, but don’t have high hopes.
So What?
I have had a pile of fun both building and learning to use this camera. Does it produce fantastic quality images? Absolutely not. Does it demonstrate the fundamental challenges of photography in a way I would never have experienced otherwise? Absolutely yes!
There is something immensely satisfying about constructing your own equipment like this, and weirdly enough I feel like I’ve gained significantly more appreciation for my workhorse Sony mirrorless by building something monstrously larger that takes terrible pictures.
If you want to get all the nitty-gritty details (or at least as many as I could cram into a single video), head on over to my YouTube channel and subscribe to catch my new projects! There are a few photography-related videos in the pipeline.
About the author: Dr. Brian Haidet is a materials scientist who dabbles with photography in his spare time, writing custom stacking and distortion scripts for processing astro-timelapses. His work has been featured on PetaPixel before, and NASA’s Astronomy Picture of the Day twice. His YouTube channel AlphaPhoenix focuses on timelapse photography, physics, astronomy, maker projects, and learning new skills through experimentation.