How to Shoot In Natural Light Without Modifiers Like a Pro
Shooting in natural light can be quite difficult. In fact, many photographers gravitate towards studio photography to avoid natural light completely. However, natural light can be manipulated in a way that will produce great work.
Being able to work with any light not only gives you greater creative freedom but also allows you to understand how natural light works and consequently create great images in any light whatsoever. In this article, I will help you make sense of sunlight, as well as common situations you will encounter when shooting in natural light.
To keep things simple, let’s assume you don’t have anything except the camera. No reflectors, scrims, and other light shaping tools. Strobes are not allowed.
While the above sounds daunting and a bit scary, it doesn’t have to be — sunlight works exactly like your bare bulb studio strobe would. Only in this case, you move the scene and not the light.
Direct Sunlight
Let me scare some of you: let’s say you have to shoot in a desert, and there’s nothing except you and the camera. The hot sun is making you thirsty, and you can’t hide from it. You must shoot now, and it must be in the burning sun. While that sounds intimidating, and some would simply not shoot anything or come up with a way to diffuse the light, there are ways you can work with direct sunlight.
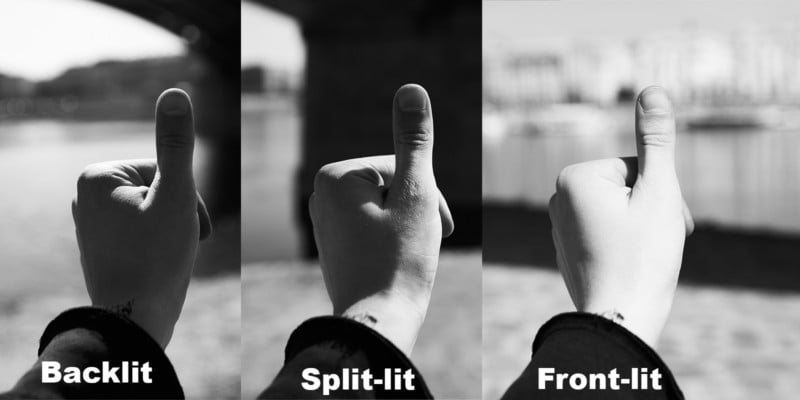
A trick I like to use when shooting in direct sunlight is sticking my thumb in front of me and rotating it to see where the nicest angle is. Here is how it looks:
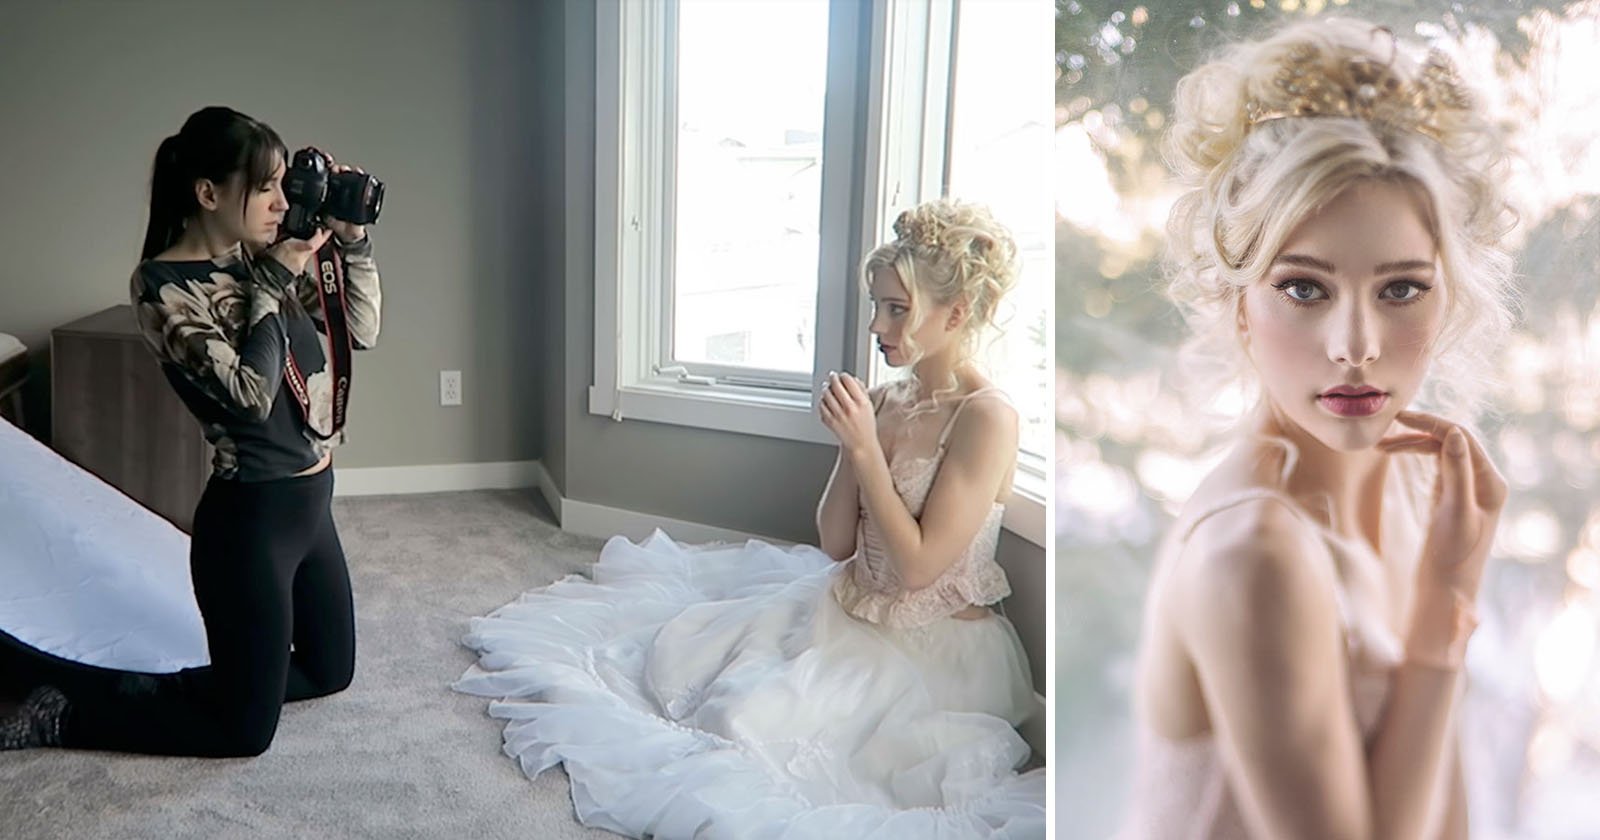
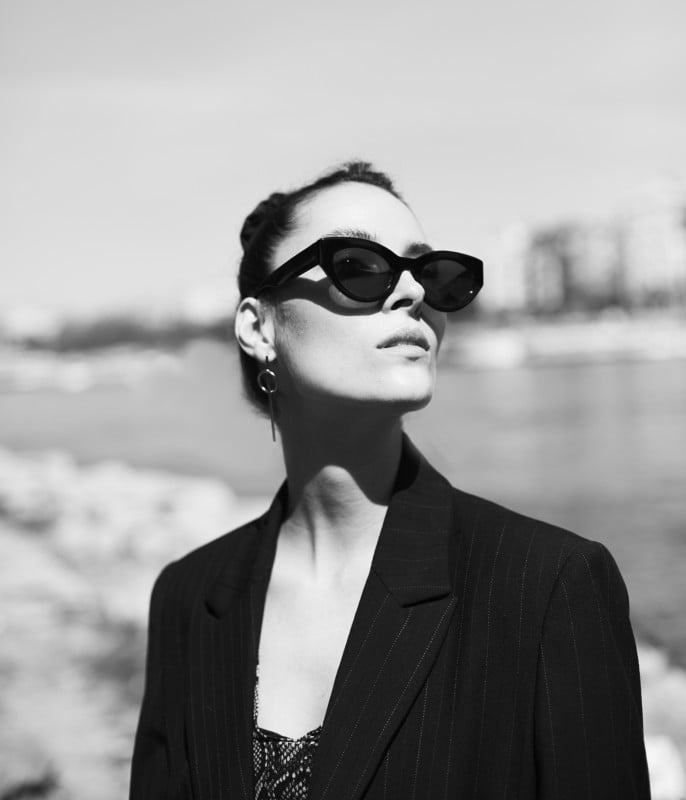
Face the Sun
One problem with direct sunlight is the harsh shadows that it can create. They do look unflattering and can ruin the proportions of the face. The best way to counter that is to ask your subject to look at the sunlight so that their face is evenly illuminated. Evenly illuminated faces are flattering, and this also creates a nice shadow under the jaw.
While you can’t shoot for long as this can be a bit painful for the subject’s eyes, the technique of facing the sun is often the best one when no other option is available.
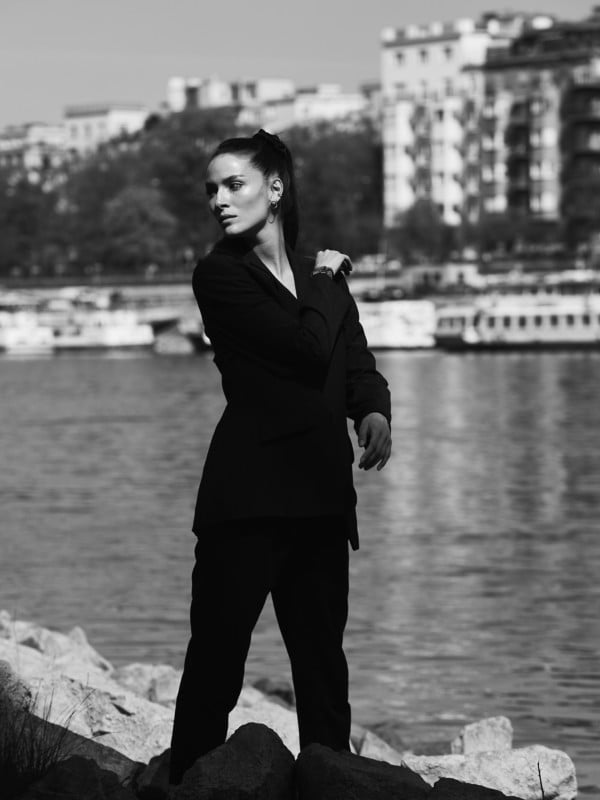
Create Contrast
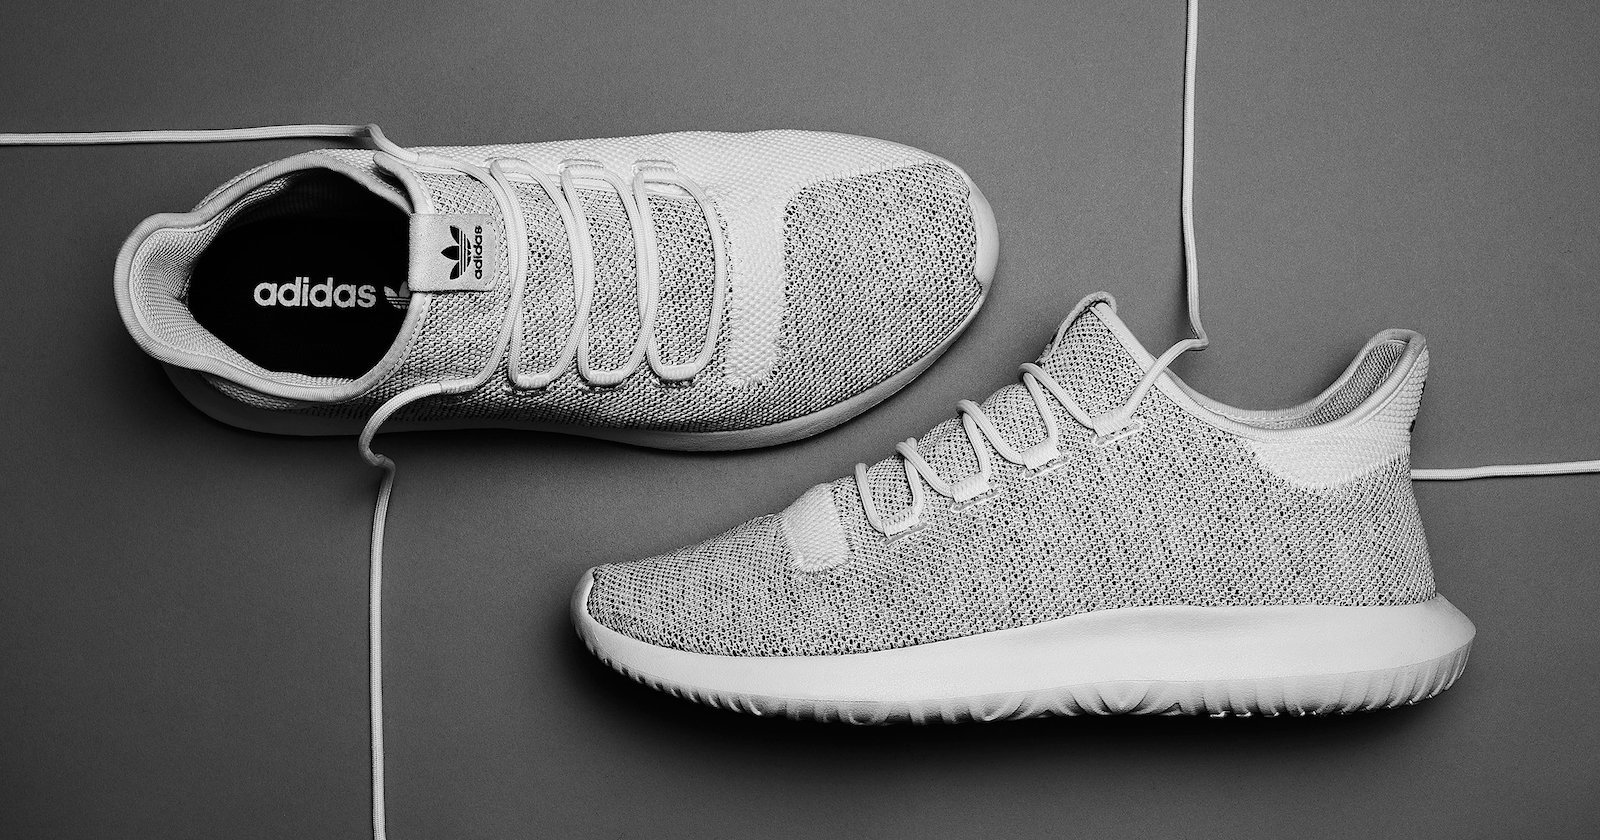
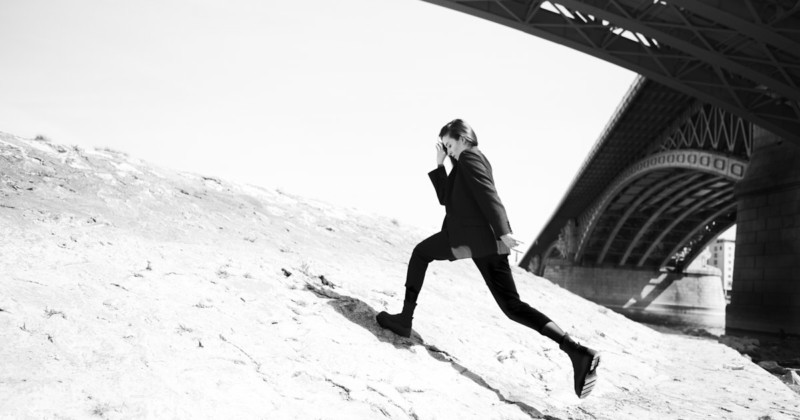
Styling considerations are important when shooting in direct sunlight. For this shoot, I deliberately wanted the model to wear a sharp suit so that it would match the contrasty feeling of the photo.
A top tip for shooting in direct sunlight is shooting in black and white. Sunlight creates contrast, and contrast often results in powerful black and white work. Importantly, all colors appear a lot more saturated in sunlight which may distract the viewer. Black and white solve that problem.
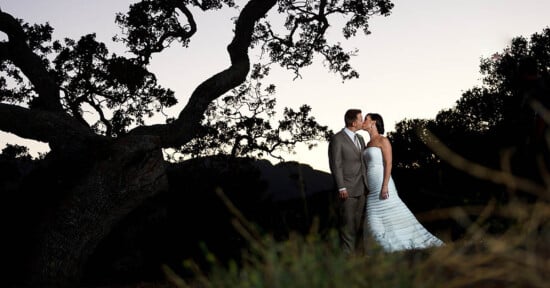
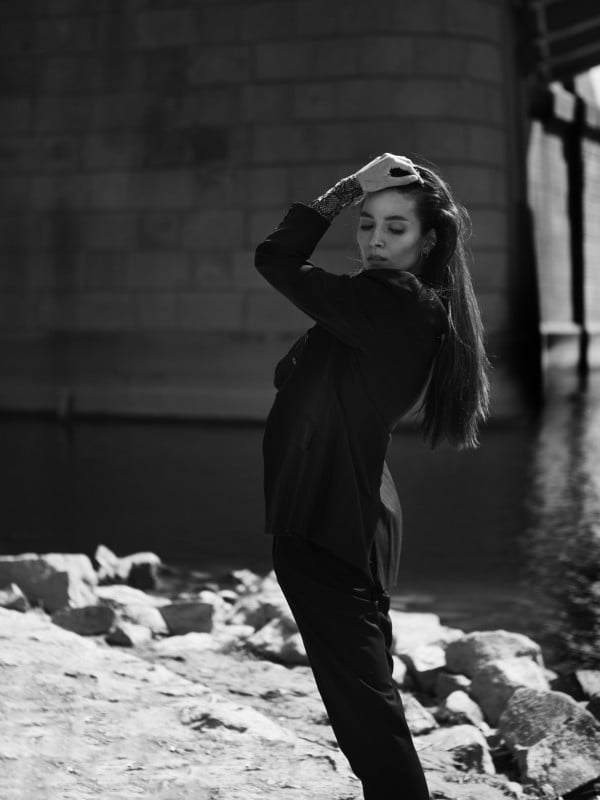
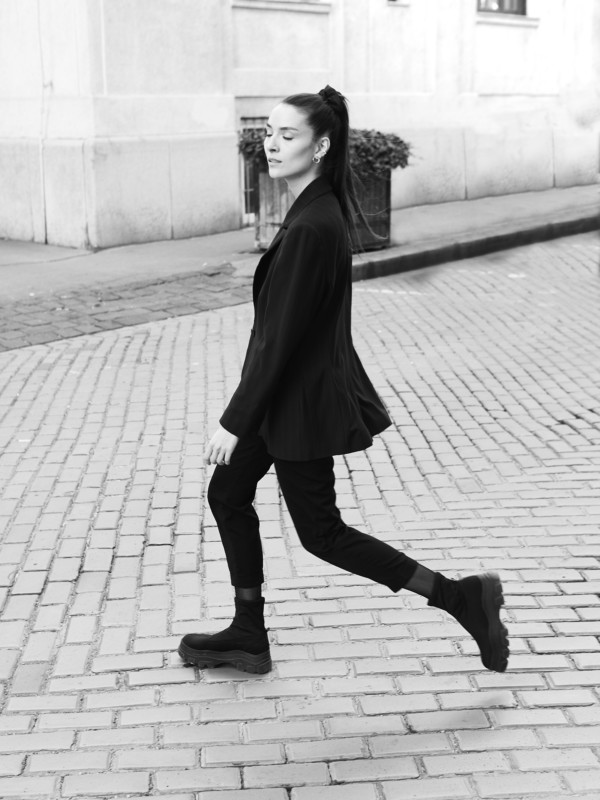
Turn Away
Another technique would be to turn away from the sun. That automatically puts the face into the shade and creates a flattering soft light. I have used this in the past to create portraiture, however, I am not too fond of this method as it is essentially creating a hot rim light which is a pain to retouch.
The rim light does highlight the body outline, so if that’s one of your goals, you may want to turn away and be backlit from the sun. I’d suggest not having the sun right behind, but a bit to either side. Backlit images can be effective, but they are hard to execute well. Personally, I find that backlit images are a pain to focus on and hair is a pain to retouch.
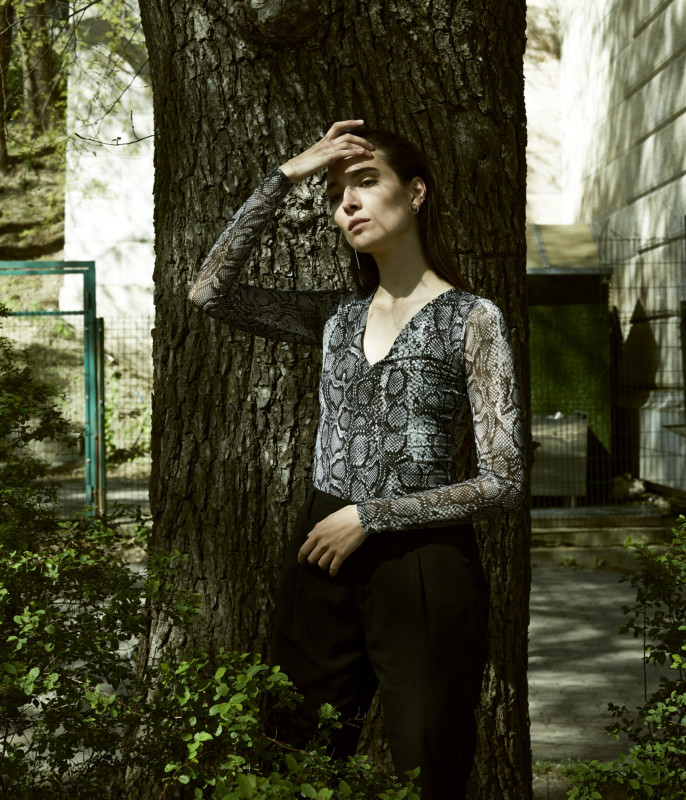
Dappled Shade
Another popular natural light setting is dappled shade. By that, I mean something between full shade and full sunlight. The best way to find dappled shade is to go under a tree and look at the patterns created by the leaves.
I’ve come to dislike shooting in dappled shade, mainly because the direction of the sun always changes and what worked 5 minutes ago now may not work anymore. Besides, the wind messes with the patterns a lot. Still, dappled shade can be used effectively to highlight certain elements of the body which can create positively unusual images.
Using color while shooting in the dappled shade can be effective. The mix of highlight and shadow consequently mean saturated and desaturated tones. On one hand, that’s messy, on the other captivating to look at.
Make sure to pay attention to the face. If there is sunlight hitting the face, ask the subject to look at it. If there isn’t, try to have your subject look approximately where the sun is coming from.
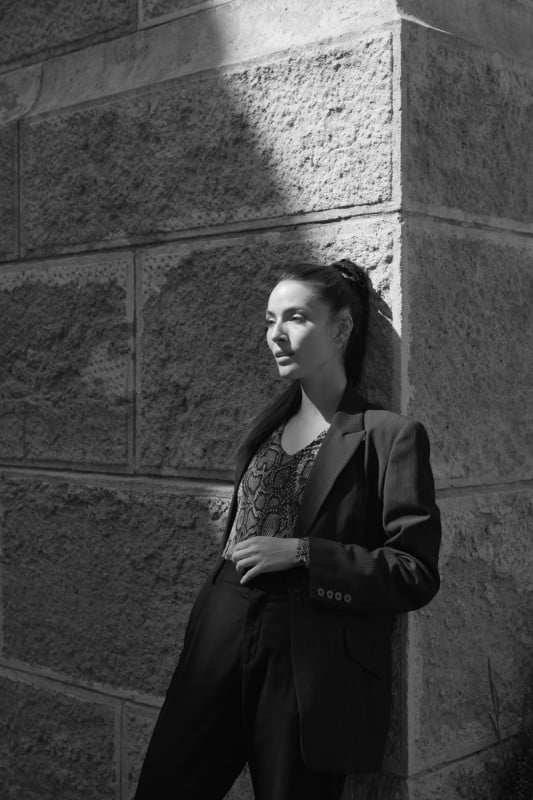
City Patterns
A sub-category of dappled shade is light patterns in the city. Personally, I love those. Light patterns created by bridges, balconies, and railings can create wonderful images with lots of contrast and drama.
If you’re planning to try this technique, be mindful of the subject placement. If your subject is placed in the shadow area, the image will have overexposed highlights and perhaps not have the drama feeling you’re going for. I generally recommend avoiding this at all.
A subject placed in the direct sunlight with a background that’s a shadow will create effective contrast and powerful background separation.
Full Shade
Full shade is a very soft light with no contrast. Light reflects and bounces from the buildings making your scene is one large light source. This is the easiest scenario to work in lighting-wise. There is really no defined light direction, and you can get creative with composition posing, etc. Since there is no direct sunlight, there will be a lot less contrast.
Here you can have more options or just not care so much about smaller details. If you’re in for quick and easy results, full shade gives you the most options. Do be aware that because it is the easiest shooting scenario, many photographers have worked there already. Your work may be similar. Shooting in full shade isn’t really a challenge too.
In Conclusion
When it comes to working in natural light, there are three main options: direct sunlight, dappled shade, and full shade. Shooting in full shade gives you more wiggle room, but it takes away drama and contrast. Shooting in direct sunlight gives an edge to your work — an edge that makes your work stand out from the crowd. Sure, soft light is easy, but hard light is just as good if used well. Being able to work in both is when creative freedom begins.
Practice makes perfect, so I suggest you arrange a natural-light shoot by following this guide to arranging killer fashion photography projects. Feel free to use a similar styling as in this work — it is quite versatile.
Try shooting in a different light and see what results you get!
About the author: Illya Ovchar is a commercial and editorial fashion photographer based in Budapest. The opinions expressed in this article are solely those of the author. You can find more of Ovchar’s work on his website and Instagram.
Image credits: Header photo model: Gönczöl Csenge @g_csengiii