The Ultimate Guide to Fashion Shoots: From Idea to Magazine Submission
Have you ever wondered what it takes to create great fashion work that wows everyone? In this guide, I will break down all the steps you need to take in order to produce something that is of high quality. I’m aware of how hard it is to make fashion work, so in this guide, I am talking about the nitty-gritty, from idea to magazine submission.
This is a long guide, but it’s one I’ve wanted to make for some time. A lot of time and thought went into creating it. Many photographers are stuck for years in the same place because some of the elements are missing.
Pre-Production
This is the stage of the project when it is planned, created, and prepared to go on shoot day. Sometimes this takes months, and sometimes weeks. I’ve never had pre-production take less than a week and for good reason: good things take time. The only times I was creating in a pinch was when I was hired and much of the work was done for me.
Initial Idea
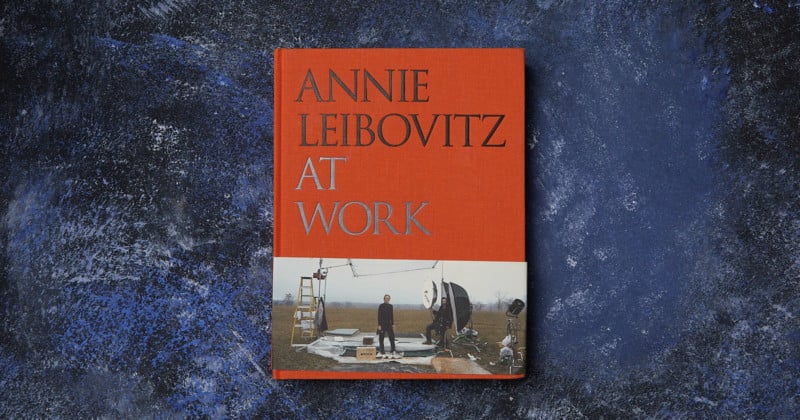
Getting the initial spark can be quite difficult. Some call it inspiration, but I like to refer to it as the idea knocking on your door. If you let it in, do commit to working with the idea. A few sources of inspiration that helped me in the past were books like Annie Leibovitz at Work and Mark Seliger Photographs. I strongly recommend picking these books up for everyone. They are an incredible source of inspiration to me, often my shoot ideas are inspired by them.
Mood-Board
All right, now you have an idea, a vision for your images. How do you go about taking them further? I suggest doing a Pinterest search or just trying to sketch out what you’re envisioning in your head. From there, look around anywhere you please and come up with a mood-board of your ideas. For me, that could often be writing a paragraph where I tell a story of the image. It is also when I begin to create a shot-list. In fact, for me, a mood-board and shot list often blend into one another as I fall in love with a vision and it makes it to my shot list as “vision”.

Making a Shot List: Part I
My shot lists are divided into 4 sections: Vision, Lighting, Styling, and Makeup.
These 4 are the exact details of what is going to happen on shoot day. they serve as a guideline to what is being created. Before I can find a team, you must have a vision in your head. If you want 8 images in total, find visions for those 8 images and put them on the shot list.
Finding a Team
This is a very complex part that deserves a special article of its own. I will keep it short here.
A team is critical to the success of your shoot. I haven’t seen a successful fashion shoot that didn’t involve a team. Yes, sometimes you and the model are plenty if the idea is simple/short, but if it’s anything more, you must have a team. The bare minimum is to have a model, hair&makeup, stylist, and an assistant/Digi tech.
Model
Depending on where you are in your career, finding a model can be either extremely hard or the easiest task on the list. If you’re a beginner, it is often easiest to work with models who are beginners themselves, they probably are not signed with an agency. If you know a photographer that worked with model agencies before, ask them, maybe they can kindly talk to the agency who will be kind enough to find a model for you.
Another way to find a model is to go to Instagram and search by hashtag #model(your city name). When contacting any model or agency please be as detailed as you can, by that point you should have a clear vision and mood for the shoot. State approximate date, time, duration, agreement (paid or not), usage rights, any other relevant info. This will make your communication efficient and quick. It is also easier for the agency, as they hate asking for info over and over again.
Hair & Makeup
Finding makeup is best done with Instagram or word of mouth. While there are makeup artists who are represented by an agency, they are often top of the game and may not be interested. If you have no idea where to start, I suggest joining a group with “TFCD (your city)” in the title. Making a post on there will fill your messages from makeup artists who are interested in collaborating. Remember, there has to be something in there for them as well. Dedicate a few minutes for simple beauty shots.
Stylist
Finding a stylist is the hardest part for me, personally. That may very well be the case for you too. Here the best way forward is word of mouth, or again posting in a TFCD group. The model or the makeup artist will know a stylist for sure. You can also hire a stylist, although I go by the egalitarian idea that if I’m paying one crew member, I have to pay everyone.
In the worst case, the model can bring her own clothes. But before that’s given a green light, reach out to at least five different stylists and get a negative reply or nothing at all. The amount of rejection of obscene in the fashion world so that’s something you have to get used to.
Assistant
An assistant is the crew member who has to be paid in one way or another. That may be lunch or a paid salary. Depending on what their job is, it can be from carrying a light to actively helping you make images. They are your best friend on the shoot. Don’t shout at assistants, and always be nice. Over the times I shot, I worked with anyone from old friends to professionals. Finding a professional assistant is harder in small cities, often there is only a handful. In a large city, that’s not an issue at all.
Making a Shot List: Part II
Now that you have a team and they are familiar with your vision, it’s time for you to complete the shot list. As the makeup artist to create looks, and the stylist to find the wardrobe and send you a few pictures of it. In terms of light, make sure to create a lighting diagram, or have a clear idea in the shot list. Find a photo with the exact light you plan on using, and know what light shaping tools you will use for it. A great book on light that I recommend everyone get is Light: Science and Magic.

Locations
I’d suggest shooting in a studio environment as your first shoot. On-location work is quite demanding and can be unpredictable. If you’re booking a studio, book at least 3-4 hours. It will take you time to figure out lighting and posing till you get decent results. It also gives you peace of mind when shooting. The number of times I had to pack up a set in 10 minutes is too large to count, so do as I say not as I do. Speaking of finances: if the idea is yours, you are paying for the studio, and if it isn’t, try to negotiate it among the team.
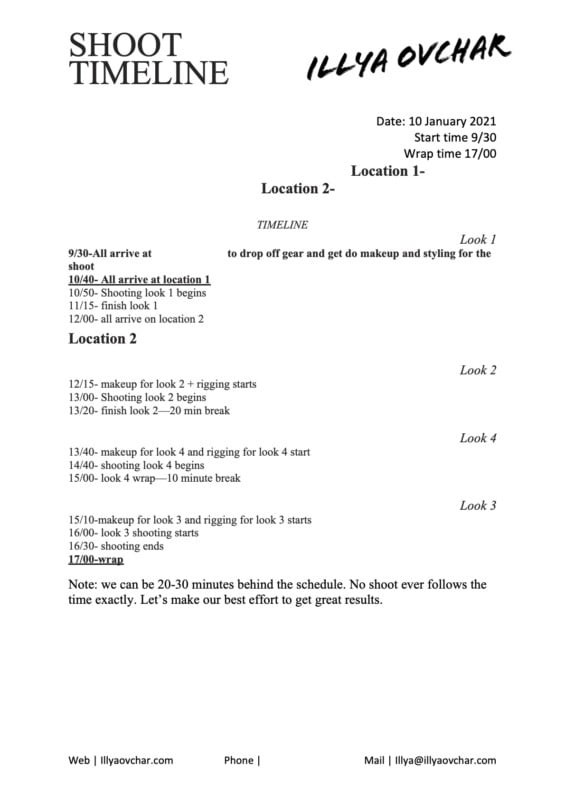
Creating a Timeline
This is where you finalize the exact dates, times, and other details of the shoot. Having seen cinema timelines, mine is nowhere near as crazy. Nonetheless, it shows the exact time, date, and location of each look. Having a timeline is useful for the simple reason of getting through the shoot on schedule.
Renting
You may want to rent a light or anything else from a rental house. I found it to be best to rent from large rental houses which have a lot to offer, and usually have lower prices as well as don’t ask for a deposit. For readers based in the US: lensrentals.com is a great resource I’d use myself.

Production
You’re here, the team is ready, they arrived and they are ready to start. Are you ready? Probably more than you think you are.
Take a Deep Breath
I get nervous before all shoots, it is something quite normal. The topic of stress and anxiety is quite big, and a separate article about that is coming soon. I often resort to taking a deep breath just before showing up or taking a quiet bathroom break alone. Another place where I find my Zen is when I’m setting up. Sure it’s physical, but I tend to relax mentally while putting my umbrella on a flash.
Arriving and Preparing
Should you skip the first part, you still want to make sure that you have everything ready to do and you know exactly what you’re doing. That means setting up your camera and getting everything ready to rock n roll. When the model is on set, your lights are ready, so is everything else. I allow myself to make small adjustments with lights, not changing the whole set. Because I feel like it. The time model spends in makeup is time for you to get ready. On most shoots, 20-30 minutes is enough to prepare the set. Rarely do you need days and a crew of 5. Once you’re done, have a coffee and a nice chat with the crew.
Communicating With Your Team
Not a minute goes by on shoots without communication. Everyone must be aligned and know what is happening. Poor communication leads to sets being ready for look 1, and styling for look 3.
Shooting
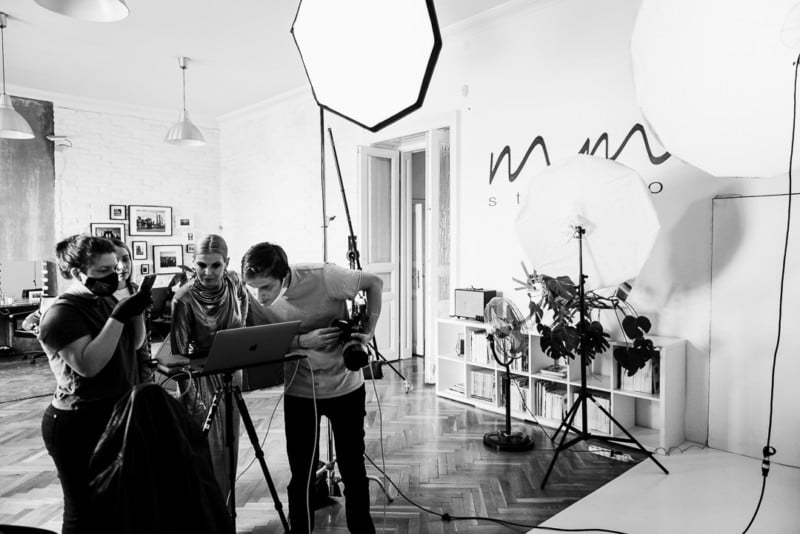
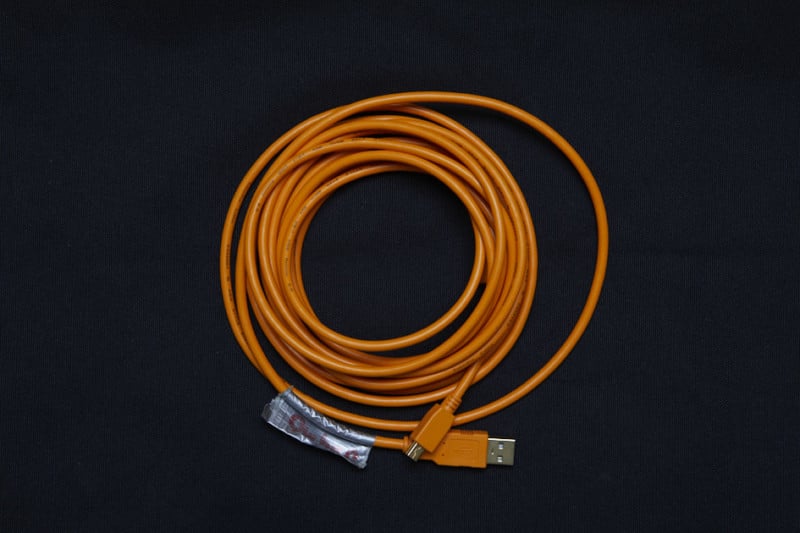
Budget 15-30 minutes for shooting. I know this sounds short, but in fashion quality overweighs quantity. The perfect photo is usually 1/160th of a second. If you have it in the first 10 shots, change looks. Be ahead of the schedule, not behind. When you’re shooting invite your team to gather around the tethering laptop. I am not affiliated with Tether Tools, but as a happy customer, I’ll say that their cables are wonderful — get one of them if you’re working in fashion. You won’t regret it.
Wrapping Up
Once you’re done, say “it’s a wrap”: it is not only a nice tradition on any set, it is also a mental switch off for the crew. Leave the studio the way you found it. No studio manager likes cleaning up or putting away stuff after lazy crews. Be respectable to the place you created at.
Backup!
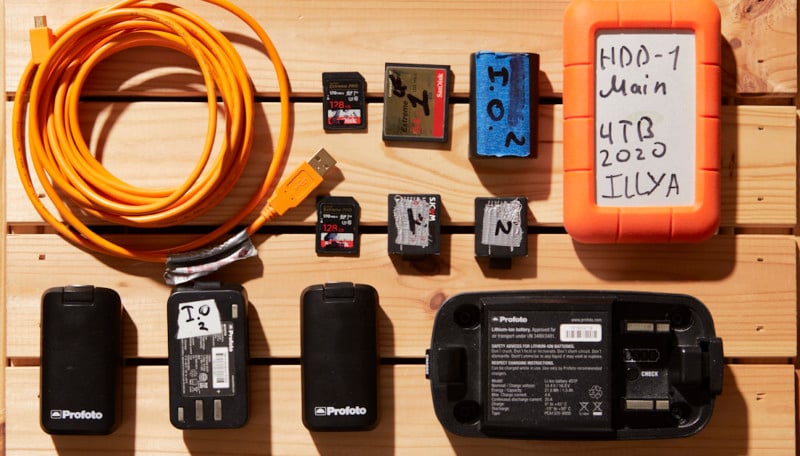
You’re not done if you don’t have at least two copies of the shoot. I bring two separate hard drives on all shoots and back up to the cloud when I’m at the office. That way, nothing is getting lost. I found LaCie 4TB rugged drives to be the best solution for shoot drives.
Post-Production
Yet again, there are many more comprehensive guides to post-production. I won’t dive into editing too much, instead, I will show you what you can do with the photos after.
Editing
I work with a retoucher who gets my raw files to edit. The way he works is first with Capture One, and then with Photoshop. Afterward, I receive either TIFF files or PSD files to color grade.
Taking the Shoot Further
Besides just being happy with your work and posting to Instagram you can also try submitting to magazines. Depending on your level, that may be a big printed magazine or a small online publication. No matter the scale, contact a few of them. Inevitably someone will say yes. Another option that I found to work in the past is submitting to Kavyar.com.
A few words of caution here: they use a pay-to-play business model. It means that there is always an option to purchase a cover for $270 and ensure your photos are on the cover. While I personally think it’s a scam, many people do buy that cover option. In reality, it does not give you anything beyond a “cover” of an unknown online magazine. Some magazines are so big on selling covers they have 70+ versions of the October issue. Those $270 can be spent on a new shoot which will help you grow as a photographer.

Closing thoughts
Fashion photography is a genre of continuous growth. There is always a project you want to do next, an idea that visits you, or a dream client you want to shoot for. I speak earnestly when I say that when I tried skipping steps in the guide I failed. Good things take a lot of time. But with them comes a reward of incredible images every time.
Images that make your team go wow, and help you get booked for the next job. The more you shoot, the better you are. Shoot because of the idea, not because you are pressing a button on repeat. Challenging yourself with each shoot is also helpful, allowing you to see progress a lot better.