100 Photography Tips for Beginners
Back when I started out as a photographer in the mid-1990s, I had to figure everything out by myself. I made a lot of mistakes, but in doing so I learned a great deal. To help others, I have put together this list of 100 tips that every beginner photographer should hear.
If you want to shoot photographs with a blurry background, I start off with tips and techniques for those. However, if you really don’t like the blurry background look, I cover other ways to get your photos looking nice and crisp and I give you a whole myriad of tips and tricks that I have learned over the 25 years that photography has been in my life.
If you’re worried about not having the pro-level up-to-date gear, don’t fret! You can get some great images with an entry-level camera and it can teach you so much about photography. Even if it is an older camera, what we have these days is leaps and bounds ahead of anything we had back when I first picked up a camera.
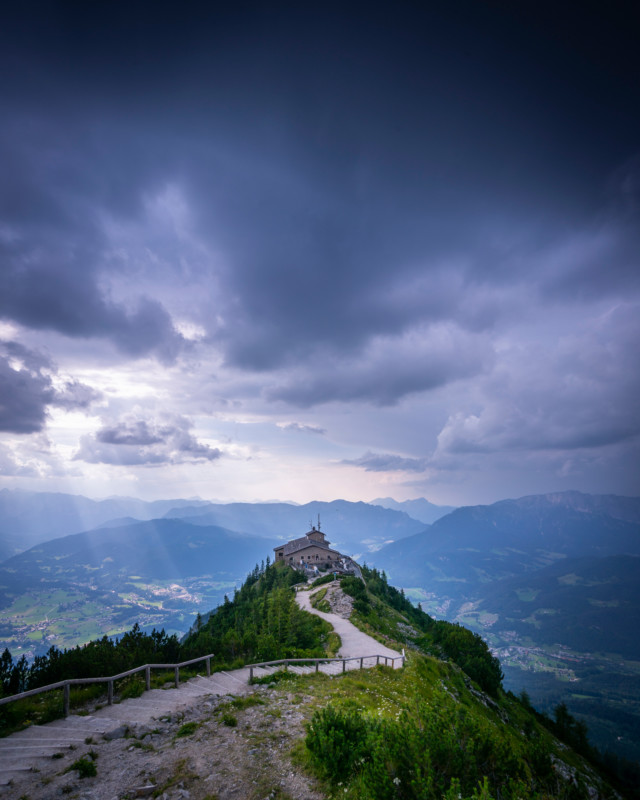
I also cover a lot of different tips and tricks for landscape photography as it is what I am passionate about. When I am not shooting for corporate clients or doing professional headshots for businesses and their personnel, I’m shooting landscapes. Even with the current global situation where we can’t travel as much as we normally would be able to because of the COVID-19 pandemic, I still make time to enjoy the scenery that I do have access to.
Landscape photography offers so many different challenges, so hearing a few of my tips and tricks and keeping them in your back pocket will really help you get much better photographs.
In the video above I go over all 100 tips in detail, but below are the first 50 to whet your appetite.
- Use “Auto” modes as a safety net if you get really confused with what functions actually do.
- Start shooting in RAW.
- Use a wide aperture for shooting portraits.
- Use a longer focal length for shooting portraits.
- Learn to use the aperture priority mode to better understand how aperture affects photos.
- Learn to use the shutter priority mode to better understand how shutter speed affects photos.
- If you want a blurry background, move your subject away from the background.
- If you can’t get your background out of focus, get closer to your subject.
- Learn to use flash in manual flash mode.
- Don’t be afraid to raise your ISO — these days it can go higher than you might think.
- On that note: noise is better than blur.
- Learn how exposure compensation works in your camera, and where to find it.
- Unless you want a really shallow depth of focus, set your lens to its best performing aperture which can range between f/5.6 and f/11. I shoot a lot of portraits for corporate companies at f/5.6 to f/8 and they come out super sharp.
- Learn the rule of thirds.
- Ignore people who say the rule of thirds is rubbish.
- Focus on the eyes: this is why there has been such a big push recently from the camera companies to get great eye-AF and it is well worth it.
- Patrol your edges: if something creeps into your shot and you’re not aware of it, it can sometimes ruin the photo.
- Invest in a good planning app like PhotoPills.
- Learn about the histogram. This is an essential tool to help you get a better-balanced shot.
- Keep an eye on your background and what is in. It is amazing how easily you can miss something while taking an image that is so distracting to a finished photo.
- Invest in a good photo editing program — not just an investment in paying for them, but an investment in time to learn how to use them. Adobe, Capture One, and Darktable are solid options.
- Look through your photos from time to time and see if there has been an improvement. Try and learn what you are doing wrong and what you need to work on.
- Find a mentor. This could be someone online or in person, but having someone that is on the next level to you is really important to help push you and your photography to the next level.
- Learn to hold your camera properly.
- Once you shoot in RAW, know that white balance is not that important in the taking stage but more so in the editing stage.
- Switch your camera to manual and head out to a park or somewhere nearby where there are no pressures to get the shot and learn how to use it.
- Learn your camera setup: Where to access and change your principle settings like aperture, shutter speed, and ISO.
- Don’t think that you have to buy the best gear straight away. Photography is a hobby that will last for years and you will build up a decent set of gear over time.
- Have a camera setup that you can take everywhere with you — the best camera is the one you have with you.
- Plan some photographs you want to take
- Go out and actually take those photos.
- When shooting a subject, be it a person, a place, or an object, work around it. Shoot it from different angles, different focal lengths, and different heights. It’s amazing what you can get and how different you can make your subject look.
- Take photos regularly.
- Do a sunrise landscape shoot. This will either help you fall in love with landscape photography or make you realize you’re not a morning person and maybe landscape photography is not for you.
- Learn about the exposure triangle and how it helps you know how your three principle settings interact with each other.
- If you’re not a morning person, photograph sunsets
- If you’re not a morning person and you shoot sunsets, learn how to Photoshop people out of your photographs.
- Photograph everything: parties, landscapes, people, whatever is in front of you, photograph it. Even if there are no good photos from one event, you’ll build up your time behind the camera and after a while, it will become second nature to know where all of those principle settings are.
- Find some events near you and go and photograph them. Be it a running event, a car race, some bikers going down a trail, there will be events around you and these are great ways to have a subject ready and waiting for you to photograph and practice.
- Find different locations to shoot the same subject.
- Shoot the same subject at different times of the day.
- Try to find shapes in what you are photographing and think of ways to incorporate them into your photos.
- Look for leading lines to draw the viewer into your shot.
- Make a sunburst photo. Hint: shoot with high aperture numbers such as f/11 through f/18.
- Look for a foreground element and integrate it into your composition.
- Emulate, then create. If you see a photo you like of a place you are visiting or you live nearby, try to recreate it first, but then see if you can make a beetter photograph of that subject.
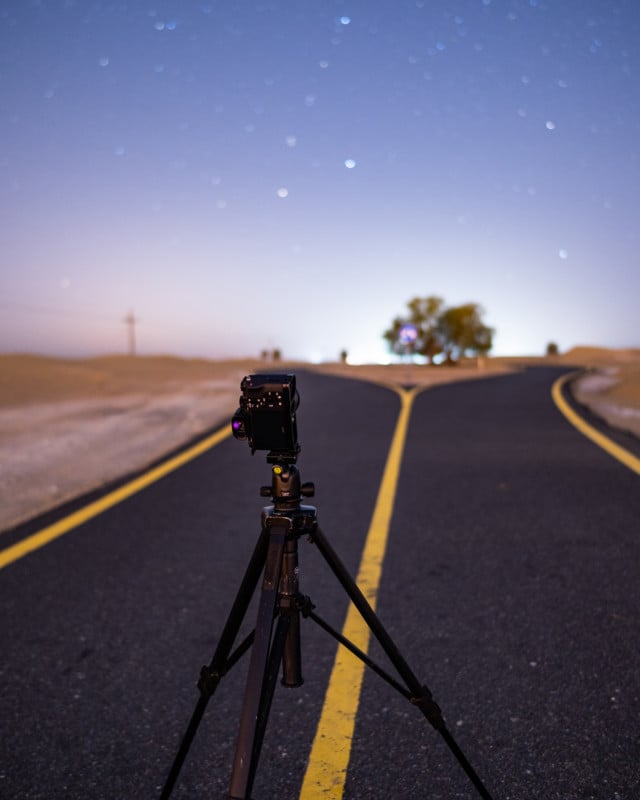
- Try astrophotography.
- Realize it takes a few days to recover from a full night of astrophotography.
- If you are shooting a big landscape, try finding something to give it scale. Whether it is a person in the shot, a building, or a boat, put something in the frame to show how grand it is and it will look even grander.
- Look around when you are photographing a scene — you might be surprised at what you see behind you.
I hope that what I’ve amassed here will help photographers avoid the painful mistakes I made when I first started taking photos. Make sure to watch the video above to hear the rest of the tips!
About the author: Mike Smith has been a photographer for over 25 years. Starting with the EOS 5 film camera in the 90s, he has developed his skills yet continues to learn to this day where he predominantly shoots with Sony cameras. “The thing I love about photography is that you can keep learning forever.” He carries this thought process over to his YouTube photography channel where he share no-nonsense tutorials to help spread his knowledge of the craft.