Review: The TourBox is My New Favorite Editing Tool
When I first saw an ad about the TourBox, two thoughts came to mind. “Look, another console promising to change the way you edit” and “this looks weird”.
I love gear, but ultimately, it has to make my workflow substantially faster to find a place on my desk.
Despite how it looked and my initial reservation that it was yet another device that would just clutter up my desk, I found the idea of the TourBox intriguing and promising.
Unboxing The TourBox
The TourBox came pretty well packaged and presented in a slick all-black box. I’m not a hoarder, the box was so nice, I actually kept it to keep random cables and photos accessories.
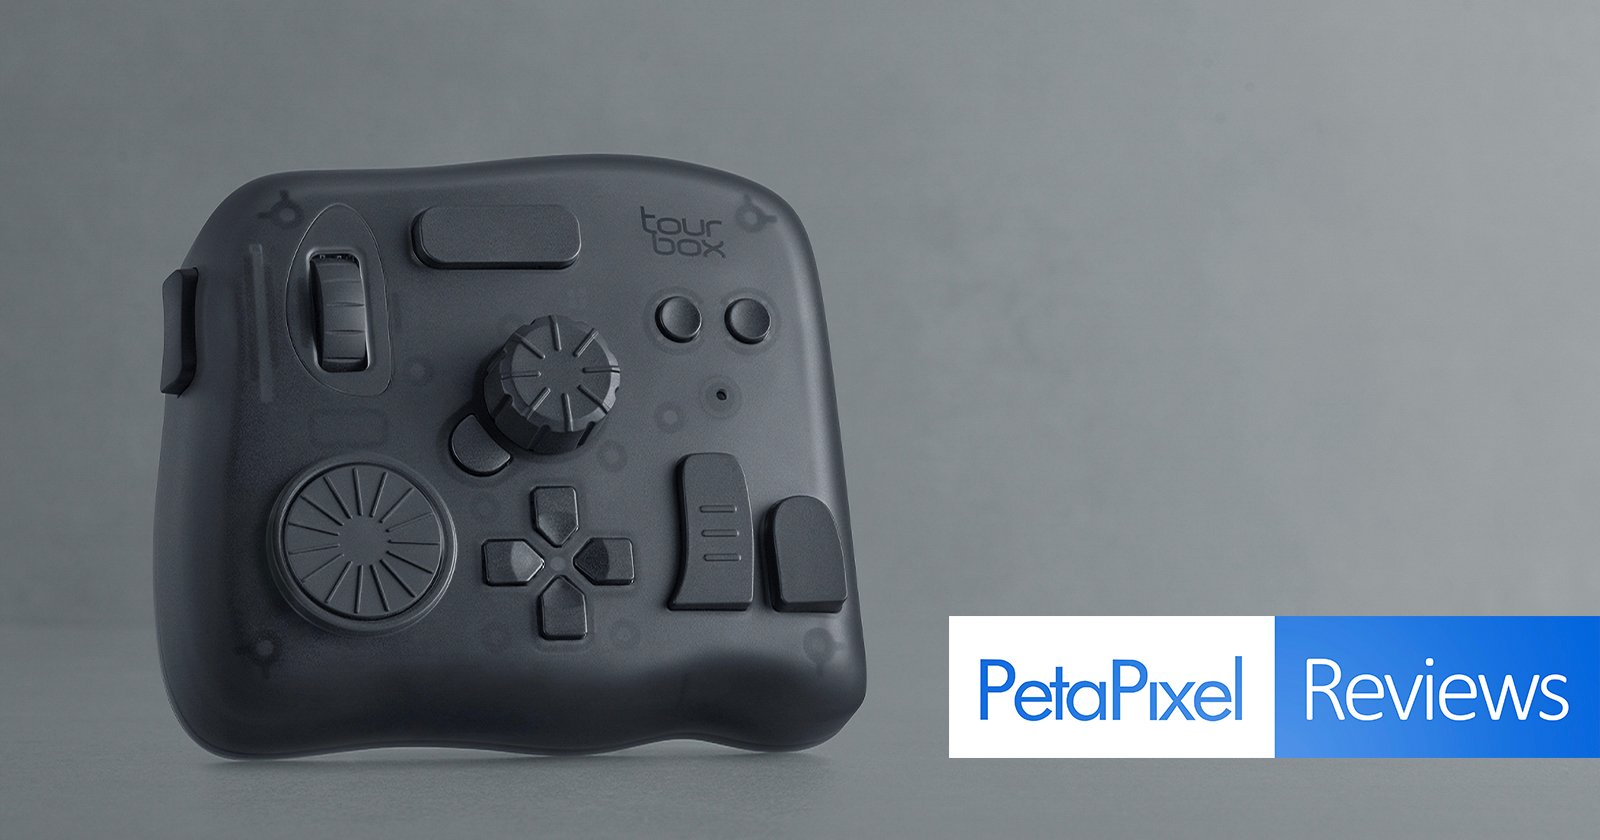
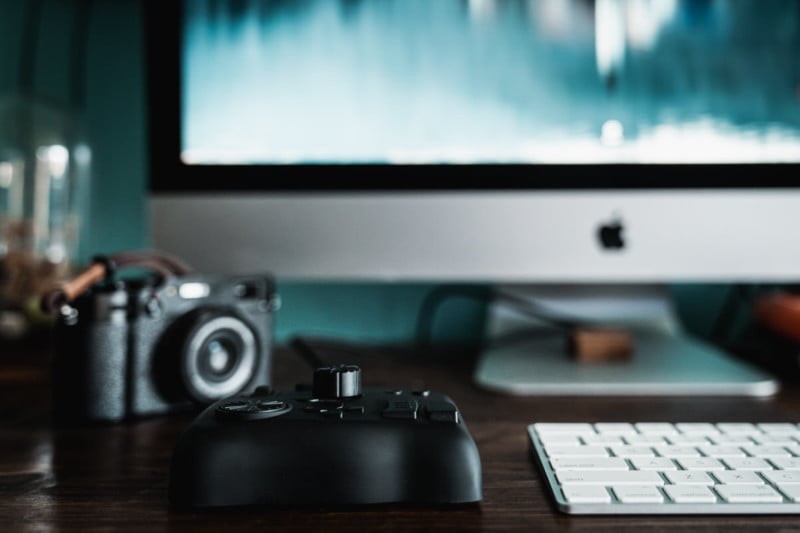
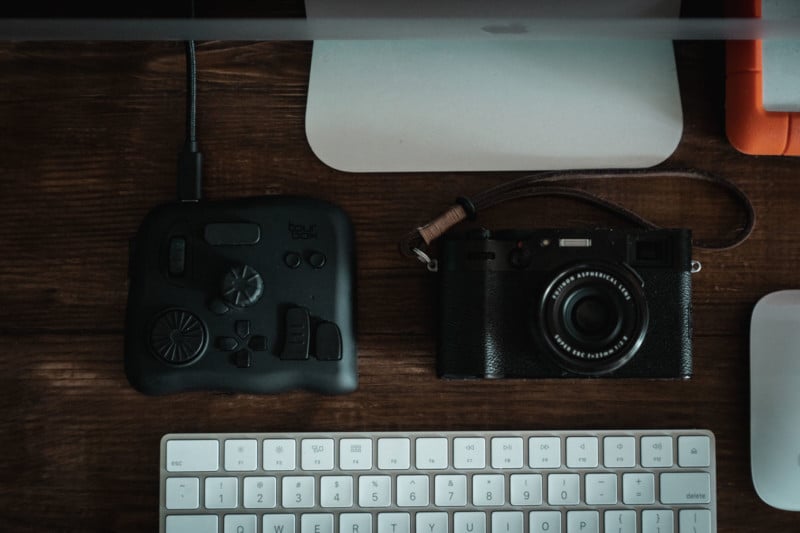
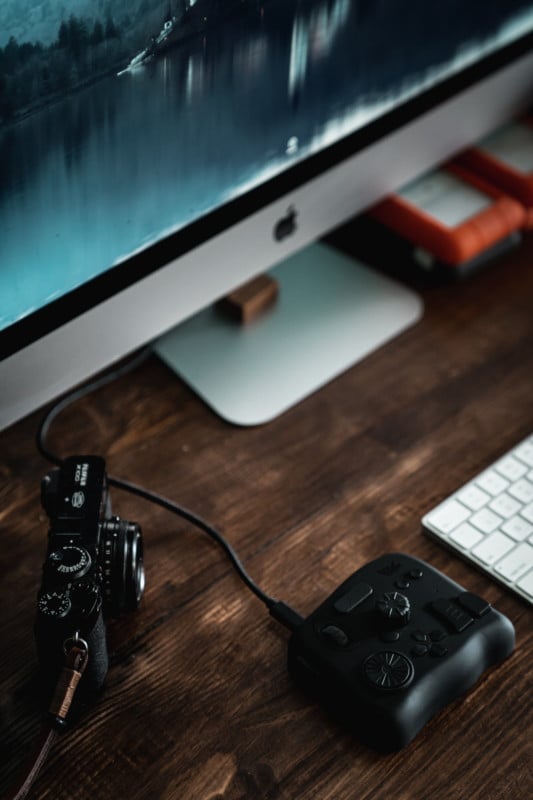
I was pleasantly surprised by the weight and feel of the TourBox. It weighs 386 grams, so that’s about .85 lb. The thing felt solid in my hands and stayed put on my desk when I was playing around with the buttons. The console is covered in a smooth matte rubber that I really liked. Except for the scroll wheel that shares that same rubber material, all the buttons and dials were plastic. It’s small enough that I plan on packing it with me when I travel and edit on the road.

There’s a standard USB and a USB-C connection at the top of the device and it comes with a USB-A to USB-C braided cable.
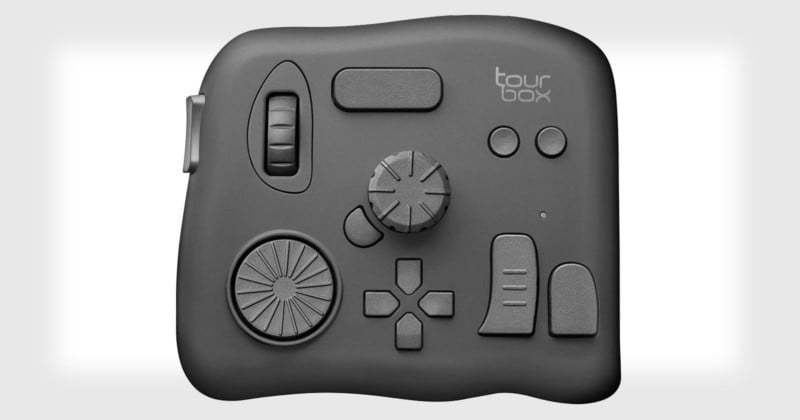
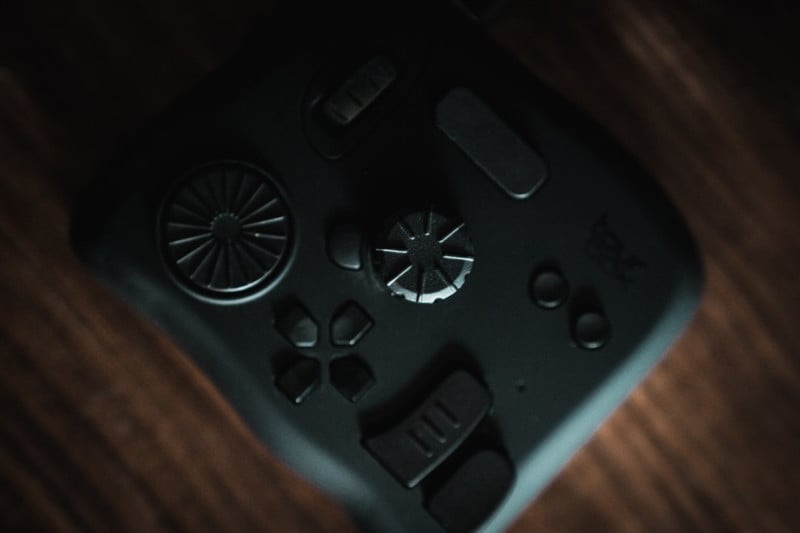
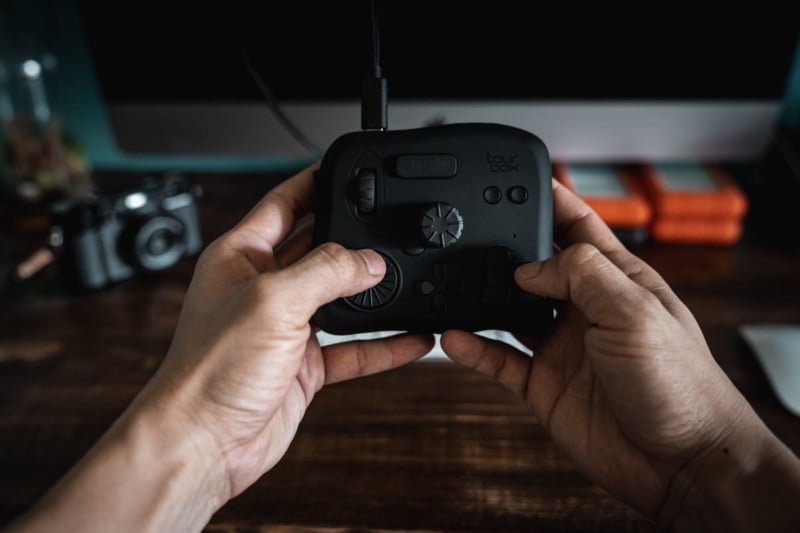
At a quick glance, there were 3 different “wheels” on the device: a scroll wheel, a large knob, and a dial. There was also a 4 direction pad, and 7 buttons in various shapes and sizes. When I first looked at the TourBox, the button shapes and placement seemed a little strange, but as soon as I placed my left hand on the device, it all made perfect sense.
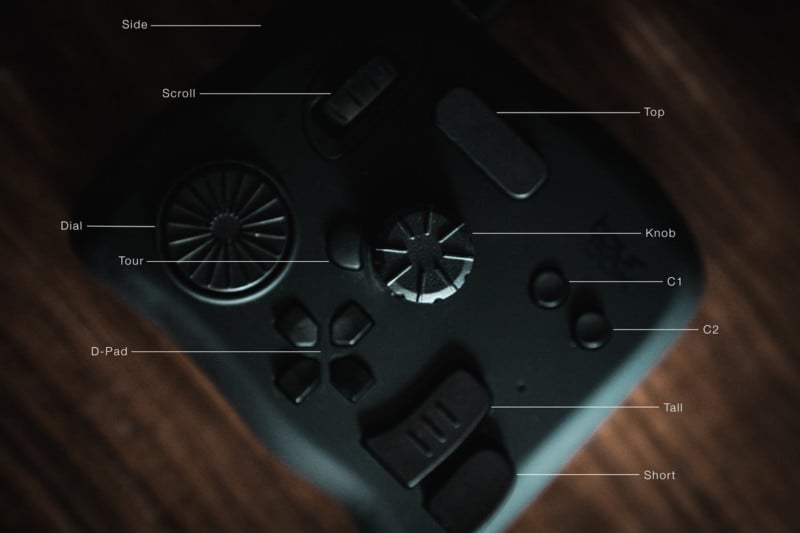
The thumb hovers over the Tall and Short button to the bottom right.
The index finger hovers over the two C1 and C2 buttons to the top right.
The middle finger hovers over the large Top button at the top.
The ring finger can be placed over the Scroll wheel, the Dial, or next to the Side button.
The pinky can also be used for the Side button, but that was a little awkward for me.
If you shift your hand over a bit to the left, the thumb and index finger can control the knob and the directional pad.
To me, it was clear that the TourBox was designed to be used with your left hand. Just something to note if you are left-handed. If that’s the case, I found that turning it 45 or 90 degrees made it much easier to access all the buttons and combinations if you were using your right hand.
Setting Up And Customizing The TourBox
Getting the TourBox up and running is pretty straightforward if you follow the directions. I did not and forgot to enable one of the permissions settings the first time around leaving me unable to do any customization.
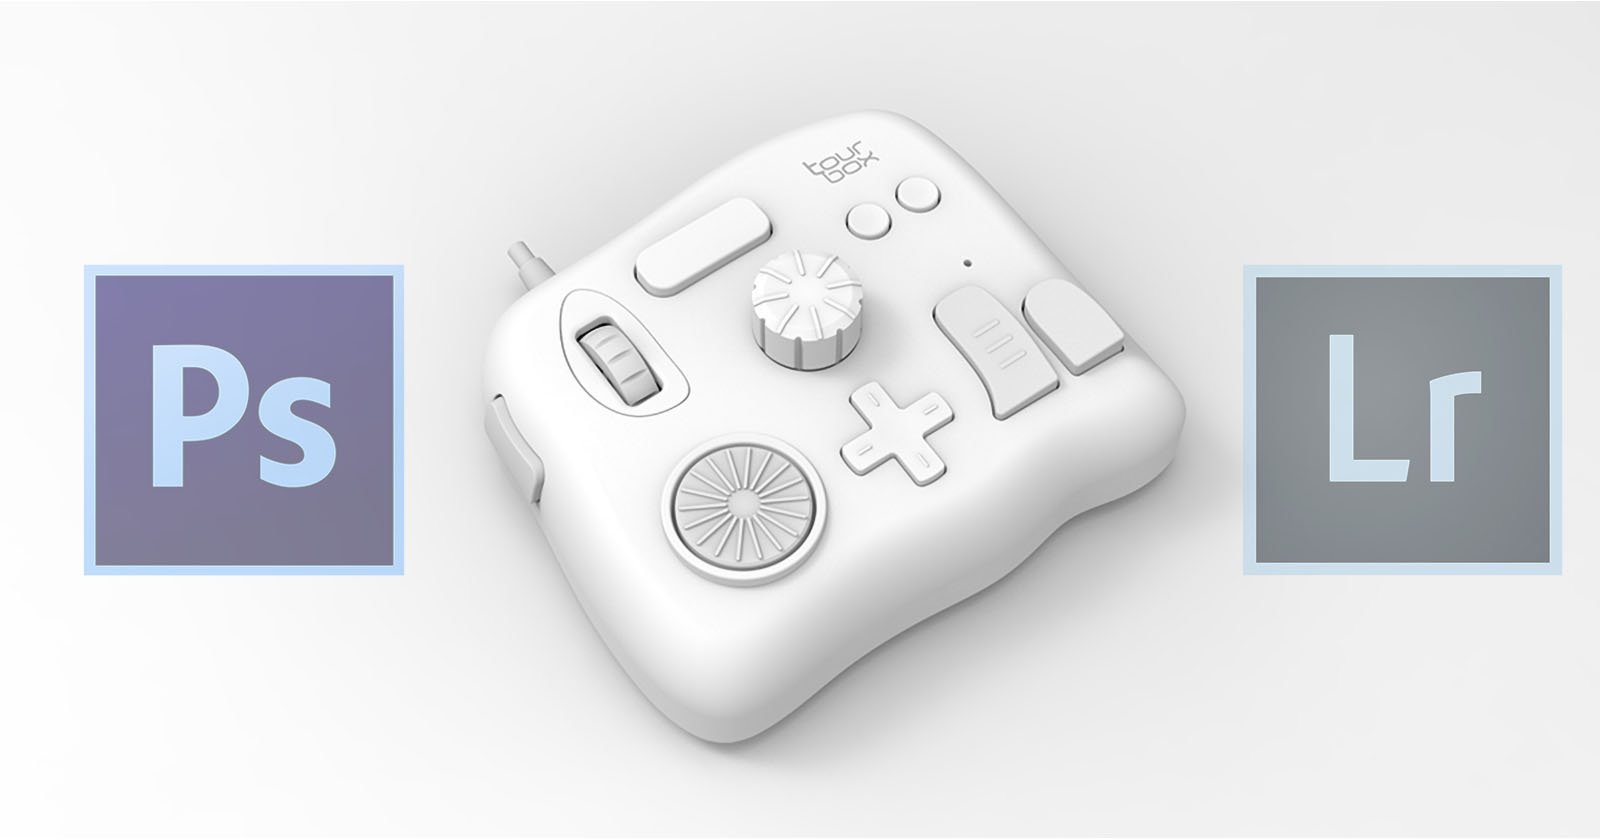
Out of the box, the software comes pre-programmed for Lightroom and Photoshop, but you can download pre-programmed presets for Final Cut Pro X, Premiere, Capture One, Affinity Photo and Clip Studio Paint on their presets page. The website also includes presets from a few power users.
My recommendation is to use the built-in presets to get acquainted with what the TourBox can do, and then create your own preset for each program, which is pretty easy to do in the TourBox Console software. This will take some time and like me, you’ll probably end up changing it a few times until you settle on something that works for your workflow.
Note: I’ve also included a link to my own presets and an in-depth write-up about my methodology that you can find further down.
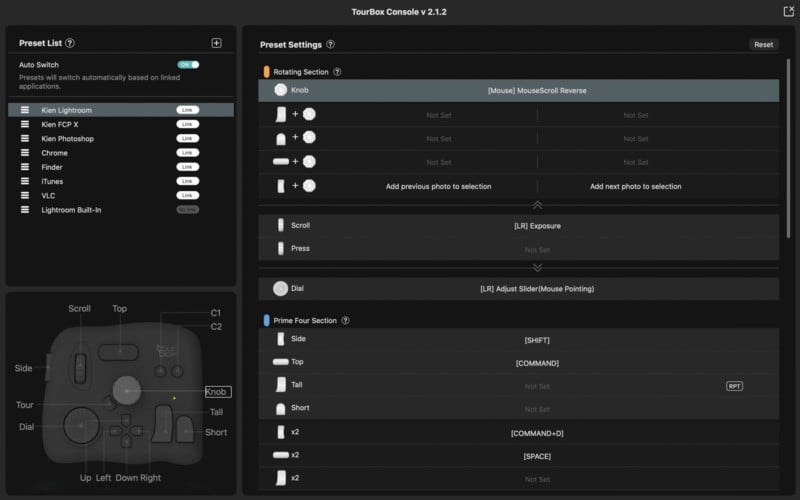
In the TourBox Console, you can customize it using the built-in functions or any keystroke combinations. There are combo options too so that you can define more functions by pressing two buttons at once, along with double click options. This allows for a lot of customization using the 14 buttons and wheels.
What I Didn’t Like About The TourBox… The First Time Around
Honestly, I was a little disappointed in my first couple of sessions with the TourBox while using Adobe Lightroom. While I found the buttons to be very responsive, which was very important, having to memorize a whole new set of buttons and combinations was daunting, considering all the different adjustments you can make. It simply didn’t make my editing any faster.
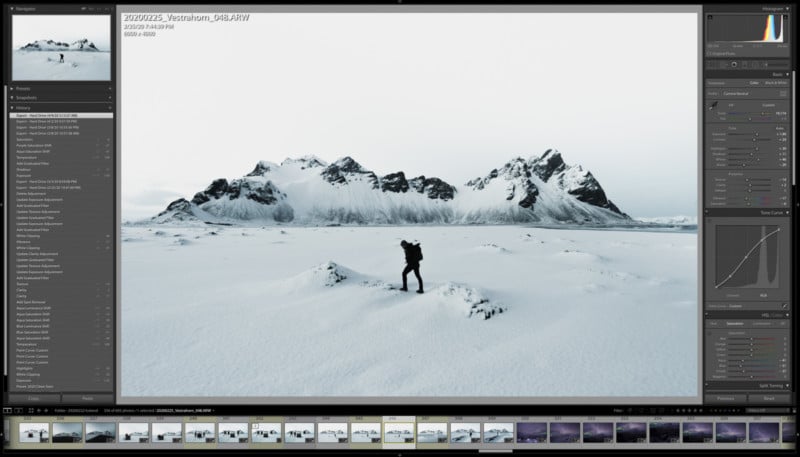
Sure, it was really nice to select something like Exposure and then turn the knob to make fine adjustments, but I still had to go back to the mouse to play with something like the tone curve, which is something I use for every photo.
With the Hue/Saturation/Luminance color adjustments, you were meant to scroll with the wheel to select the color, click on to toggle between Hue/Saturation/Luminance and then use the knob to make adjustments. This was just too many clicks and most of the time I already knew where to click along the adjustment line with my mouse for each setting based on my editing style.
Photoshop was a completely different story. It worked really well in Photoshop, but I use Lightroom 90% of the time. I’ll get to Photoshop a bit later, but that was the only reason I kept it on my desk.

Giving The TourBox A Second Chance…For Culling And Selecting
Before the lockdown, I had a few thousand photos left from my last around the world trip that I still hadn’t fully gone through. Culling down and deleting is the least favorite part of my workflow. It’s slow and tedious as any event photographer can attest to. You can find me hunched over for hours at my desk, with my right hand over the arrow keys and my left hand clicking away at the X key to reject photos for delete.
I decided to try customizing the TourBox to include all the keystrokes I used during this part of the workflow.
X – Reject
U – Unflag
G – Toggle Grid View
Enter – Open Photo For Review
D – Toggle Develop View
Command + ] – Rotate Photo
Arrow Keys – Moving Back and Forth
It took about 10 minutes of trial and error before I sat back with the TourBox in BOTH hands like a game controller and went through a couple thousand photos with a renewed motivation.
This was the Eureka moment for me.
Instead of trying to use these types of consoles to replace my mouse and keyboard for the WHOLE editing process (which it could never do), I could use it selectively and save a lot of time for a PART of my process. I continued to add more shortcuts to the TourBox and ultimately arrived at a preset that I was really excited about. It was all about managing expectations with these editing devices.
Note: Let me preemptively clarify one thing. The following customization below is how I chose to you it. You can customize it however you choose to best fit your editing style. For some, you can use it almost as-is out of the box and find it enjoyable.
I left a lot of options NOT SET, but now I could quickly adjust Exposure with the scroll wheel as I went through the first pass of my photos. Then, I could use the Dial to adjust the slider of whatever adjustment my mouse was pointed at, which allowed me to visually see changes without having to constantly look over to the adjustment panel, click, hold and slide the mouse back and forth. There were also shortcuts added to deselect, undo, and redo.
I also create shortcut combos to access frequently used tools like the Spot Removal, Graduated Filter, and Adjustment Brush and one to close out of them.

I don’t think this was what the designers envisioned, but it works and it works really well. With a few other shortcuts, I could select the photos I wanted to batch for settings synchronization and apply the changes without ever having to use my keyboard.
Note: If you want to download my Lightroom preset and read a full breakdown about the customization, here’s the separate post that goes in depth into that.
TourBox In Photoshop
I don’t use Photoshop nearly as much as Lightroom, but here is where the TourBox shines. I personally hate remembering all the shortcuts for adjusting brush sizes, hardness, flow, etc. There are shortcuts like zooming in and out that I prefer to do with my right hand (CMD +), but that involves me taking my hand off the mouse or pen.
I won’t go into as much detail for my customization since everyone uses Photoshop differently, but having the three wheels and the combination of using the wheels with another button is nothing short of amazing.
You can quickly go through layers, adjust brush settings, zoom, call the color dropper, switch between the foreground/background colors. Use the D-Pad as 4 separate buttons to bring up different tools. Combine it with the Side button or the Top button and bring up even more tools. If it’s too hard to remember, the TourBox Console also has the option of a floating HUD that tells you what the shortcuts are when you start pressing the buttons.
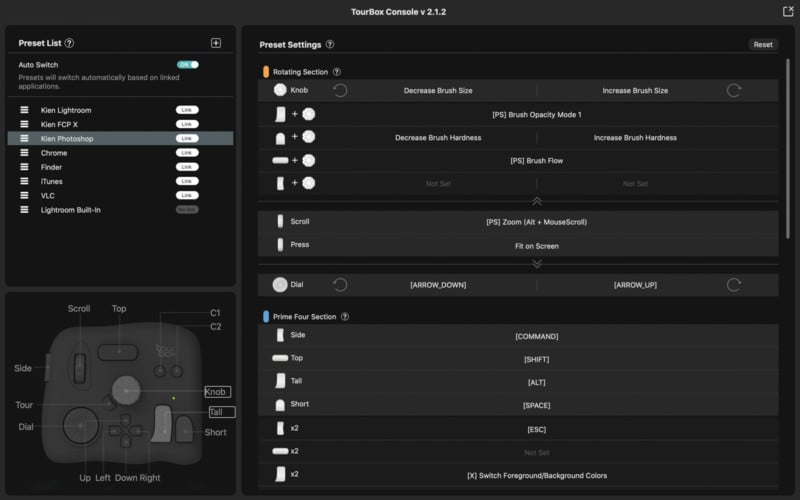
I recommend taking your time playing with it in Photoshop to get the shortcuts that YOU use regularly. It will be different for everyone and you can even create multiple presets for different types of projects.
Final Cut Pro X And Beyond
Lastly, I wanted to touch base on Final Cut Pro X, because I split my time heavily between photos and videos. None of the editing consoles I’ve used in the past really did much for me with video editing – until now.
As much as I loved it for Lightroom and Photoshop, the TourBox indispensably has a place on my desk and all my future trips because of how much time it saves me in video editing.
One neat thing with the button customization mapping to keystroke shortcuts is that you can use it in pretty much any program on your computer to a certain extent. I’ve created a preset for my Chrome Browser to open and close windows, copy and paste, play/pause a video on YouTube or Netflix, toggle fullscreen mode and even scrub through the video, which is my favorite feature.
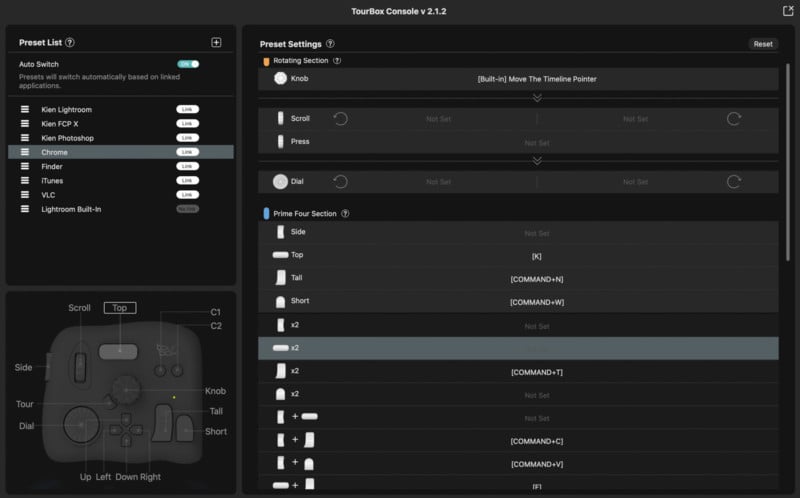
I’ve even created presets for my iTunes, VLC Player, and Finder.
Is There Anything I Don’t Like About The TourBox?
If there’s one thing I would request for a next build, it would be wireless Bluetooth connectivity. No one likes wires. While the USB-C wire provides responsive connection, having it work wirelessly like my mouse and keyboard would make this even better.
Customizing the TourBox yourself is a pretty easy process, but it will require some trial and error. One limitation I found is that certain combinations will not work on the console. Since you can set every button to be any shortcut function you want, any combination that also uses that button for a different function will trigger the original function first.
For example, I initially set the Tall button to reject an image. And then set a combination of the Tall and C1 button together to Sync Settings. Whenever I tried to use the latter, it would reject my images first. It makes sense since I am technically pressing down on either the Tall or C1 button first thus telling it to do what I programmed for that button. In the end, it wasn’t a big deal, I found combinations that all worked as I wanted and you can find them in my presets.
Honestly, there’s not much I don’t like about it once I spent a couple of hours customizing it for all my programs. The uptake process for this is very low compared to other consoles and I found that memorizing my shortcuts on the TourBox was pretty easy. Since there are no dedicated buttons for any program-specific functions, it’s highly customizable and I never felt like there were a bunch of extra buttons sitting around for nothing.
If you’re looking for a compact device that doesn’t take up much desk real estate and will save you some time in your workflow, I’d highly recommend looking into the TourBox.
P.S. You can use this link and code (TB202072901KL) to get $10 off and also save on tax buying on the TourBox page.