How to Make a Pinhole Film Camera at Home with Some Packaging
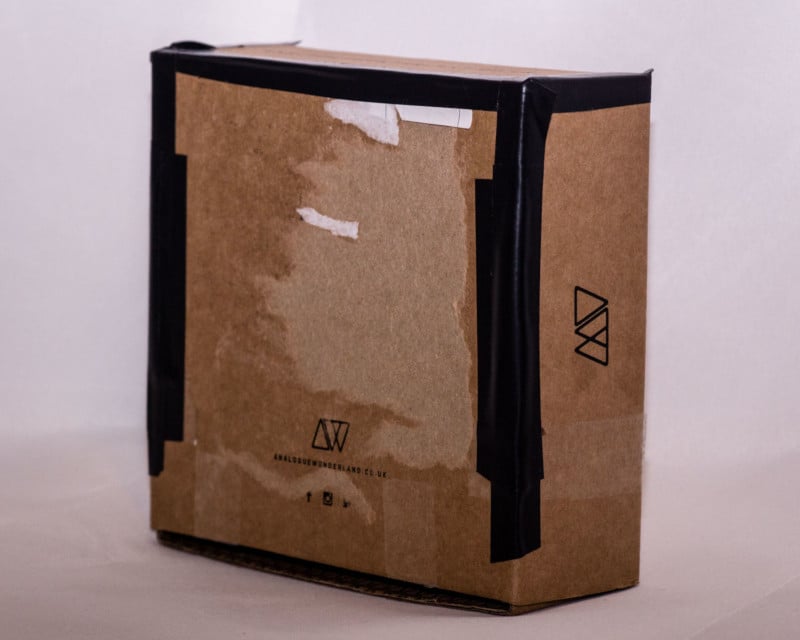
It’s nearly the end of April 2020, the coronavirus lockdown is in full swing here in the UK, you’ve already been out for your one hours allowable exercise, and you’re bored! This was me, and my predicament.
That’s when the light bulb moment happened. “I wonder if I could make that into a camera?”
Now I enjoy all forms of photography, but I do love pinhole photography and I enjoy making pinhole cameras. But making a camera out of a piece of packaging that’s basically cheap brown cardboard and full of fairly obvious holes where its folded together?
“Nah! That’s a stupid idea,” says the sensible internal voice. “Cool, let’s do it,” says the up-for-a-challenge internal voice (did I mention the lockdown? And boredom?).
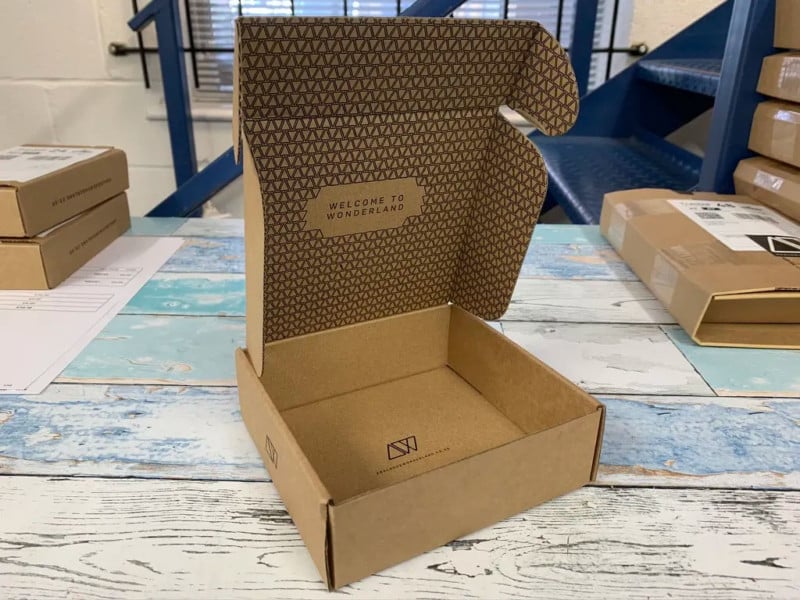
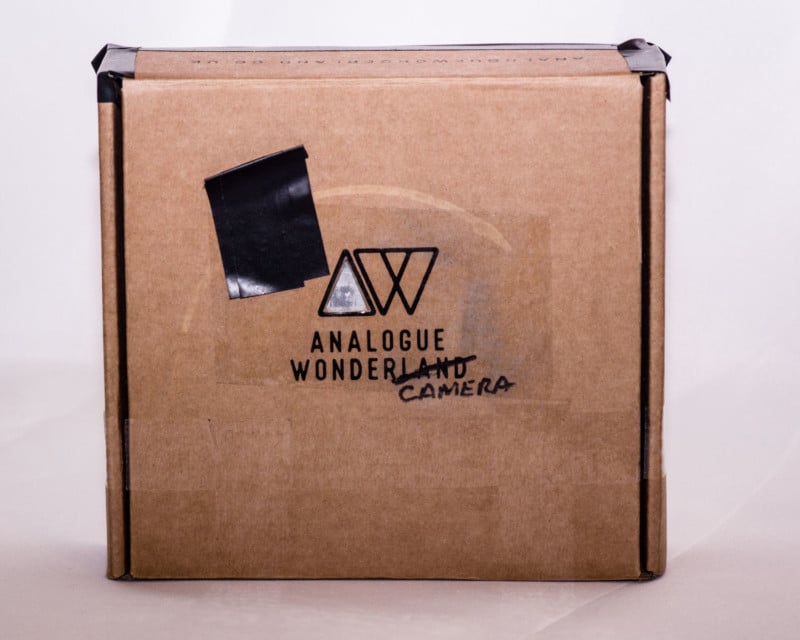
Cutting to the chase, it turns out it is, in fact, both possible and fairly easy to make a pinhole camera out of Analogue Wonderland’s mailing boxes.
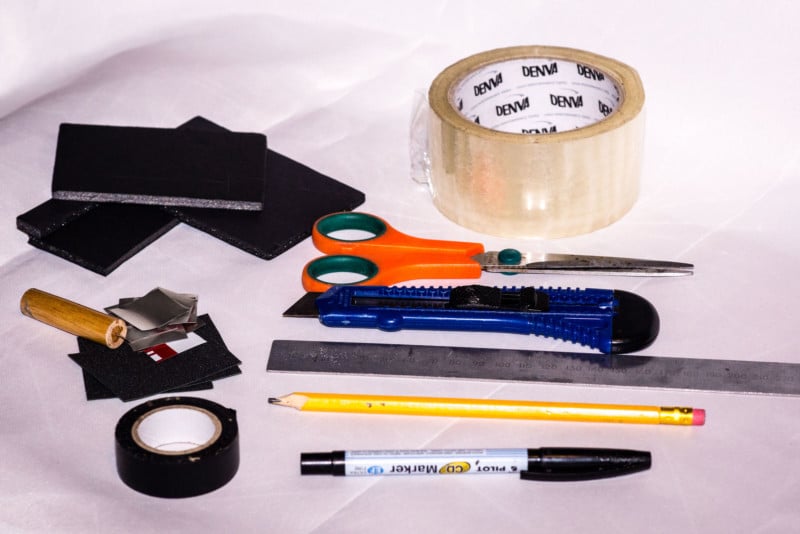
What You’ll Need
The materials list:
- The small mailing box.
- A roll of electrical tape.
- A few offcuts of foam core board.
- A roll of sellotape/parcel tape.
- A small piece of aluminum drinks can (or a pre-drilled pinhole).
The tools list:
- A ruler/straight edge.
- Scissors.
- A sharp knife.
- A pen or pencil.
- A pin (if you make your own pinhole).
- Fine sandpaper or wire wool (if you make your own pinhole).
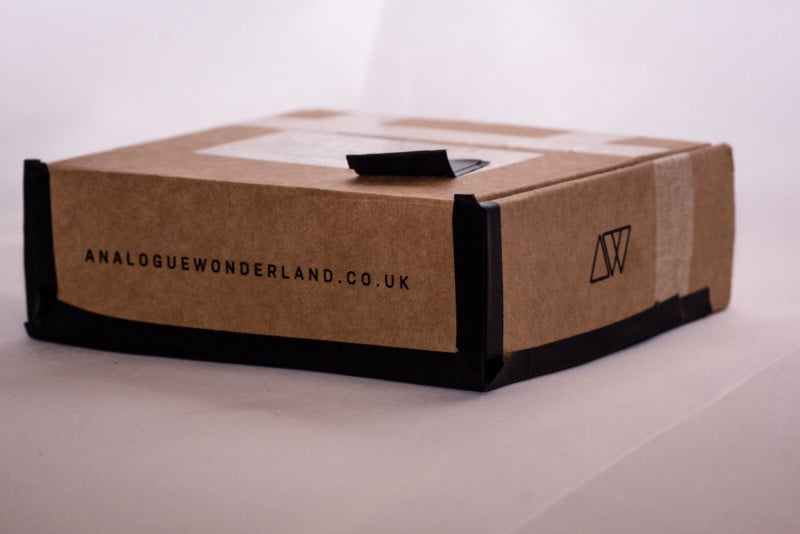
Preparing the Box
The initial construction was simply a matter of using the black electrical tape to tape over all of the edges of the box where there are slots and tabs used to hold the box together. And the slots created at the back where the sides of the box are folded. Basically anywhere it looks like light may get in.
I then realized that when the lid folds down and is secured with its tabs the four corners wouldn’t be light-tight. This is where the foam core board offcuts from previous camera builds came in. Three pieces cut to fit inside the box along the front and sides, leaving a small gap between the side pieces and the side of the box for the lid tabs. The foam core is roughly 5mm thick so once the three pieces are taped into place they form a light-tight baffle around the edge of the lid and also hold the paper negative in place as it can be slid into the box under the foam core.
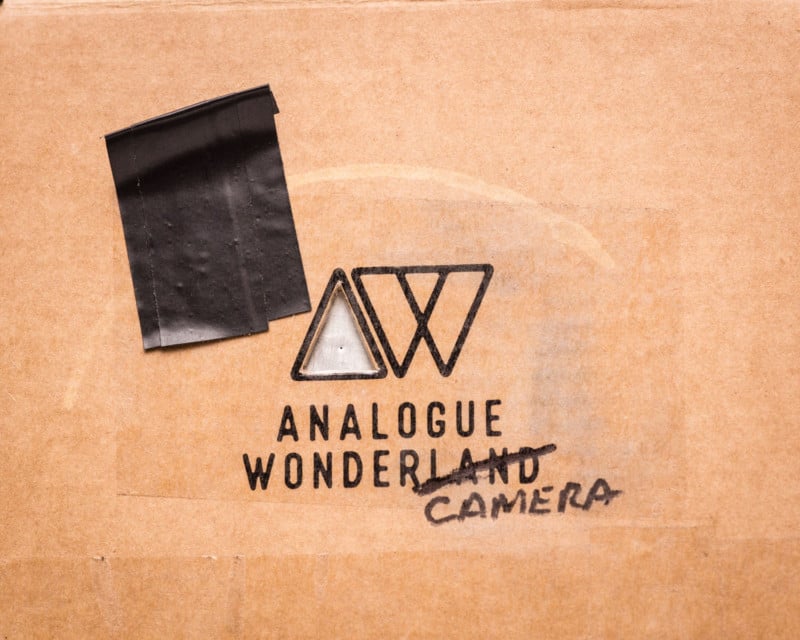
The next decision was where to put the pinhole. Normally this would be smack bang in the middle. But I wanted to keep the logo intact.
Light bulb moment two, cut out the triangle that represents the “A” in the Analogue wonderland logo and put the pinhole there…. obvious, really.
My standard shutter on pinhole cameras is a short length of electrical tape over the hole. However, I didn’t want the tape to possibly tear the box material which could cause light to leak in. Another easy fix: put a square of normal sellotape over the logo and cut out the triangle where the pinhole is. The shutter tape won’t cause damage and will come off easily.
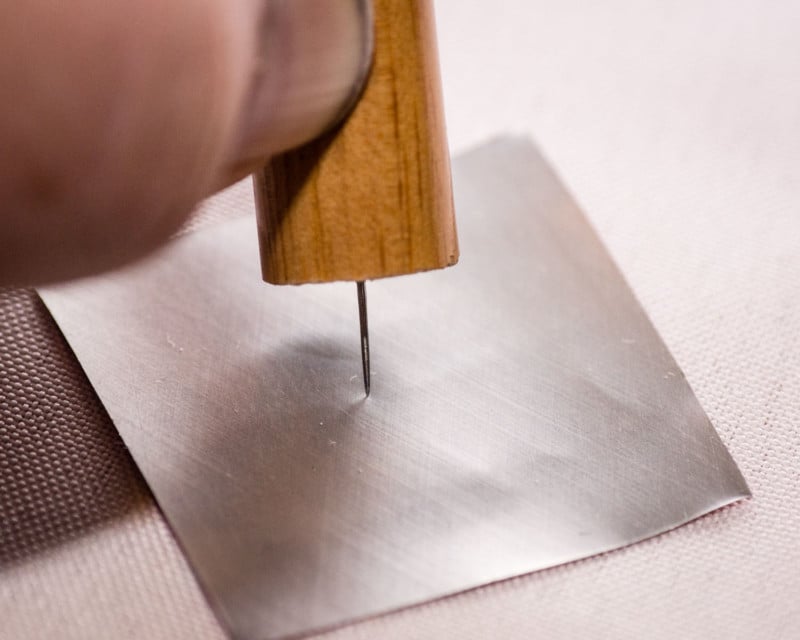
Creating the Pinhole
The pinhole itself I already had made, but again it’s an easy job. Take a small square of a drink can. Gently poke a pin into it until it only just about pierces through the aluminum. Use the sandpaper or fine wire wool to sand down the raised bump created on the backside of the aluminum.
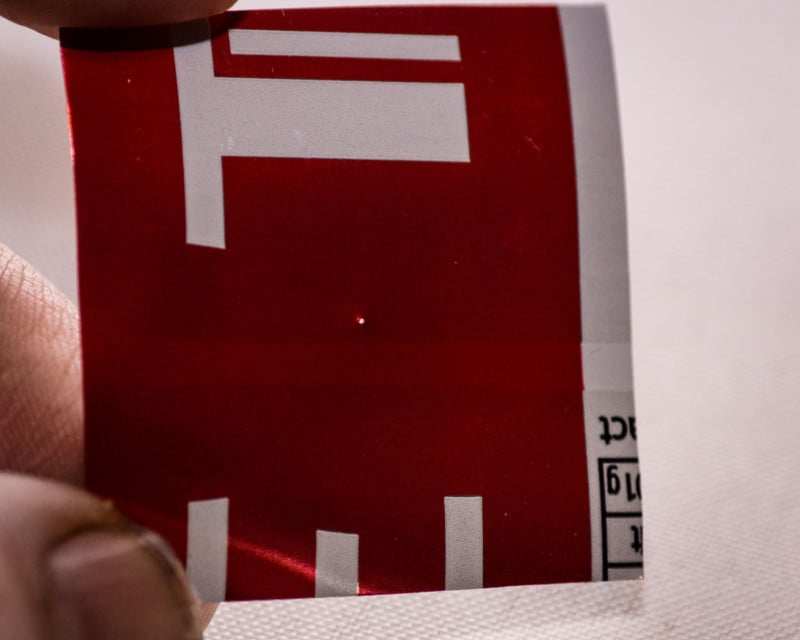
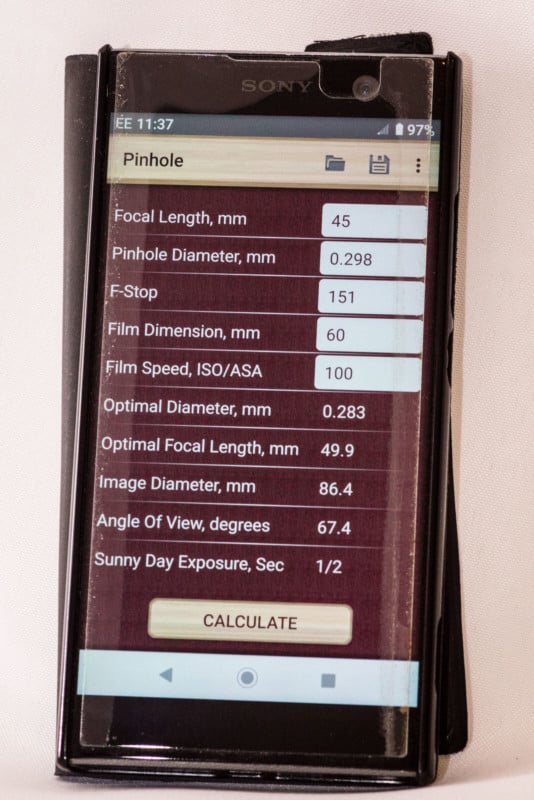
This makes a pinhole that is roughly 0.298mm in diameter which is the size of pinhole that most pinhole camera design calculators use as a base size. I use a phone app that’s based on the camera design calculator on mrpinhole.com.
Measuring the depth of the box from roughly where the pinhole sits to where the paper will be is 45mm. Using this measurement and the 0.298mm of the pinhole in the design calculator gives an effective f-stop of f/151 for use when deciding how long your exposure will be.
The finishing touch is a little light rebranding on the front logo.
The Moment of Truth
So, job done, camera made. Boredom alleviated, but… does it actually work?
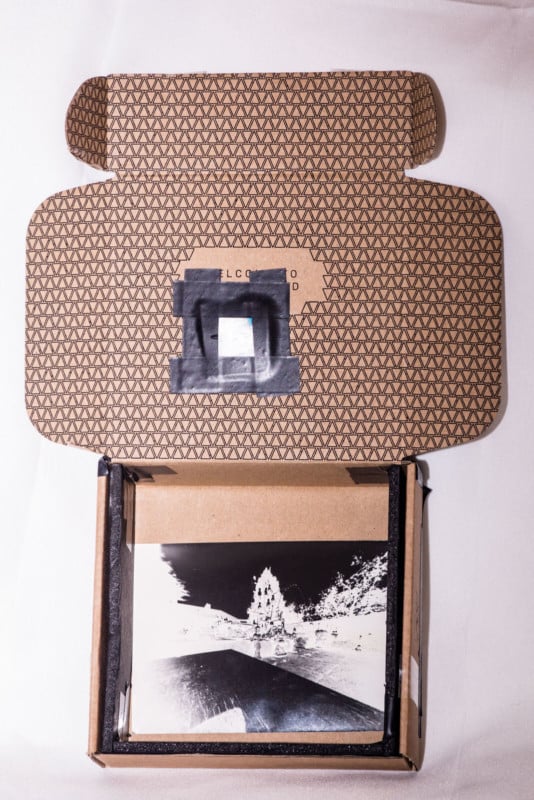
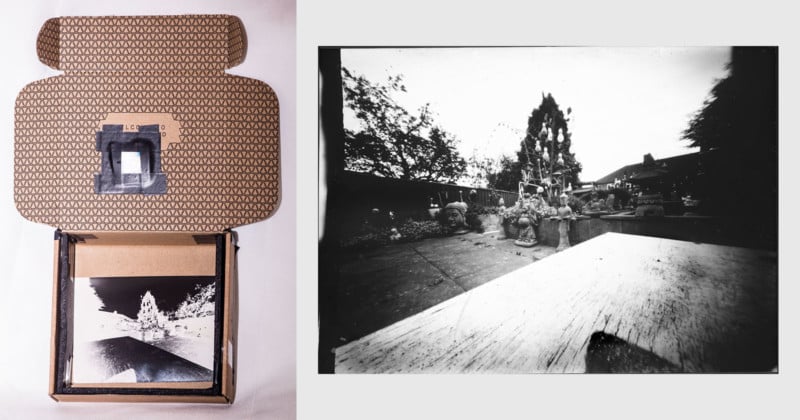
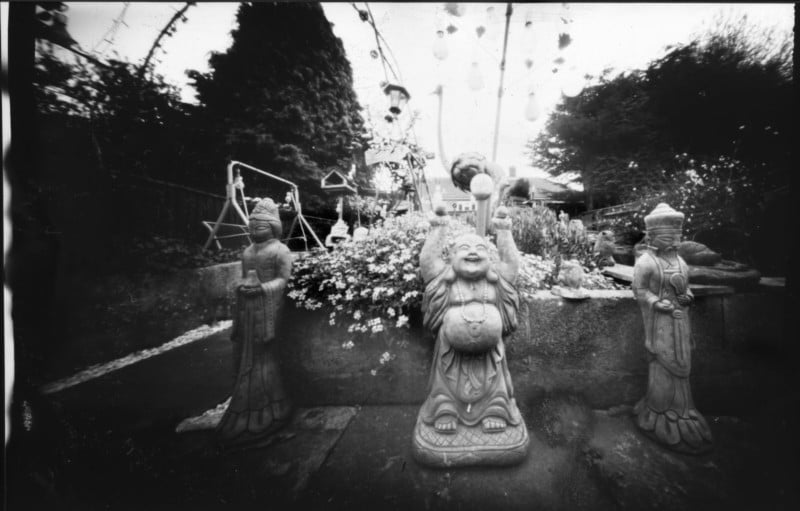
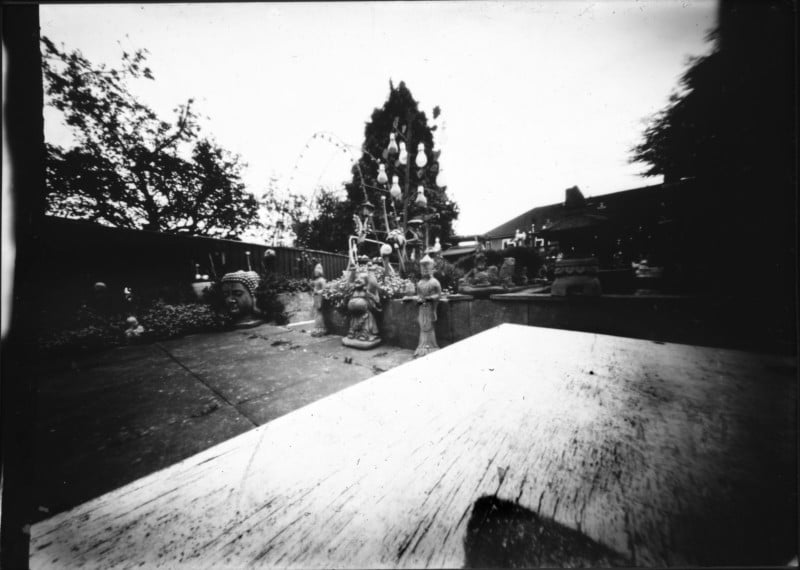
So far at the time of writing, I have only made two photographs with this camera in my garden just to see if it would work. As you can see below, it does.
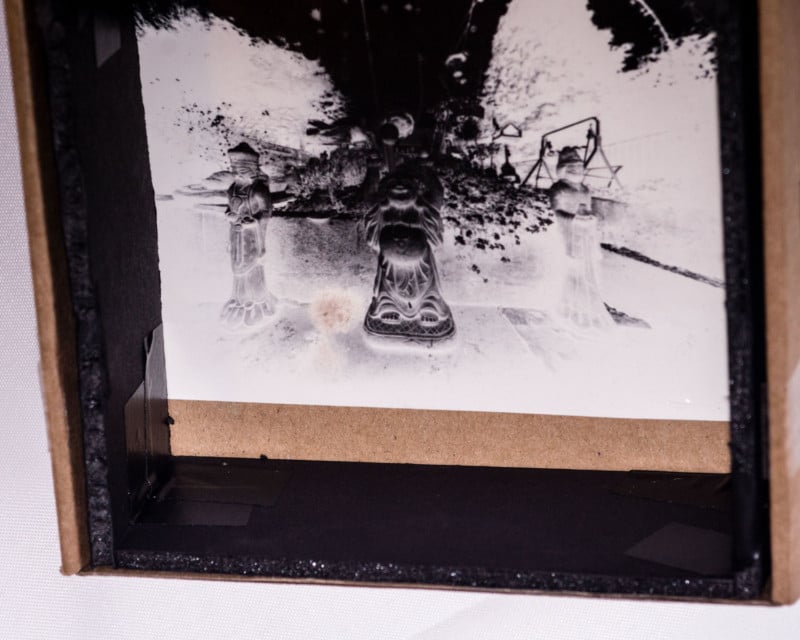
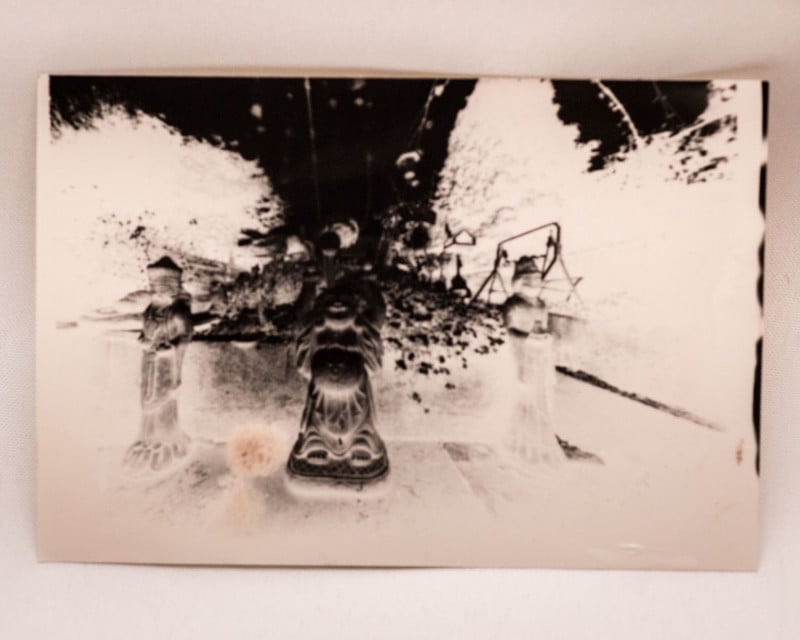
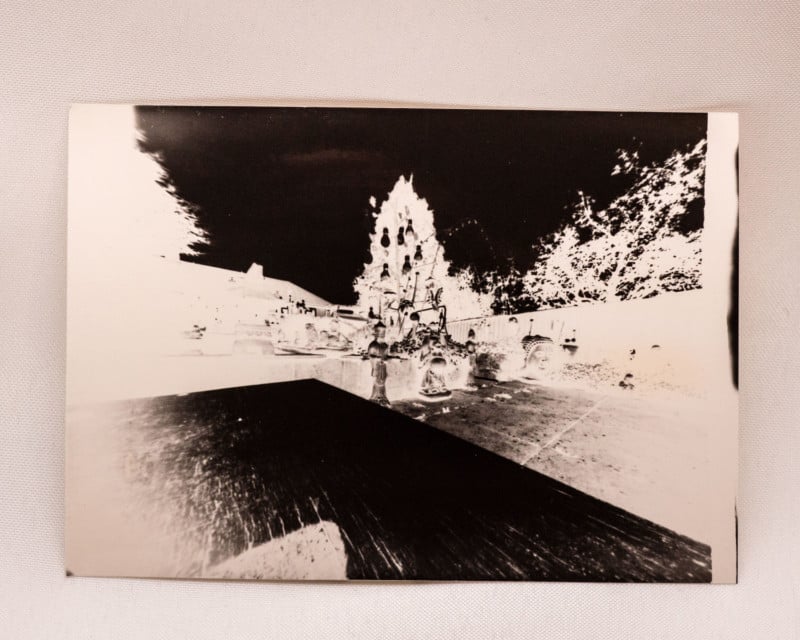
I used some old Kentmere paper which I rated at E.I. 3. This using the light meter app on my phone set at ISO 3 and f/151 on a fairly bright but cloudy day gave me eight-minute exposure times.
The pictures came out well though the center of the negative is slightly overexposed so if/when I use the camera again, I will try using it at f/100 to give a slightly faster shutter speed, which should give a better exposure in the center if slightly darker edges.
Final Thoughts
So, job done, camera made, boredom alleviated, and I have a working camera.
In case you are interested, the total build time to make was roughly 30 minutes give or take. Writing about the camera took at least three times as long as making it… so I’m still not bored again (yet).