Beginner’s Guide to the ‘Best’ Camera Settings for Landscape Photography
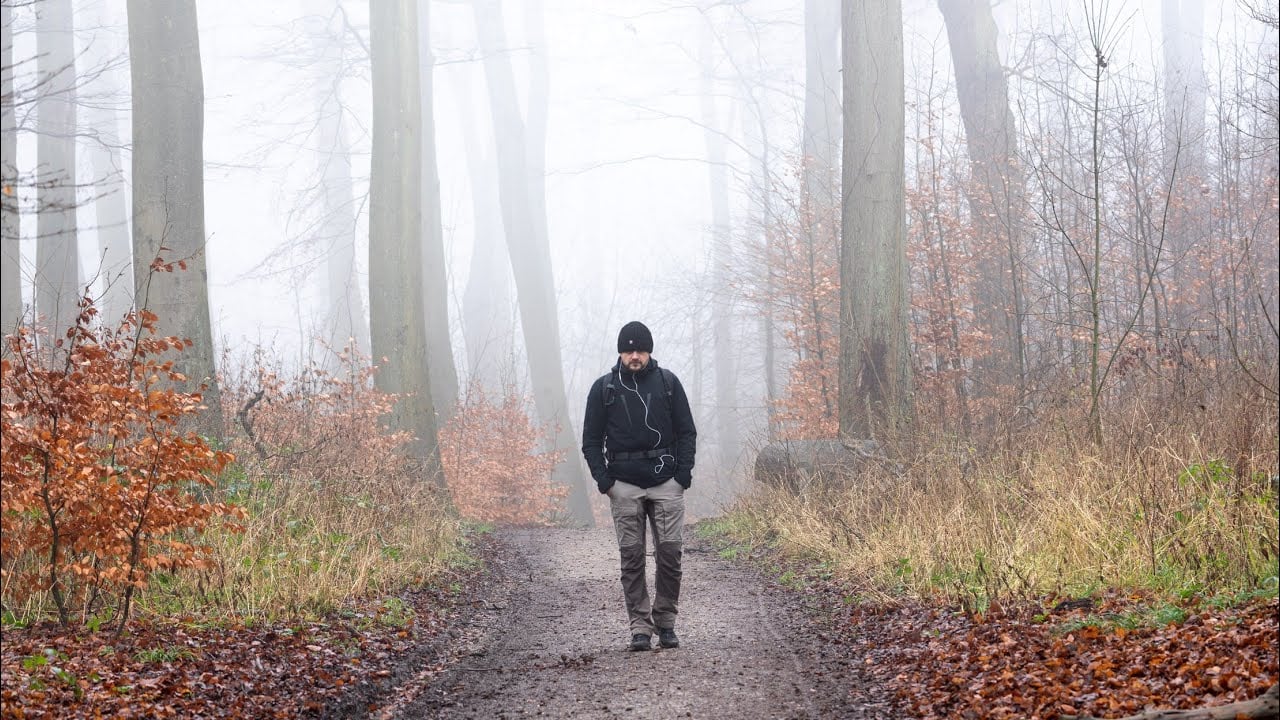
The two most commonly asked questions in photography are probably: “what gear do you use?” and “what settings do you use?” In this video, landscape photographer Mads Peter Iversen answers that second question by diving into his typical workflow and explaining when and why to use certain settings when shooting landscapes.
Instead, what he’s sharing in this video is his “approach and philosophy to getting the most optimal camera settings so you can improve your landscape photography,” complete with plenty of examples and lots of context (more on that later).
That workflow typically involves a few elements. Shooting from a tripod, he’ll almost always start with his ISO at 100 or 50 and his aperture between f/8 and f/11, allowing his shutter speed to be whatever it needs to be in order to capture a properly exposed scene. However, these settings quickly change as the light changes.
If there’s a lot of movement in the shot, and he wants to slow down the shutter speed, he has to compensate with the other settings and set his priorities. Do you prioritize depth of field (a smaller aperture) or noise (a lower ISO)? Can you focus stack to get the best of both worlds? Do you need to blend multiple exposures in order to capture sufficient dynamic range?
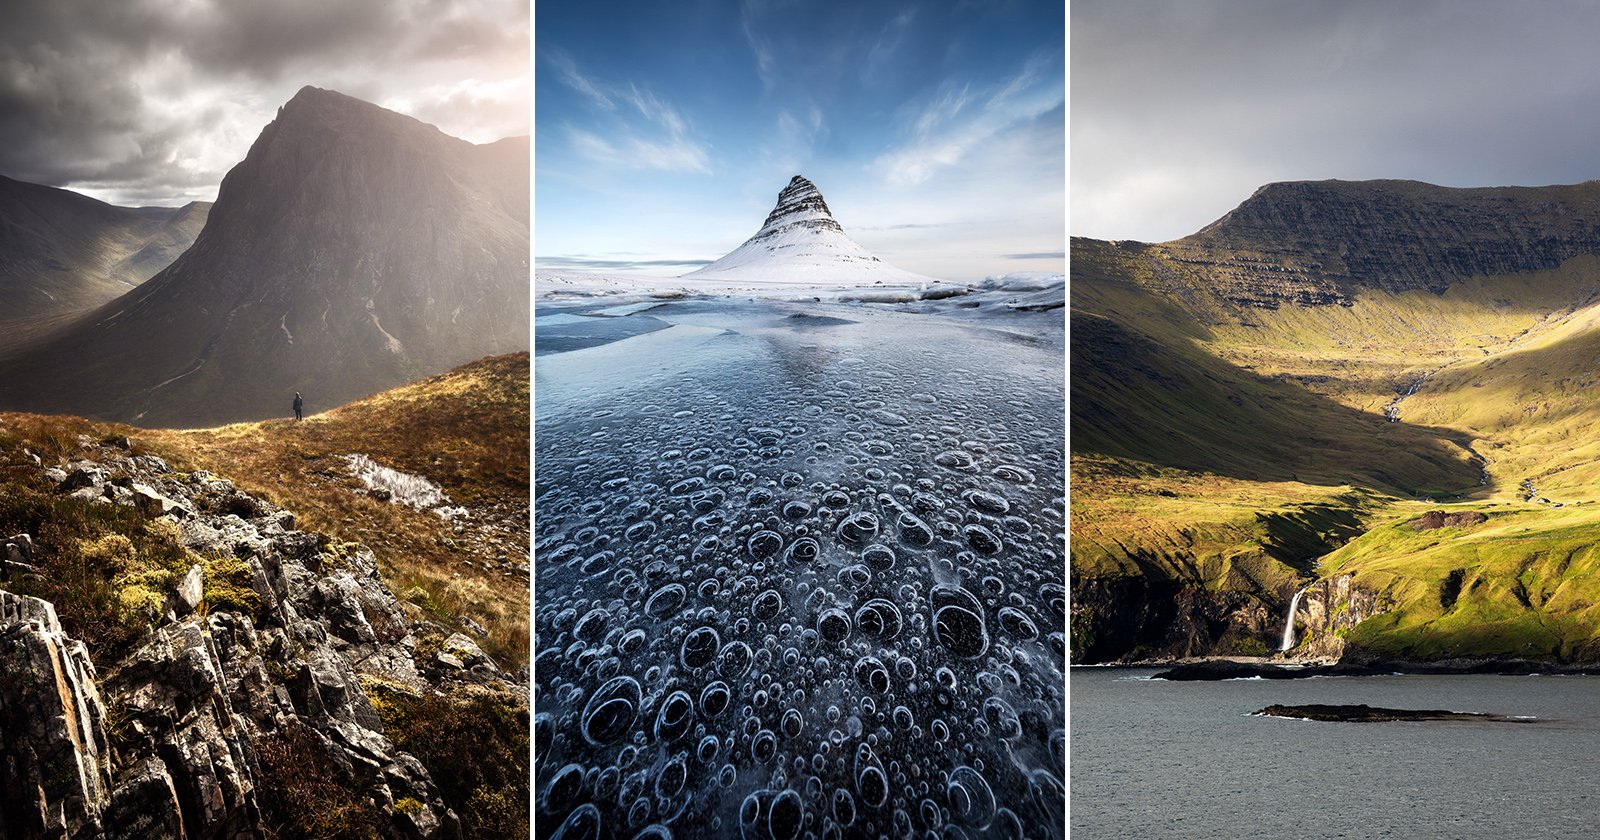
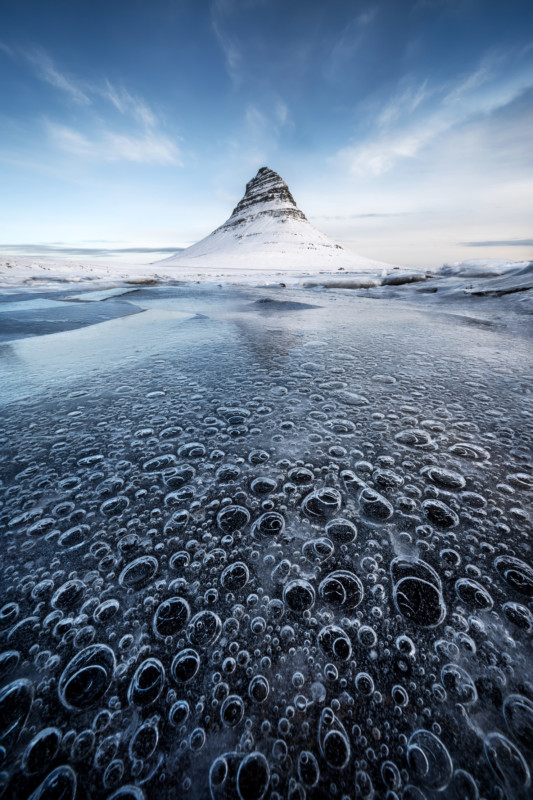
This is all pretty basic exposure triangle stuff, but Iversen follows this up with a slew of examples, so that the beginners in the audience can understand his thought process when he’s actually out shooting. You can see a few of those below, complete with settings in the caption:
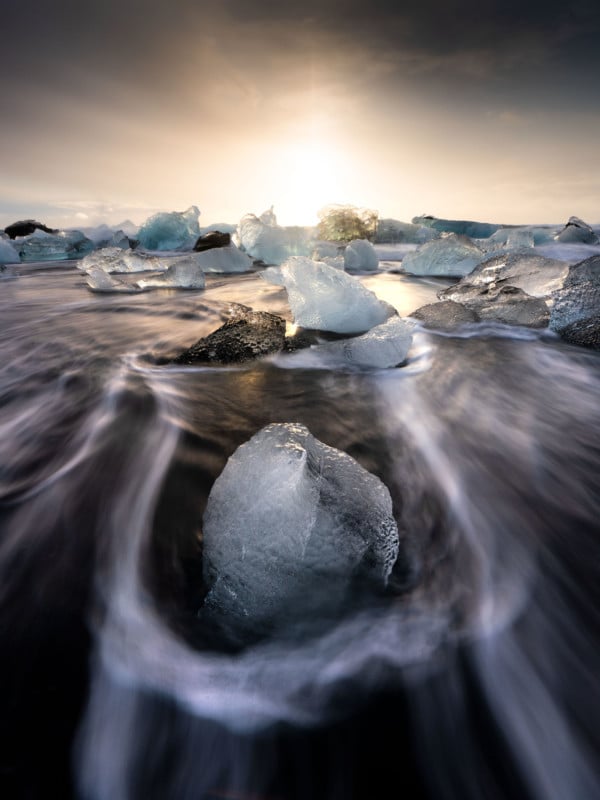
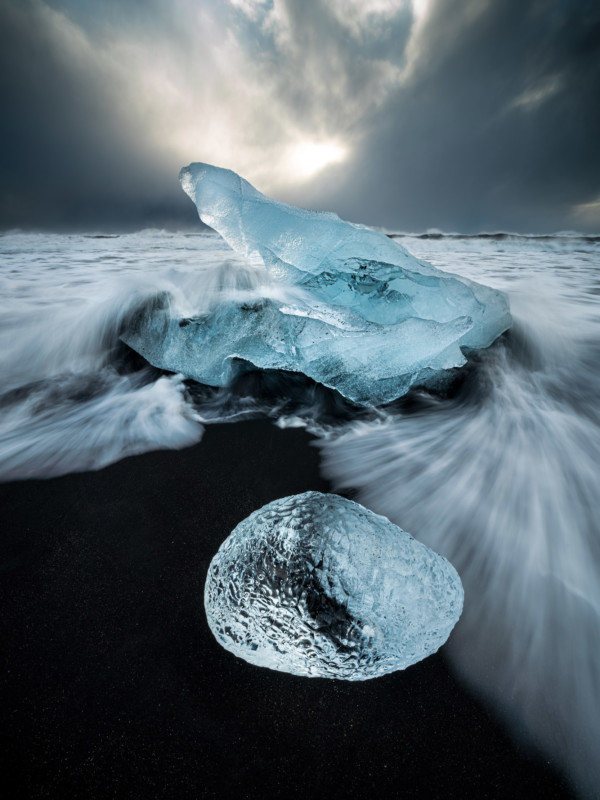
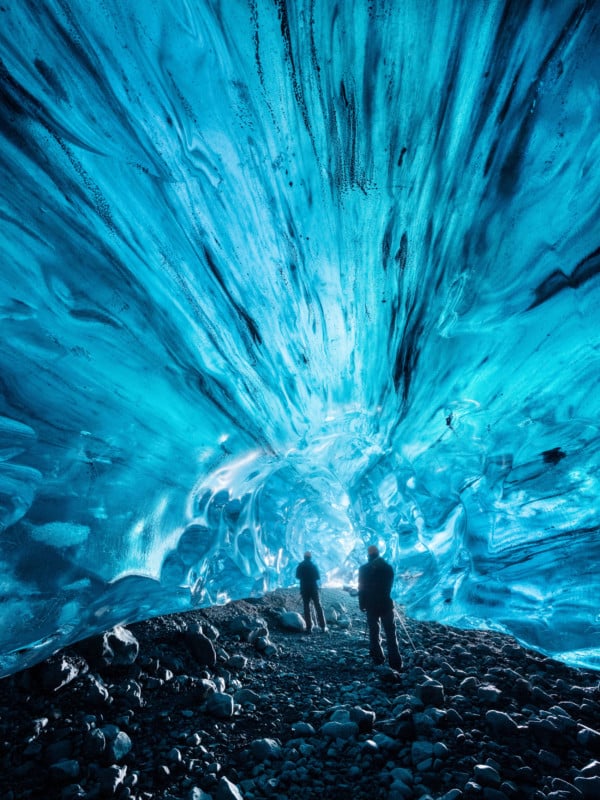
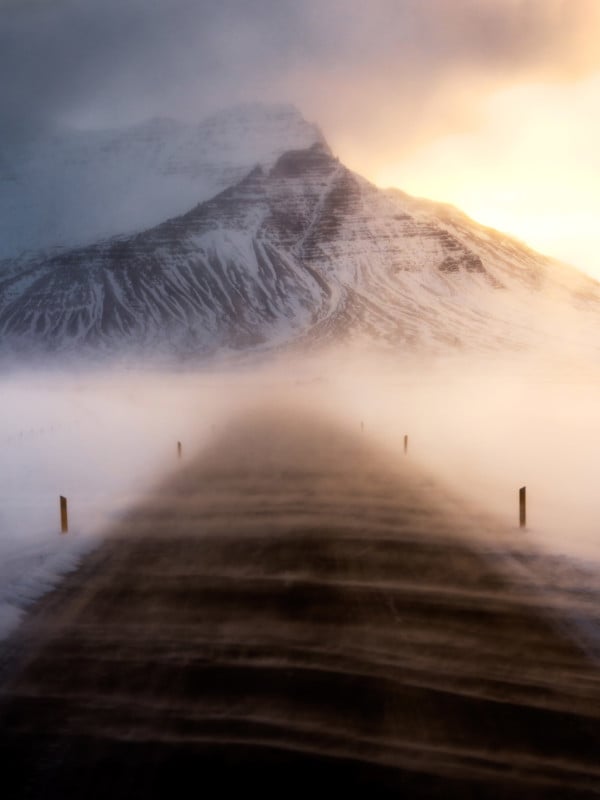
For beginners, its this part of the video that is most valuable. There are many examples, with the settings each explained in turn so that you can understand the trade-offs of each individual scene. The examples shown cover a wide range from situations, from golden hour, to sunrise, from bight and sunny days to photos captured in the middle of a snow storm.
Which brings us to his final note, where Iversen explains why context is king, and EXIF data is a poor teacher.
“You cannot deduce from the EXIF data if the photographer was battling a rain shower, if the photo was taken out the front window of a bus, if he was balancing on top of a water fall and trying not to slip down, or if he was very close to minimum focus distance,” explains Iversen. “All of these factors highly influence the settings that you choose, but if you don’t know the context in which the photo was taken, then the EXIF data will just end up confusing you.”
If you want to dive into some landscape photography settings with plenty of context, check out the full video up top. And if you like Mads’ teaching style, you can find a lot more landscape photography tutorials on his YouTube channel.
Image credits: All photos by Mads Peter Iversen, and used with permission.