9 Simple Tips for Taking Better Photos of Waterfalls
Landscape photographer and YouTuber Mads Peter Iversen has released a helpful on-location tutorial for anybody who wants to photograph waterfalls. The beginner-focused tutorial runs you through 9 simple tips that will help you take better, more deliberate photos of this common landscape photography subject.
It’s important to note that this isn’t a tutorial for advanced landscape photographer, though some enthusiast shooters might benefit from a few of these ideas (Tip #1, #4, and #6 come to mind). Here’s a list of all 9 tips as they’re presented above:
- Filters First – Determine if you need to use filters before you find your composition.
- Shutter Speed – Typically, you’ll be shooting between 1/4s and 1s.
- Think in Layers – Be deliberate about what’s in the foreground, midground and background of your image, and decide where the waterfall fits best.
- Compression – Play with your focal length and perspective to get the right size relationship between the different elements in your foreground, midground and background.
- Know Your Subject – Rain and melting snow will lead to larger waterfalls that are more “full.” Picking the right time of year or even the right day can totally change your results.
- Trial and Error – Step back and take a long exposure of the whole waterfall first. Then analyze the movement of different parts to identify the best composition.
- Think Holistically – Consider every element you plan to include (or exclude) from your composition. Don’t include elements unless they benefit the entire photo.
- Just Go – You can plan all you want in terms of weather, but in the end, you should just go. You never know what’ll happen
- Get Low – If you’ve only got small waterfalls available, shoot from down low and focus stack a couple of images to get both the foreground and background in focus.
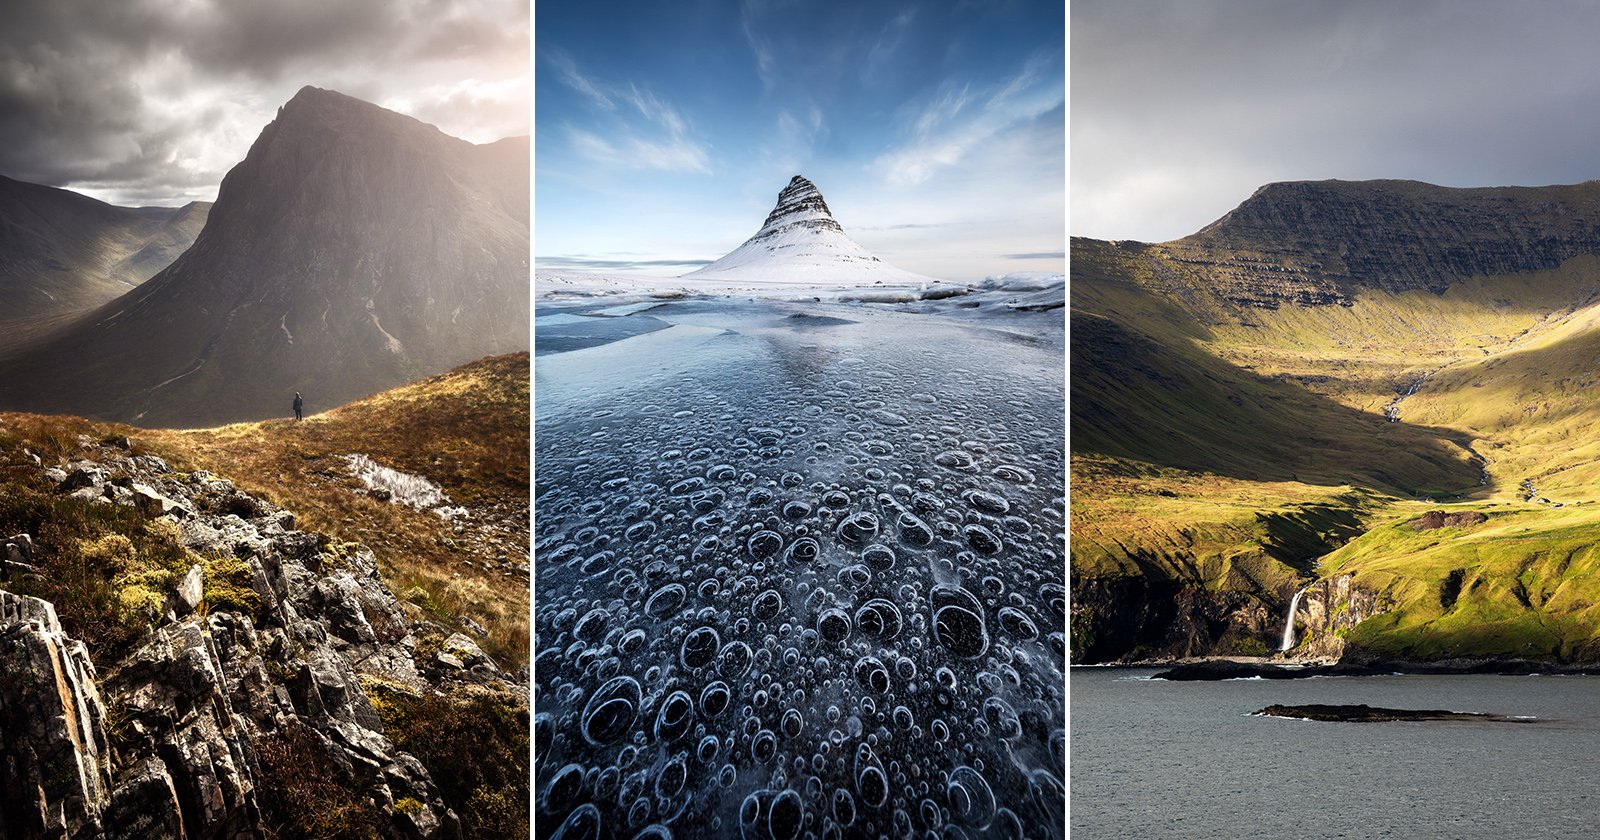
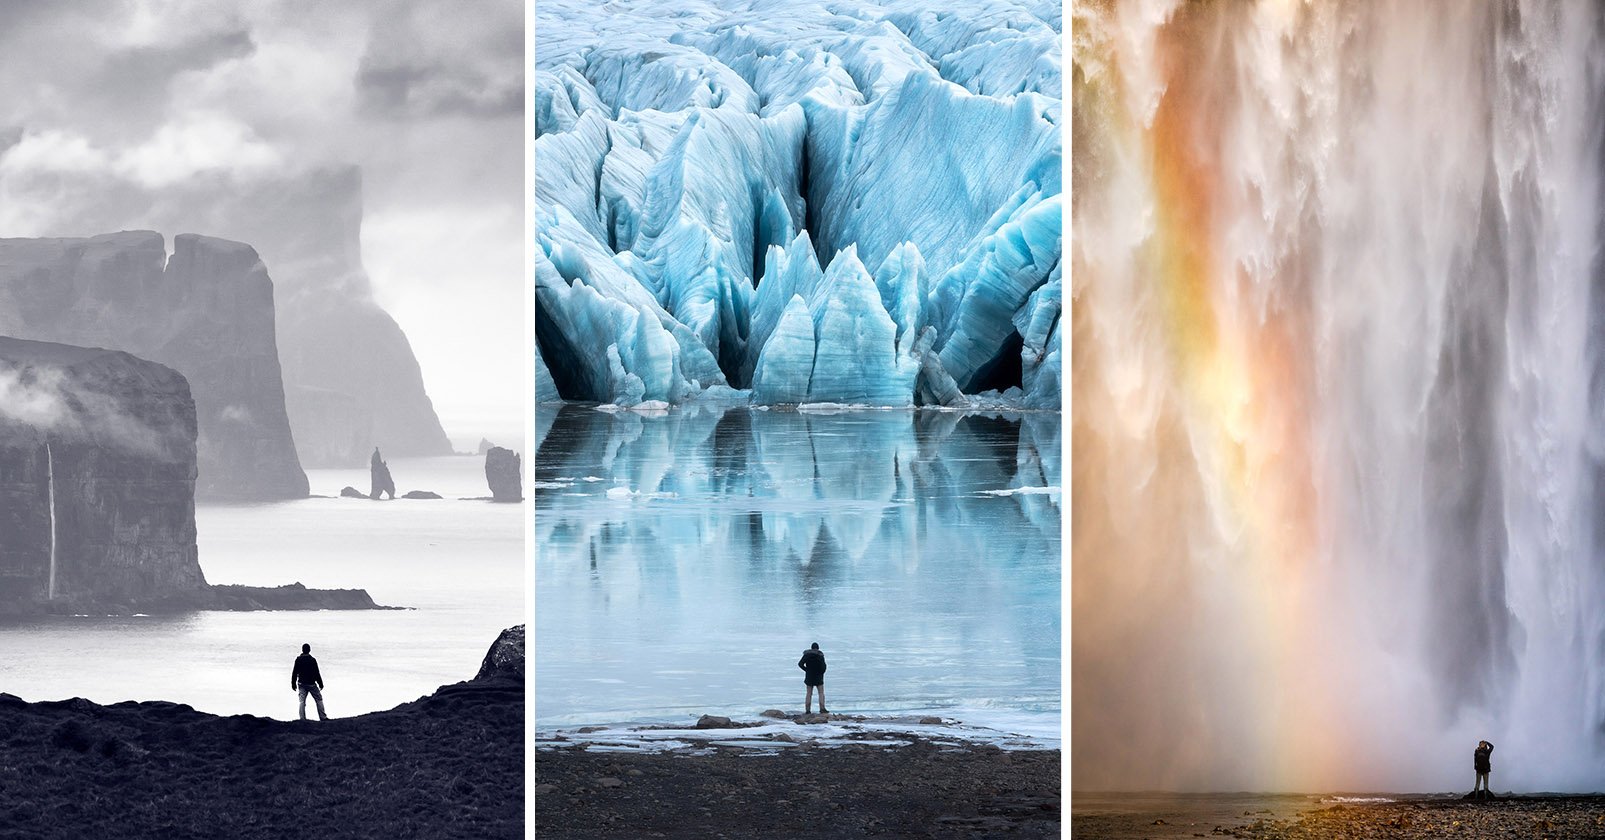
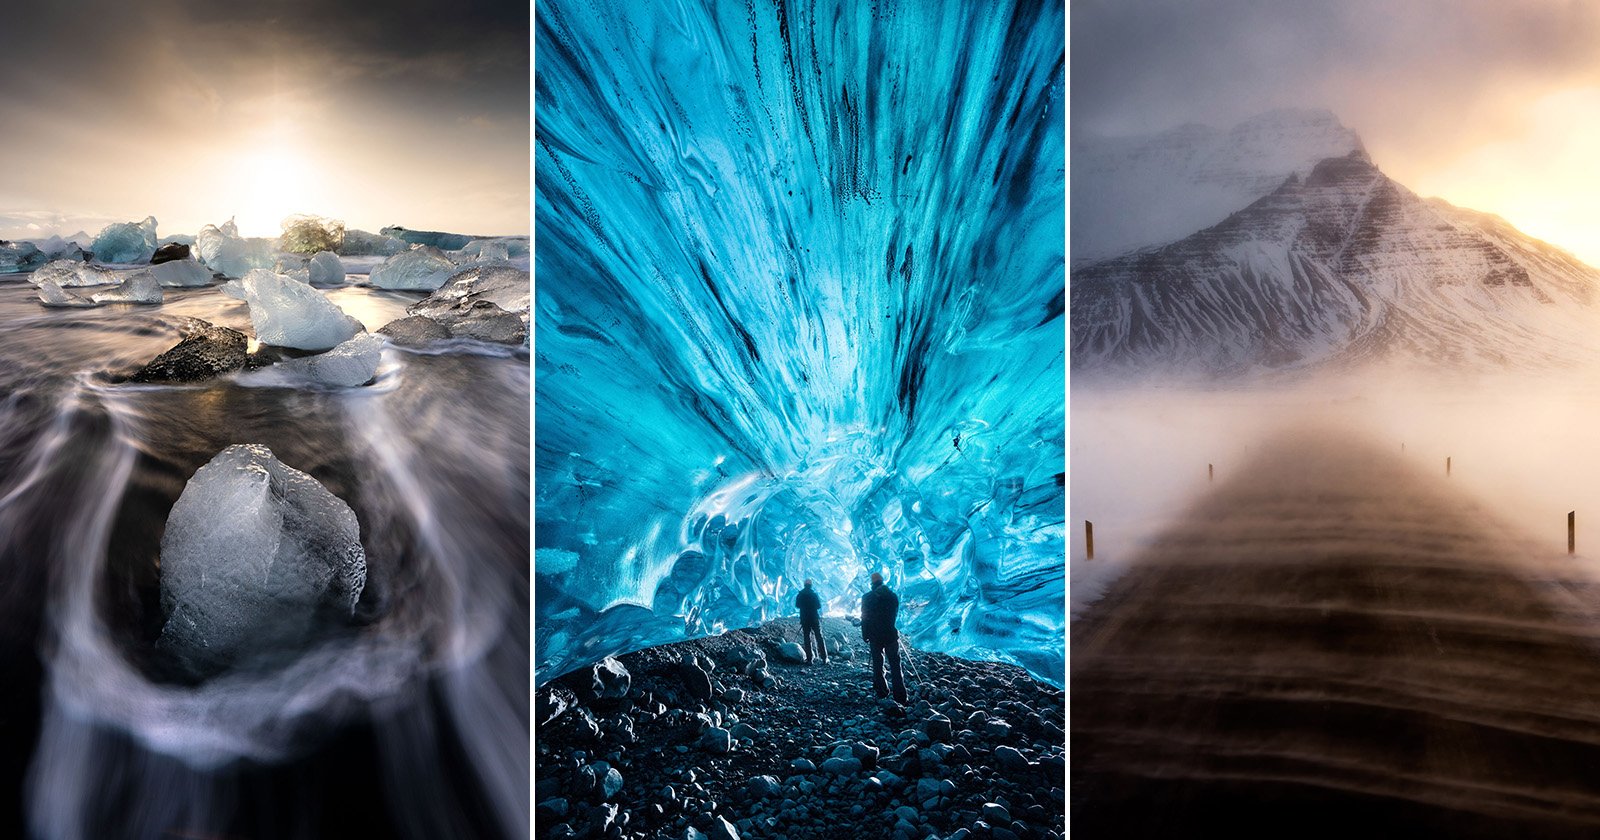
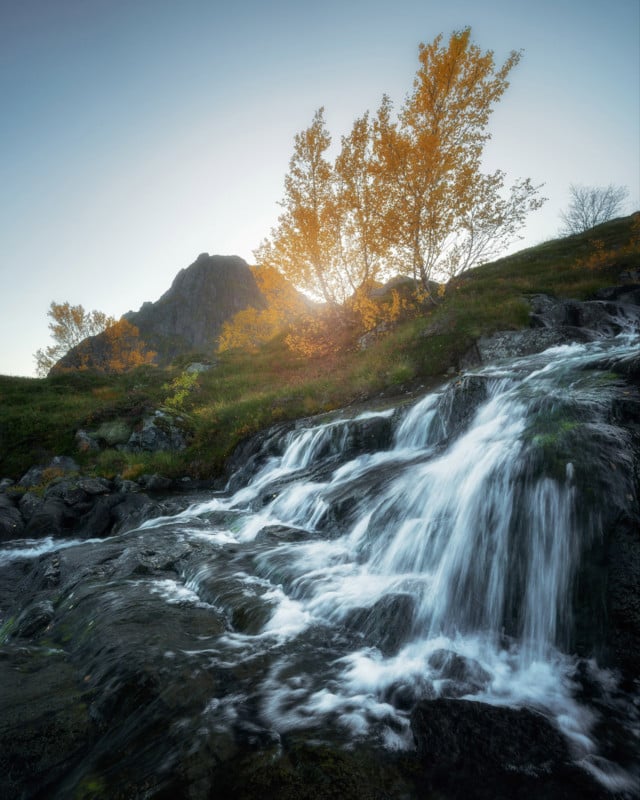
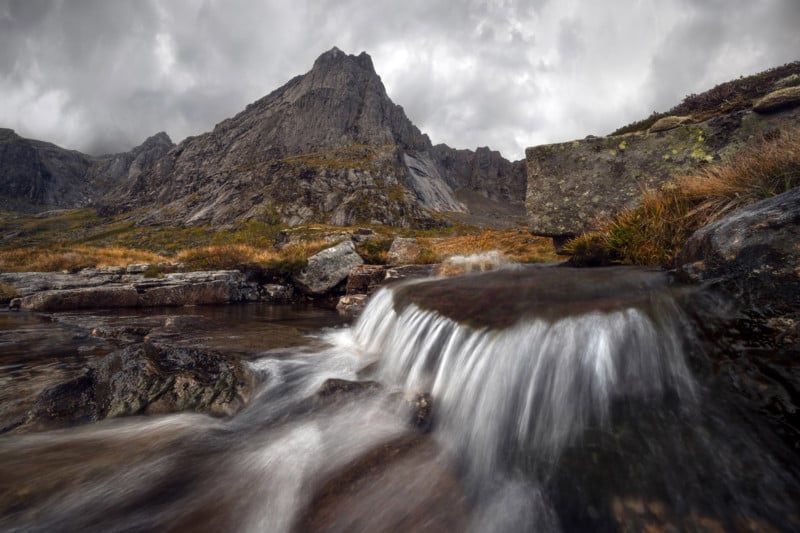
And here are three of the images that Iversen was able to capture using this approach:

Check out the full video up top to dive into each of these tips in a little more detail and see how Mads crafts each composition. In fact, the video is probably most useful as a behind-the-scenes, on-location sneak peek than a straightforward list of tips—there’s a lot a beginner can learn by simply watching a seasoned landscape photographer like Iversen work.
Image creditsPhotos by Mads Peter Iversen and used with permission.