A $60 DIY Photo Ceiling Rail Lighting System
What started off as a quick lighting test in my garage has turned into a full investigation and installation of my own DIY photography ceiling rail system. My shooting space measures 7×10 feet (2x3m) — not a great space for shooting portraits.

It was during these sessions that I decided to look into buying a ceiling rail system to create more floor space, but they’re expensive! They’re great systems for the studio, but my garage space is used for trying out quick lighting setups/ideas.
So, I decided to build my own ceiling lighting system. Below is a quick 5-minute video of it:
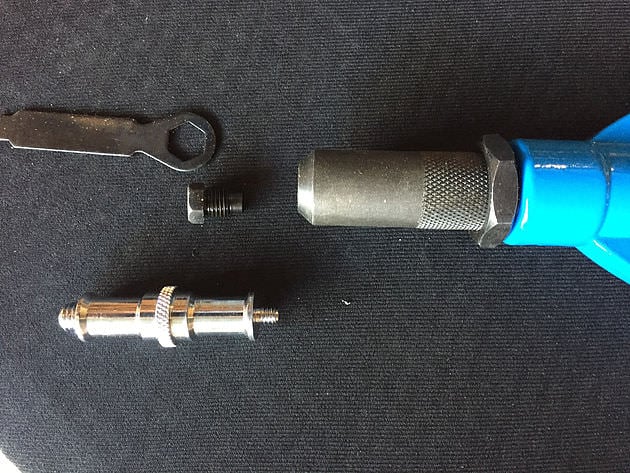
It all started when I came across the Lazy Long riviterat a local tool store, and the whole concept was built from there.
Below you can find all the gear used:
- Godox 300DE
- Pixapro 90cm easy open octobox
- Lazy Long riveter
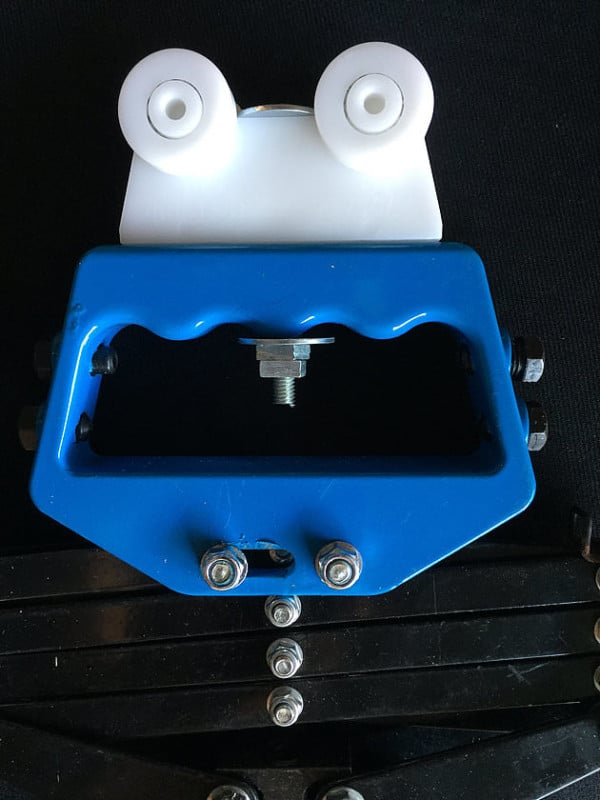
- Unistrut double wheel channel trolley
- 41mm slotted channel
- Male screw adapter spigot stud
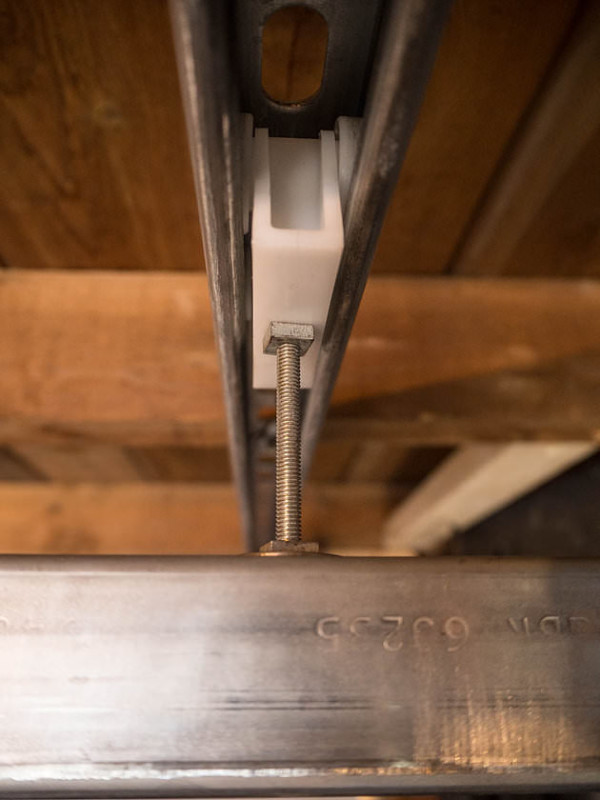
It worked perfectly! I simply drilled a hole for an M4 bolt and attached it with a washer and 2 nuts. It has a 400-newton force load so you will need to check out the weight of your lights and gear and make sure you don’t exceed that limit — you can Google it and find a conversion calculator.
The next step was to attach a spigot to the end of the riveter gun. As if by magic, at the end of the gun was a small bolt, so I unscrewed that and the spigot simply screwed in and was a perfect fit!
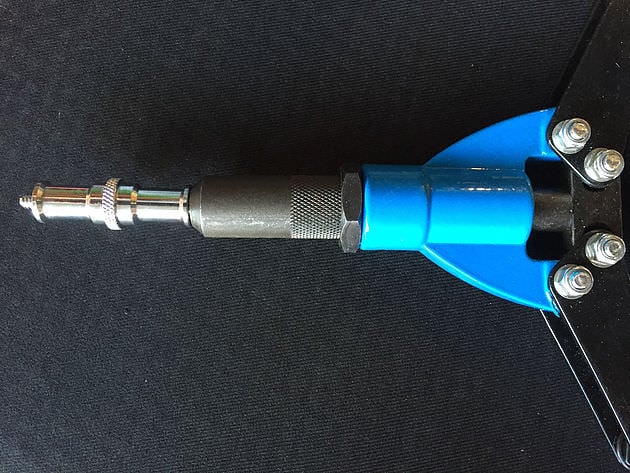
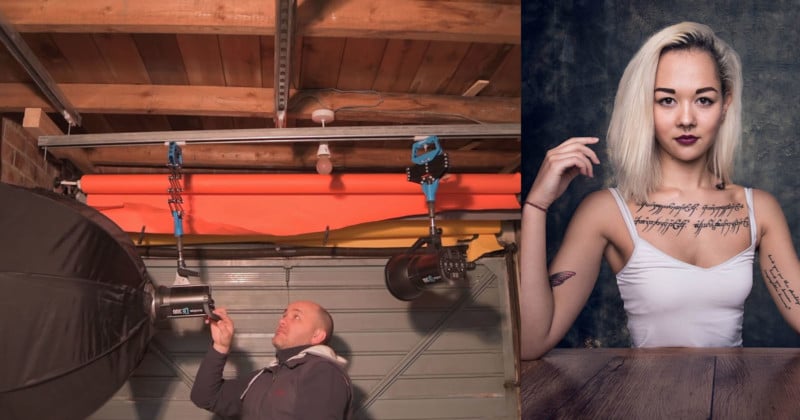
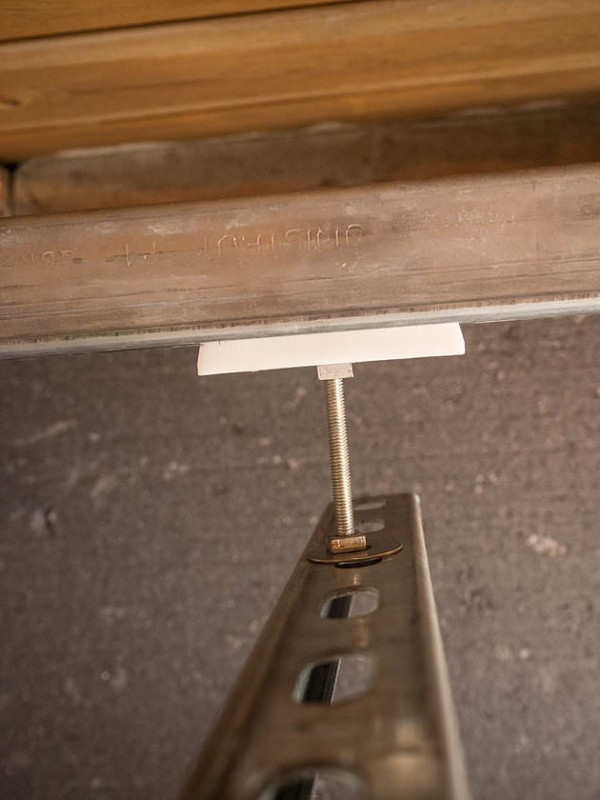
The next step was to attach the Unistrut to the garage roof, an easy process of screwing it to the roof joist with screws and washers. The riveter gun and channel trolley glided along the 3-meter length of Unistrut down the center.
I decided to build on that and try to use the full space, allowing the light to reach every corner, so I built an H frame with the Unistrut, screwing 2 lengths parallel to each other down the length of the shooting area.
I then cut another length of strut for the width and attached additional two-channel trolleys at each end with bolts then slotted them into the 2 Unistruts screwed to the joists, allowing me to pull the light down the full length and width of the shooting space.
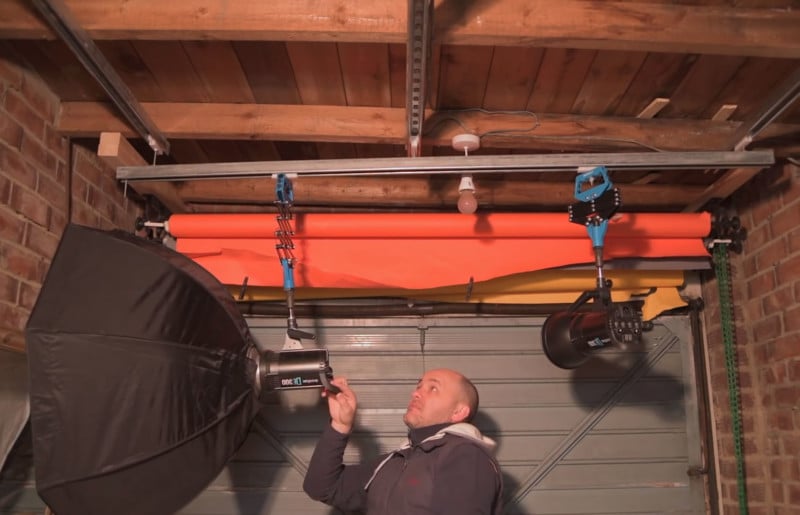
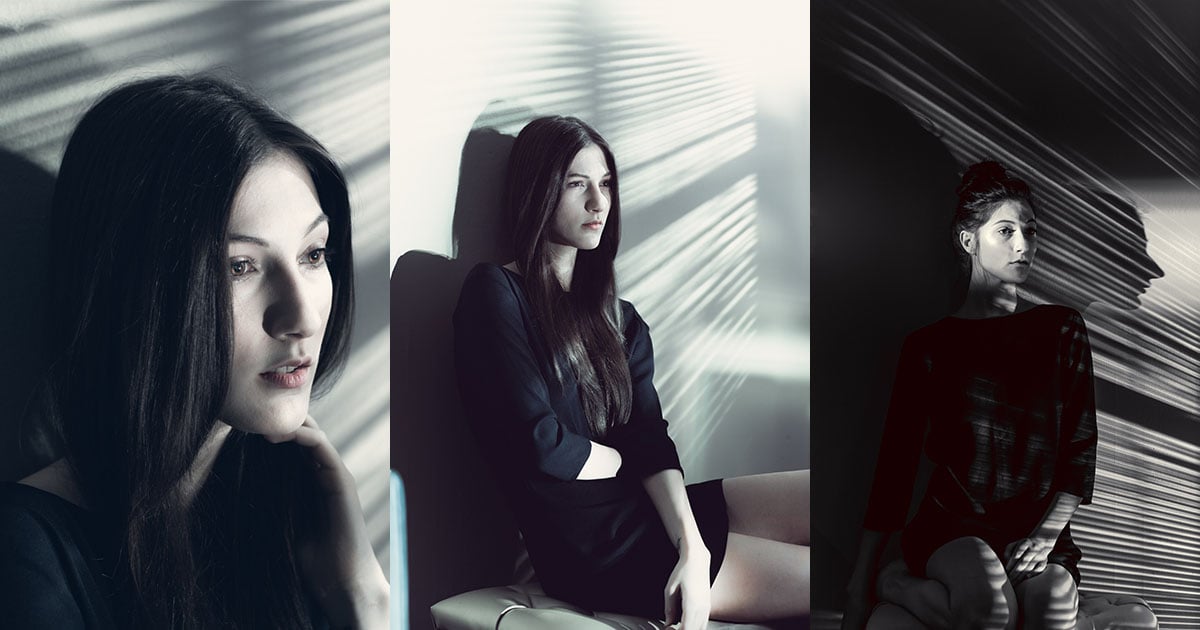
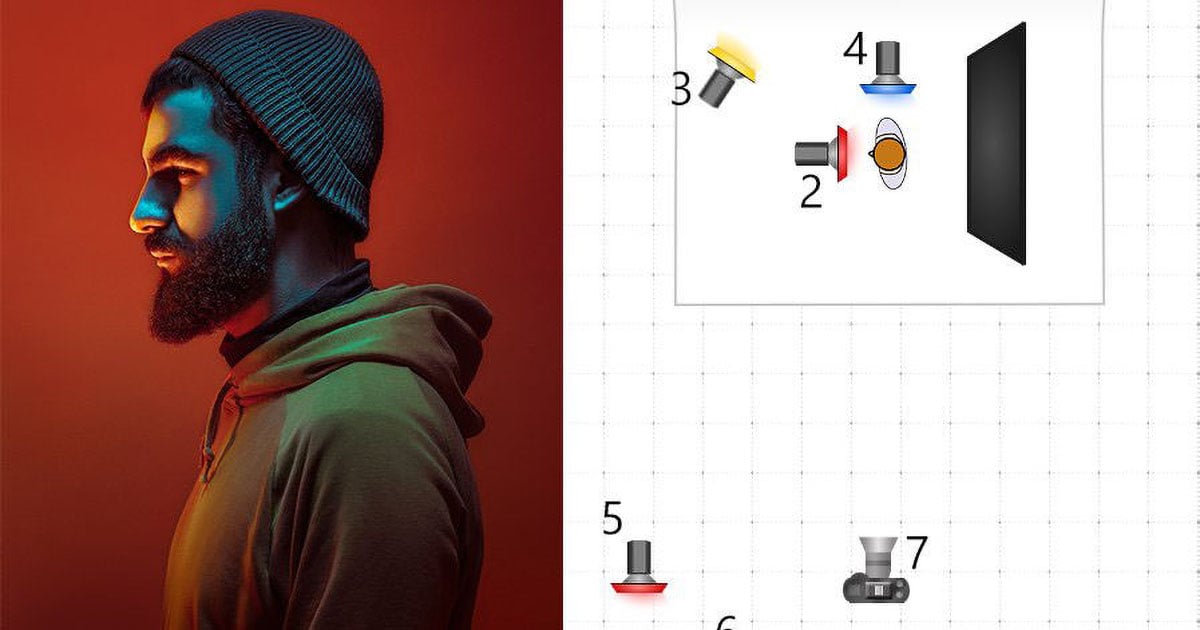
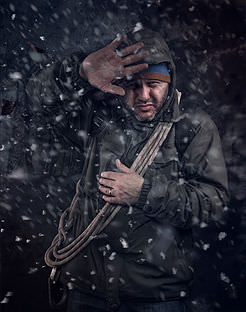
Now I have all the floor space to use with no obstructions! And I was pretty chuffed with what I could achieve in a small space. Here are a few shots done using the rail lighting system.


I wanted to share this DIY project with all of you, as it has made a great difference for me in my small studio!