How to Shoot Light, Airy, High-Key, Minimalist Newborn Photos
That title is a mouthful, but I didn’t know how to better describe the style. Over the years, I’ve been refining and perfecting my newborn photo technique to get the specific light and airy high-key look I want. While every home I visit is different, and some are more challenging than others, these strategies have given me the best and most consistent results.
Declutter
While this might seem obvious, it’s easy to skip the step because you are eager to start shooting. However clutter shows in photos, and newborn babies tend to come with a lot of clutter. Before shooting take time to survey the room. Move any clutter that will be in the frame. Not just things like bottles, alarm clocks, pacifiers, but also bigger things like furniture. Don’t feel bad asking the parents if you can move a furniture piece or two. Once shooting, take another moment to survey the frame through your viewfinder. Take note of any clutter peeking into the frame. If you see any, either re-frame the shot or stop and move the clutter. If you find yourself thinking something along the lines of “I’ll get rid of it in post” or “I’ll crop it out’“ or “It won’t be too visible in the final photo” I can tell you that you’re wrong and you’ll hate yourself for it (I’ve fallen into this trap myself way too many times).
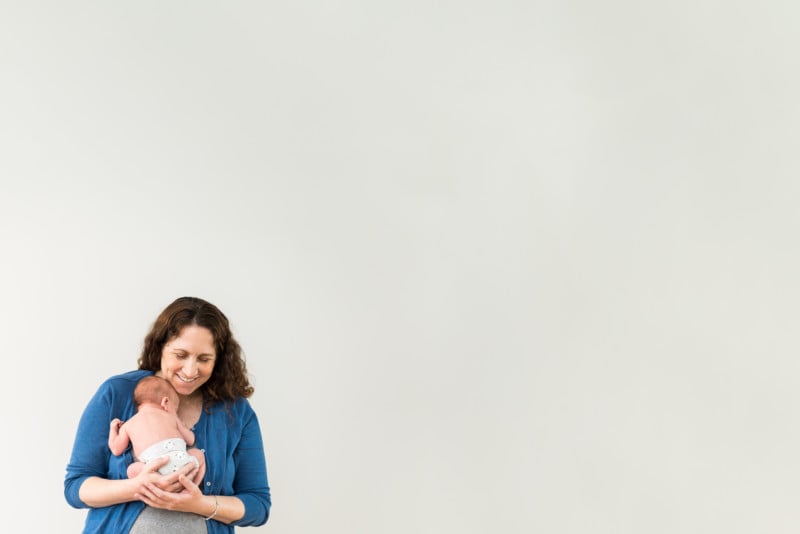
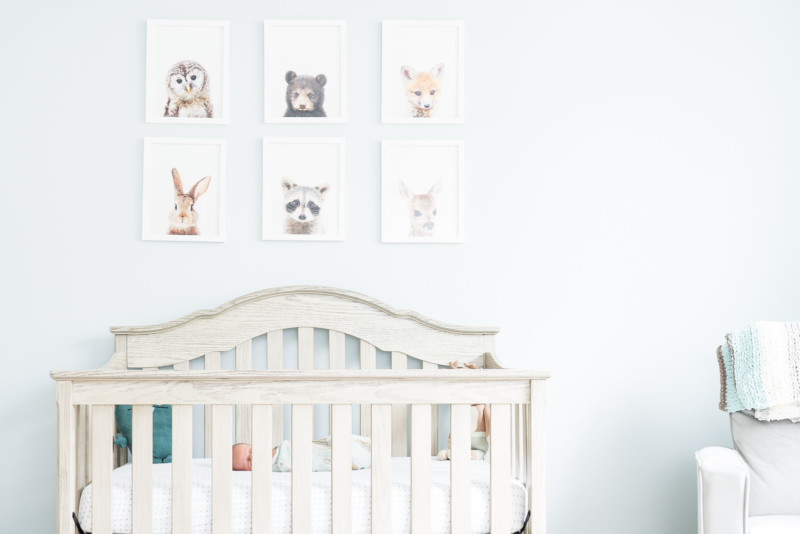
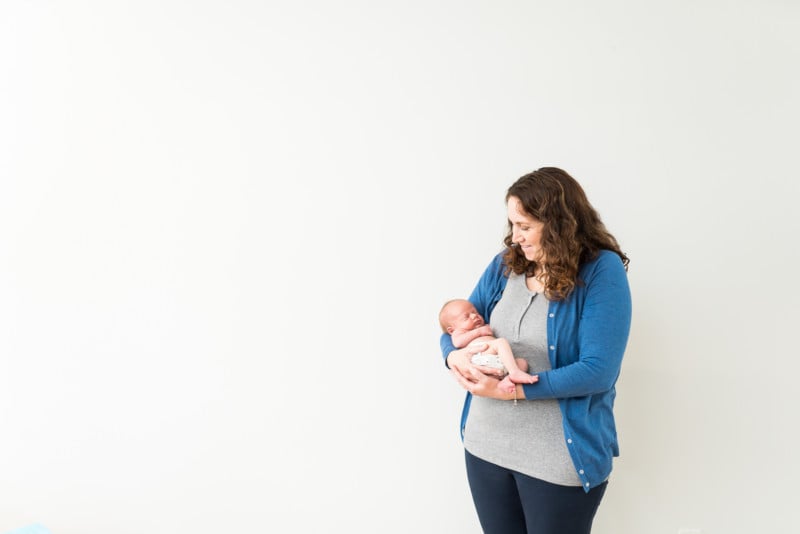
Find Blank Walls
Blank walls are perfect for minimalist newborn photography, especially lighter color blanks walls. Often times, I’ll have clients tell me that they hate their house, or their house isn’t very attractive, or it’s getting renovated. Usually, in these instances, I’ll seek out a blank wall to use for many of the shots. I’ve done sessions where the majority of the shots were against a blank wall. Even when the house is perfect, I’ll still seek out a blank wall to take a few shots. It’s a great way to isolate the subject (baby and parents) and have some nice contrast.
Bonus tip: When there isn’t a lot of blank wall space, find a spot that is just big enough for your subject to fit and then extend the blank wall in Photoshop in post-processing. The content-aware fill of the crop (expansion) tool does a wonderful job.
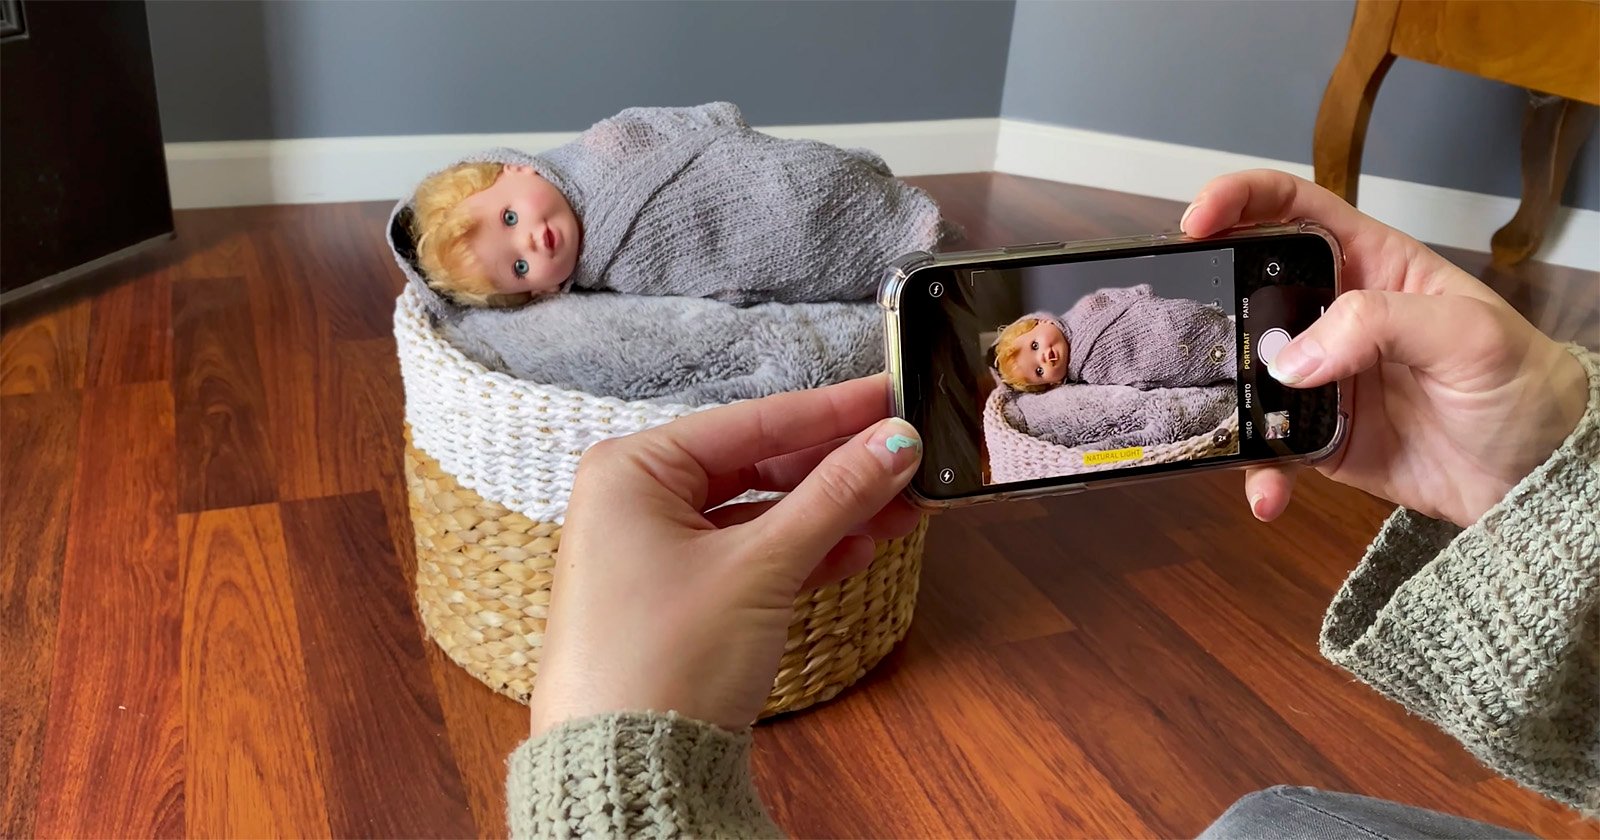
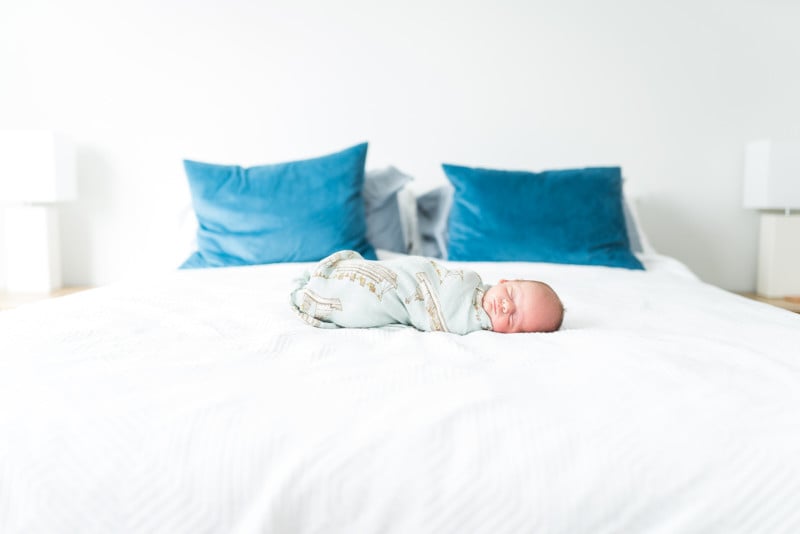
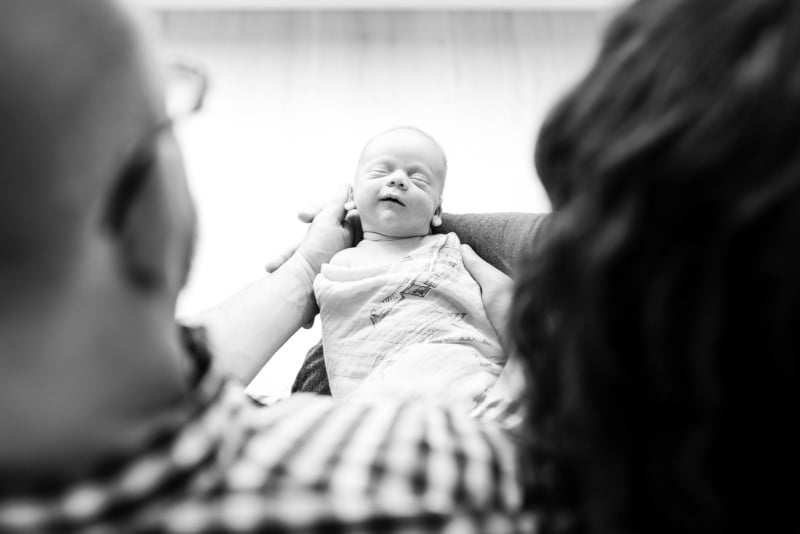
Fill Flash
This is the single most important tip to get that bright and airy high-key look. I use a camera-mounted bounce flash as a fill flash (usually). The natural window light acts as the key light. The fill flash fills much of the shadow throughout the room with light. I use the flash even when the house/room has amazing light. There is a lot to unpack here. I’ll break it up into sections:
Why camera mounted and why bounced instead of an off-camera flash with a light modifier? Simple, speed. I like my sessions to flow. I don’t want to spend time moving, adjusting, and setting lighting gear. I like to move around the baby, get different angles and poses. Sometimes there are older siblings that move around that I have to adjust for. Also, perfect moments of the newborn can be fleeting. I don’t want to be fiddling with my gear while the baby has a perfect split-second smile or cute yawn. I want to be ready to go all the time.
I usually keep my shutter speed around 1/80. Since shutter speed controls the ambient light when using a flash, I like to use a slower shutter speed. That said, since it’s a fill-flash and not the key, I can’t go too low because I’ll start to see some ghosting and motion blur, especially if there is some fast movement in the frame (as babies tend to do). I find 1/80th is a good balance between the two.
If possible, I try to bounce the flash off a wall on the left or right of me to get some direction to the light. It’s also (very) important to pay attention to the color of the walls. When possible, bounce off a lighter colored wall. If you bounce off of a colored wall the color will cast onto the baby and others in the photo and you get some funky results. When all the walls and ceilings are a dark color and bouncing off of a light color just isn’t possible, I’ll either plan to make B&W photos or (begrudgingly) break out a light stand and modifier.
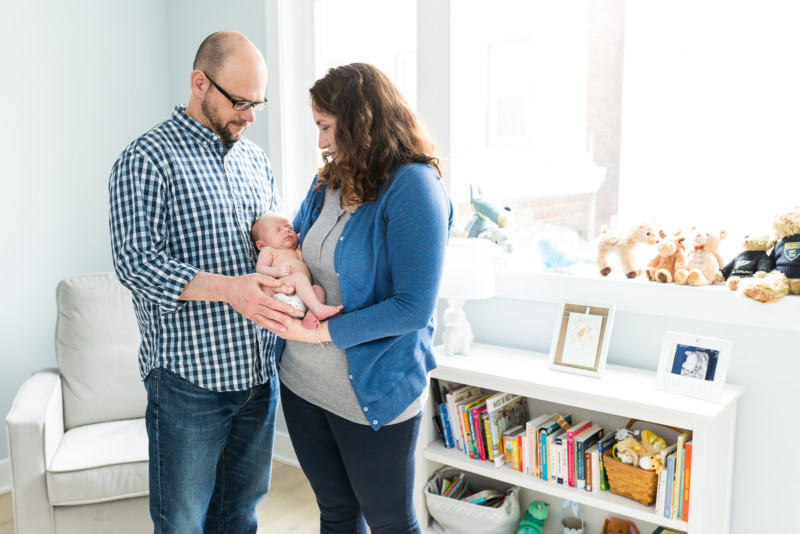
Existing Light
As soon as you get into a room you plan on shooting in, open every window shade as far as it will open. If the room has slatted blinds, pull them all the way up. Don’t just open the blind slats. When possible, turn all of the lights in the room off. Most household lights are too warm and will be a different temperature from your flash and the daylight coming in. If you don’t turn them off, you’ll end up with some funky skin tones that’ll be a nightmare to post process for.
The one instance where I don’t turn off the lights in the room is when there just isn’t enough natural light coming in for the camera to focus. In that instance, I’ll leave the lights on but set the flash power higher (to act as a key light) so that the flash overpowers the room lights.
Timing
Before a session, I’ll ask my clients to pay attention to the light in the house. I want them to find the time of day when the rooms they want to shoot in get the best light. That’s different for every house. We can then set a session time based on that. Additionally, once shooting, pay attention to how the sun is inside the house. For example, sometimes I’ll start in the early morning and the nursery is getting too much direct light at that point. I’ll start by shooting in a room on the other side of the house while I wait for the sun to get a bit higher in the sky so it’s less direct in the nursery.
That’s it. Good luck trying these on your own. I’d love to hear from you. How did these tips work for you? Do you have any additional suggestions of your own?
About the author: Randy Klein is a professional family and child photographer in the Philadelphia area. The opinions expressed in this article are solely those of the author. You can find more of Klein’s work on his website and Facebook. This article was also published here.