10 Photoshop Hacks for Portraits
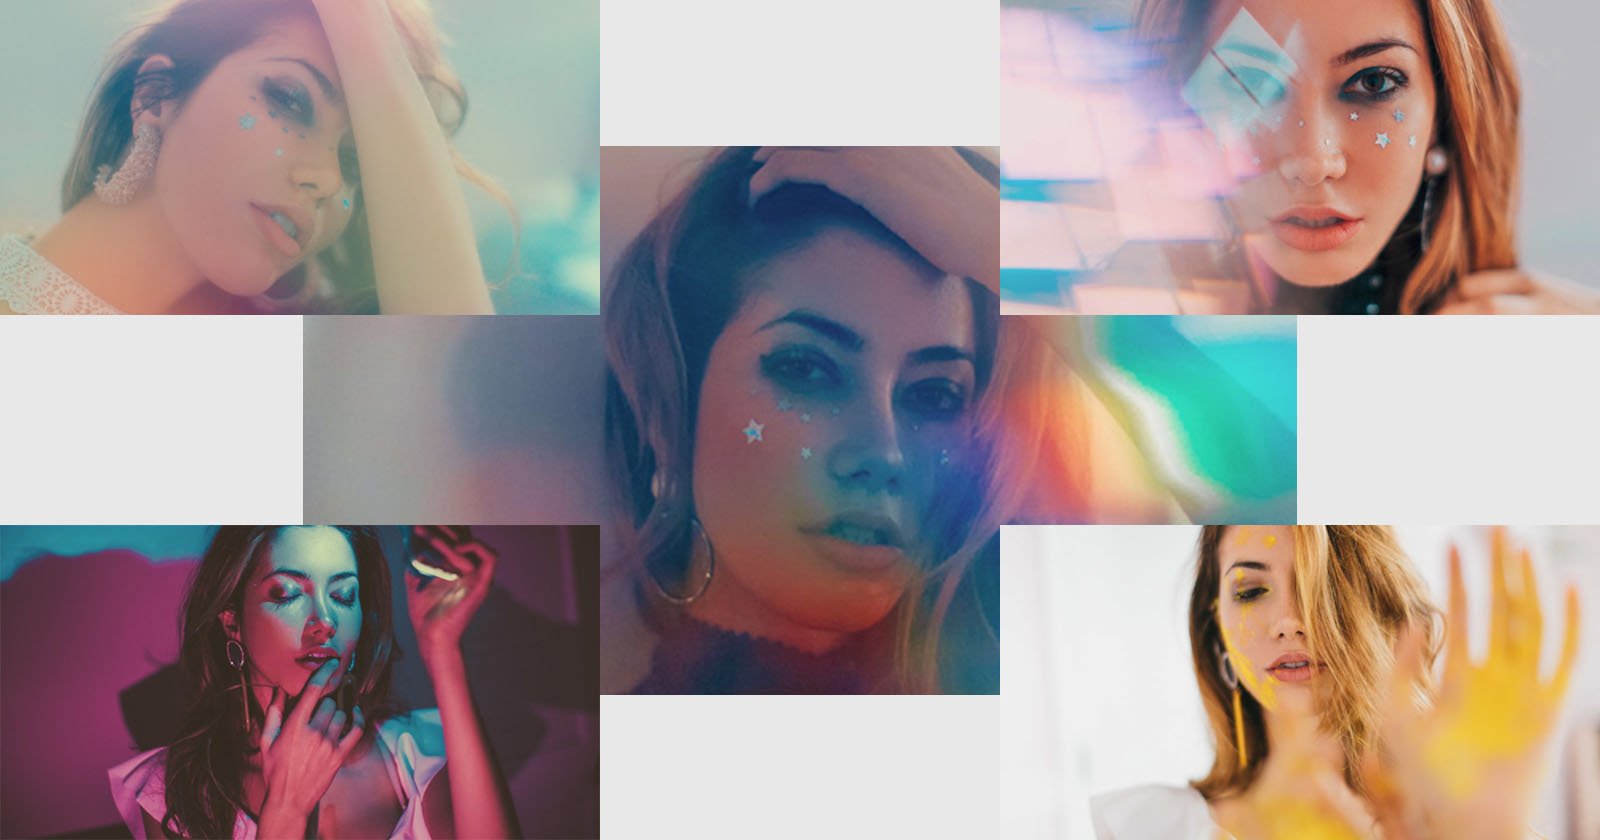
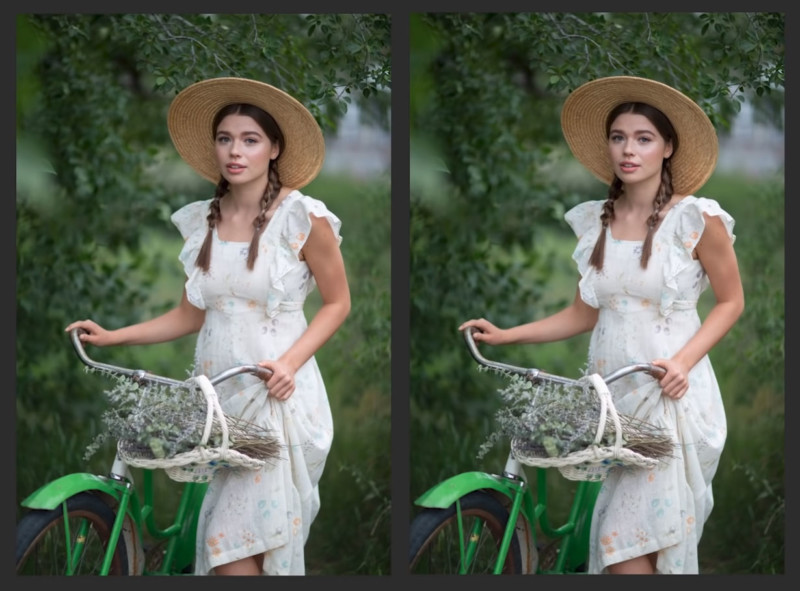
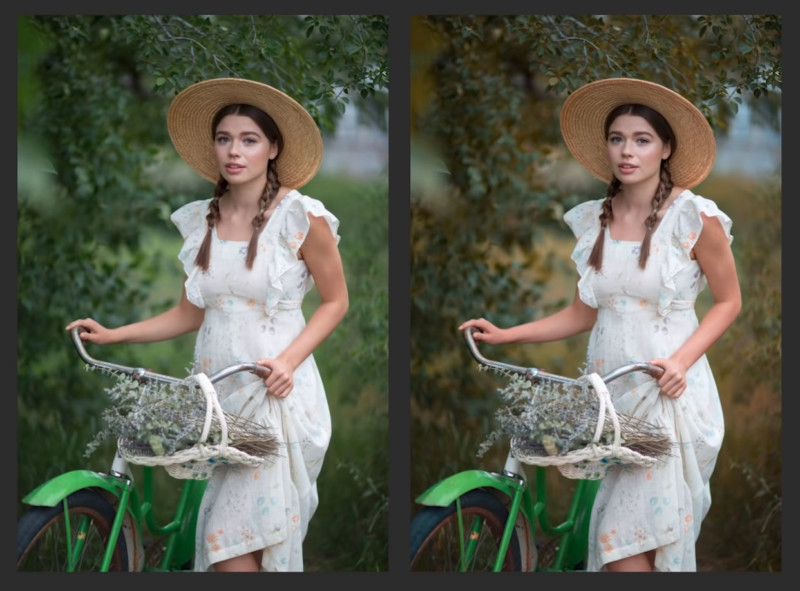
Photographer Irene Rudnyk made this 22-minute video to share her top 10 Photoshop hacks when working on portraits. These are tips and tricks Rudnyk says she uses all the time on all of her photos.
Hack #1 (0:16): Stretch Technique. Using Free Transform to stretch out secondary areas of photos to change the aspect ratios of photos without cropping.
Hack #2 (2:14): Long Legs Stretch Technique. Using Free Transform to slightly lengthen your model’s legs.
Hack #3 (3:33): Hair Liquify Technique. Using Liquify to add volume to your model’s hair.
Hack #4 (5:08): Long Neck Liquify Technique. Using Liquify to slightly move a model’s shoulders down to lengthen the neck.
Hack #5 (6:30): Easy Skin Retouch. Using sampled color from a model’s face and the Brush tool as a simple way to retouch skin.
Hack #6 (11:05): Camera Raw on a Layer Mask. Using Adobe Camera Raw to edit just the model using a new layer copy and masking.
Hack #7 (13:29): Oranges and Teals. Achieving the popular orange and teal look using Adobe Camera Raw.
Hack #8 (15:07): Best Sharpening Technique. Using the High Pass Filter to apply sharpening to photos.
Hack #9 (17:20): Selective Color. How to do easy color grading using a Selective Color adjustment layer.
Hack #10 (18:47): Burn the Details. Using an inverted Curves adjustment layer to burn details into photos.
You can find more of Rudnyk’s videos on her YouTube channel and more of her work on Twitter, Facebook, 500px, and Instagram.