Here’s an Intro to Three-Point Lighting for Portraits
Here’s a 9-minute introduction to the three-point lighting setup! If you haven’t seen our video about portrait lighting, we go over five portrait lighting positions and what type of emotion you can get from those positions. So this is a follow up to that lesson and I recommend you watch it before diving into this one!
After mastering the one light setup, you can move onto the three light setup which is commonly used and is one of the basic principles of portrait photography.
If you’re lighting people for headshots or for interviews, the three-point lighting setup is your go-to.
The First Light
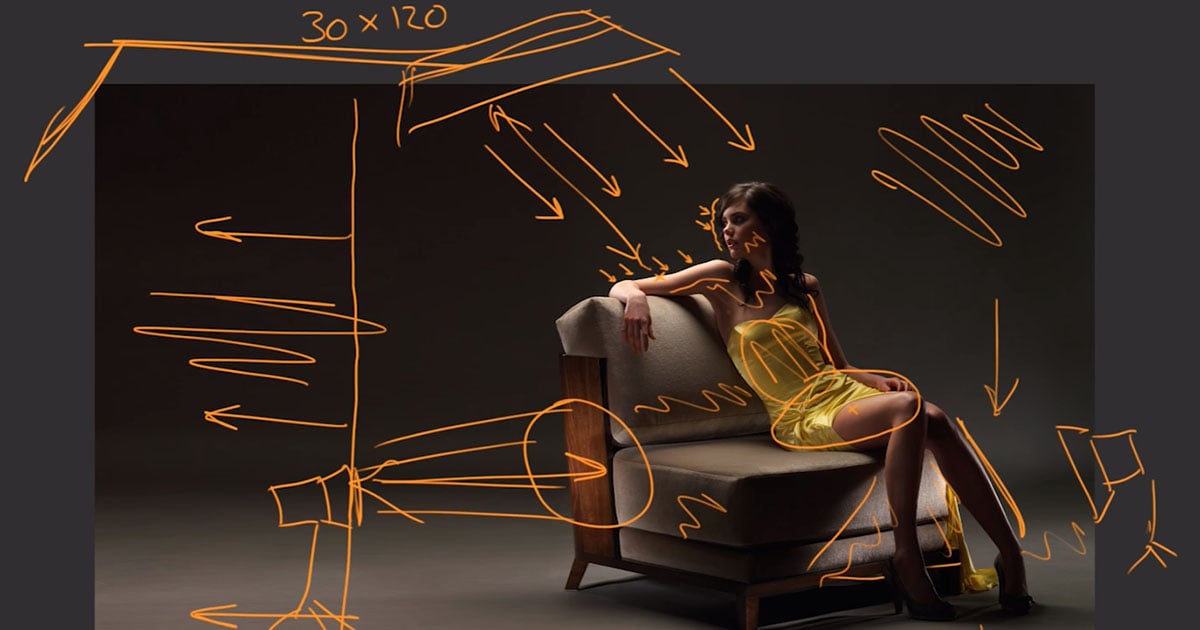
The first light you set up most of the time is going to be your key light. Some people have a hard time figuring out where to place the key light. Remember that it’s the main source of light that will illuminate your subject. Sometimes it’s good to have your key light come from a motivated source like a window, so you would place your key light in the same direction as the window light. You’re basically amplifying that effect and mimicking the characteristics of that light.
Another good way to start is by having the light be slightly higher than your subject and pointed at a 45-degree angle. This will create nice shadows and a Rembrandt light, which we also talked about on portrait lighting setups.

We are using the Aputure 300D as our key light and put a softbox with a grid on it. We used a 120D for the rim light. What I like about these lights is that they come with a Bowen’s mount which is a pretty standard thread for a lot of your strobe equipment from the good-old-days. So all of your lighting modifiers are going to fit this – which is great!
Dealing with Shadows
Now that we have our first light set up, we can add a reflector to this to even out those shadows. Depending on the color and proximity of the reflector, you will get different results for how the reflector handles the shadows. Sometimes you just want to take the edge off slightly but you don’t want to kill it. Those are all creative choices you have to make.

You can use a second light to fill in the shadows as well. Most people place this light on the opposite side of their key since that’s where the shadows will be!
Backlit
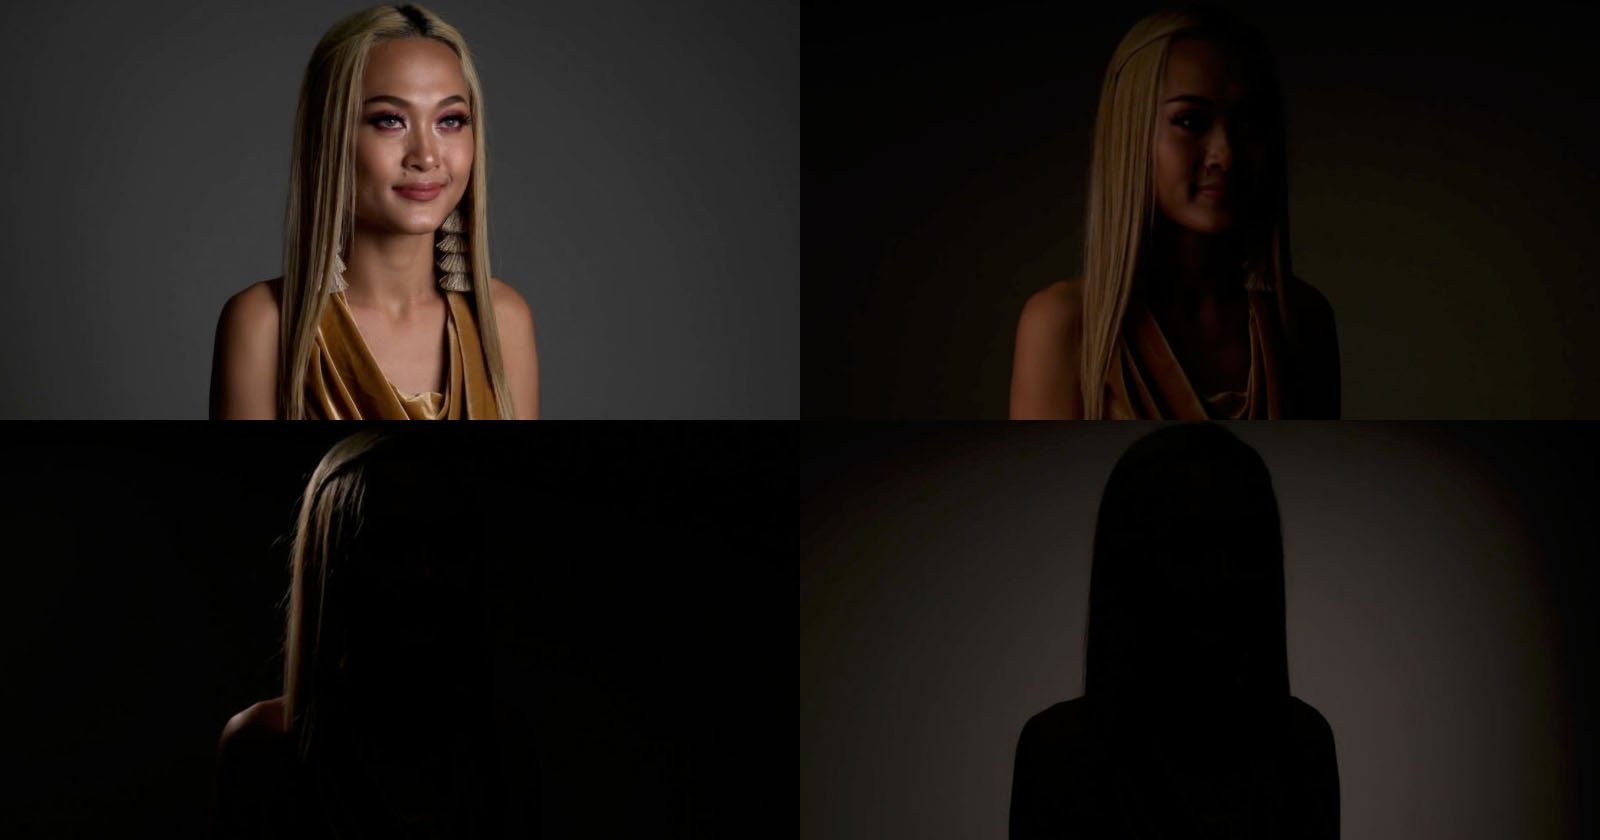
The next light that we use is the backlight. This is mainly used to create separation from the background and our subject. Especially if our subject has black hair and we are seeing a black background, it’s good to know when her hair ends and the background begins! You can do this multiple ways.
A rim light comes from the back of the head and creates a glowing halo effect on your subject’s shoulder and hair. This is separating our subject from the background by placing more light on our subject and keeping the background dark.

Another way to do this is putting light on the background. Now our subject is darker than our background and this is how we are creating separation.
To be really cool, you can do both of these things and put a light on the background and on your subject.
Separation, Depth, Interest
First of all, let’s talk about the background. The further you have your subject from the background. the more control you have of it. If you’re shooting on a seamless, then you’re limited to how big your seamless is. Unless you’re also shooting on a telephoto lens. In which case, you’d be shooting very far away from your subject.
If you’re trying to work in a tight space and you have your subject sit three or four feet from the background, the light from the background is going to spill onto your subject. You’ll have no control over the lighting of the background and you want to keep that separate from your subject lighting usually.

Using grids on your softboxes will give you more control over them. The grid essentially lets the light just shoot in one direction instead of it being all over the place. That way you can direct the light!
To create interest in the frame, consider adding gels over your light.
Doing it on the Cheap
You can do a three-point lighting setup without three lights! Put your subject closer to the background, take your grid off the softbox and light your subject and background with that light. Then we pushed our reflector close to give us that fill light and used a mirror as our rim.
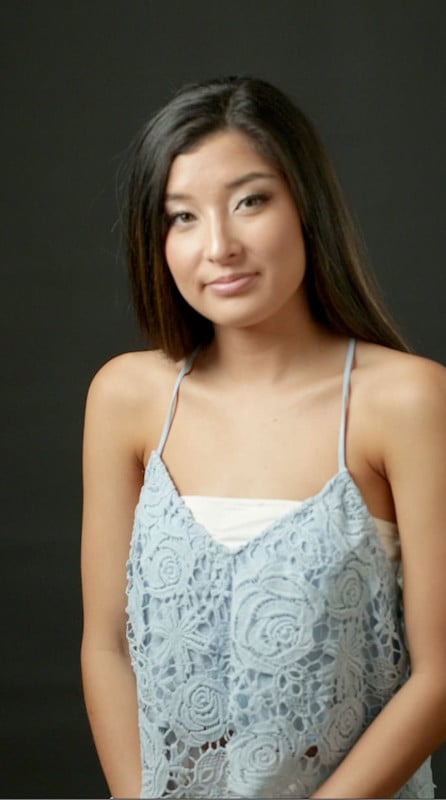
These results aren’t going to be the best, but it goes to show that you don’t need three lights to be in the ballpark range of what a three-point lighting setup should be.
The Master
Being able to do the three-point lighting setup is important because it’s the basis for almost all other lighting setups. You can do variations of the three-point light, but this is the standard for portrait photography or when you’re doing an interview.
There’s a reason why this type of lighting works, but that doesn’t mean you can’t break the rules sometimes.
About the author: Jay P. Morgan is a commercial photographer with over two decades of experience in the industry. He teaches photography through his company, The Slanted Lens, which runs a popular YouTube channel. This article was also published here.