How to Split Tone Photos in Lightroom: A 5-Minute Tutorial
Here’s a 5-minute tutorial from Evan Ranft that shows you why and how you can easily split tone your photos for better colors using Adobe Lightroom.
“This works in your benefit, as it allows you to move your edits from one photo to another while retaining the same look,” says Ranft.
In the Develop window of Lightroom, you’ll find a “Split Toning” tab. You can open this panel and use the Eye Dropper tools for the highlights and shadows to adjust their respective hues.
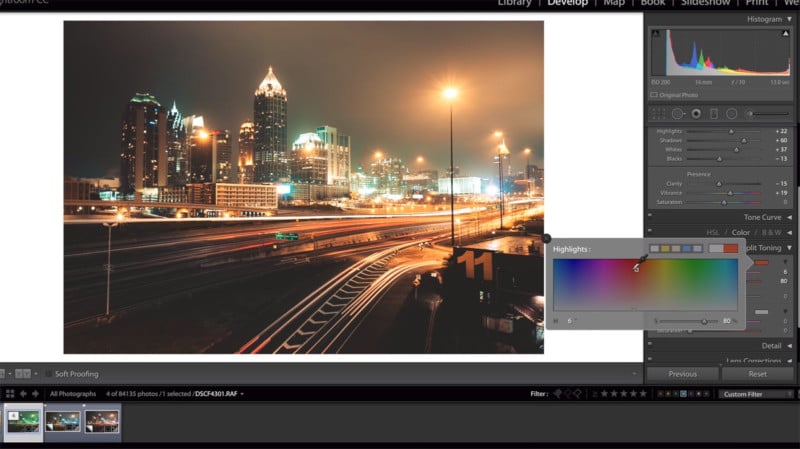
Move the dropper around to find the best look for the highlights first, and then choose an appropriate shadow tone to compliment it.
“I like to pick a shadow tone that is on the opposite end of the color wheel,” says Ranft.
Don’t forget to pay attention to the “Balance” and “Saturation” sliders too, as these can have a big impact on how your hue adjustments are represented in the final image.