How to Use the Color Grading Panel in Lightroom
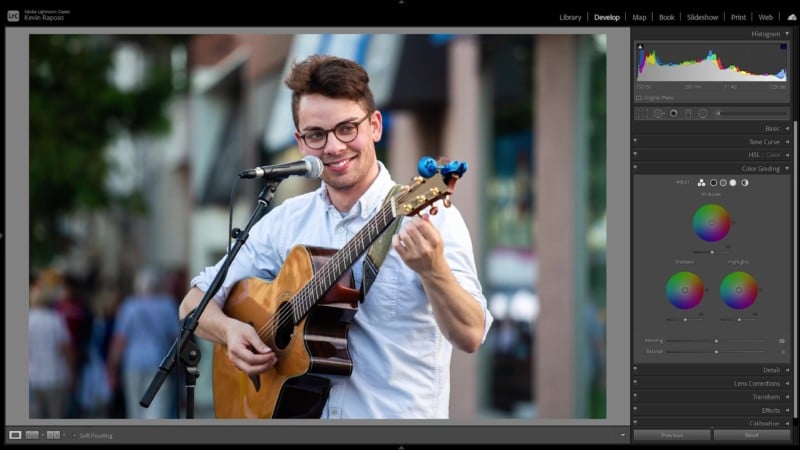
The color grading panel in Lightroom offers powerful tools that can completely transform an image. Photographer Kevin Raposo has put together a brief tutorial to show what these tools are capable of.
Previously known by Lightroom users as the split toning tab, the recently redesigned color grading tool was introduced in 2020 and brought a new interface and capabilities. Raposo also adds in the video that Lightroom’s color wheels look more in line with what professional video editors use in their workflow.
![]()
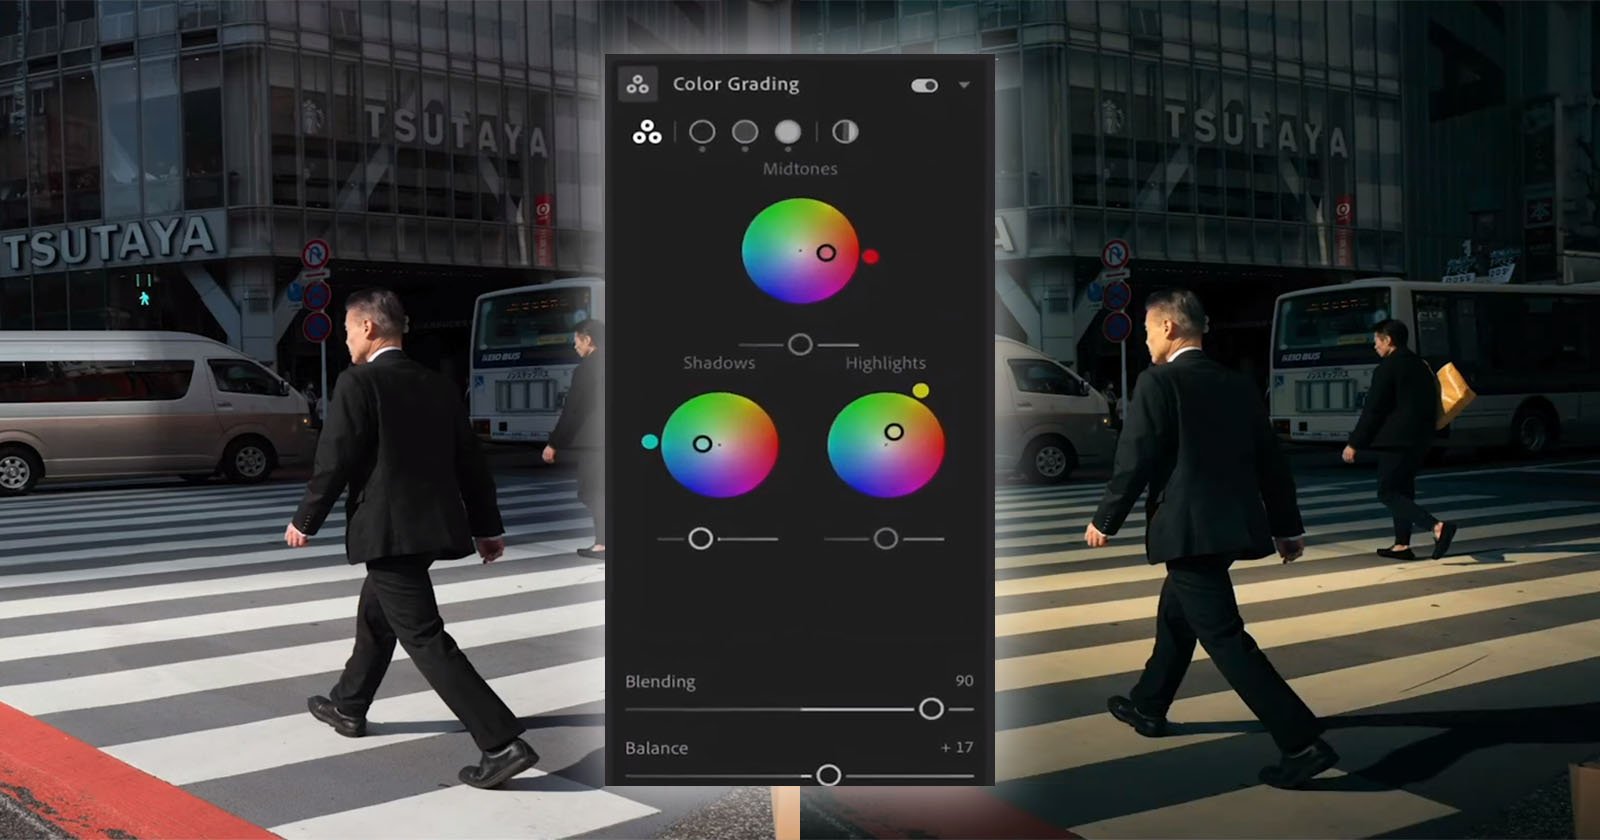
Now, users can modify the color in highlights, mid-tones, and shadows, while previously color mixing was limited to just highlights and shadows.
The color wheel can be controlled by firstly picking a color the user wants to add in one of the three tonal ranges. To do that, the outer circle can be spun around the wheel to find the right color. Then, the color has to be introduced into the image by using the central circle which is responsible for saturation.
Raposo says a good tip to remember is that holding the “shift” key will lock in the hue while the saturation is adjusted. This will make sure that the circle doesn’t accidentally move around the color wheel and doesn’t alter the selected hue.
The slider beneath each color wheel is for adjusting the luminance. Moving the slider to the right will increase the visibility of the hue within the particular tonal range while sliding to the left will decrease it.
Below the color wheels are two sliders, “blending” and “balance.” The blending slider is new and controls how much highlights, mid-tones, and shadows overlap and spill into each other. At 100, the transitions between the three will be the smoothest, while on the opposite end, the transitions will be visibly harder.
The balance slider, on the other hand, controls which tonal range takes priority. Sliding to the left the shadows will take priority and the colors shift in that direction, while on the right — highlights are prioritized.
For users who want more precision, HSL values can be viewed and adjusted by hovering over each wheel or each wheel can be further clicked into by selecting in the panel above. Each individual color wheel also gives the option to add five custom colors which the user can reuse and revisit later.
![]()
Raposo explains this can be helpful when trying to match a color scheme from one image to another. Using the eyedropper tool, he clicks and holds it down, and drags it over the shadows of one photograph. Now, he can use that same color and introduce it into shadows of another image.
The last individual wheel in the top panel is for global adjustments. This color wheel adds one color throughout the whole image, such as adding a sepia tone to the full photograph.
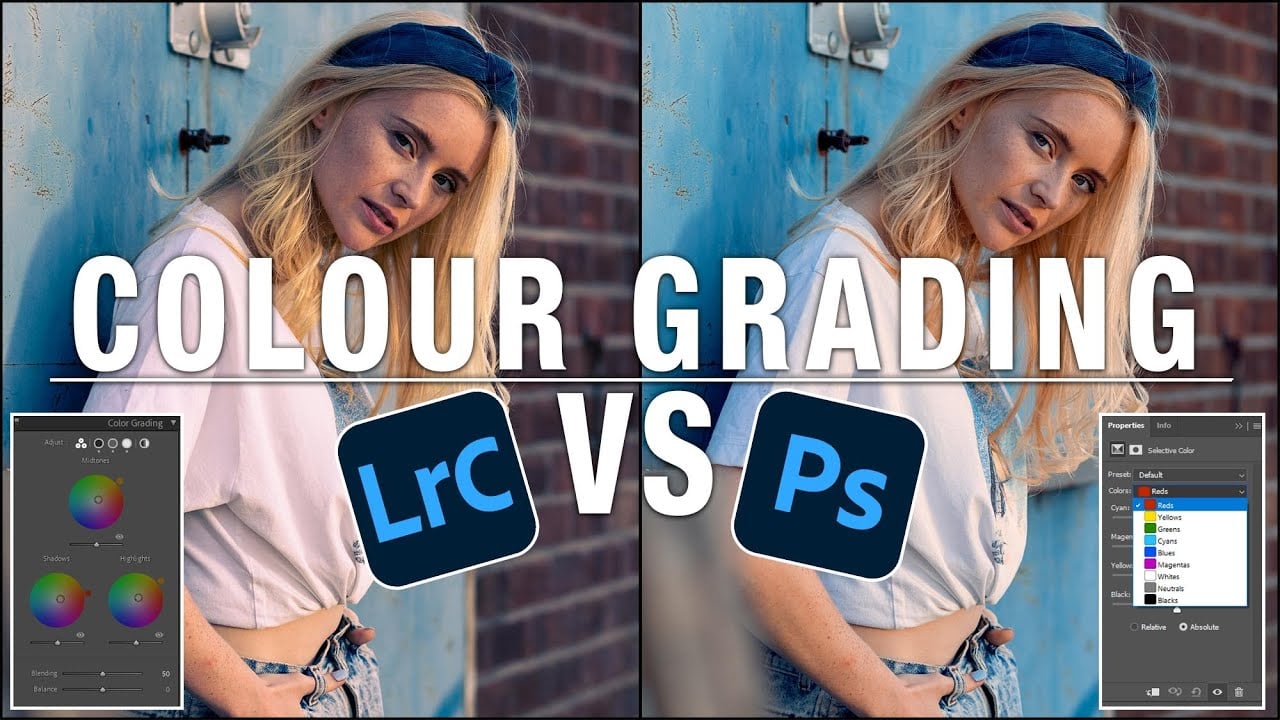
Understanding the basics of color grading tools can fully transform an image. Lightroom’s previous split toning tab wasn’t as expansive or intuitive, so the new tools now equip photographers with powerful ways to alter an image without necessarily having to go into Photoshop.
For more from Kevin Raposo you can subscribe to his YouTube Channel.
Image credits: Photos by Kevin Raposo.