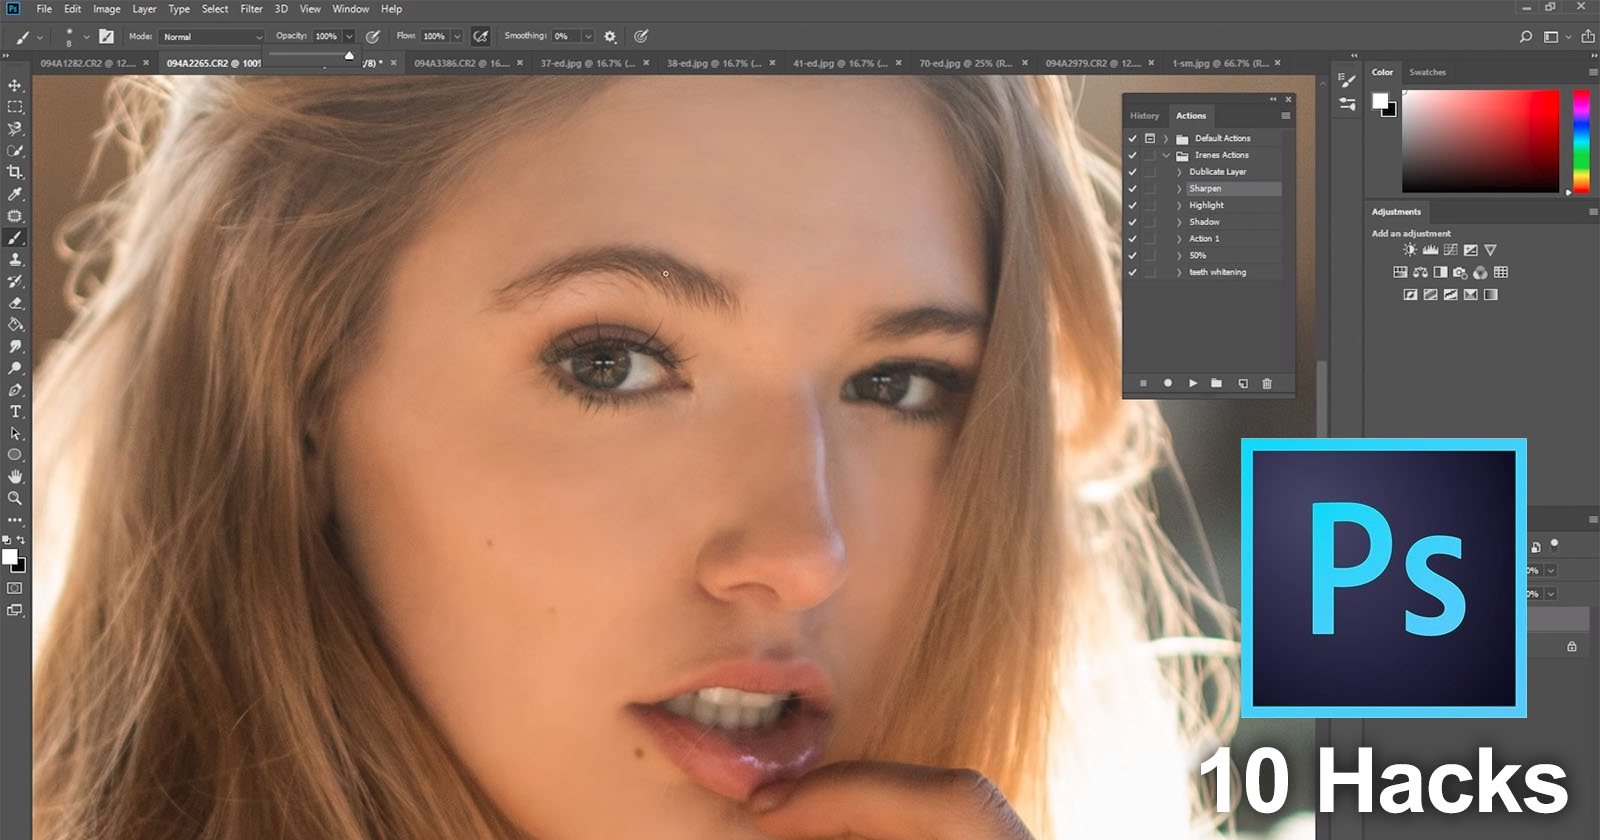
How to Edit Dramatic Portraits in Photoshop
Photographer Sean Tucker made this 36-minute video that walks through editing dramatic portraits in Photoshop. Watch Tucker’s entire process from start to finish as he brings his portraits to life.
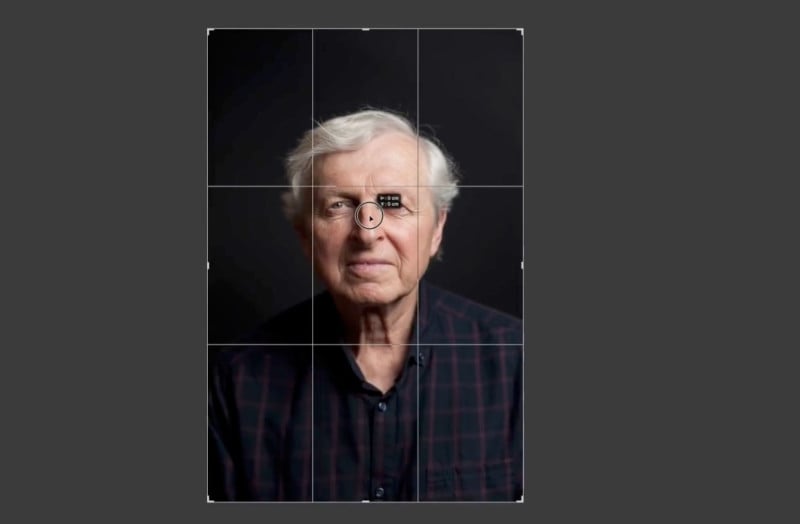
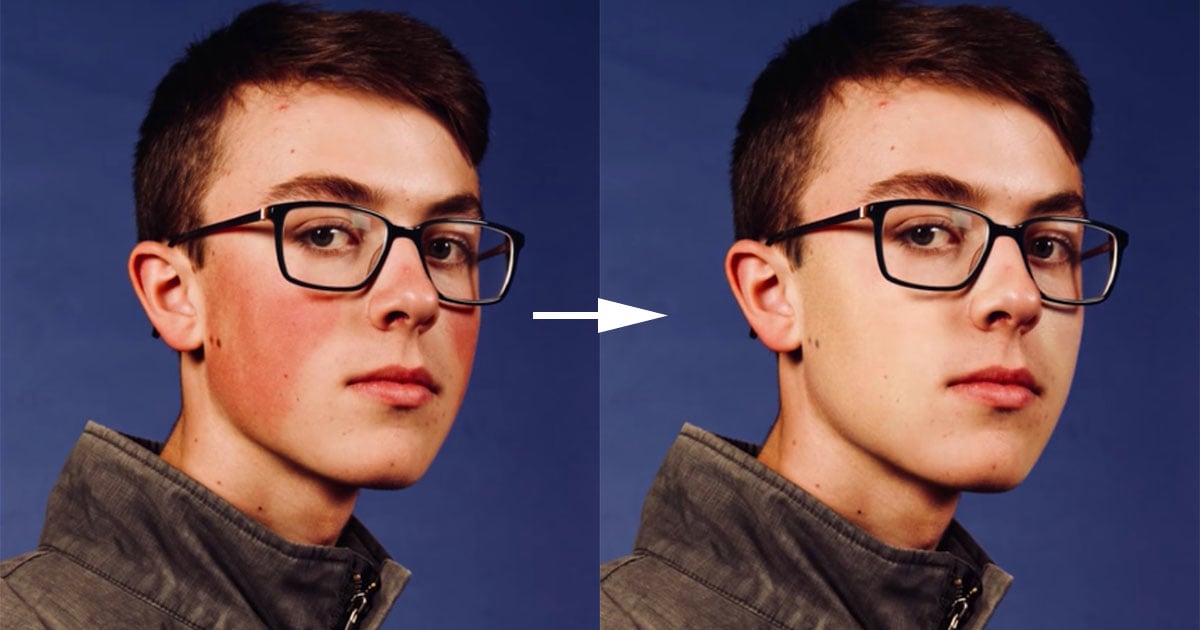
Next, Tucker goes on to use the healing brush to remove small “distractions” from the shot. For example, stray hairs or messy eyebrows. However, he’s not looking to do a “beauty retouch” here and is instead just cleaning things up.
Remember, when performing a substantial edit like this, it is very important to construct your edit workflow using layers. If you wish to roll back an edit or change your mind later on, you have much more flexibility if each adjustment is contained in its own layer.
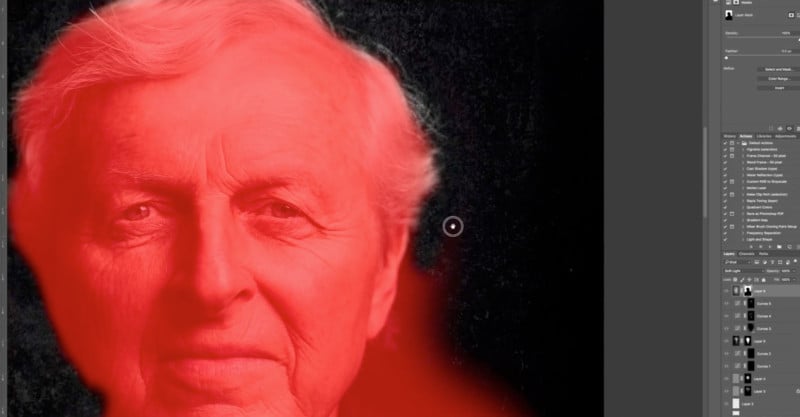
Tucker conducts a huge number of different types of edits in this walkthrough video, and it’s interesting to see how he chooses to exploit each adjustment. As well as the retouching, he works with the dodge and burn tools, color toning, sharpening, and contrast. All of this is done using meticulous masking and blending modes.
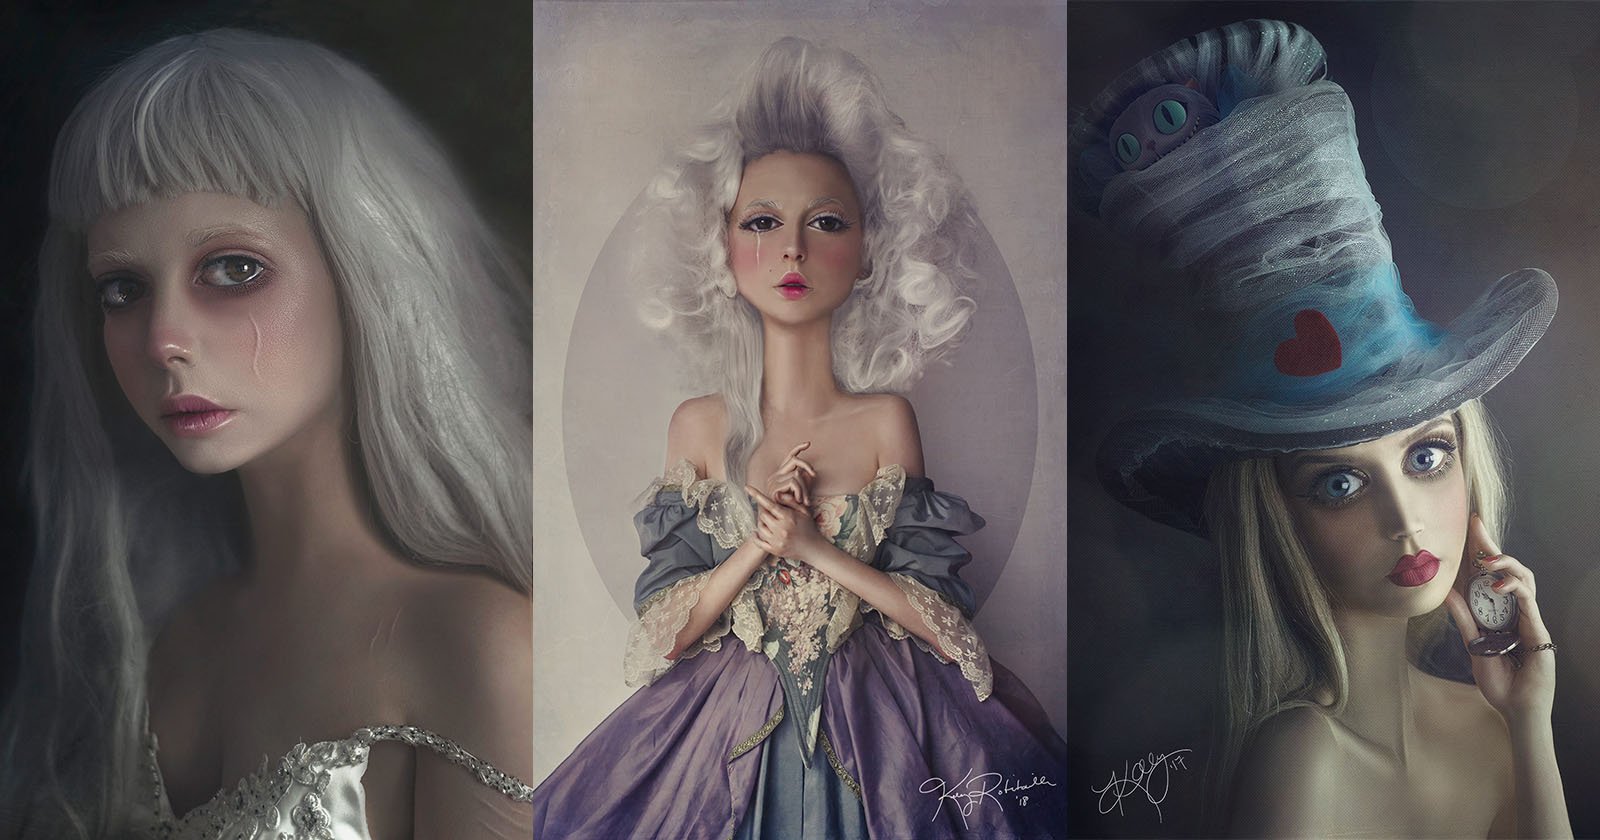
He even goes as far as to add a texture layer to the shot, masking it into the background and adding some depth to the image.
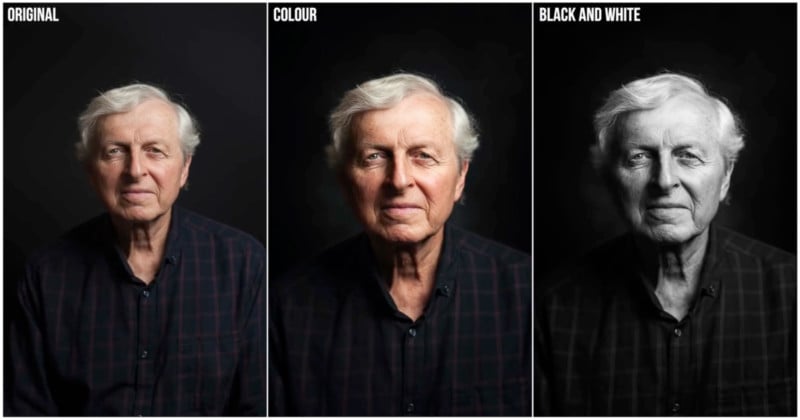
Ultimately, he produces both a color and black and white version of the image:
Check out the full video above to see the entire editing process take place. You can also find more of Tucker’s videos on his YouTube channel.
(via Sean Tucker via Fstoppers)