How to Stack and Stitch Panoramas of the Stars: A Complete Guide
Here’s a 24-minute tutorial by photographer Ian Norman of Lonely Speck that looks at how you can stack and stitch panoramas of the night sky. Norman says these are his two favorite techniques for maximizing the image quality of astrophotos.
In this example, Ian is shooting with his camera in a portrait orientation. He’s first capturing a row of the sky, and then a row of the ground. This means you need to stack two separate panorama files before merging the new top and bottom files together in Photoshop.
To help with reducing noise, Ian has shot 4 frames of each section of his panorama. These will be used in the noise reduction process by removing the differences between the images, ensuring details in the Milky Way galaxy aren’t removed like they would be with standard color noise reduction.
Once the noise reduction is complete, bring the new frames back into Lightroom. You can then merge them together using Lightroom automatically.

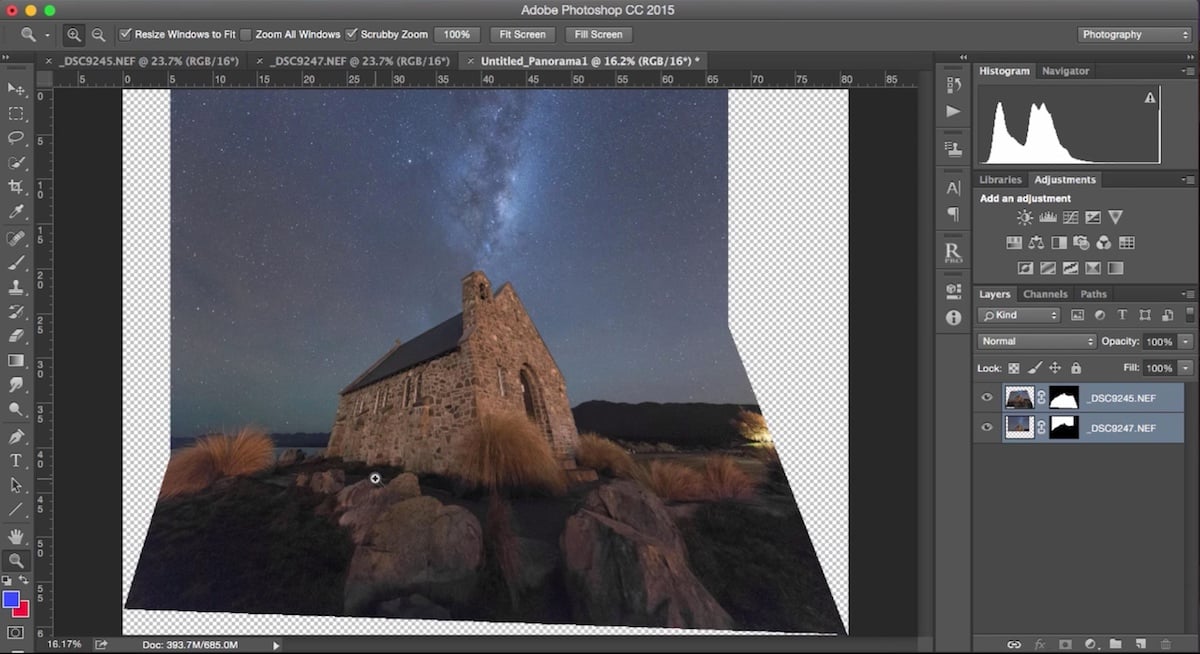
Now you need to bring the sky and ground details together using Photoshop. This is done because sometimes you will find that Lightroom won’t successfully stitch the ground when the stars have been “moving” during your exposures. When done separately, you can avoid this problem.
Aligning the two panoramas properly can be done in Photoshop by utilizing the “Difference” blend mode. To align them, just use the “Free Transform” tool to manipulate the layers.
Blending the layers together seamlessly is done using “Auto-Blend” in Photoshop, ensuring “Seamless Tones and Colors” is checked.
Watch the full tutorial video above for Norman’s detailed guide, which includes more tips for how to color correct and apply proper noise reduction to the scene.