Building a Custom Wood Surface for Product Photos
A few days ago, my girlfriend, Victoria was trying to take some photos of a bridesmaid gift she received the night before. She was trying to take these images on her phone and was not having any success. After a few unsuccessful attempts, she gave into my suggestion of taking these photos on her X-T10.
She remarked about how so much effort was going into a single photo. I told her that for me a lot of the joy that comes from photography is all of the problem-solving that you have to do on occasion.
This can mean a few different things. For example, you might have to climb a fence to get closer to your subject. You might have to use a reflector to modify the available light in a scene. In the most extreme cases, you might have to fabricate an entire set or some props for your images.
Why You Should Build Your Own Stuff…
You should build your own stuff because it gives you the opportunity to add a unique and personal touch to your photos. Creating something such as this surface, from scratch allows you to add an extra element of control to your photos.
For example, in product photography, it’s important to have complete control over the technical aspects of a photo. So why not take things a step further and be in control of the surroundings as well. Imagine being able to custom build a prop for your clients on an individual basis. In a competitive marketplace, everyone wants something that will help them stand out.
How I Built This Surface
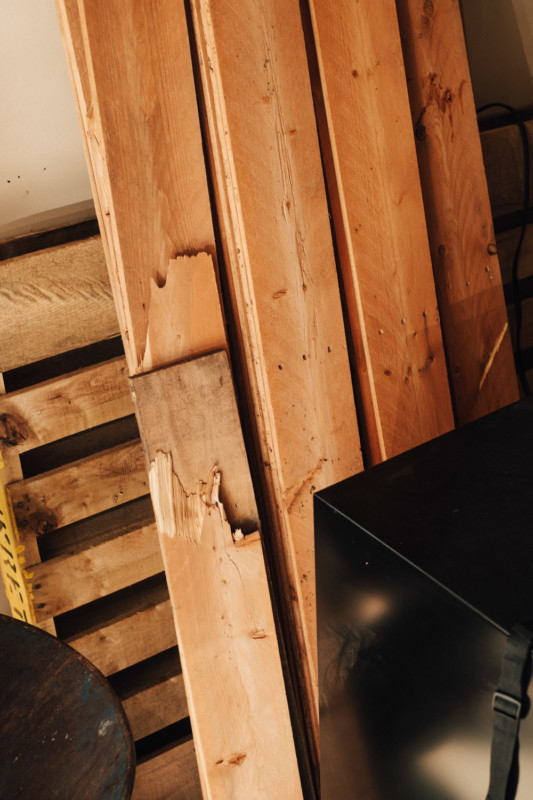
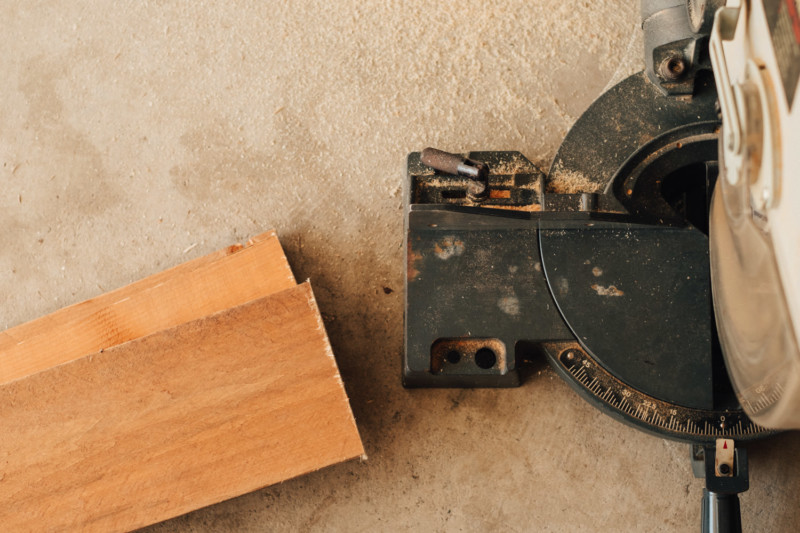
The individual boards are a part of our fence that was damaged in a storm back in August. They had been sitting in the garage for the last few months, waiting for someone to put them to good use. Some of the pieces were longer than others so I started by cutting them all down to the same length, 20 Inches.
a


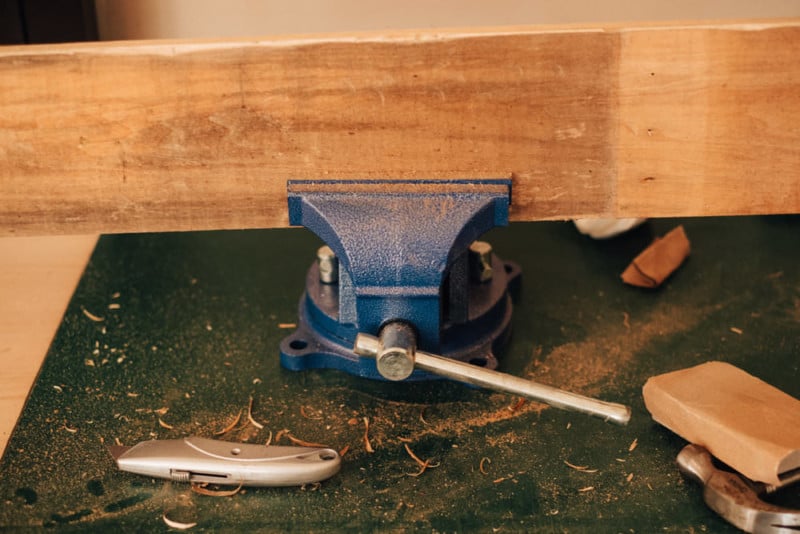
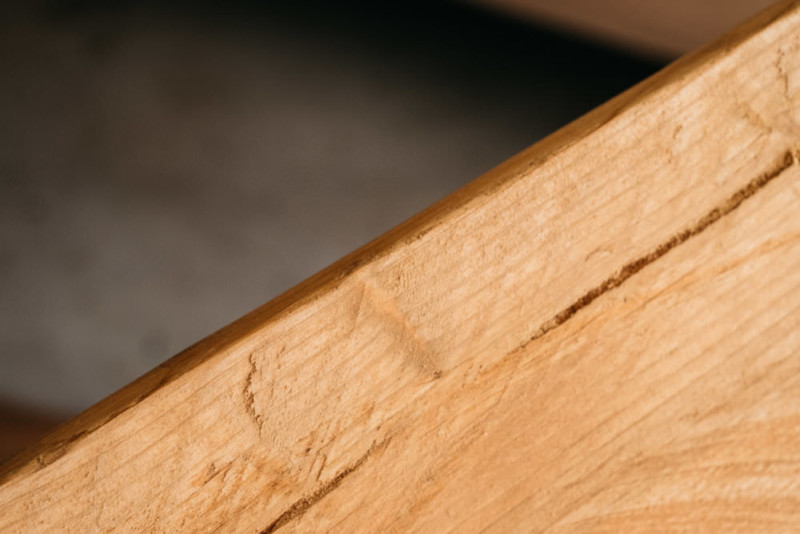
I decided to give all the edges a rough look by taking a utility knife to them. I then took some sandpaper and smoothed out the cuts that I had made. You can see in the photos that the edges have much more character than when I started out. In some areas I took a hammer and dented some of the flat surfaces, adding in little nicks and chips.
The boards now have the appearance of some old floorboards or an old table. The idea is to simulate something that has many years of wear and tear on it. After giving the wood some character, I took a piece of sandpaper on a flat block and smoothed out the entire board. A trick here is to cheat the edge a bit with the block. You want the board to be slightly higher in the center than it is on the edge.


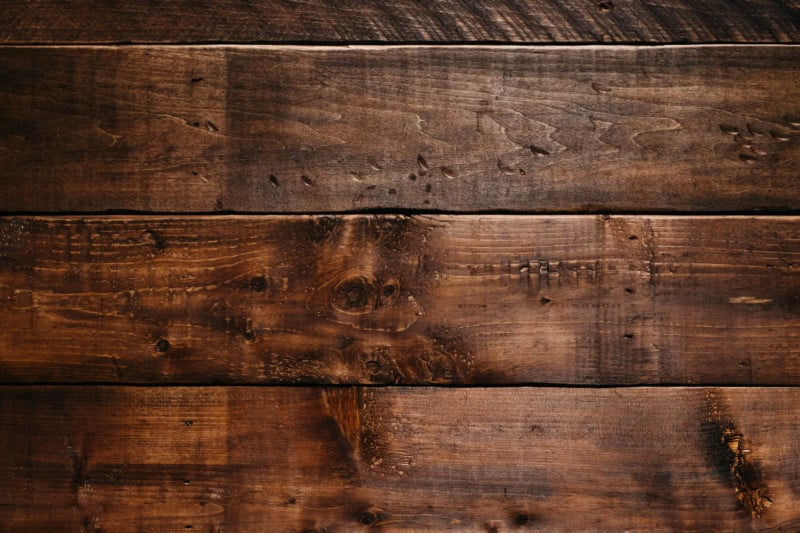
After I was happy with the shape of the wood I moved on to staining. I used two colors of which we had laying around to achieve the look you see here. The basecoat is a color called English Chestnut. The second color is a darker stain that I applied to accent some of the flaws in the wood. I wanted to give the wood a dirty look as if stuff had been spilled on it over the years.
Both stains were applied with rags. I dipped a little piece of the rag in and would use that to go over the entire board. I like to stretch out as much stain as I can on as much surface area as possible. You don’t want to lay to stuff on too thick, you want to see the character in the wood. After the stain was applied I let the boards dry overnight, and just like that they were finished.

In total it took me about two hours to do all of the cutting, sanding, and staining. I was lucky enough to have all of the materials laying around in the garage so the total cost for this project was a big fat zero. If you had to buy the materials for this they all tend to be fairly cheap. In most cases, you could probably build something just like this for around $50. It’s also a project that doesn’t require much space so you could even do it in an apartment as long as you don’t mind a little mess from the sanding!
The Joys of Building
One of the most satisfying parts of this little project is that I was able to create something useful with my own two hands. Now I know not everyone is mechanically inclined, and that I have a predisposition to building things. I tend to think “I can build that” before “I can buy that” most of the time.
I see a great benefit to having something custom made, by myself, for my own little photo projects. I didn’t have to read reviews or wait for Amazon to ship me something that is going to improve my photography, and that is a great feeling. For me, it’s satisfying to work on something for a couple of hours and just zone out. The joy that comes from the absence of a phone, a computer, and a camera is overlooked from time to time.
So the next time you’re feeling a little uninspired, just go out into the garage, (or Home Depot) grab a beer, and build something. You’ll be surprised at how it can bring out other bits of creativity you did not know you were capable of.
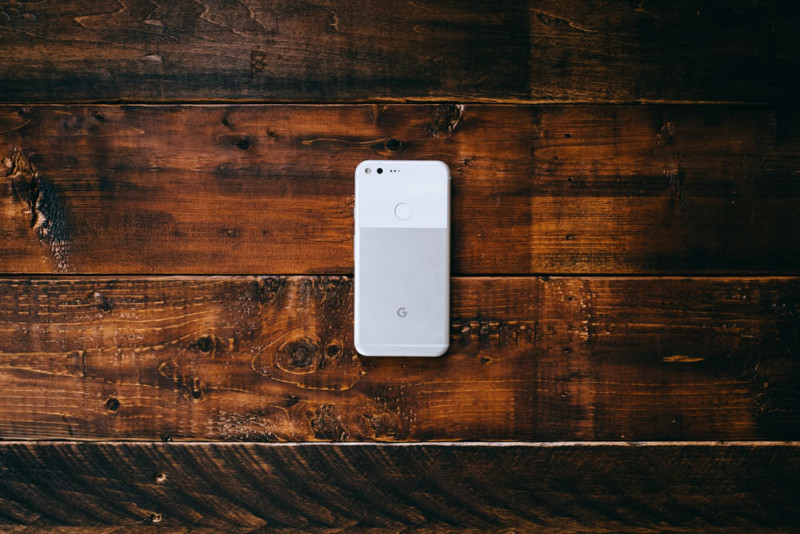
Here’s what the final surface looks like:
Here are a couple of photos showing how it can be used:

About the author: Michael Mroczek is Photographer & Designer from Williamstown, New Jersey. He lives on a lake with his lovely girlfriend Victoria, and their two pups, Scarlett and Jefferson. He likes old cars, specifically Corvettes, a good story, and Arsenal F.C. You can find more of his work on his website, Facebook, and Instagram. This article was also published here.