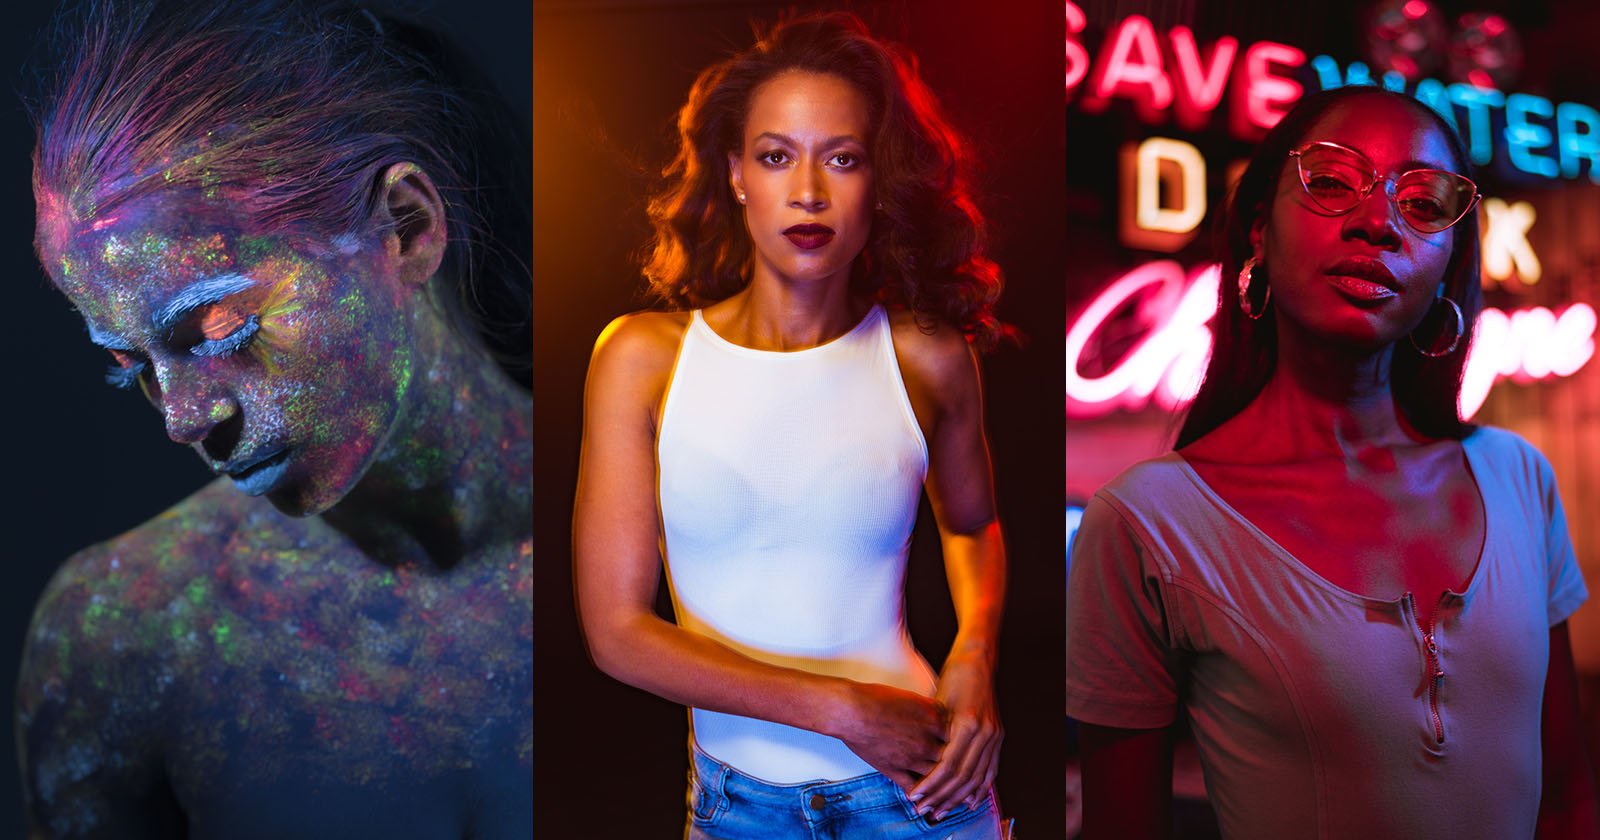
Shooting Blade Runner-Inspired Portraits Using Color Gels

Almost a year ago I purchased a set of color gels on Amazon but never got around to actually trying them out. Recently, after watching Blade Runner 2049 and being smitten by the gorgeous cinematography by the legendary Roger Deakins, I just had to play with them. Not only that, the original Blade Runner, shot by Jordan Cronenweth, is one of my biggest influences ever so this shoot was bound to happen.
The Gear You’ll Need
Monolight (key light): Flashpoint Xplor 600 Monolight ($749)
Secondary Flash (fill light): Godox TTL Flash Speedlite with Wireless Flash Trigger ($165)
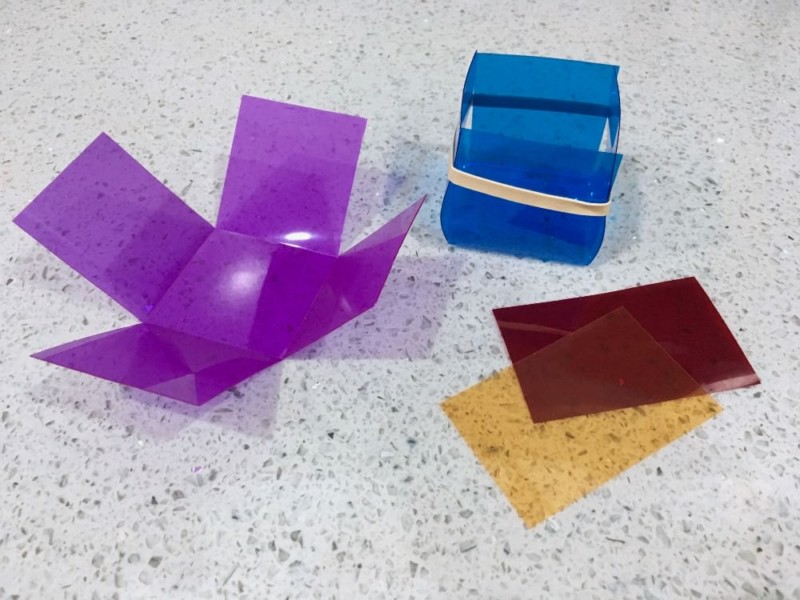
Color Gels: Neewer Pack of 8 Transparent Color Correction Gel ($11)
Step 1: Decide on a Look
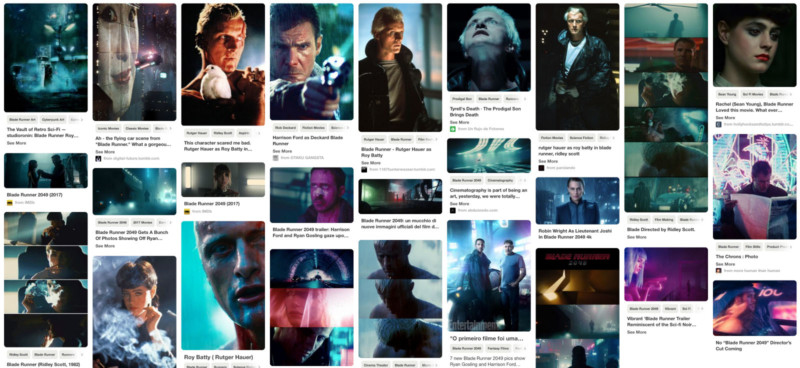
I already knew what kind of style I was going for so creating the mood board was quick and easy. I just went to Pinterest and started searching for Blade Runner and very quickly found images with the color grading and look I was aiming for; dramatic lights, neon, greens and blues wrapped in darkness. If curious you can find the board here.
Step 2: Attaching the Gels
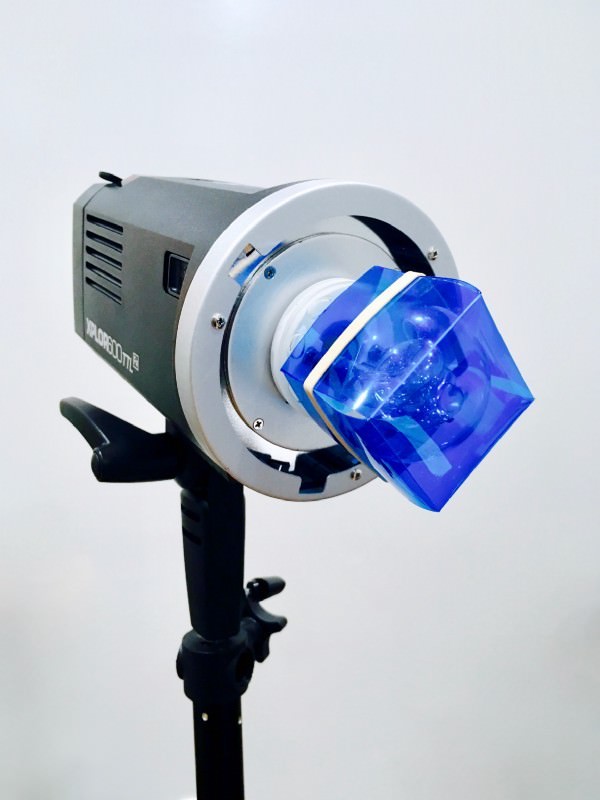
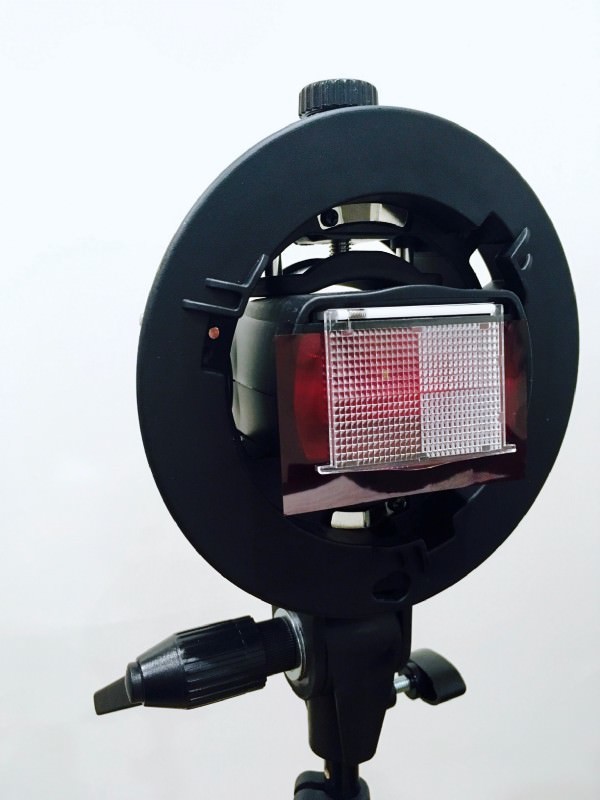
Back when I first bought my speedlight it actually came with a few color gels in the right size for that flash so all I had to do was to clip it on (see pic on the right below). For the monolight/strobe, we cut the gels to fit the bulb since they come as sheets. They were cut into a cross shape (see left pic below) and then wrapped with a simple rubber band to form a cube that could fit over the bulb.
Step 3: Light Setup
The key-light, which in my case is the monolight with the blue gel, is positioned on a light-stand above the subject’s head to her left, pointing downwards towards her face (as seen in the right corner in the photo).
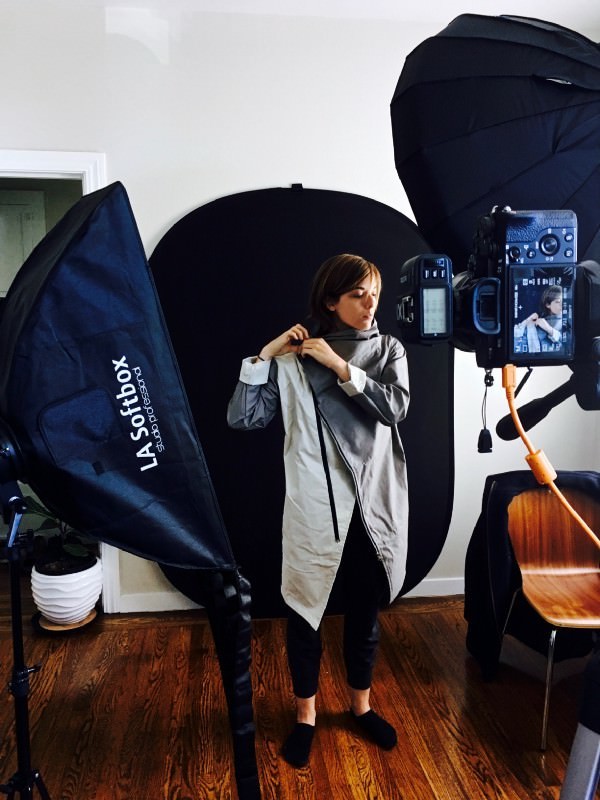
On the right of the model (picture left) is the fill flash which is the speedlight with the red gel, placed inside a small softbox. In the photo here it’s positioned slightly in front of her, but during the shoot I moved it around a lot to try different looks.
The settings on the lights were generally in the area of 1/64 for the keylight, and 1/16 for the fill light. However, I changed them depending on the photo, and more importantly these settings will vary a lot depending on the light in your environment, so take them with a grain of salt, to say the least.
Step 4: The Shoot
I used an 85mm lens with my Sony α7R II. Just liked I mentioned above, your settings will vary greatly depending on your light situation. But for the curious, my camera settings were: ISO 100, shutter speed 1/320s — 1/800s and aperture in the f/2 — f/4 range.
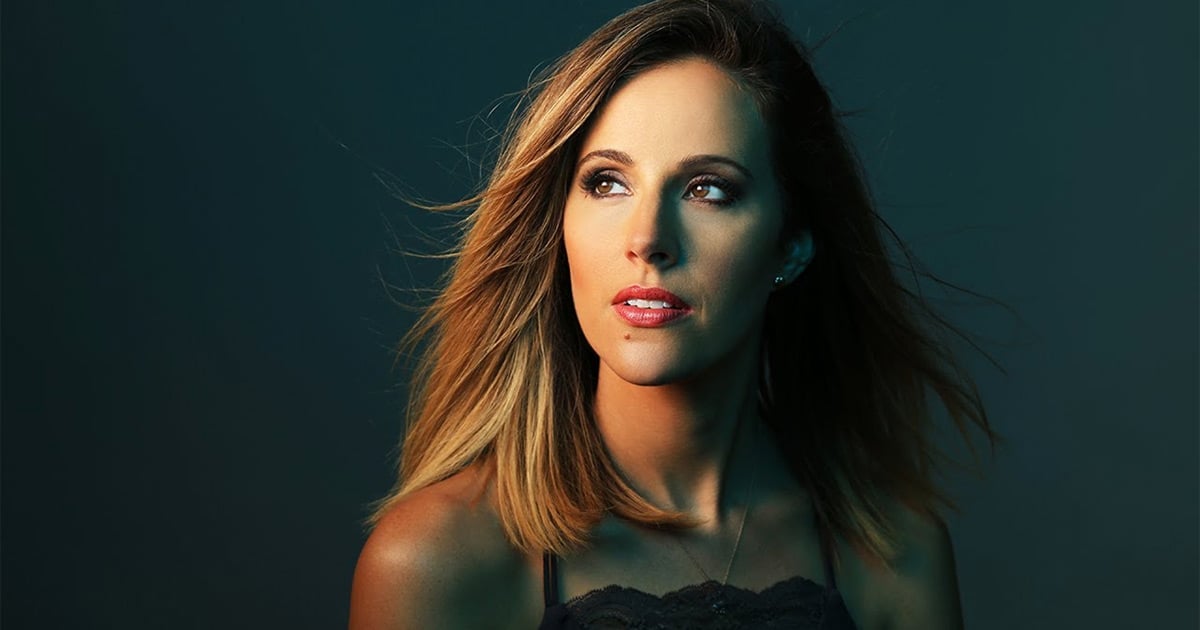
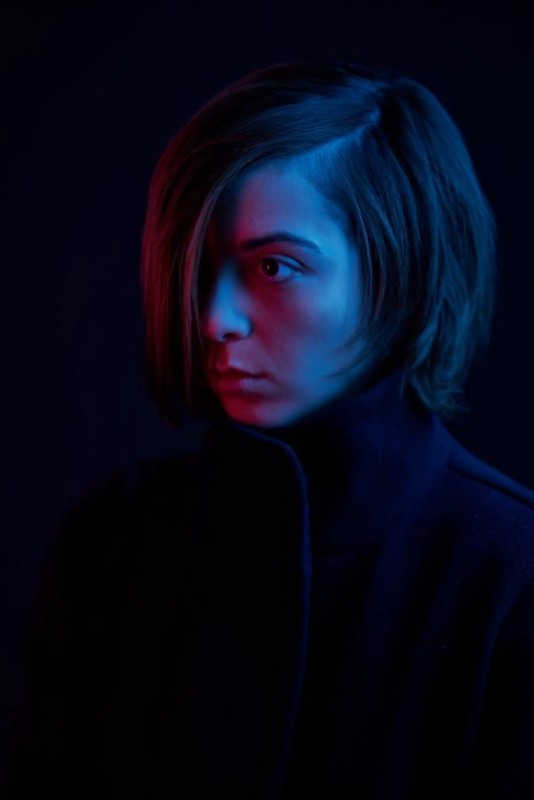
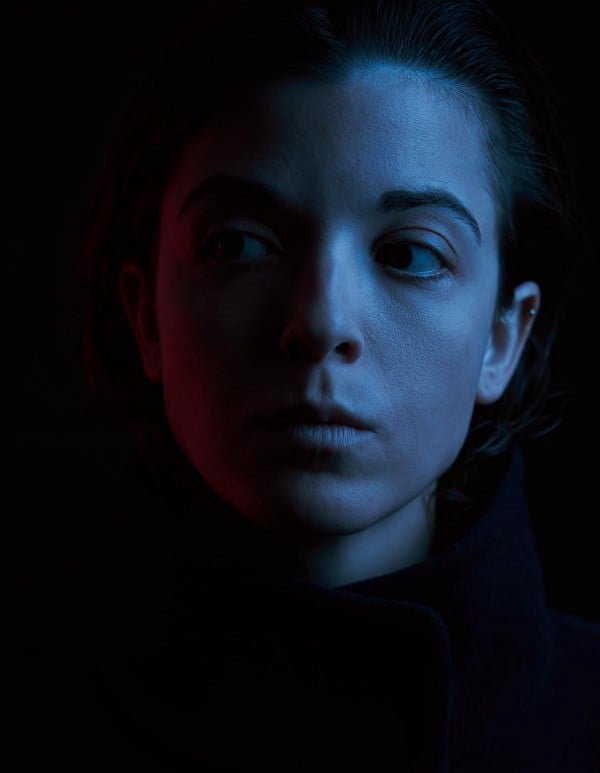
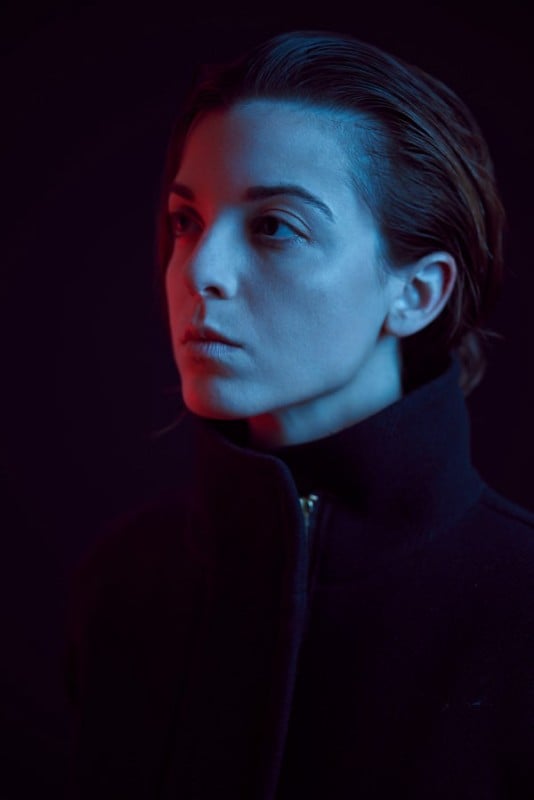
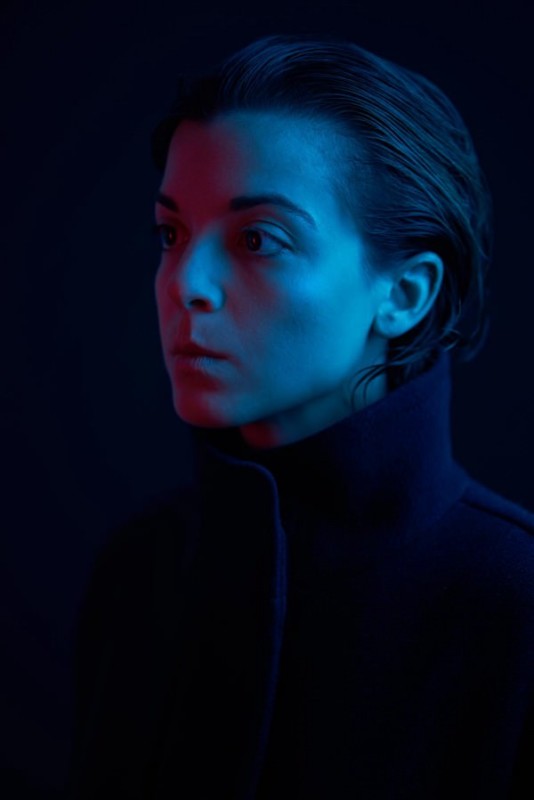
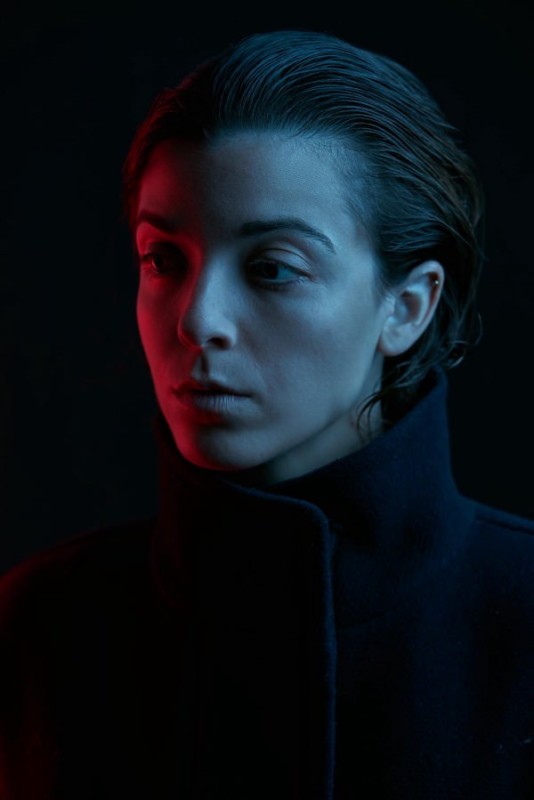
I had Megan, the model, to try to look a bit stern to match the aesthetic I was going for. Inspired by Robin Wright’s look in Blade Runner 2049, we combed her hair back and put some wax in it.
We shot about 300 frames. That might sound like a lot but it’s not. Really. Always shoot more than you think you’ll need. I don’t remember where I read that but it has turned out to be true for me.
Step 5: Post Processing
Thanks to the use of color gels I already got the colors I was aiming for so I only did some minor color correction to tone up/down their intensity.
However, I did spend some time brushing up on my skin retouching but I’m not going to go into details about that here since there is so much good content on that topic on YouTube. One bit of warning though—it’s easy to get carried away with all the incredible retouching techniques, but if you are not careful it will end up looking rather artificial and “too perfect”, at least for my taste. No one has perfect skin—not even Replicants. So I actually ended up reverting a lot of it to have a more natural look.
Takeaways
Color gels are fun and easy to play with, great for when you want to create a specific mood or style—and cheap too! Give it a go. I’d love to see what you come up with (share @hugoahlberg). I think I’ll start using them in my regular photography but in a more subtle manner, like rim and kicker light for example.
About the author: Hugo Ahlberg is a Swedish photographer, visual interaction designer, and prototyper based in San Francisco. You can find more of his work on his website, Facebook, and Twitter. This article was also published here.