Using LAB Color in Photoshop to Add Color and Punch to Photos
The LAB color space is particularly useful for boosting colors and definition in images due to the way it handles colors when compared to RGB and CMYK. Rather than describing how colors should appear on a screen or in print, LAB is designed to approximate human vision. Colin Smith of photoshopCAFE shows in this video how this color space can be utilized in Photoshop to easily improve your images.
![]()
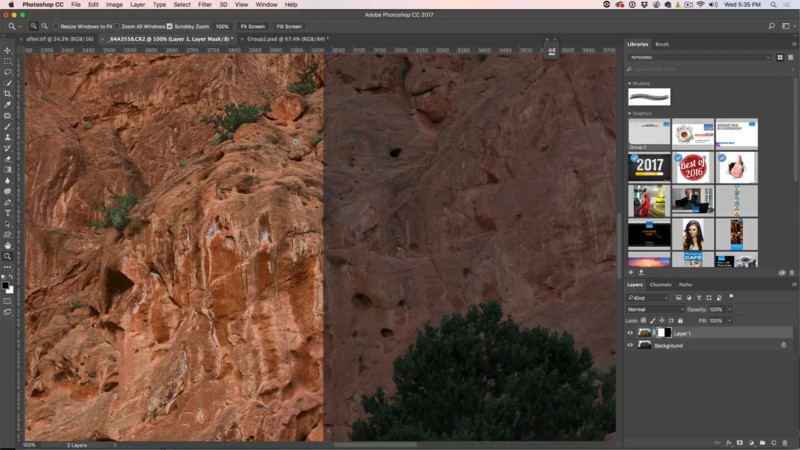
You’ll have to convert your image first in Photoshop by going to Image>Mode>Lab Color. Then create a Curves adjustment layer and switch to the a channel. By creating a steep curve as pictured below, you will boost colors dramatically without affecting the contrast in the image. Repeat the process for the b channel to match. Because this is an adjustment layer, you can easily reduce the effect later by adjusting the opacity.
![]()
To increase the contrast in the image without affecting the colors, select the Lightness channel in a new Curves adjustment layer. You can play with the curve here to create a very punchy image. In Colin’s example, he chooses to create two separate curve layers – one to target the rocks, and one to target the trees and shrubbery. By then using the Color Range tool, he creates a mask on those layers to affect only the parts of the image he wants.


Again, because these adjustments are on separate layers, you can feel free to mask them and change the opacity to scale the effect as you wish. When you’re done, you’ll need to convert back to RGB or CMYK in order to continue working with the image and export to your desired format.

This technique can be used to really bring out the magic in images by using a different approach to editing in the color spaces that you are used to working in. Enjoy!