A Beginner’s Guide to Using Lens Flare Creatively in Photos
Lens flare can either be an annoyance or an interesting creative tool. In this 6-minute video, Jay P. Morgan of Slanted Lens demonstrates how to master lens flare for your photography.
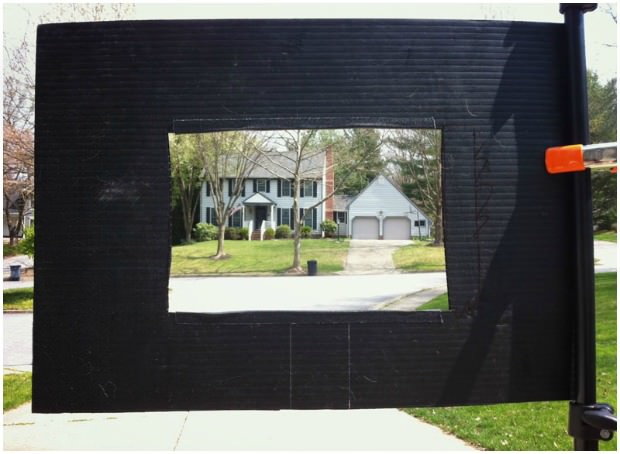
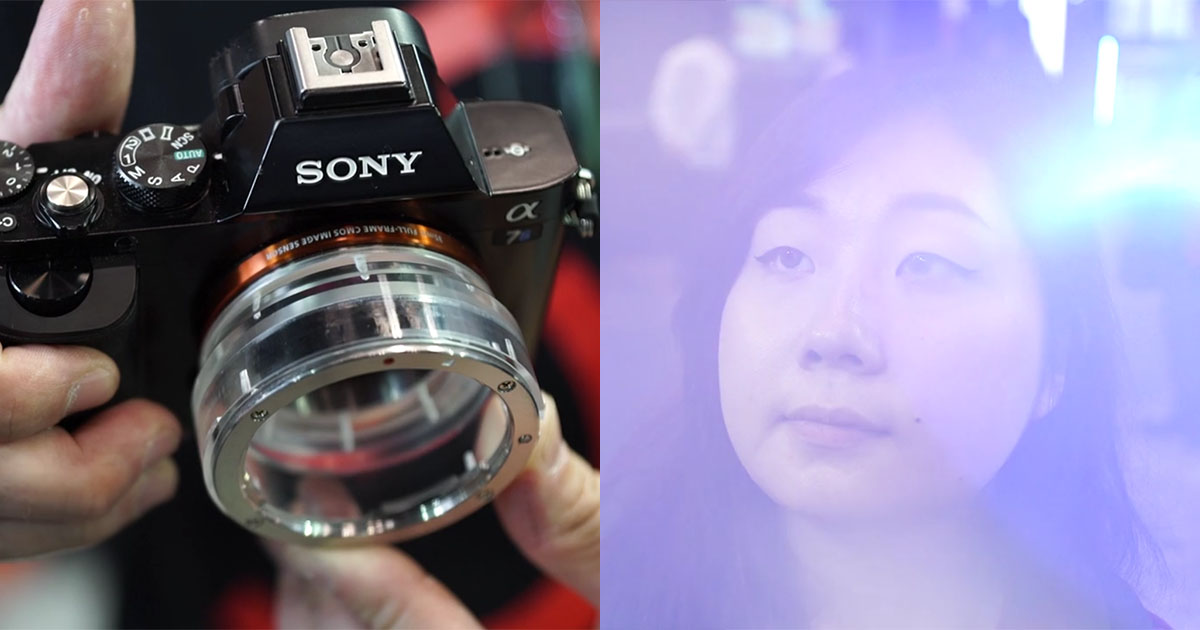
The first step of course is to remove your lens hood, which is designed to block lens flare. You can then introduce light in to the image using a flashlight and simply shining it at the lens from an angle.
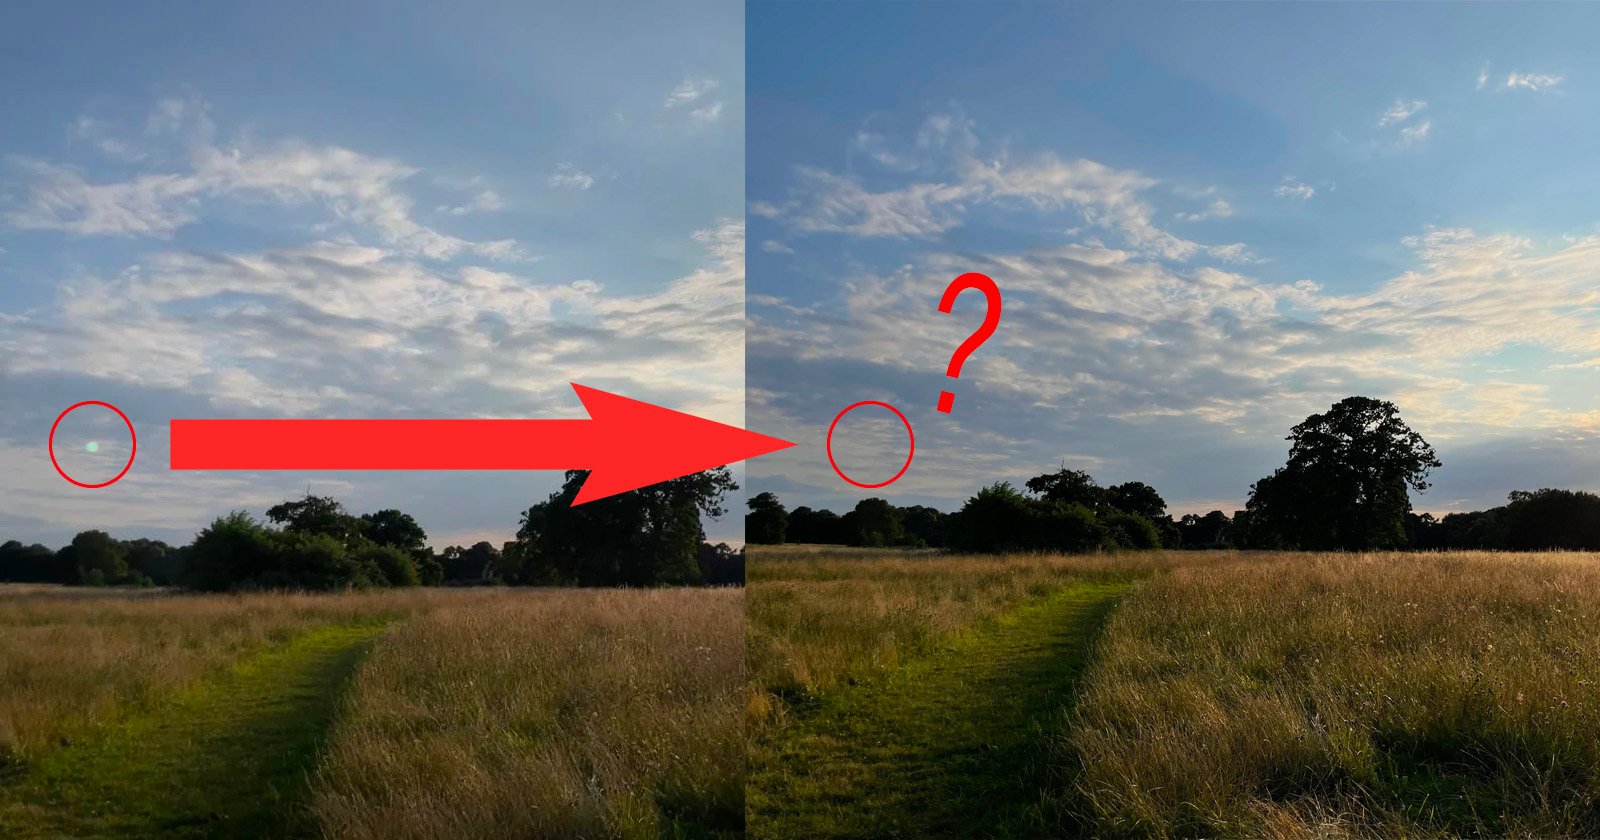
To use the sun, position your subject so that they are blocking the light and then lean to one side so that the light peeks out from behind them.
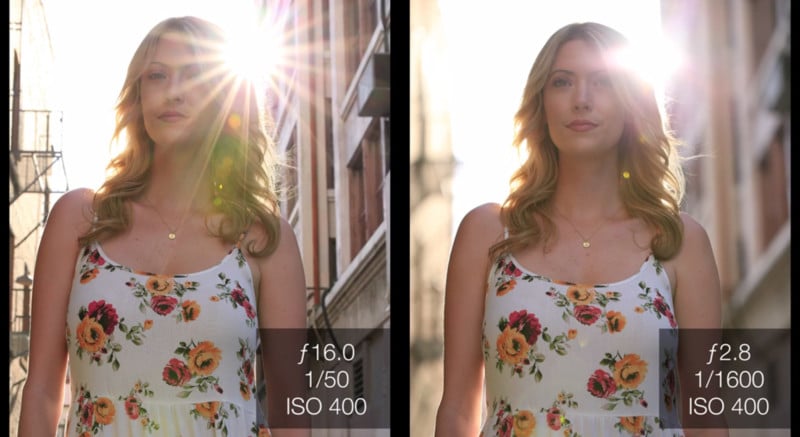
Morgan notes that your aperture plays a big part in shaping the lens flare. A very wide aperture such as f/2.8 will result in a “large, blobby” kind of flare, but as you stop down, the flare starts to show the blades of the aperture and forms an attractive star shape.
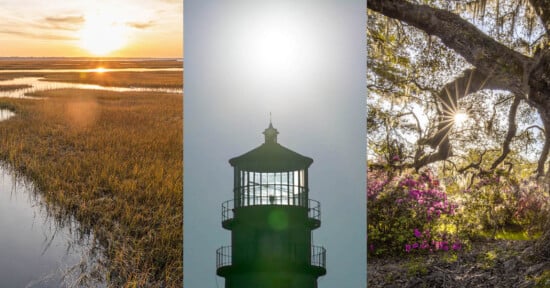
Morgan explains that when you introduce lens flare in to an image, it desaturates it and removes a lot of the contrast. “That’s part of what gives it that summery kind of feel – a beautiful, open light kind of feel”.
To see how Morgan utilises lens flare on location with his model, take a look at the video included at the top. His YouTube channel is full of tips like this, as well as gear reviews.