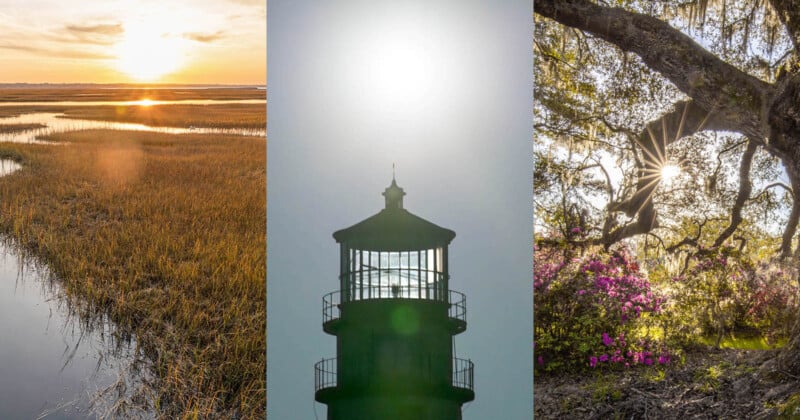
Lens Flare in Photography: A Complete Guide
Lens flare can appear as spots or streaks of light and color or as a washed-out hazy look in your photographs. Some photographers and filmmakers like to use it creatively, but it usually shows up as an unpleasant surprise that can ruin your picture.
What Causes Lens Flare?
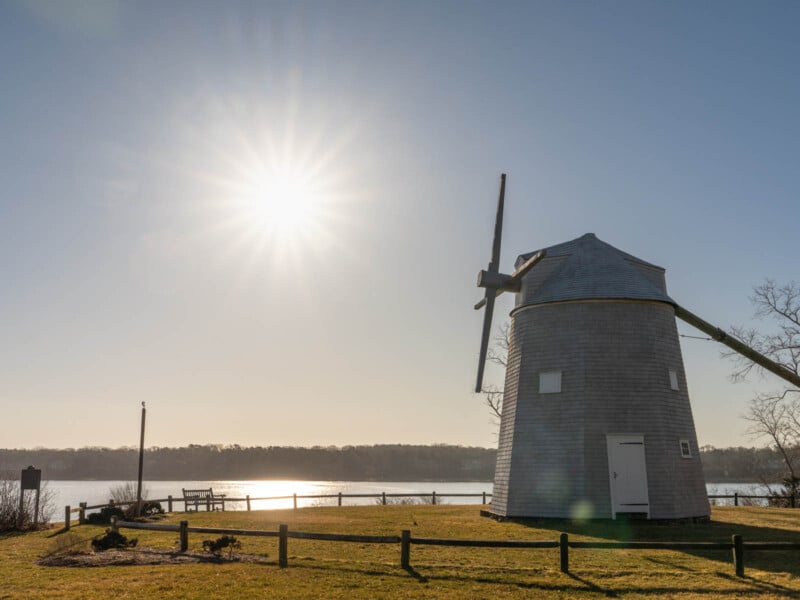
Lens flare occurs when stray light enters the lens and is reflected off interior lens elements. You’ll get it most often when shooting into a bright light like the sun, moon, or artificial light, or when your subject is blocking a bright light.
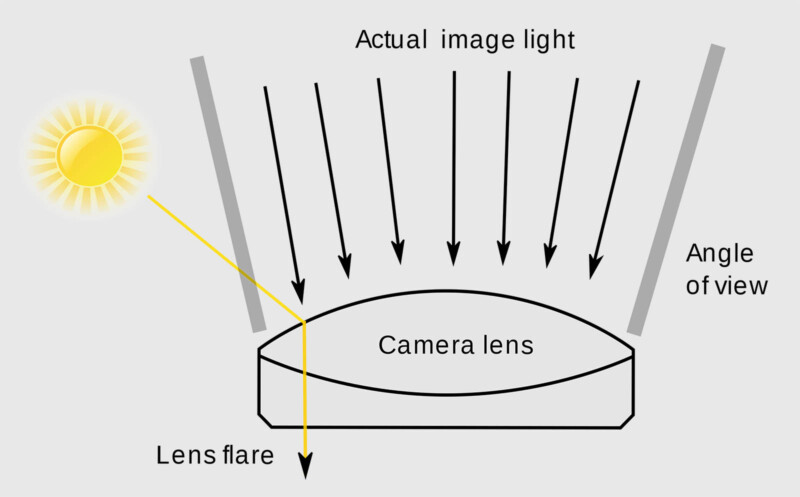
Zoom lenses tend to be more prone to lens flare than prime lenses because they generally have more elements, which means there’s more potential for non-image-producing light to bounce around and create flare. For the same reason, lens filters can increase the risk of producing lens flare. Wide-angle lenses are usually more flare-resistant than longer lenses, but that doesn’t mean they’re immune from flare.
Lens manufacturers add special coatings to help reduce lens flare, but they can’t reduce the risk of lens flare to zero. However, there are things we can do to avoid lens floor and eliminate it in post if necessary.
Types of Lens Flare
There are several different types of lens flare:
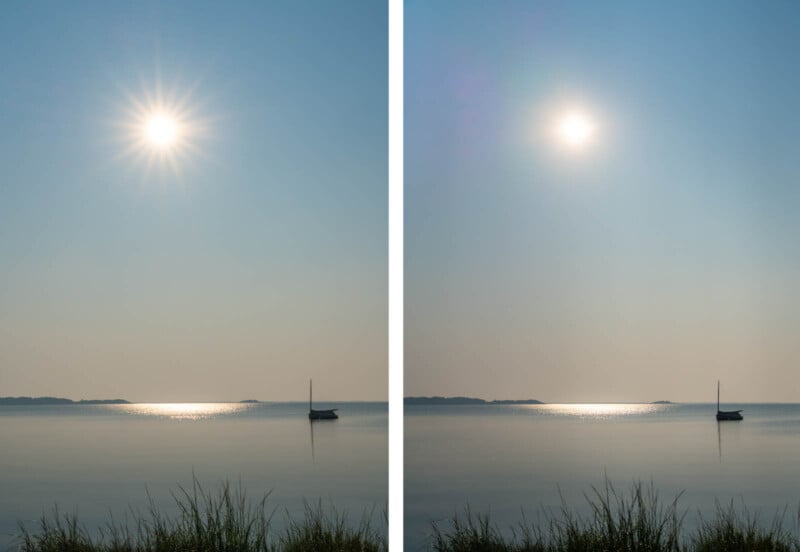
Starburst

Starbursts happen when you shoot a bright point of light, such as the sun, moon, or artificial light, at a higher f-stop, generally f/8 to f/16. Higher f-stops will create longer and sharper bursts than lower f-stops. Use a lower f-stop if you want to minimize the burst effect.

Ghosting
Ghosting appears as small round or oval-shaped spots of color when shooting into a bright light or when a bright light is in the scene. You’ll see it in the viewfinder if you look for it and can often eliminate it by a slight change in the angle of the camera to the light source.

Veiling
Veiling lens flare looks like a hazy wash over your image. It happens when a strong light source is just outside your image.

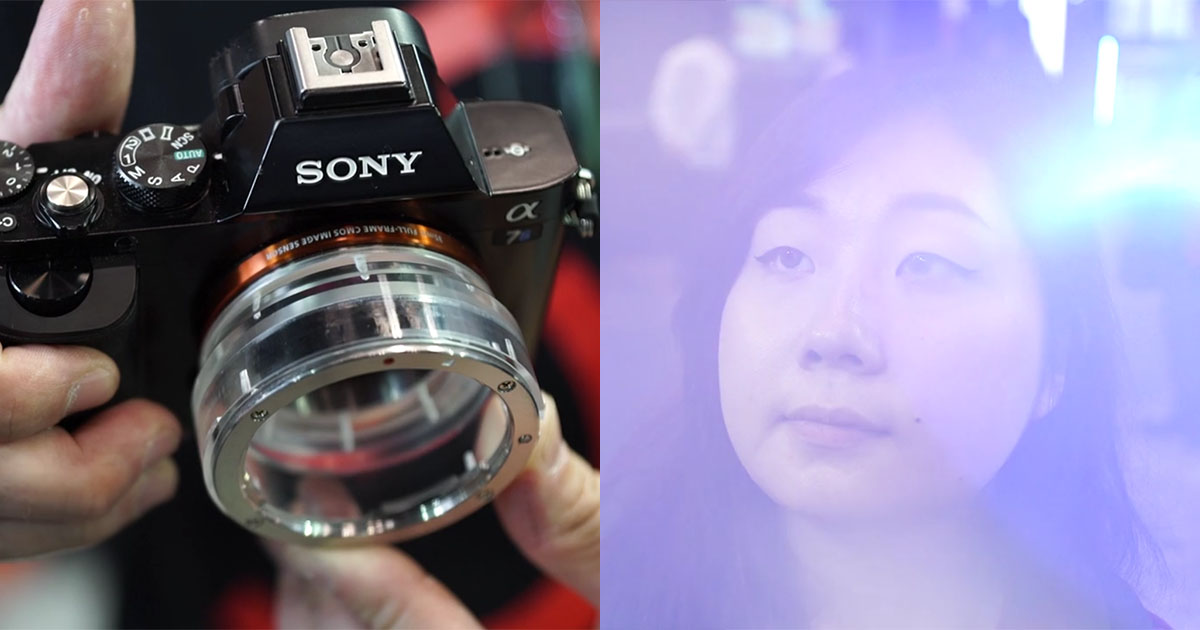
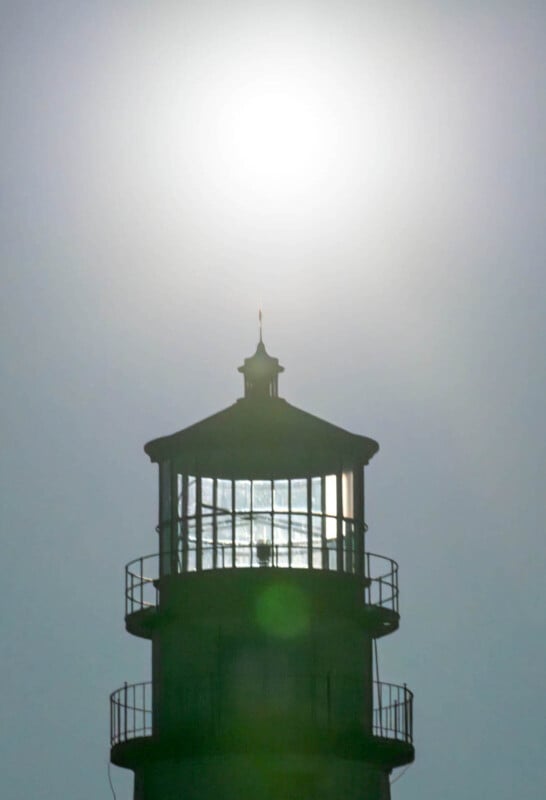
Sensor Flare
Sensor flare, also called red-dot flare (although sometimes the dots are green), is caused by light that is reflected off the sensor to the lens and then back to the sensor. It happens most often when shooting directly into a strong light like the sun with a small aperture of f/11 or higher.
Anamorphic
Anamorphic lens flare appears as a horizontal streak of light rather than the usual circular flares. Originally they were the result of a flaw in the optics of anamorphic lenses. Lenses have improved over the years and you can buy anamorphic lenses that no longer produce the streak. However, filmmakers and photographers who want the look can buy streak filters to create anamorphic-like flares.
How to Avoid Lens Flare
Since flare is most commonly caused by shooting into bright light, the obvious solution is to not do that. Of course, that approach isn’t always practical since it could severely limit your compositional choices. Nonetheless, there are several things you can do to eliminate, or at least reduce, lens flare.
- Use a lens hood. Most lenses come with a lens hood designed to reduce lens flare. They work a little like the visor of cap, shielding the lens from tray light.
- Use your hand. With the cap analogy in mind, hold your hand or a hat next to or above the lens to try and block some of the stray light hitting the lens. Use live view so you can see if your hand is helping and also to make sure it isn’t getting into the picture.
- Remove your lens filters. As mentioned, lens filters can increase the risk of lens flare, so remove the filter if shooting into bright light.
- Re-compose. You’ll see lens flare in your viewfinder while composing if you look carefully for it. If you see it, try re-composing by just shifting the angle of your camera to the light source.
- Come back later (or earlier). If you’re shooting into the sun and it creates flare, try again at a different time when the sun is in a different position.
- Use a wider aperture. Setting your aperture to a lower f-stop, such as f8 or lower, can help minimize flare.
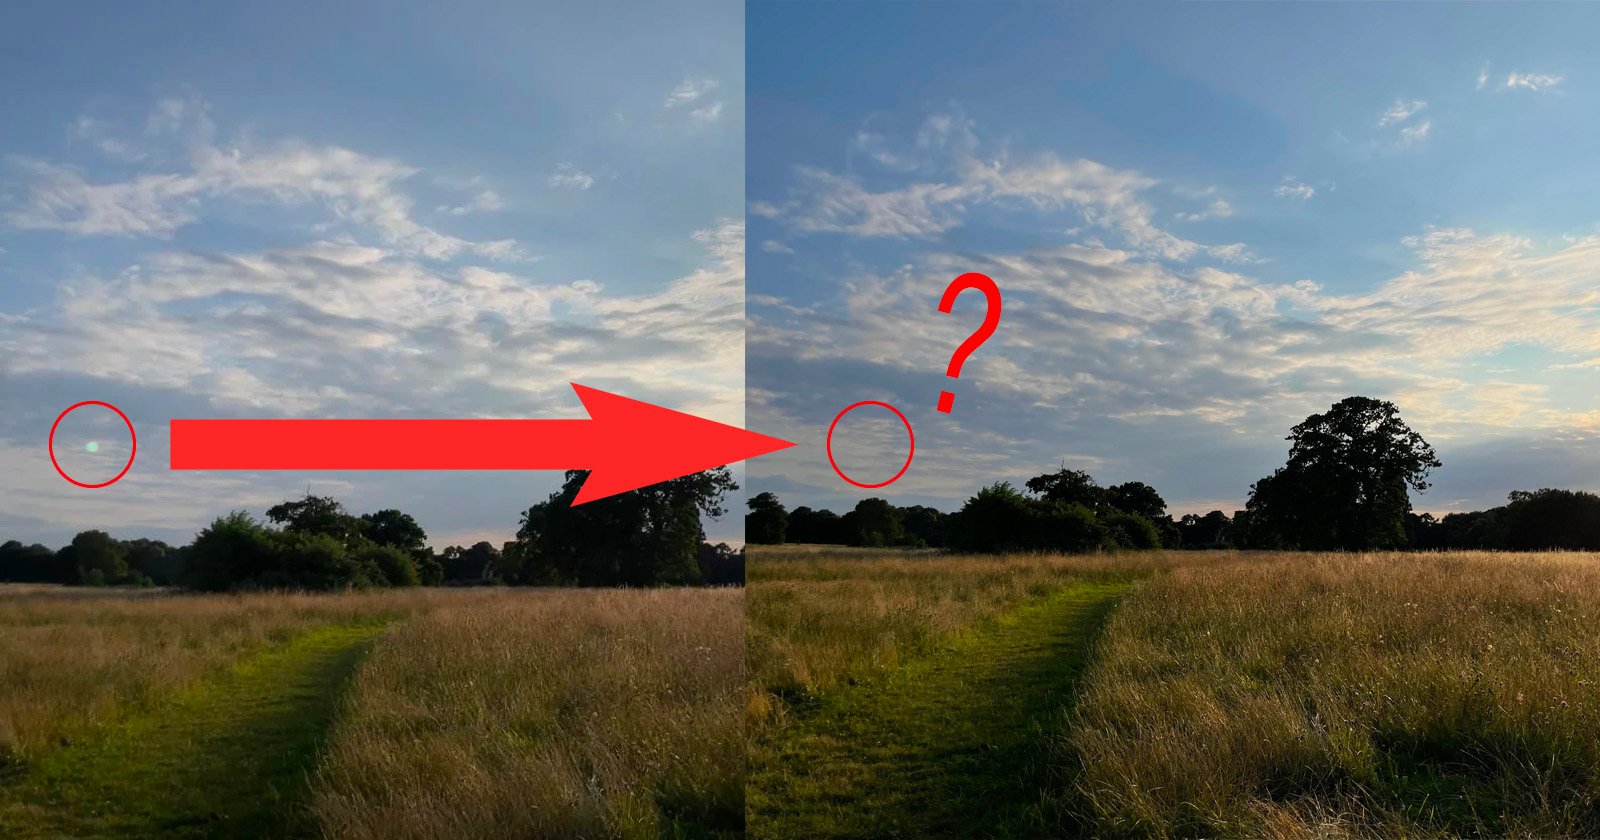
- Use your finger. This trick involves taking two pictures and blending them in Photoshop. It works well if the flare appears below the sun. First, switch to manual exposure. Frame up your shot and take the picture Then lower a finger in front of the lens until it blocks the sun. Load the two images onto separate layers in Photoshop with the image with flare on top. Create a mask for the flare layer and then use a black brush to mask out the flare and reveal the clean image below.
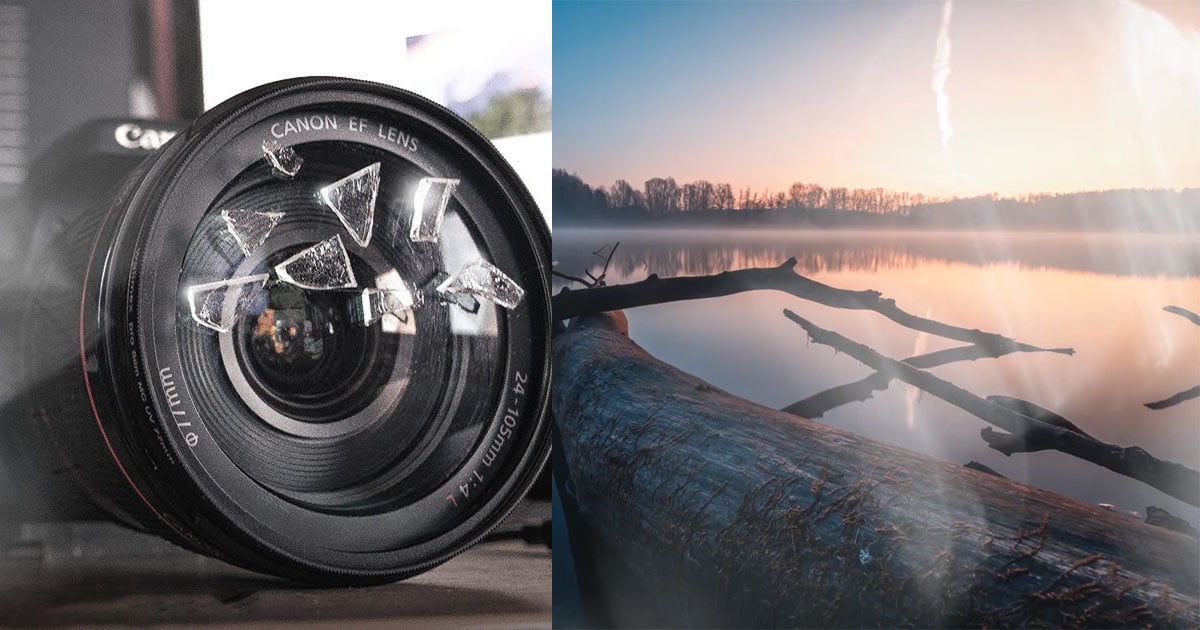
- Clean your lens. Dust and other spots on your lens will add flare to your images when shooting into bright light, so keep them clean.
How to Remove Lens Flare
You can often remove lens flare in Lightroom and/or Photoshop, depending on the type and severity of the flare. In Lightroom, the healing tools can often handle flare if it appears as just a little spot of light or color. You may have to experiment with the content-aware, healing brush or clone stamp to see which works best.
Larger flares or multiple flares may require Photoshop’s more powerful re-touching tools. These include the remove tool, spot healing brush, healing brush, patch tool, clone stamp, and content-aware fill. It will require some trial and error to find the best tool or the best combination of tools to get a pleasing result.
One trick with the clone stamp is to change the blend mode to color. When you do this, the clone stamp will only copy the color of the source area rather than all of the detail. So if you find a section of the image where the color matches (more or less) the color that the flared area should be, you can use the clone stamp to paint over that area with just the right color and leave the underlying pixels intact. Like everything, it will probably take some practice and will depend on the specific situation.
The Finger Trick
Finally, let’s do a quick walkthrough of the finger trick described above. It’s best to use a tripod, but you can get away with doing this handheld if you’re careful not to change the framing of the scene.

Switch to manual exposure. You have to use manual exposure to keep the exposure from changing when you put your finger in front of the lens.
Set up your shot and take the first picture with the lens flare.

Lower a finger down in front of the lens until your fingertip blocks the sun or other light source, eliminating the lens flare. Take the shot.
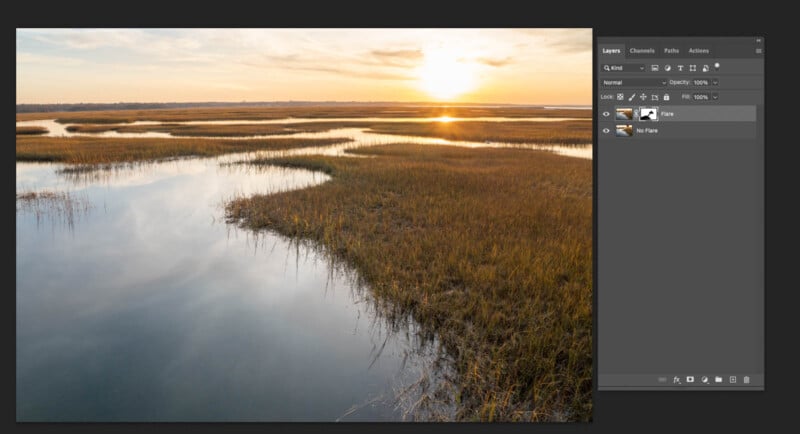
Load the two images into Photoshop as separate layers. Put the one with the flare on top. Create a mask on the top layer with the flare and use a black brush to mask out the flare.
Image creditsPhotos by John Tunney.