Quick Tip: How to ‘Open’ a Lazy Eye in Photoshop
They say the devil (or is it God?) is in the details, and this quick Photoshop tip from portrait photographer Bill Larkin is all about making sure you nail those details. Specifically: he shows you how to quickly and easily ‘open’ a Lazy Eye in Photoshop.
It’s a very simple tip, and it’s best used in conjunction with other well-known techniques. If your subject has one eye that is noticeably more closed than the other (most people do), first and foremost make sure you pose them so that their lazy eye is closer to you. This will help address the disparity in size between the two eyes naturally, something that’s covered well in this video.
But if that doesn’t quite work, or if you want to open up your subject’s lazy eye just a touch more, you can use Larkin’s trick.
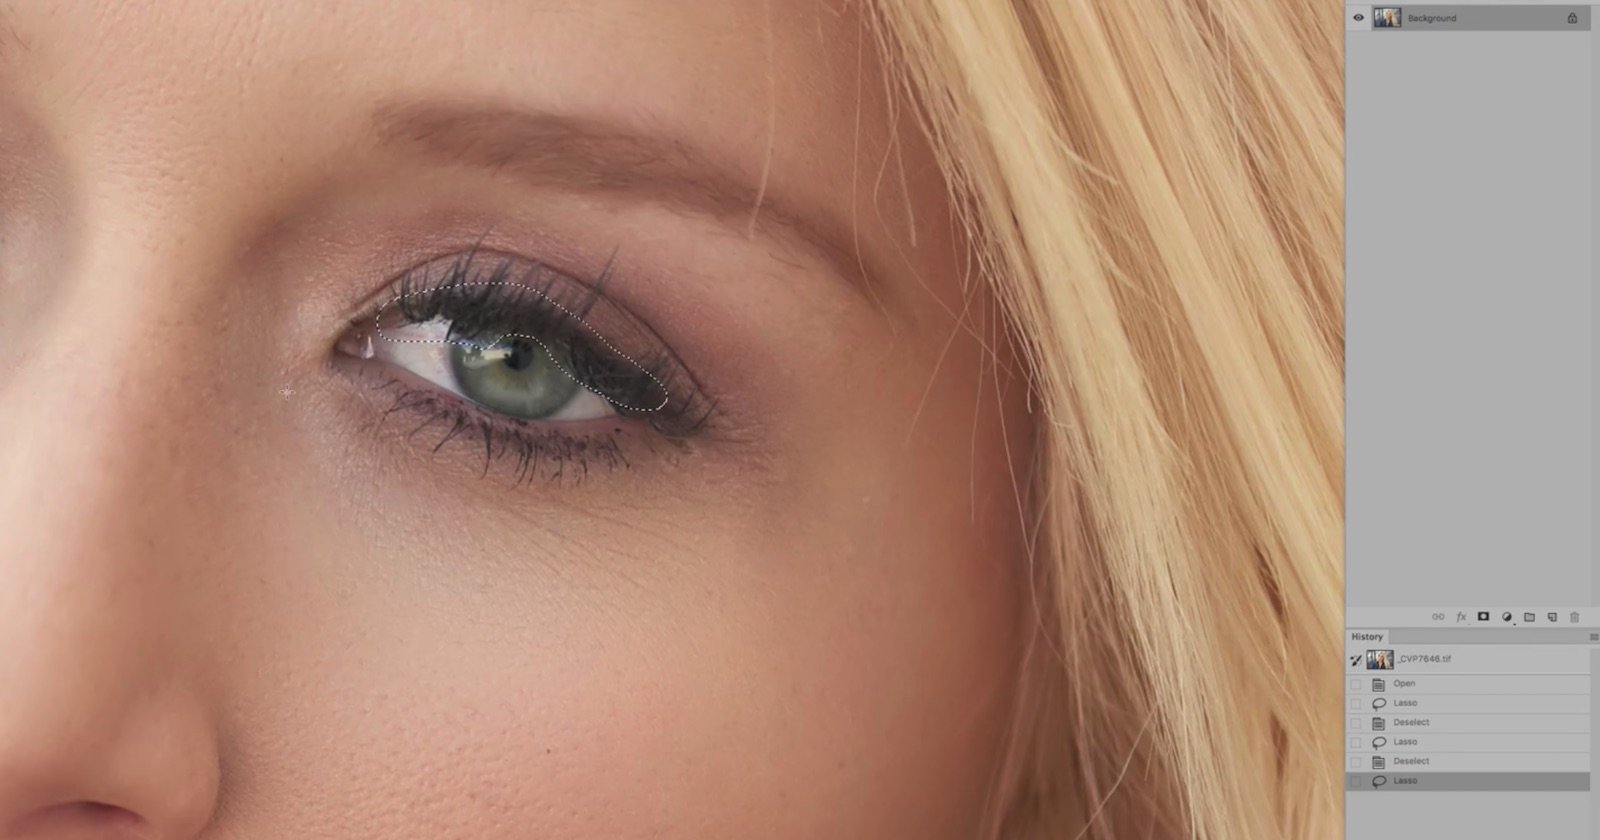
Simply select the upper part of your subject’s eye using the lasso tool (avoid the pupil), duplicate that selection (Command + J), switch to the Move tool, press the up arrow key once or twice, and then merge the layer back into the background (Command + E). Then, do the same at the bottom, moving that selection down instead.
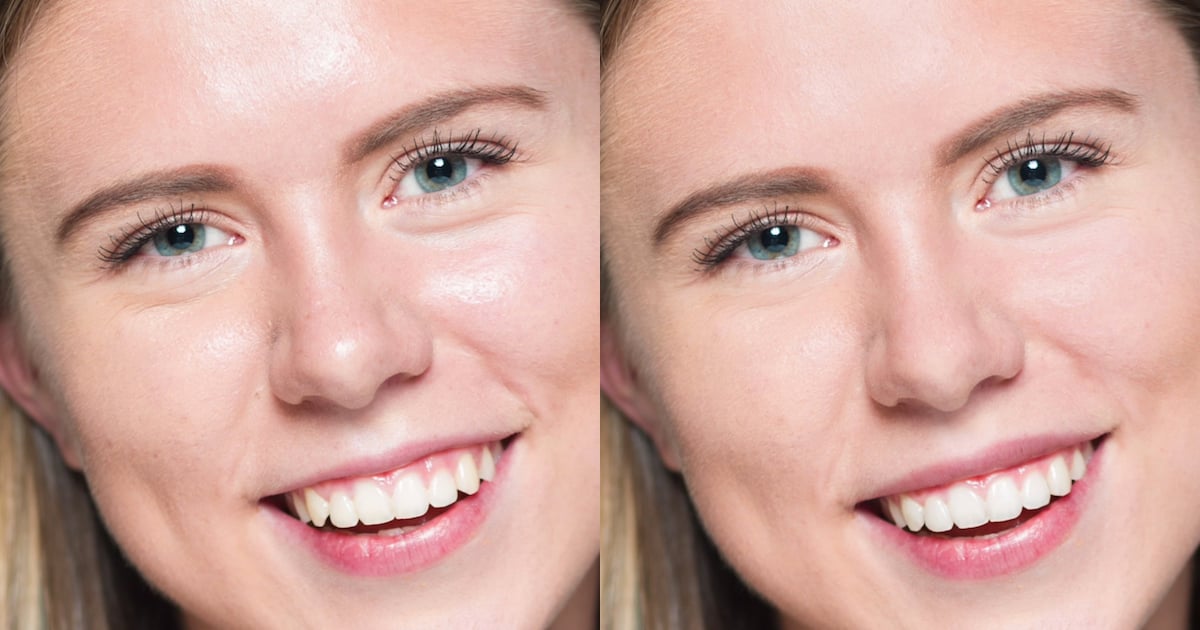
The difference is very slight, but immediately noticeable when Larkin shows you the before and after. Check out the full video up top to see how to do this for yourself, then tuck this little trick away for a particularly… lazy day.