I Built Myself a Simple and Thrifty 4×5 Camera
My name is Richard Evans, and I recently built myself a 4×5 camera. Here’s a look at the camera and what I did.
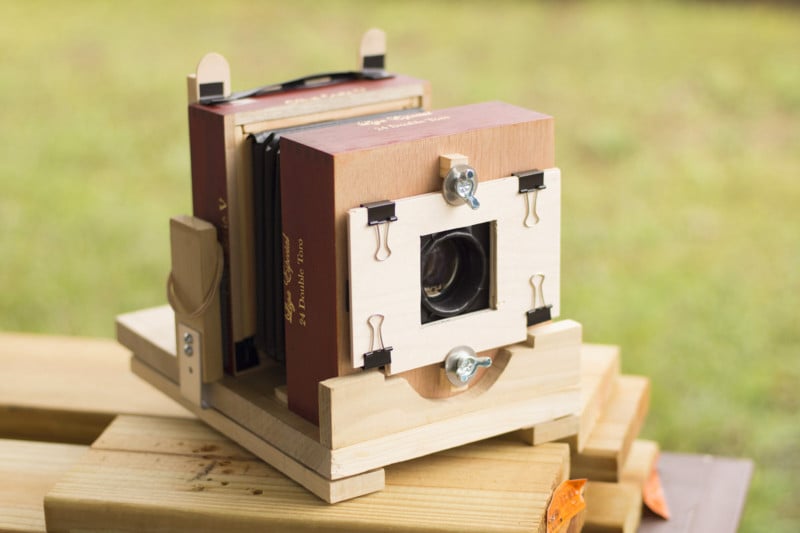
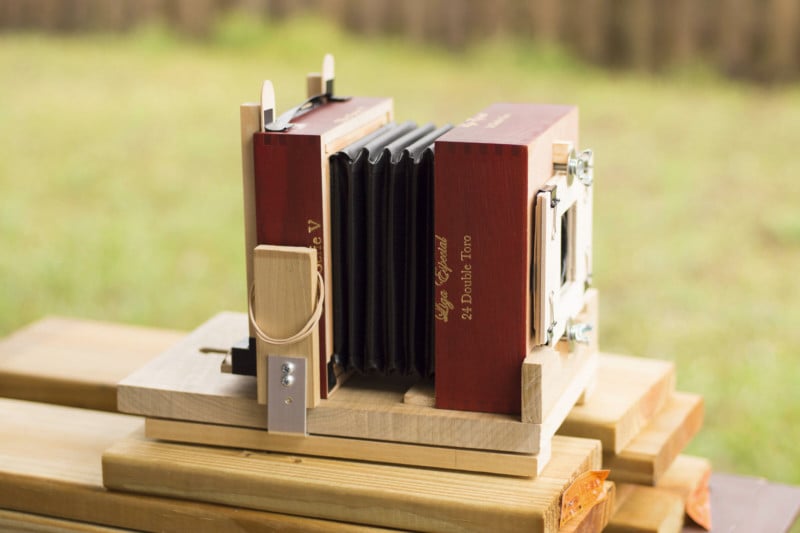
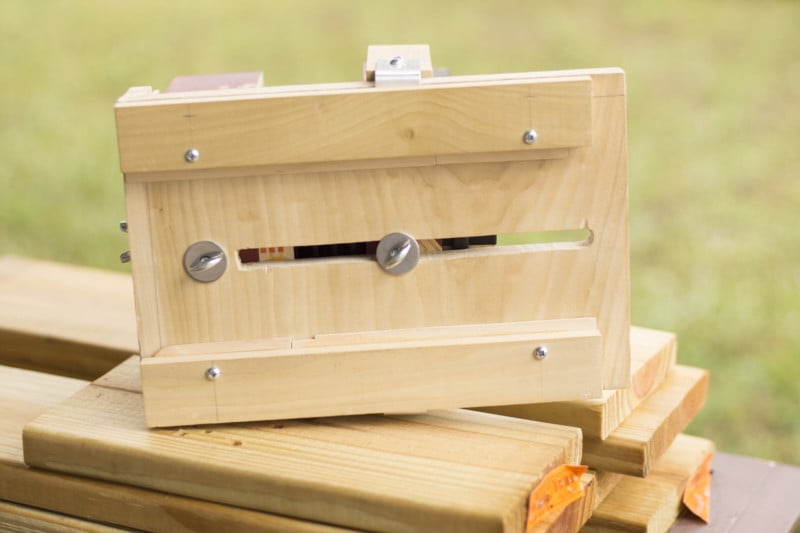
I don’t know a single thing about woodworking or building anything, so much of this camera looks pretty ugly, but I did my best to copy components I noticed were on actual view cameras.
I made the bellows from construction paper and faux leather cabinet liner stuck together. I tried to make this camera as modular as possible, so that meant using as little glue as possible. For example, I attached the bellows to the body with velcro, and used only the friction of other wooden pieces I cut to hold other components in place.
Since I don’t know much about these matters, I didn’t want to commit to drilling a hole or gluing a piece unless I was absolutely sure it was needed.
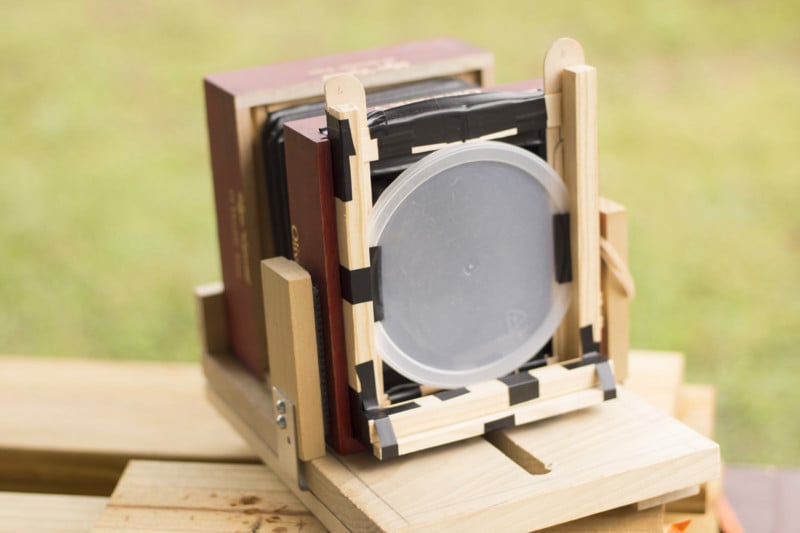
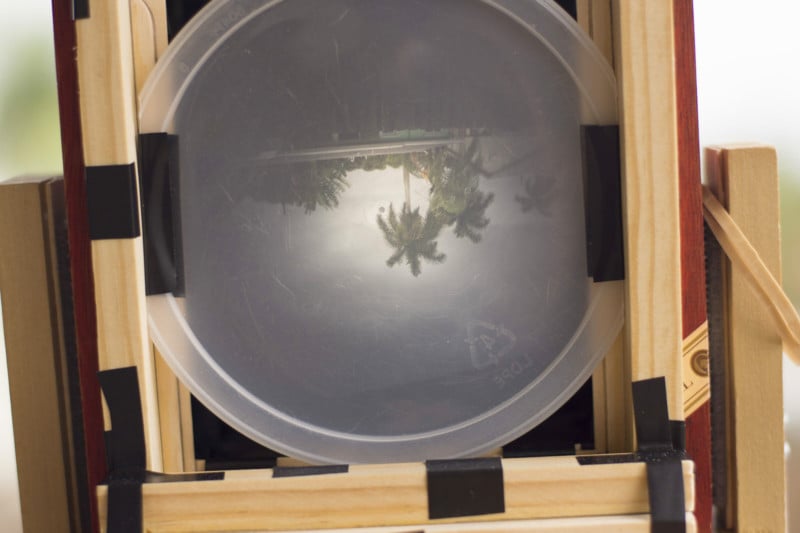
My “ground glass” view screen for this is an oatmeal container lid. I noticed it was opaque and thought it might work.
It works!
I cut it down to the approximate height that the film plane would be on.
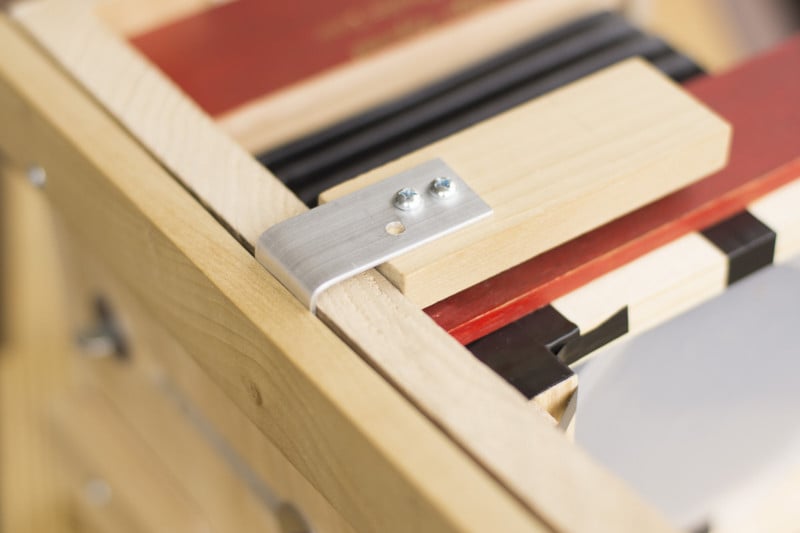
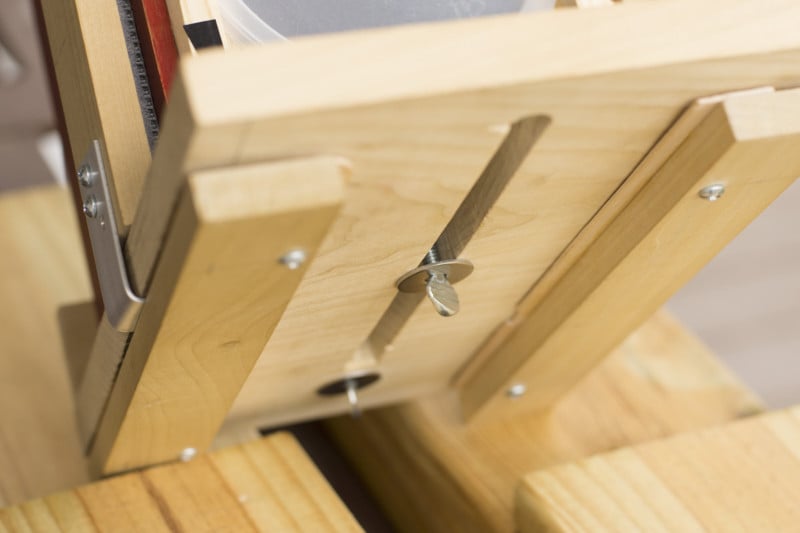
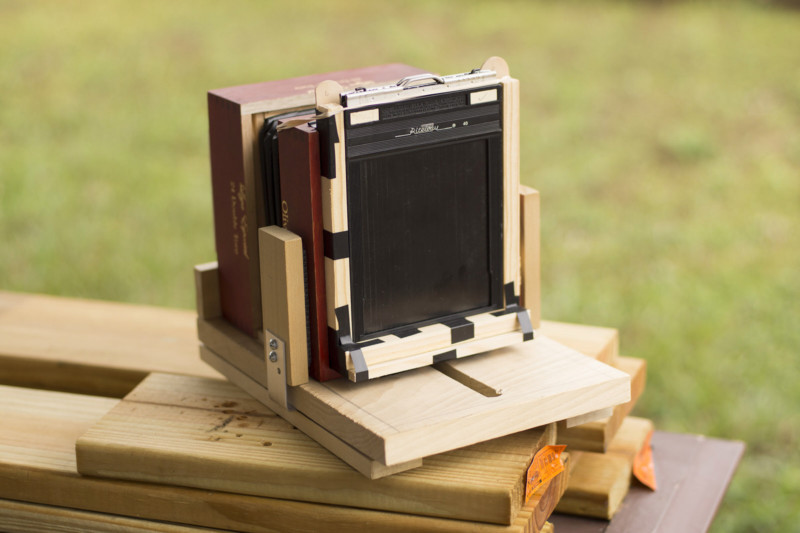
These two thumbscrews are attached to the front and rear standards.
However, only the rear is meant to move for focusing. You can simply tighten the screw when you want to hold a focus position.
Something I hadn’t considered until now unfortunately is the issue of where to put a tripod mount and how that might affect the function of these two screws. Oh well! Just another problem to solve.

The red wood parts are a cigar box. That’s what I started with because it had a sliding lid and I thought that function might be a useful means of creating different backs for the camera that could simply slide into place.
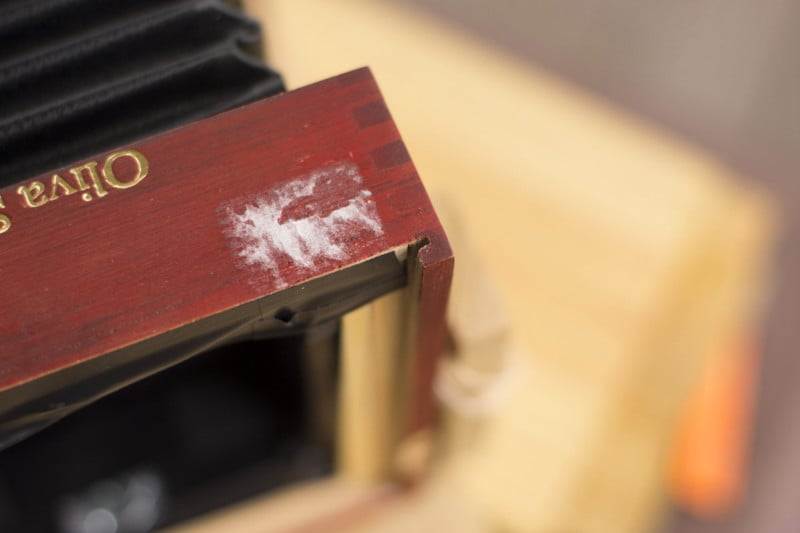
The back I created fits into the grooves for the cigar box lid.
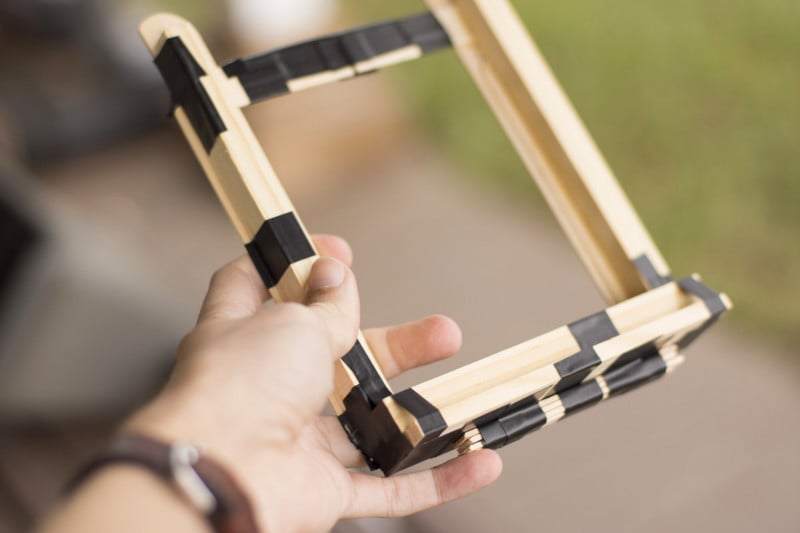
This is one of the backs I made for the camera. I also made one with an actual ground glass, as well as one for wet plate (I hope).
It’s in pretty rough shape and all taped up because I made a lot of mistakes with this but didn’t quite want to scrap it and start over.
Here’s the inside of the camera:
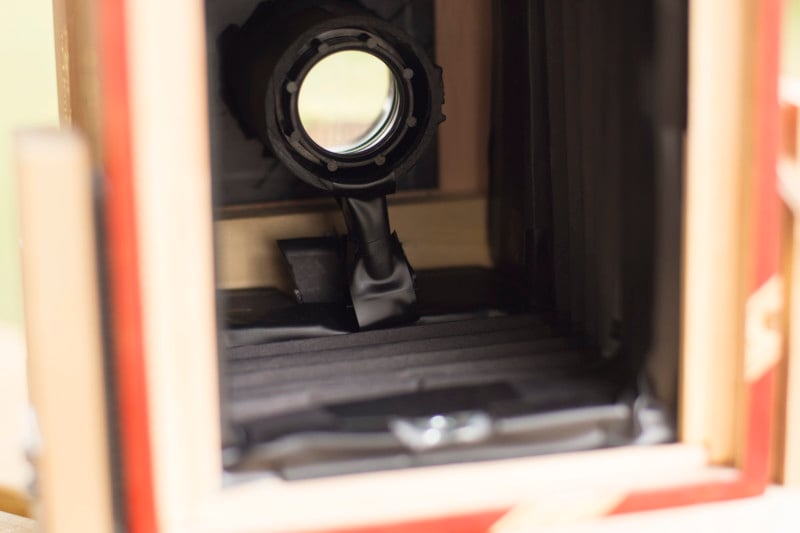
The lens is a 7″ Kodak Ektanon from a Kodak carousel slide viewer I found at a thrift store. I had to prop up the rear of the lens as you can see because I noticed it was sagging a bit (an issue when your lens board is made of paper).
Also, there was probably a good 1.5 inches of plastic sticking out beyond the back lens element that I sawed off with a hacksaw because I hoped it would provide a better circle of coverage.
There’s no shutter on the lens, so I knew I needed something if I was going to shoot film. I estimated the working aperture of this lens to be something around f/1.5. That’s some shallow depth of field!
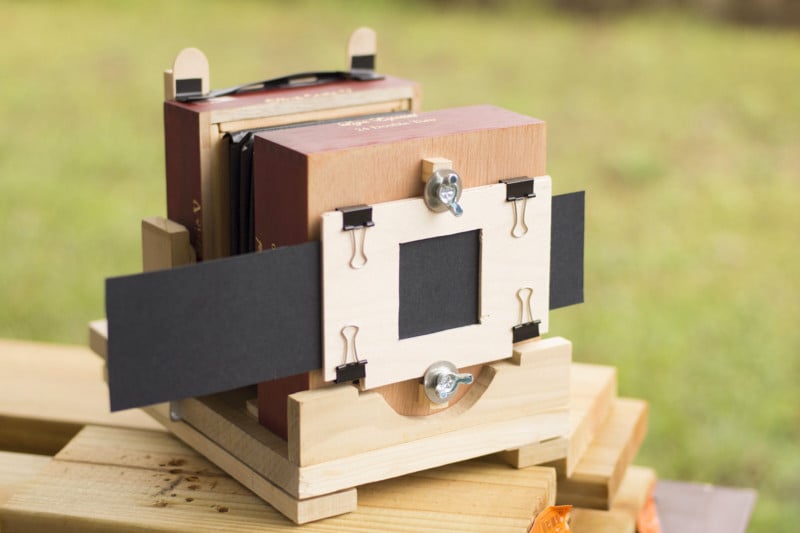
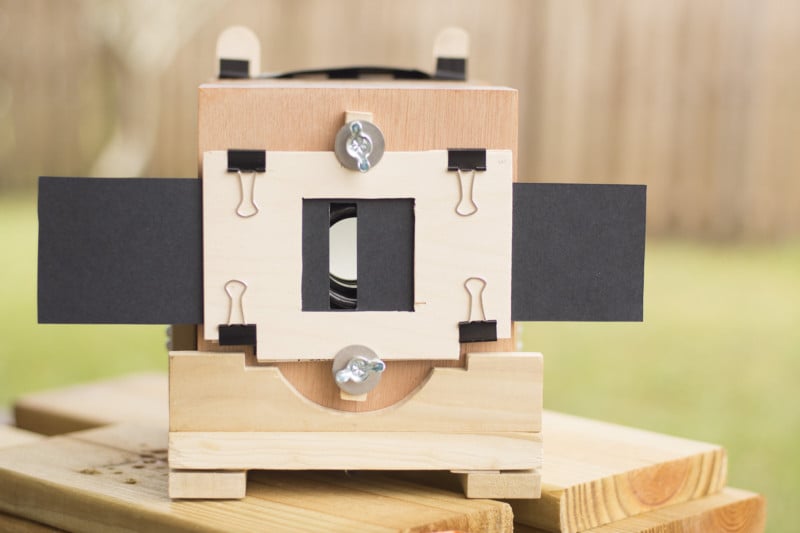
I attached a wood sandwich to the front over the lens and made a sliding curtain shutter of sorts that would fit through it.
I got to thinking how your average SLR has a curtain that moves horizontally, and so I wanted to try and imitate that with my design.
It’s a simple mechanism and there’s definitely no way of knowing the shutter speed with each pull or any way to produce a constant result, but I think it should work fine. You can actually pull it pretty quickly and I’d guess it would rival 1/1000th of a second.
I figured it’ll take some trial and error, but I can always adjust the width of the slit if I need to drastically change the speed.
I’ve been toying around with homemade large format cameras lately, and it’s so enjoyable experimenting! Plainly stated, I am fascinated by analog photographic processes and the science of it all, and I hope to continue learning and building cameras!
P.S. I don’t have any good example photos to share yet, but I’m planning to shoot some when I get the tripod I’m saving up for and will update this post then.
About the author: Richard Evans is a photography enthusiast who started in digital, expanded to film, and now spends time building his own cameras. You can find his photos on Instagram.