How to Quickly and Easily Remove Harsh Highlights in Photoshop
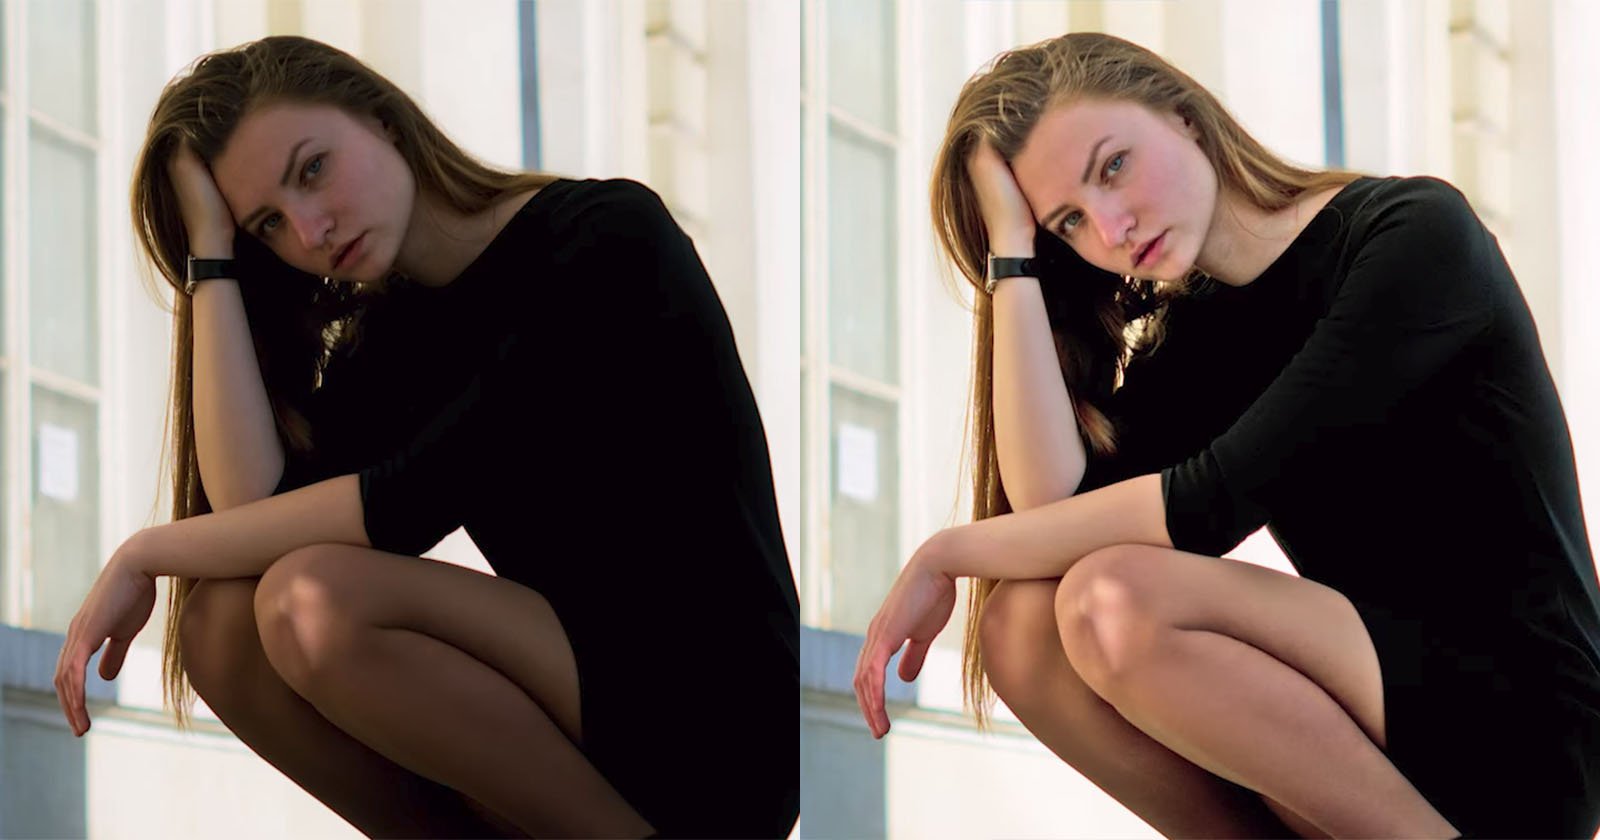
In this tutorial, I’ll show you how you can remove harsh highlights in portraits without affecting the shadow detail in minutes.
So how can we quickly and easily adjust the highlights without affecting the shadows? This very quick Photoshop technique will help to seamlessly manage this issue.
Following this step-by-step may seem a long winded technique but once you’ve done it a couple of times you’ll be confident enough to do it under a minute or so, in fact it’s so consistently reliable that you can even build an action that does it in mere seconds.
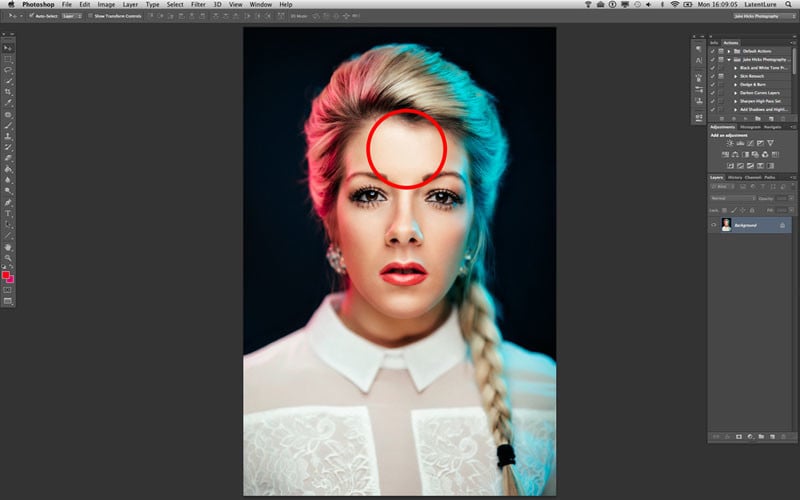
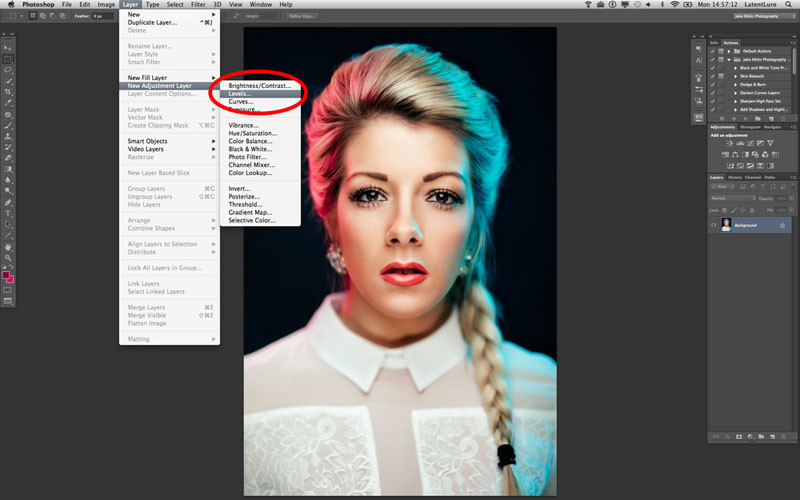
1. Open up your shot with the highlight issue.
2. Create a new levels adjust layer. Layer -> New Adjustment Layer -> Levels…
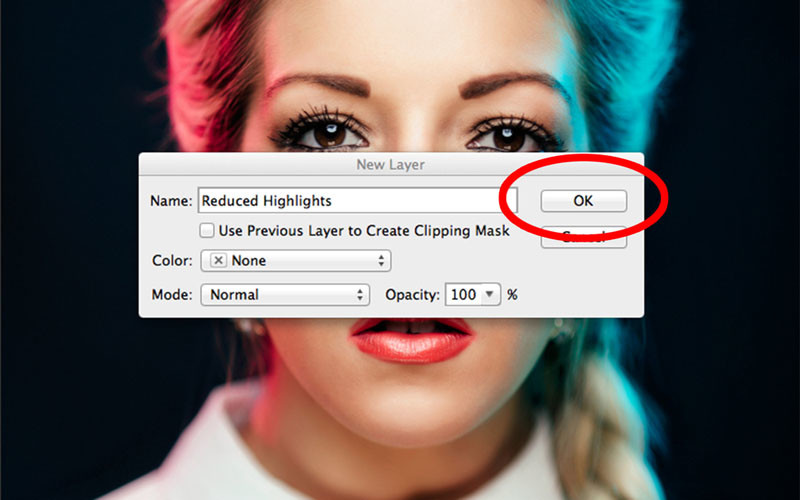
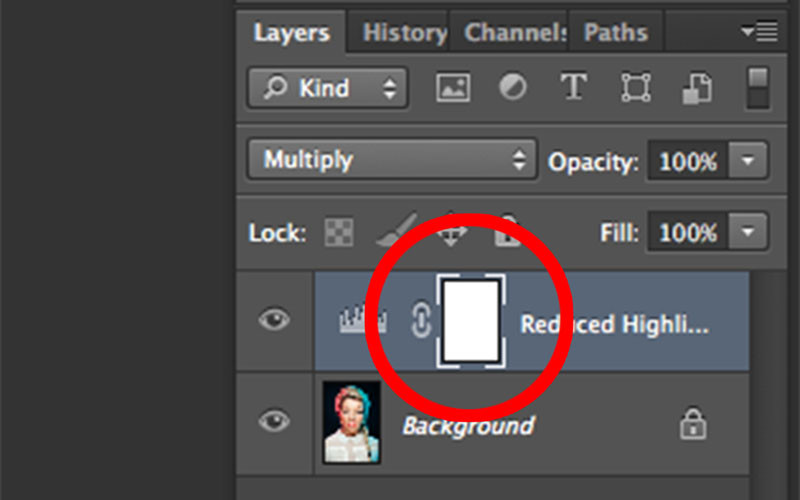
3. Rename it ‘Reduced Highlights’. Hit Ok
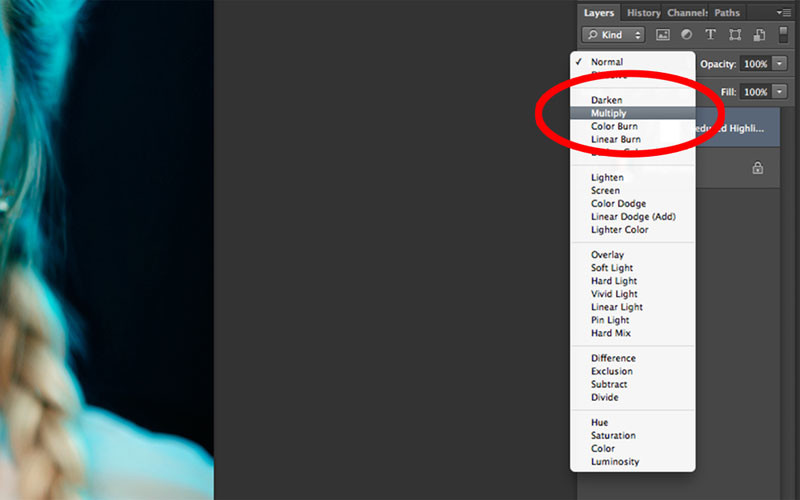
4. Change the adjustment layer blend mode to ‘Multiply’ (you can also do this at the time of the adjustment layers name input in step 3).
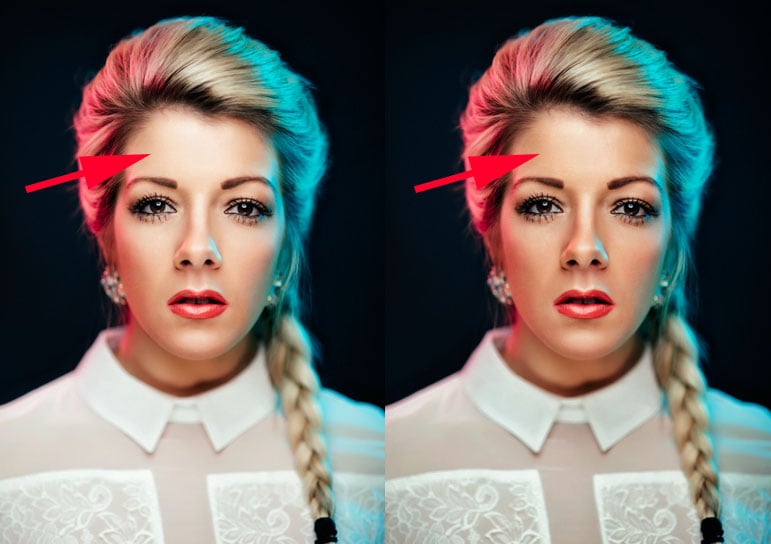
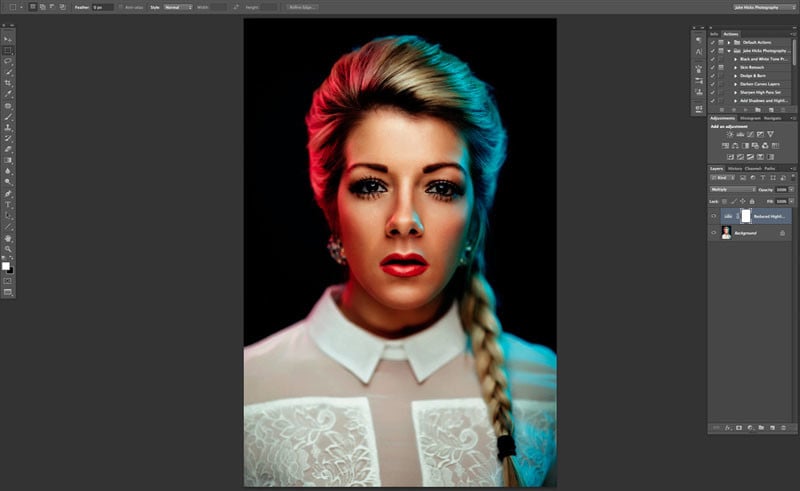
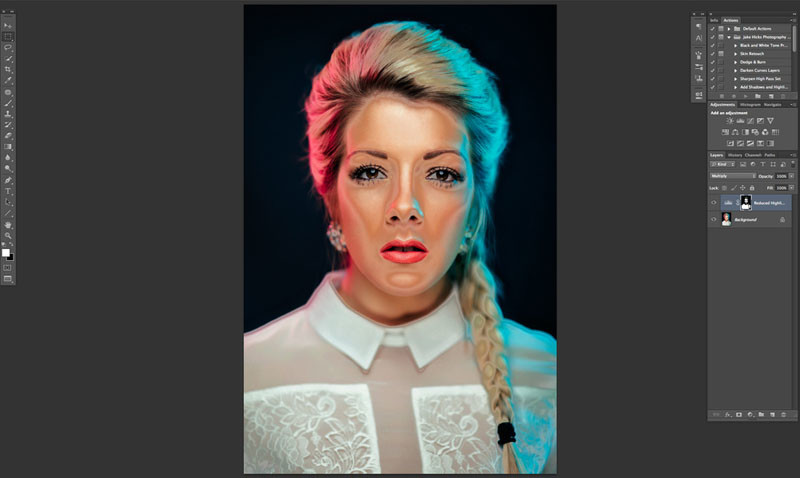
5. You should now see that your image looks muddy and the highlights as well as everything else now looks a lot darker. We now need to separate these darker highlights without affecting the shadows and the rest of the image.
6. In the layers palette, select the mask of your ‘Reduced Highlights’ adjustment layer.
7. Go to Select -> Color Range. In this menu click on the drop down menu ‘Select: Sampled Colors’. Scroll down to the ‘Highlights’ and select it. Hit Ok.
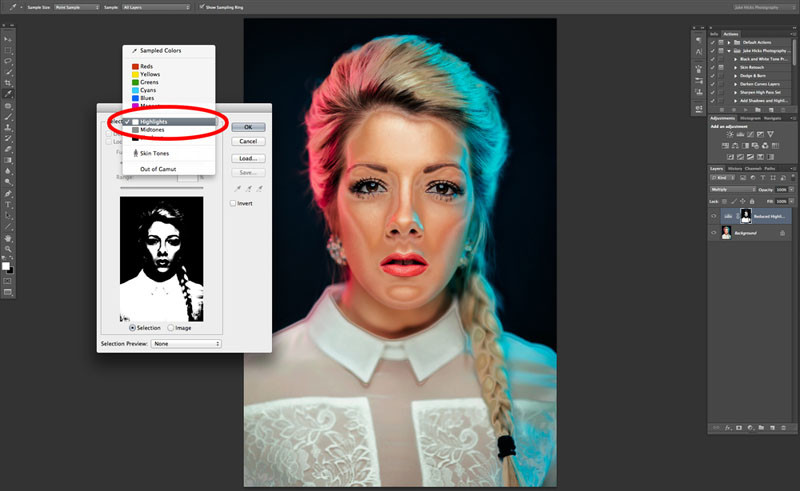
8. Your image should now look a little odd but the highlights should still be darker and although we’ve reduced the darkening effect on the rest of the image we need to tweak it a little more so that we can really fine tune where the effect takes place.
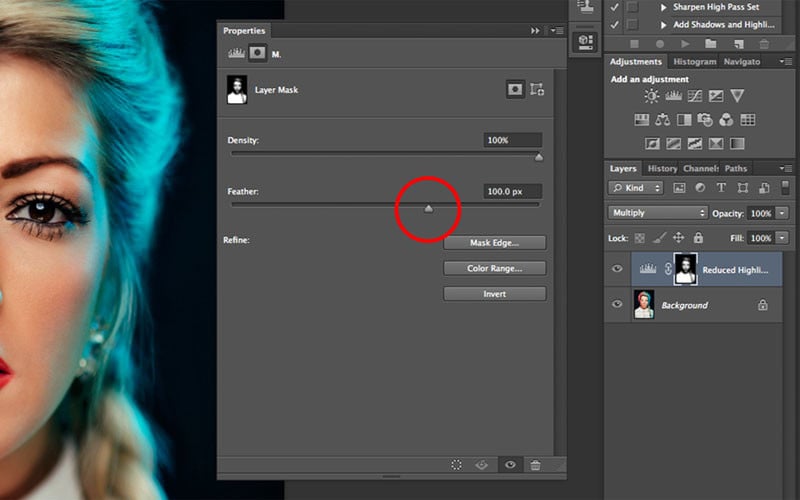
9. In this step we’re going to manage the mask that shows us the adjustment. Since Photoshop CS6 we’ve been able to dynamically adjust the feather amount of a mask. To do this we need to see the adjustments layers properties panel. Click on the adjustment layers mask and then go to Windows -> Properties.
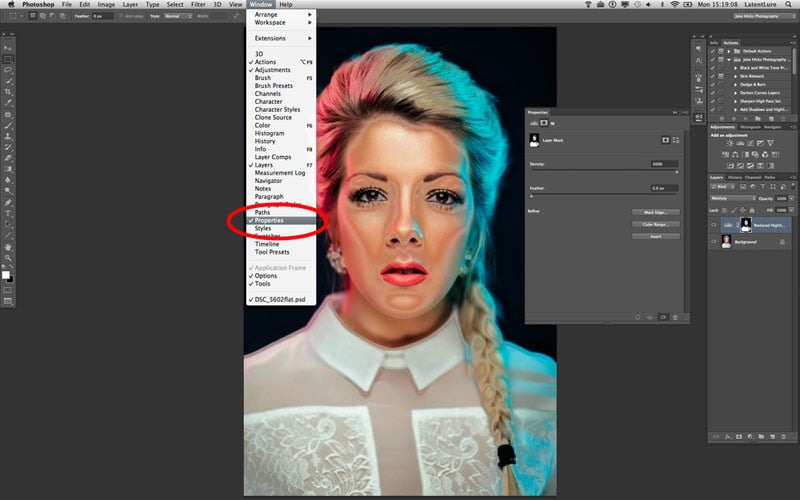
10. We now need to manipulate the ‘Feather:’ option in the Properties panel. This will be different for each image based on the amount of highlights present and personal preference but with dynamic sliders we can see the effect taking immediate effect as we play with them. I tend to work at a feathering value of around 100px.
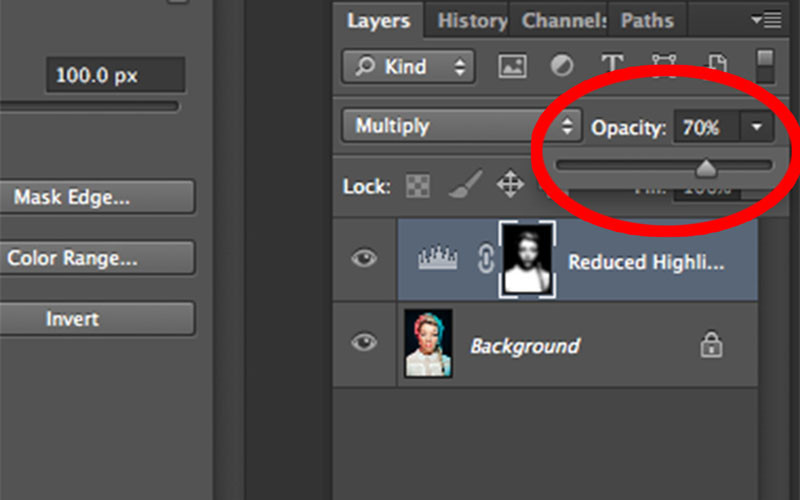
11. Now that we’ve adjusted the feathering amount remember we can also further adjust the amount the adjustment layer is visible via the adjustment layers opacity. Again the amount will vary for each shot but a good place to start is around 70%.
12. That’s it you’re all done. Like I mentioned at the start, although it seems like a lot of steps but once you’ve done it a few times its really, really quick and simple to do.

So there you have it, a great way to locally adjust the highlights seamlessly without effecting the shadows and darkening any other areas.
Let me know what you think and if you think it will help out with your retouching and workflow in the future. If you’ve got any ideas for future retouching steps and techniques for me to share then let me know.
If you’d like to see my complete workflow from Raw-to-Lightroom-to-Photoshop then why not attend one of Post-Pro workshops, where I show you absolutely everything in my commercial workflow. No secrets are kept back and everybody on the full day of face-to-face training will be able to follow along and walk away with all of my Photoshop actions and over 30 of my Lightroom presets, plus everybody will also receive the complete days note via a comprehensive 50+ page PDF. To find out more then head on over to my Post-Pro training page and get yourself signed up today.
About the author: Jake Hicks is an editorial and fashion photographer based in Reading, UK. He specializes in keeping the skill in the camera and not just on the screen. You can find more of his work and writing on his website, Facebook, 500px, Instagram, Twitter, and Flickr. This article was also published here.