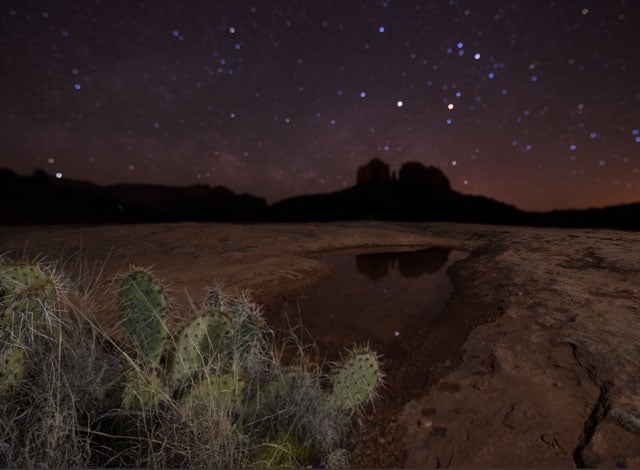
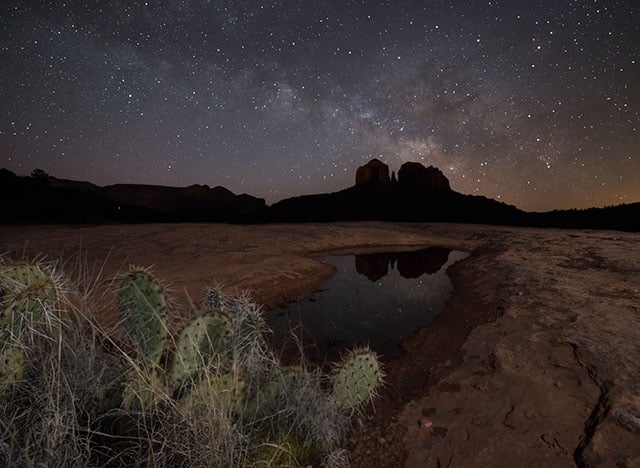
How to Stack Photos for Epic Milky Way Landscapes
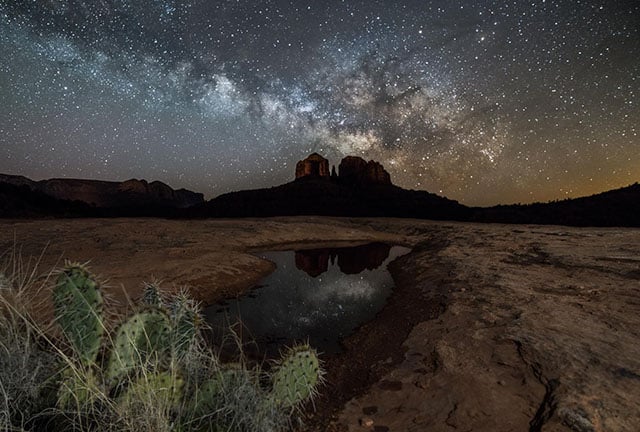
If you are willing to get up early or stay up super late, Milky Way season is back in North America! Above is a shot I made on February 14th, 2016, in Sedona, Arizona. This image was taken at 5:45 AM, just prior to sunrise. Something I tried for the first time with this photo is taking 10 consecutive shots of the sky at a higher ISO (5000) and shorter shutter speed (15s), and then stacking the photos, which gives you awesome pinpoint stars with minimal noise.
Here’s a walkthrough of how I made the shot.
The Milky Way was going to rise above the horizon a little after 4 am local time, so a friend and I arrived at the location around 3am. This would give us enough time to find the composition we wanted and take some shots of the foreground, using light painting to illuminate everything since the moon set the previous evening.
Shooting the Foreground
Here are the two unedited shots I used for the foreground, each 30 seconds at ISO1600 and f/2.8. In hindsight, I should have taken more in order to get more of the cactus in focus.
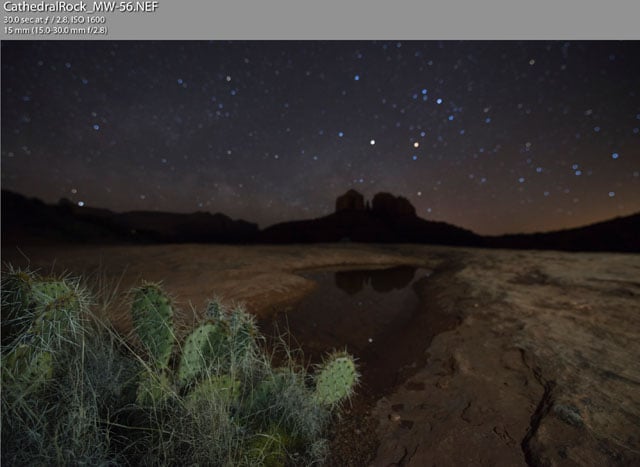
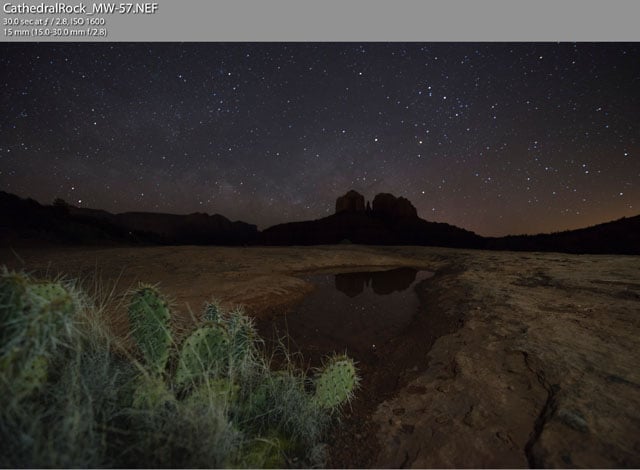
To “paint” the foreground, I stood about 30 feet to camera-right using a cheap headlamp from Wal-Mart. I was about even with the camera and then using trial and error I found the right speed to shine the light across the foreground to get the desired look.
Shooting the Sky
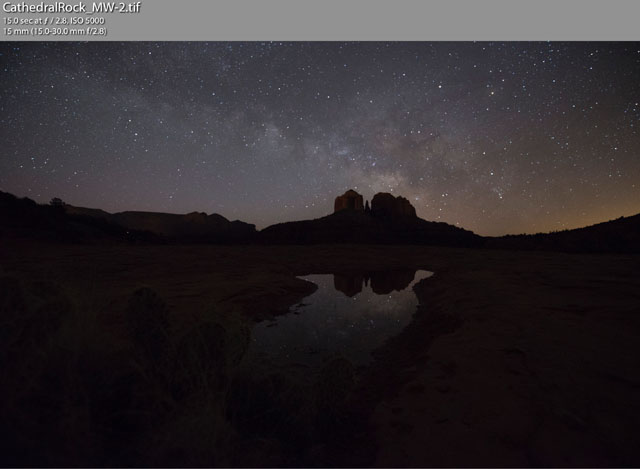
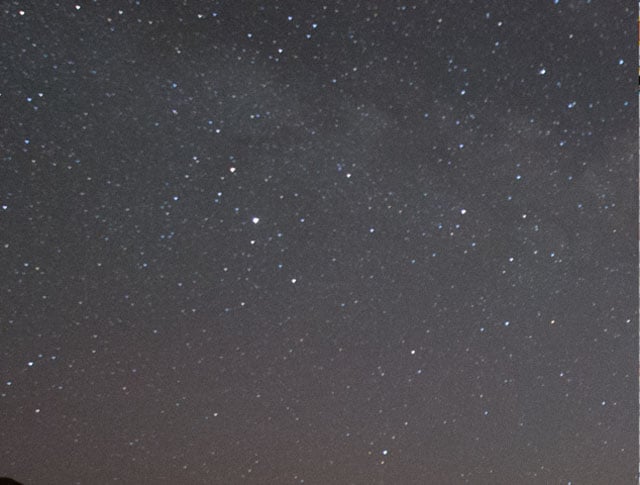
For the sky, I tried a new technique that turned out really well. I took ten consecutive shots (around 5:45 AM local time) of the sky with a high ISO (5000) and shorter exposure (15 seconds), each at f/2.8. You can do a much higher ISO if you want and an even shorter exposure to get even more pinpoint stars. I previously always used a 25 to 30 second exposure with a lower ISO, but even at 15mm the stars would still streak just enough to bug me. Here is what one of the ten shots looked like straight-out-of-camera.
Stacking the Sky Images
I downloaded Starry Landscape Stacker for Mac ($19.99) and then loaded my ten 16-bit .tif images into the program. They have a detailed instructional video on their website that teaches you how to use the program. It is pretty straightforward.
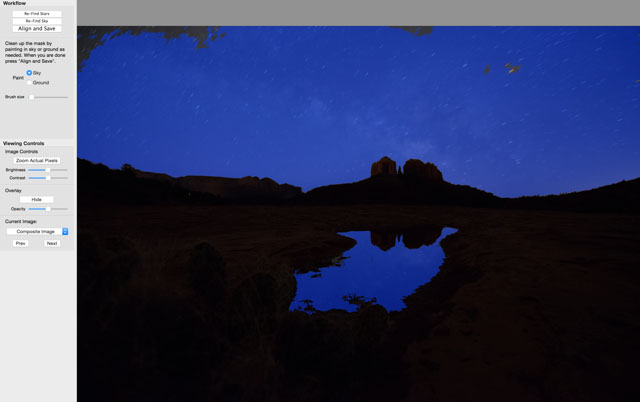
Once the ten images loaded (depending on the speed of you computer, it could take a few minutes), this is what appears:
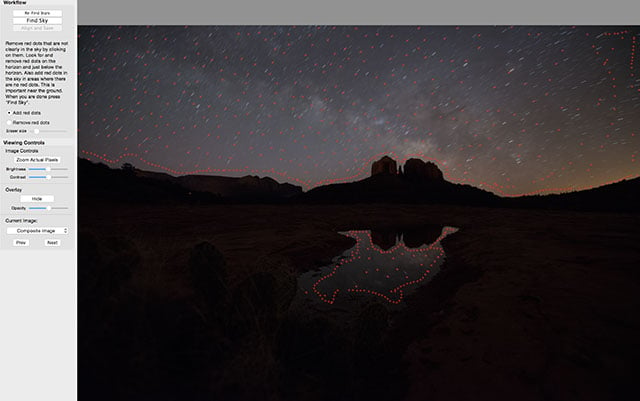
Each red dot is supposed to represent a star. You may notice some dots not in the sky, so for these you can just erase them using that feature (on the left hand side). It is just like using the brush tool in PS. You can see the additional line of red dots I added manually along the edges. This is something they go over in the tutorial and it basically helps the program stack the stars better.
I did this for both the sky and the reflection of the sky in the water. You then click “Find Sky” (top left), and let it do its work. This was the resulting image:
You can see some areas that aren’t shaded blue, so just use the brush tool on the left and add in areas that are sky and remove areas over land, if necessary.

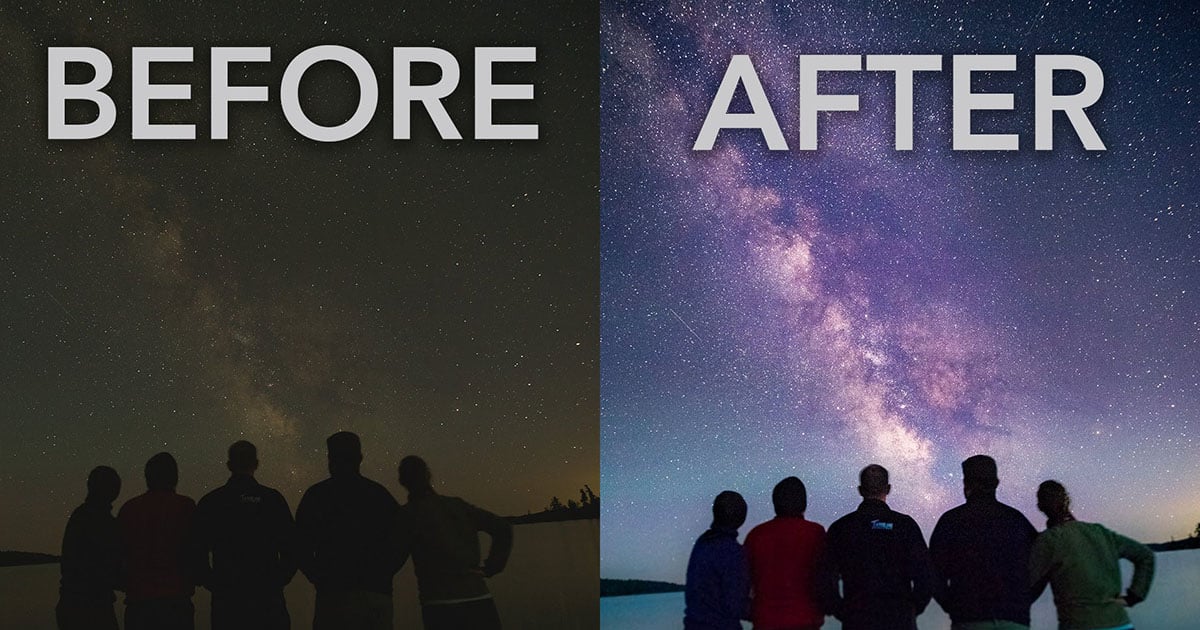
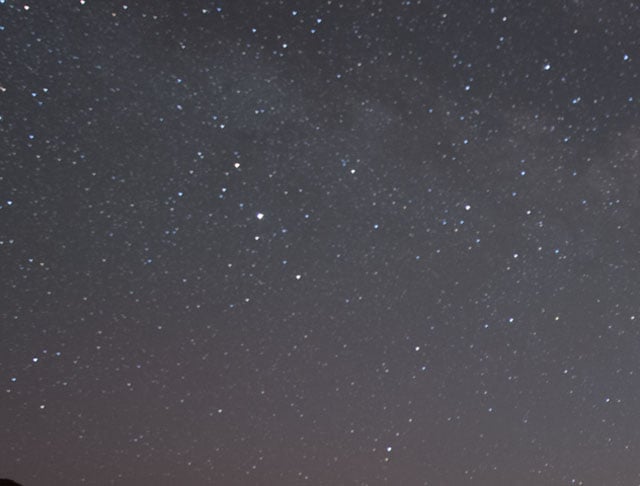
Once you’ve done that, just hit “Align and Save” and it will save the file as a 16-bit tif file (if that is what you uploaded). It will also save the mask of the sky so you can quickly load that in PS. Here is a look at a single image (of the ten) compared to the final output image (Before is top and after on bottom):
The next step was opening the three photos (one of the sky, two of the foreground) as layers in PS. I auto-aligned the photos and cropped the images as necessary. After blending the two foreground images, this was the result:
I then masked out the sky and used my shot created in Starry Landscape Stacker. This was the result:

I wanted the reflection to be from the same shot as the sky so that it looked right. The foreground shot was taken before the Milky Way rose, so that is why it is not visible in the foreground shots. I masked out the pond as best I could and feathered the edges. I also applied a little Gaussian Blur so that it would blend in on the edges and not just look like some black paint was thrown on the image. This was the result:
This was my first time ever doing something like this, so it took me quite a while to get the water and reflection to look acceptable. After I was done with this I threw the image into Adobe LR and edited the sky.
Everything I did to the sky, I also did to the reflection. I raised the clarity in the sky, increased the contrast, and bumped up the exposure just a touch. I also applied lens correction, which I probably should have done before anything else. I found that using the relatively new “dehaze” feature in LR over the Milky Way helped bring out some more detail.
I hardly used this, just moved it to (+5), but that was all that was needed. I then brought up the exposure a bit on Cathedral Rock (using the brush tool) and did used the dodge and burn technique on the Milky Way. All of this could have been done in PS, but I am more comfortable with LR, so that was my method of attack. This was the resulting image:
About the author: Cory Mottice is a photographer and meteorologist based in Flagstaff, Arizona. You can find more of his work on his website, Facebook, Twitter, and Instagram.