28 Tips, Tricks, and Hacks for Adobe Photoshop CC
In this video and post I’ll cover 28 great features, tricks, hacks, and more of Adobe Photoshop CC 2015. Some are simple, some are difficult, some are well known, and some are more like Easter eggs.
If you want to learn about multiple layer styles, layer mask tricks, whitening teeth, black and white photos, precision with the Brush tool, and a bunch more, this is the tutorial for you!
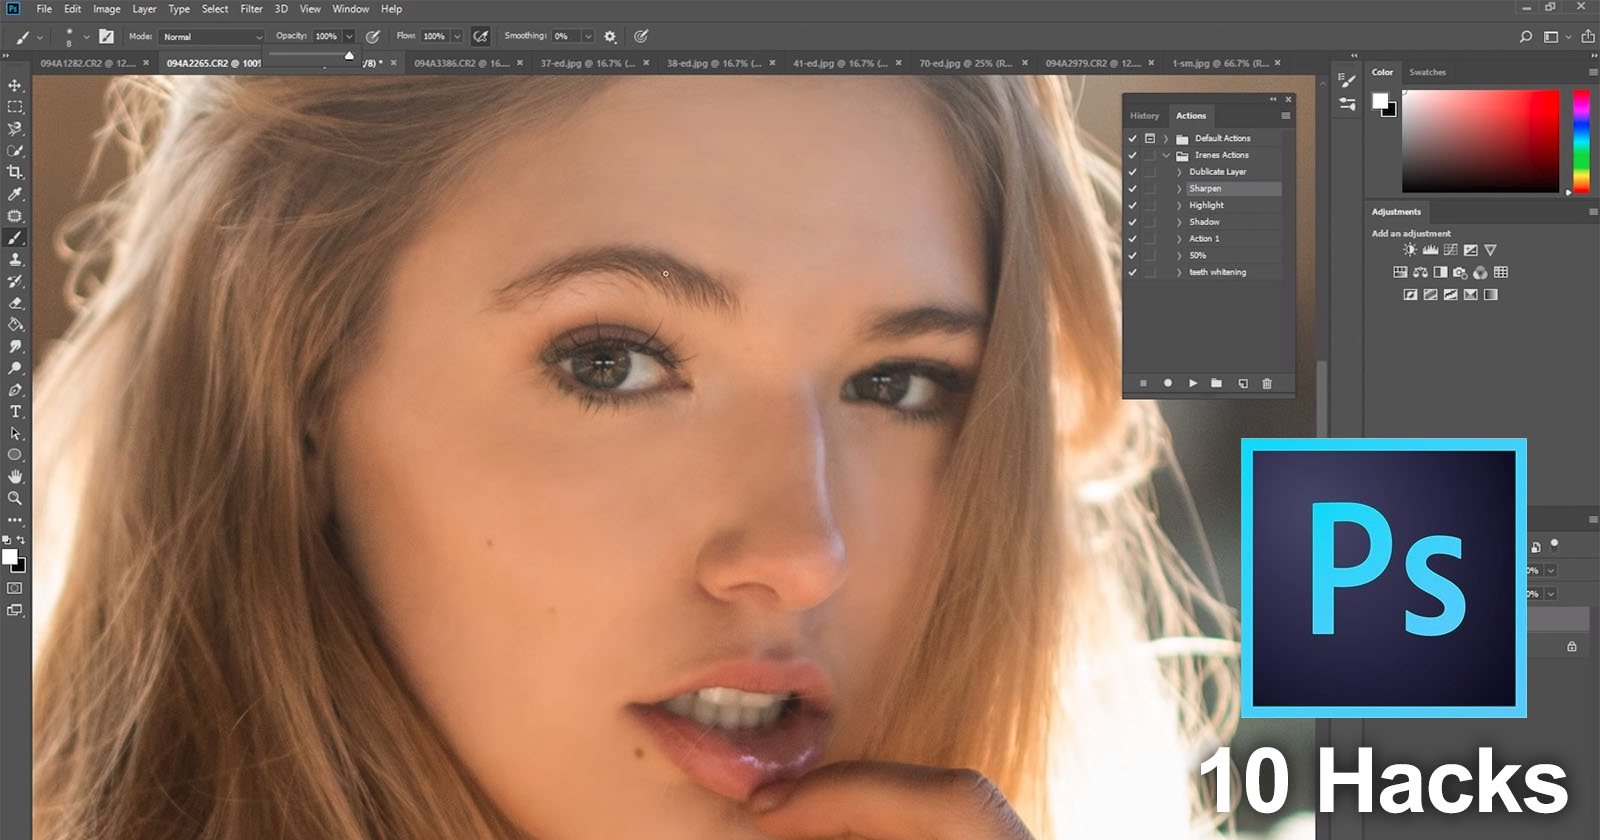
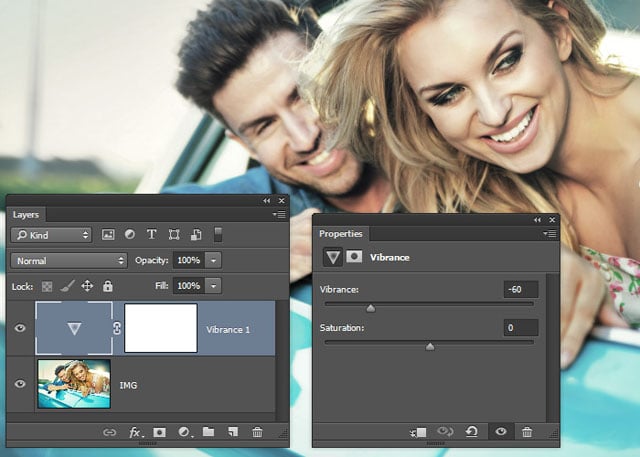
1. Quickly Whiten Teeth
Go Layer->New Adjustment Layer->Vibrance and reduce the Vibrance to “-60”.
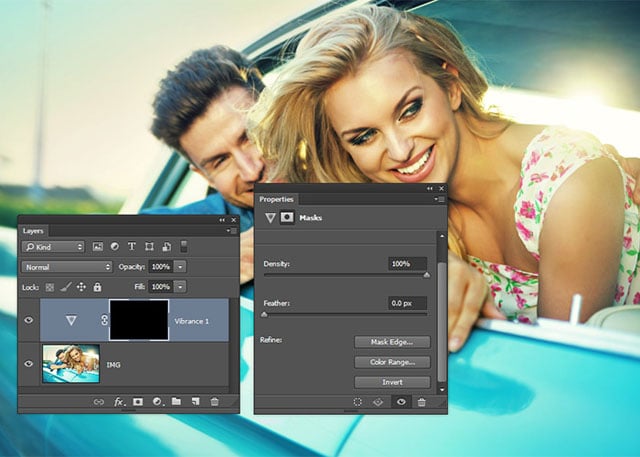
Next select the Vibrance layer in the layers panel and specifically choose the layer mask. In the Properties Panel (Window->Properties) select the “Invert” button to fill our mask with black to hide the desaturation that we just imposed on the Vibrance layer.
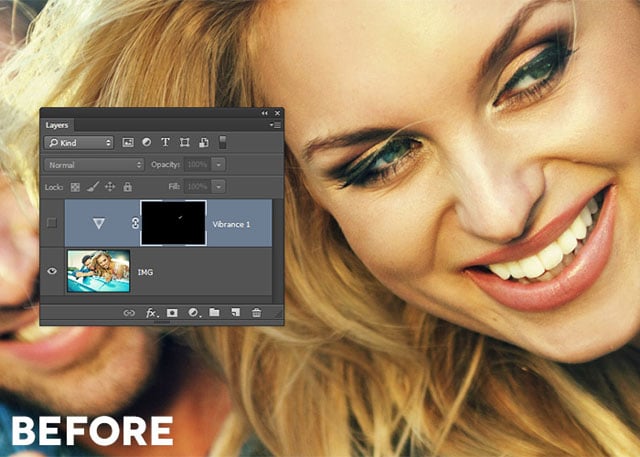
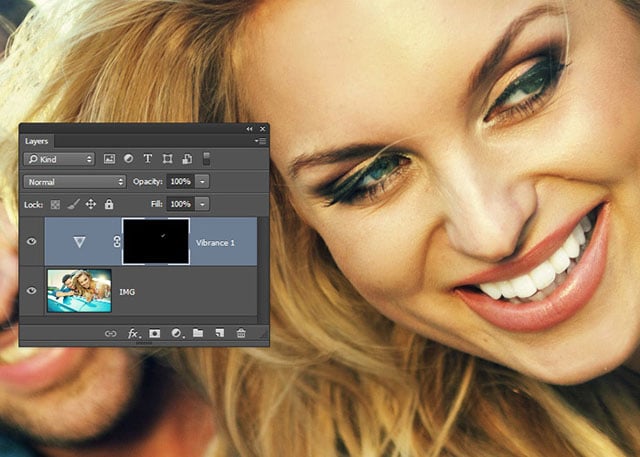
Next select the Brush tool (B) and I’ll grab a small, soft edged brush and look to the control bar across the top of the screen and set the Opacity to “50%”. Paint over the teeth you’d like to whiten for a realistic and beautiful smile!
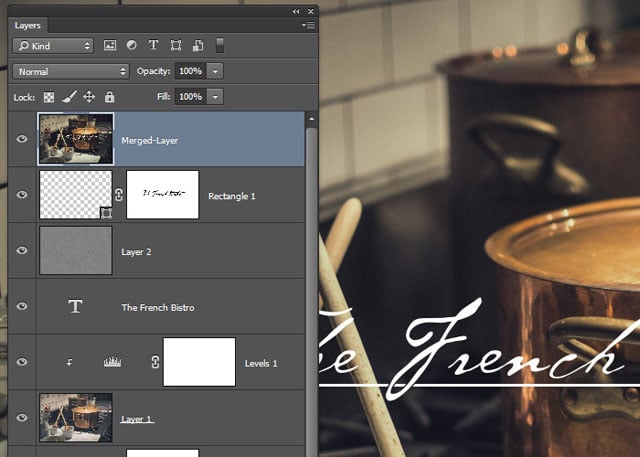
2. Merge All Layers to New Layer
When we’ve got a Photoshop document with lots of layers — or even just a few layers — you may have the need to merge all of these layers into one layer while still retaining your original layer structure. There is no menu feature to do this in Photoshop, only a hidden hotkey. Cmd/Ctrl + Shift + Alt/Opt + E.
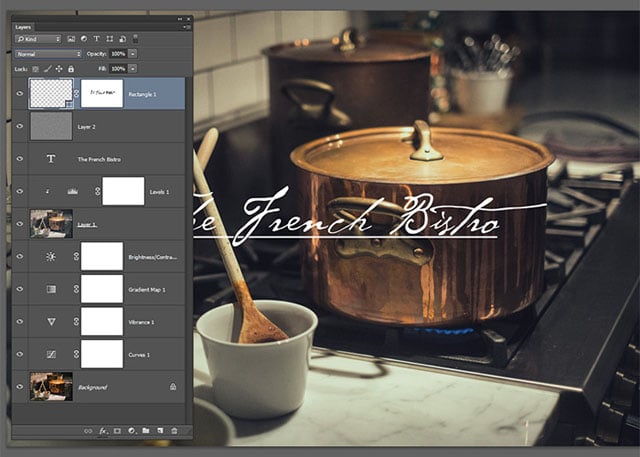
This will combine everything and pop it onto a new layer in one fell swoop.
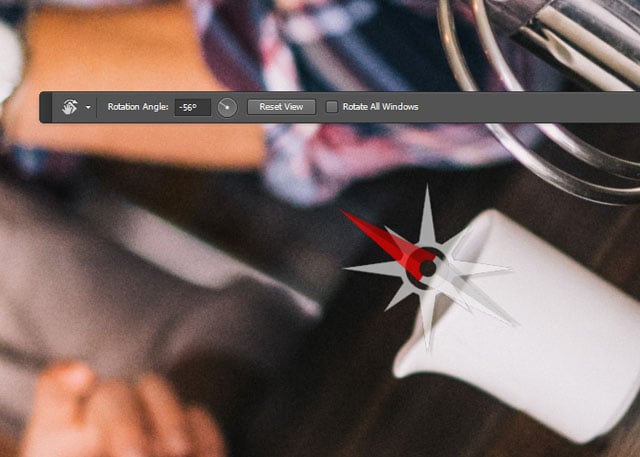
3. The Rotate View Tool
When retouching or any kind of shading, or dodging and burning, the Rotate View tool is one of the most useful little features I can think of in Photoshop. This tool will rotate the view of your image, but not actually flip the image. It’s quick and easy to use! Click and hold on the Hand tool in the tool box to reveal the Rotate View tool (R) and then drag side-to-side to rotate the image clockwise or counterclockwise.

Look to the toolbar and hit the “Reset View” button to instantly level off the image and bring things back to normal.
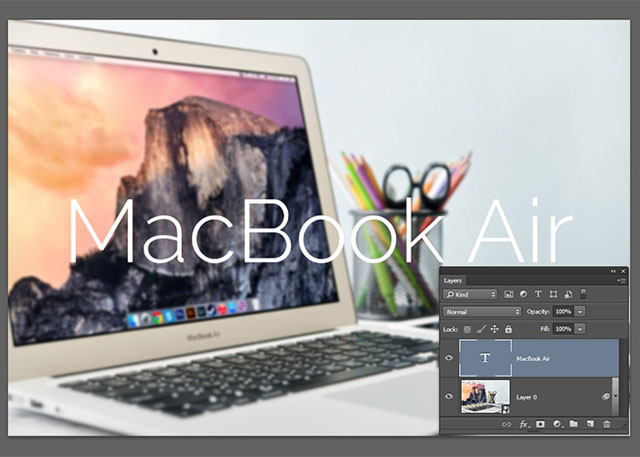
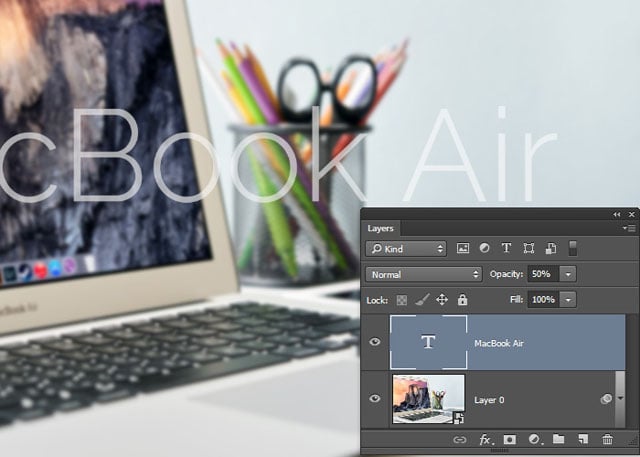
4. Change Layer Opacity Hotkey
Instead of using the opacity slider in the layers panel, you can quickly change layer opacity by simply selecting the Move tool (V) and press any number on your keyboard. “1” will set the layer to “10%”, “5” will set it to “50%”, etc… hit “0” to reset the layer to “100%”. I set my text layer to “50%” opacity. TIP: Hold down the Shift key and press any number to adjust the fill opacity.
5. Choose Layers Trick
Look at your layers panel and choose any single layer. You can quickly choose any layer above or below the selected layer by holding down the Alt/Opt key and pressing the right square bracket to choose the layer above, or the left square bracket to choose the layer below.
6. Move Layers Trick
Much like the last tip, you can move entire layers by holding the Cmd/Ctrl key while pressing either one of the square bracket buttons. Left square bracket moves the layer down in the stack and the right bracket moves the layer upward.
7. Change Unit of Measure
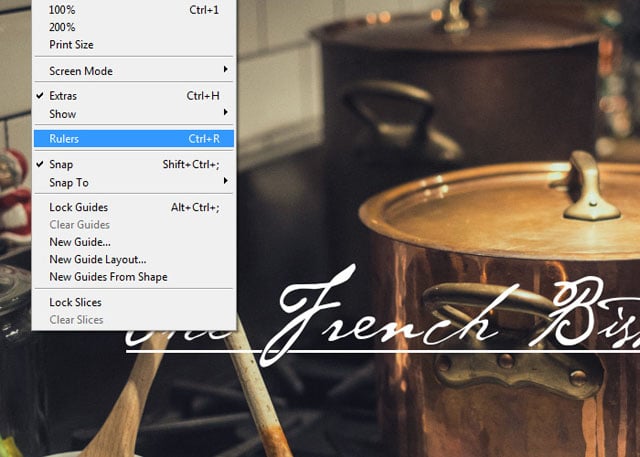
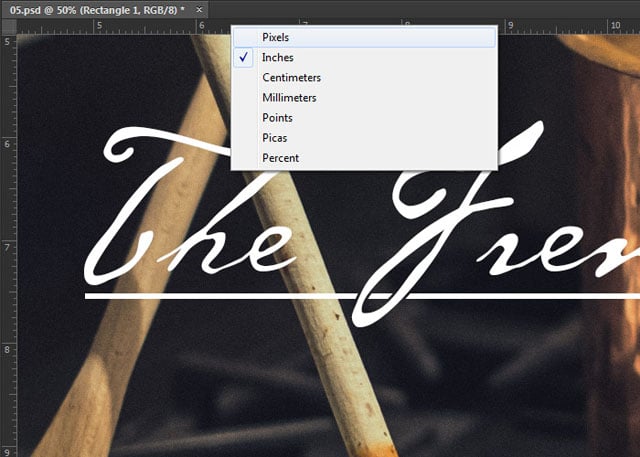
You can change the units of measure that show up in your info panel, or that show up when you drag out a selection, or the units of measure in the rulers that you can pull up around your document (Cmd/Ctrl + R).
Turn the rulers on by going Window->Rulers and then simply right click the ruler anywhere and choose the unit of measure you prefer.
8. Undo More Steps
You can add many more possible undo steps to Photoshop so you can keep hitting Cmd/Ctrl + Alt/Opt + Z to step back, back, back up to 1000 times! Go Photoshop->Preferences (Edit->Preferences on Windows) or hit Cmd/Ctrl + K to open the Preferences panel.
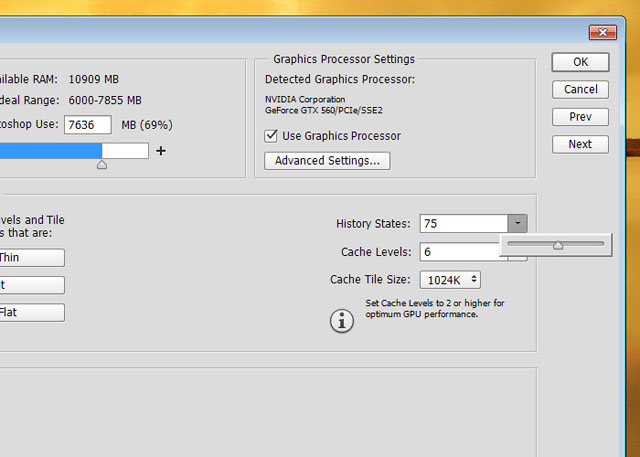
Choose “Performance” from the vertical menu on the left and drag the “History States” slider to whatever number you like. NOTE: More history states can slow down Photoshop. Use this feature wisely.
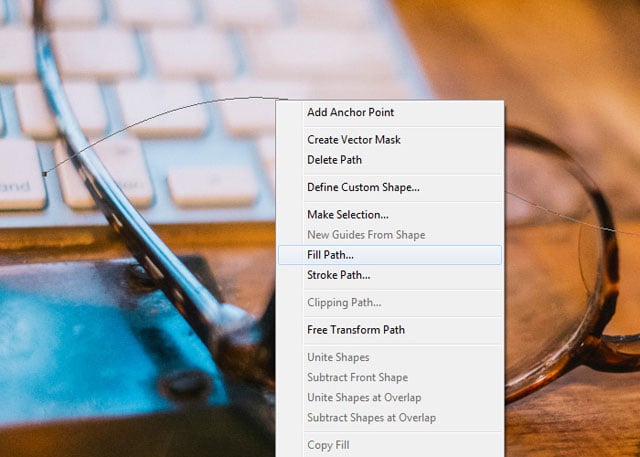
9. Apply Pattern Along Path
This is a cool little feature that is semi hidden in Photoshop. Draw out a path using the Pen tool (P) and then hit the letter (A) to grab the Direct Selection tool (either the black or white arrow works) and simply right click the path and choose “Fill Path”.
Set your “Contents” to “Pattern” and choose a pattern and then check on “Script:” and choose “Place Along Path” and hit “OK”.
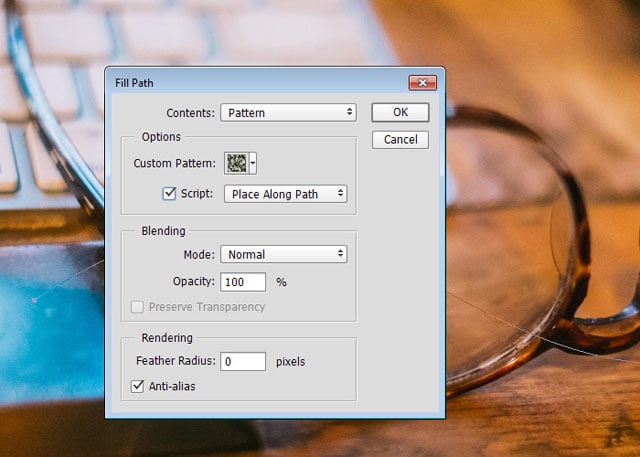
Next, the Place Along Path dialog box will pop up. Play around with the settings (the choice of pattern is most important to getting an amazing or usable result) and then hit “OK” when you like what you see.

10. Apply Layer Mask Trick
Adding a layer mask is as simple as pressing the new layer mask button at the bottom of the Layers panel. The default, however is to have a mask filled with white which doesn’t hide the layer.
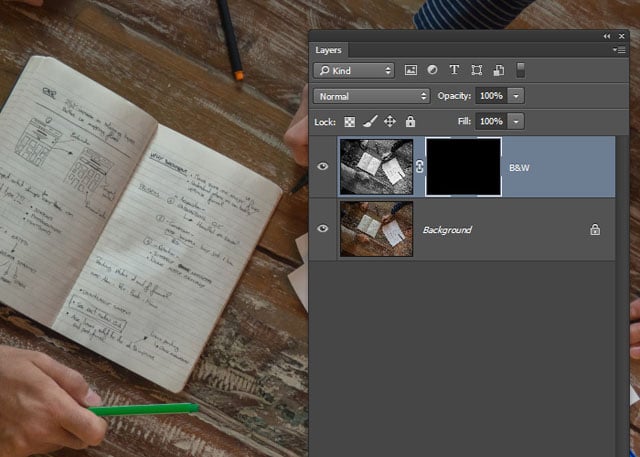
If we want the mask to be filled with black (and therefore hide the layer it’s applied to) the trick is to simply hold the Alt/Opt key while pressing the new layer mask button.
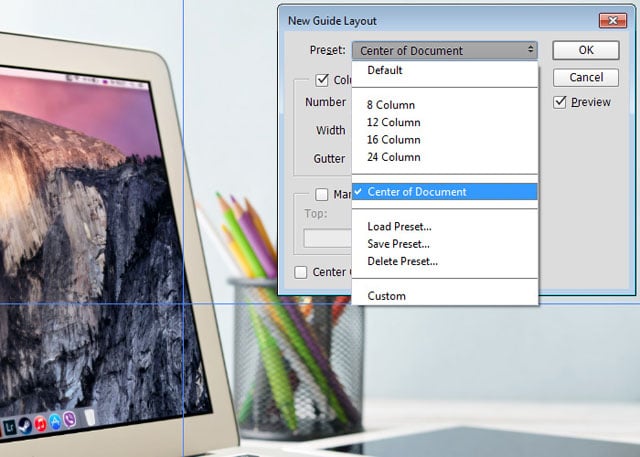
11. Instantly Find Center of Photoshop Document
To instantly find the center of your Photoshop document, go View->New Guide Layout and tick on “Columns” and “Rows” and choose to have “2” columns and “2” rows. Also, be sure to set the “Gutter” to “0”.
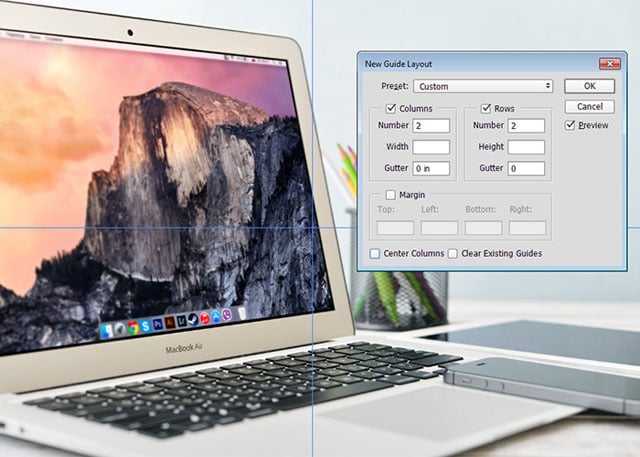
Lastly choose the “Preset” drop down menu and select “Save Preset”. I’m going to name this preset “Center of Document”. Save the preset and check out the drop down menu to see your sparkling new preset. You’re now ready to use this in any document that you wish.

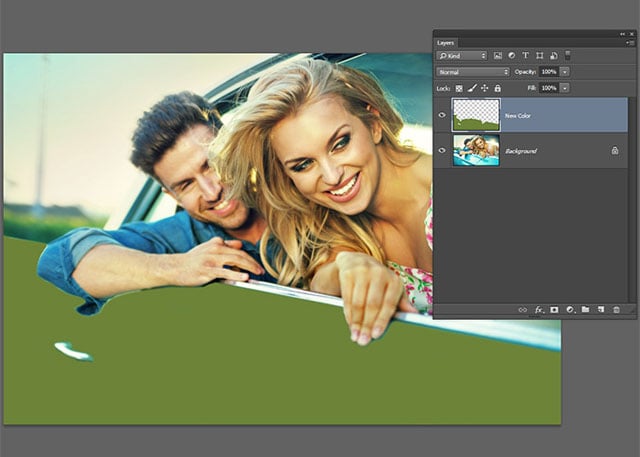
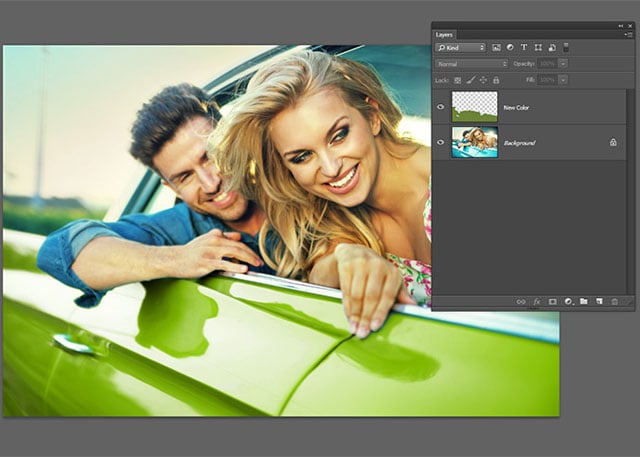
12. Quickly Change Colors
When you have a colorful surface you can do some amazing things in Photoshop with a couple simple Blend Modes. Create a new layer and paint over that area with the color you wish. Next simple change the Blend Mode to either “Hue” or “Color”. Both interact with underlying color differently, so try both and see what you like best.
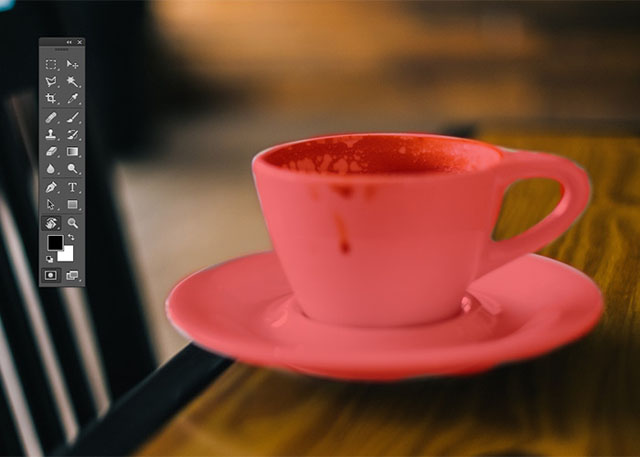
13. How to Paint a Selection
Hit the letter “Q” to enter Quick Mask mode and then double click the Quick Mask icon at the bottom of the toolbox to bring up the Quick Mask Options.
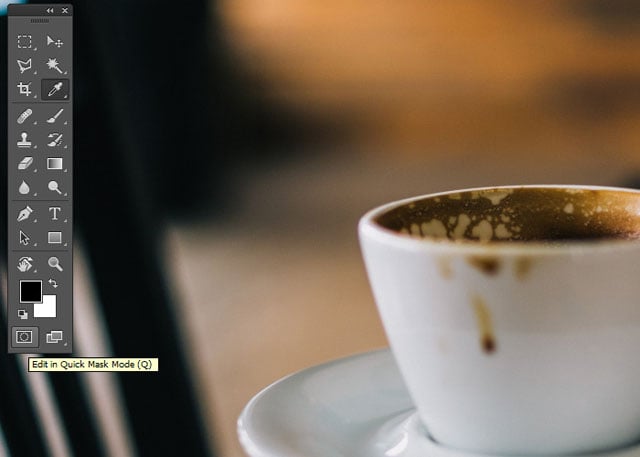
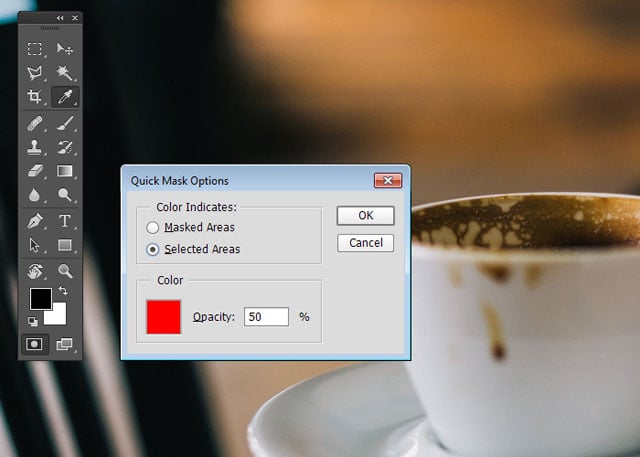
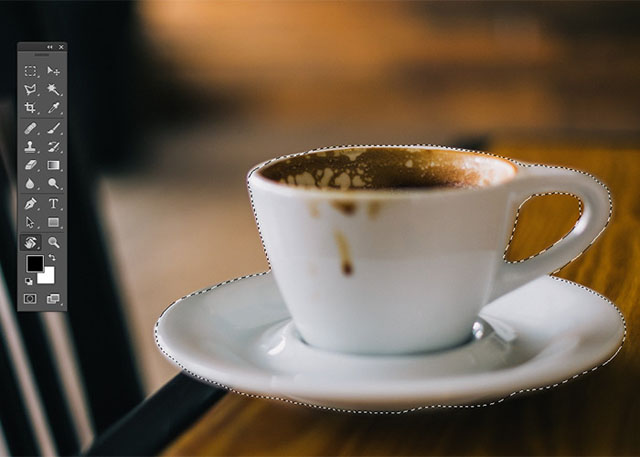
Choose “Selected Areas” in the “Color Indicates” section of the dialog box. Hit “OK” and grab the brush tool and set your painting foreground color to black. Paint over whatever you want to selection and watch the pink/red color get painted onto your image. Hit the letter “Q” to exit Quick Mask mode to convert your red paint to a selection. Boom!
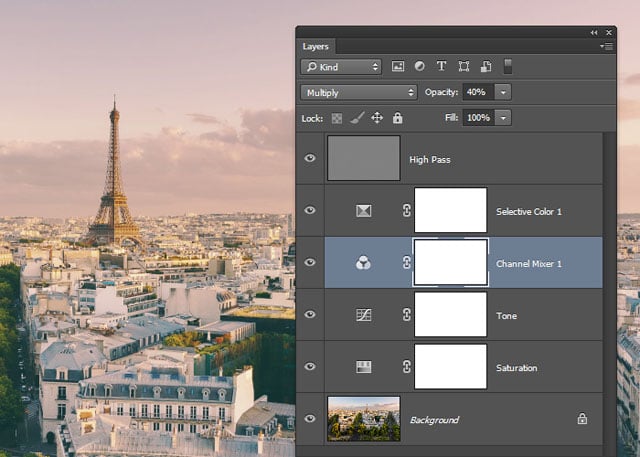
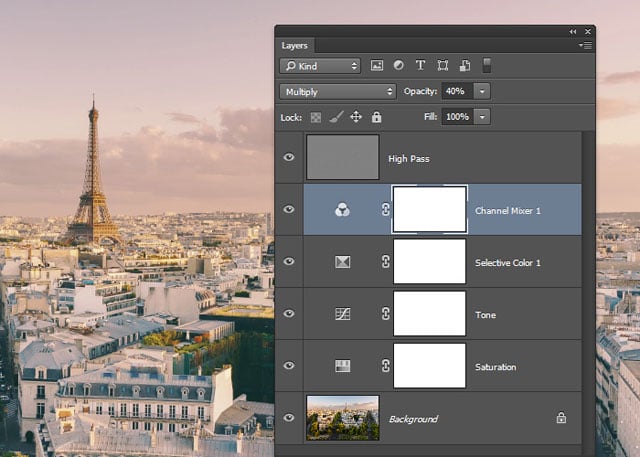
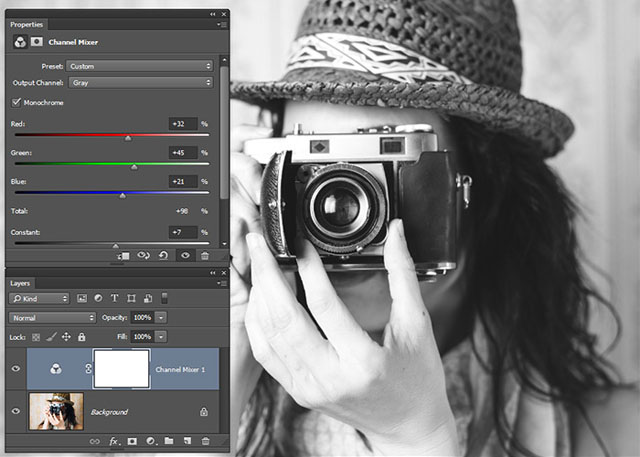
14. Beautiful Black and White Photos with Channel Mixer
You can create beautiful and interesting high contrast black and white images using the Channel Mixer adjustment layer. Go Layer>New Adjustment Layer->Channel Mixer and tick on “Monochrome” in the Channel Mixer dialog box. Slide the red, green, and blue sliders around to get great contrast without blowing out your highlights.
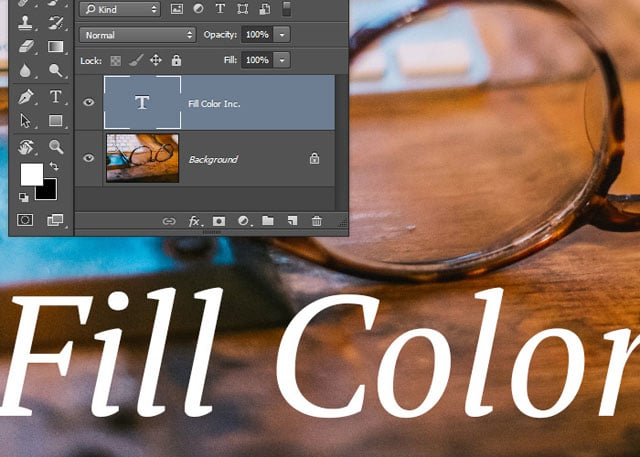
15. Quickly Fill Text and Color/Shape Layers
You can quickly set the color of any type layer,solid color adjustment layer, or shape layer to your foreground color by selecting that layer and hitting Alt/Opt + Backspace/Delete.
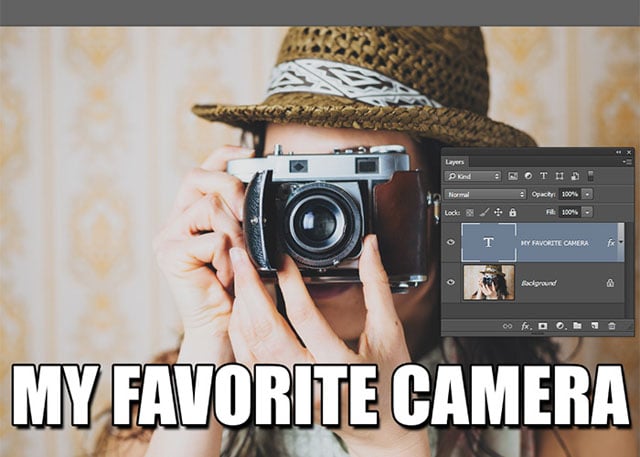
16. Scale Layer Styles with Layer
You can ensure that your layer styles scale up and get bigger or smaller with your layer contents. I have selected my “New York Post” style drop shadow/stroke text here. Go Layer->Layer Style->Scale Effects. I’m going to set the “Scale” to “175%”.
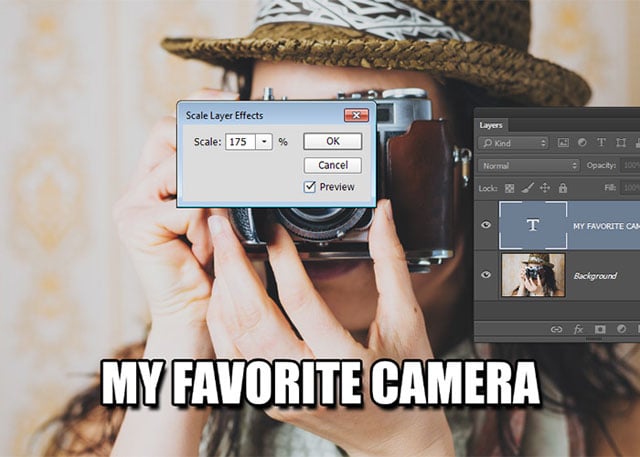
Next I’ll just free transform my text (Cmd/Ctrl + T) and set the width and height to “175%” in the control bar across the top of my screen and position my text where I want. Our styles will look just perfect.
17. Precise Painting with the Brush Tool
For the moments that you’re doing very specific painting work, or you are working with a tablet and pressure sensitivity, you can add a crosshair right right to the middle of the brush by opening the Preferences dialog (Cmd/Ctrl + K) or go Photoshop->Preferences or on Windows Edit->Preferences.
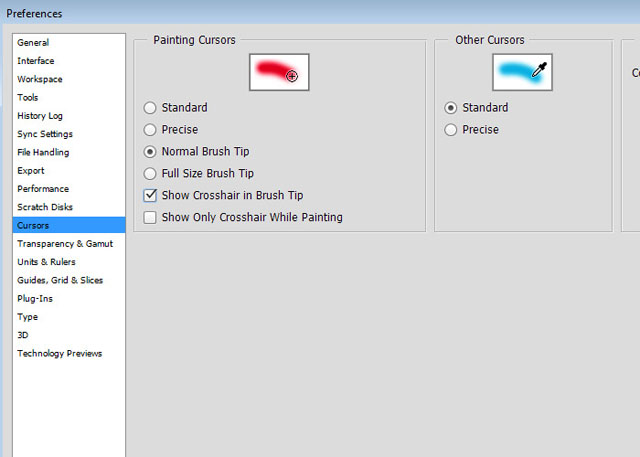
Select “Cursors” from the vertical menu on the left. Then choose “Normal Brush Tip” and check on “Show Crosshair in Brush Tip”.

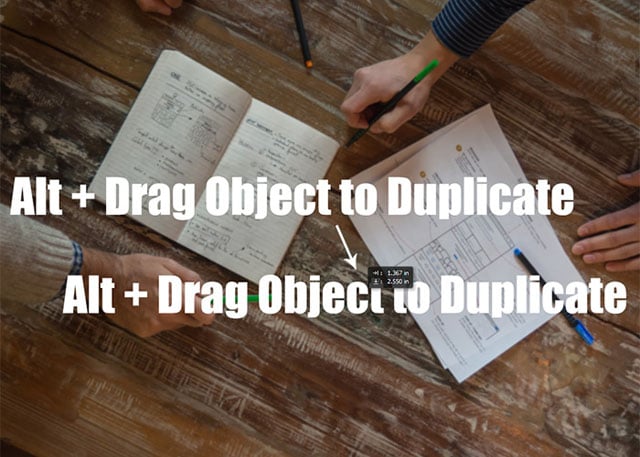
18. Duplicate Anything You Want
You can duplicate virtually anything in Photoshop by simply selecting it and dragging it while holding down the Alt/Opt key. From objects in the Photoshop document, to layers, to layer styles, to darn well anything you want. Give it a try!
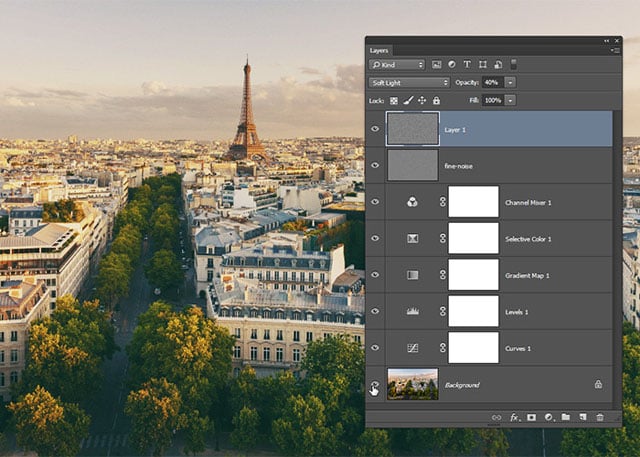
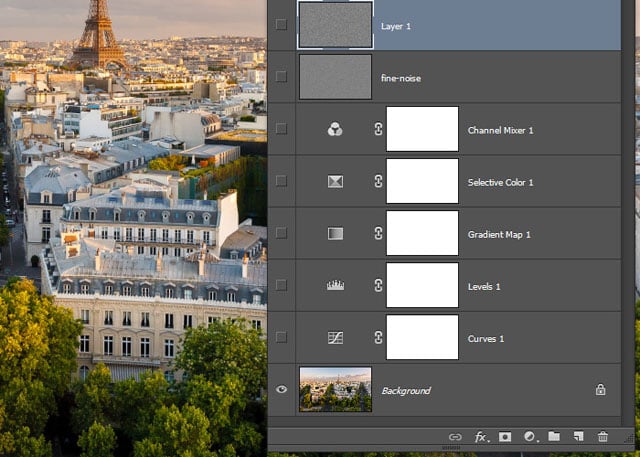
19. Before/After Preview in Layers Panel
If you’re working with PSD that has many layers and you quickly want to hide all layers and get back to the original image, or just hide all layers except one layer, hold down your Alt/Opt key and click the eyeball of the layer you wish to view. Alt/Opt click the eyeball to bring all the other layers back.
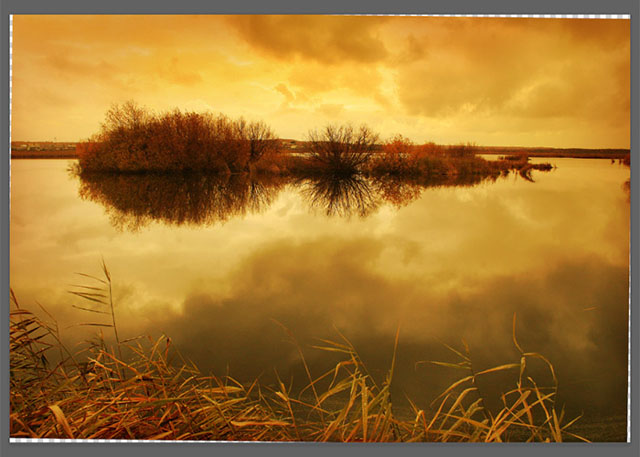
20. Straightening the PSD
Grab the Ruler tool (I) and drag a line across an edge in your photo that should be level. Look to the control bar and click the “Straighten Layer” button. Then grab the Crop tool (C) and trim away those transparent edges.
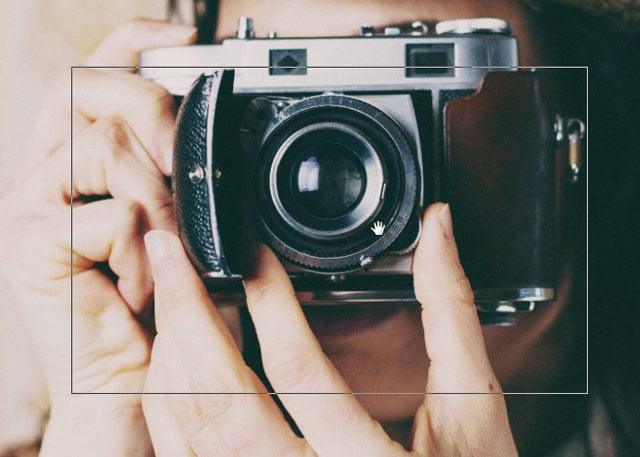
21. Bird’s Eye View
This one is a fun and useful little trick for when you’re zoomed in on a document. While zoomed in, simply hold down on the “H” key and drag your mouse anywhere and the document will temporarily zoom out and give you a box to show where it will zoom back into when you let go of the mouse button. You really have to try it to see what I’m talking about. It’s pretty great though!
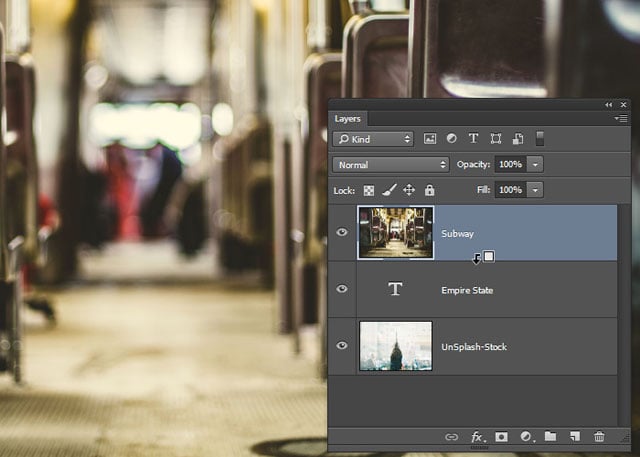
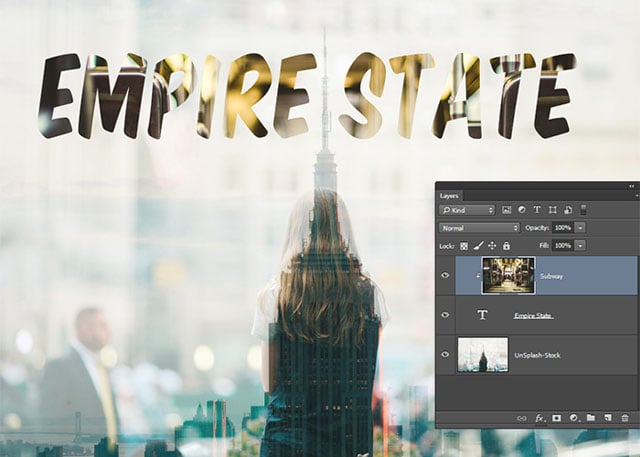
22. Clip Image to Type Layer
You can quickly add texture to a layer of type by clipping another layer of content to that type. This technique of clipping masks can be used to target an adjustment layer just to one single layer, or keep something automatically limited within the pixels of the layer it is being clipped to. I have dragged in a subway photo above my text layer in this PSD example.

I’ll turn on the subway photo layer and then hold my Alt/Opt key as I hover between the two layers. Notice the little icon that appears. Click that to clip the photo to the shape of the type.
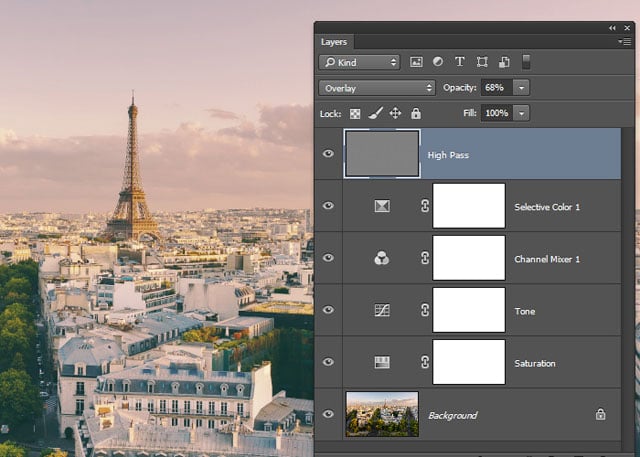
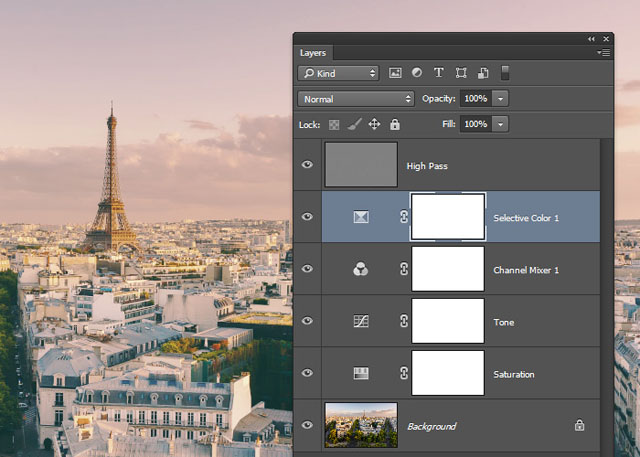
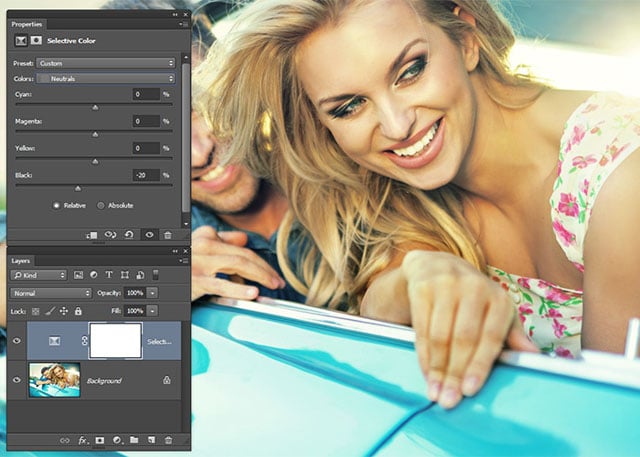
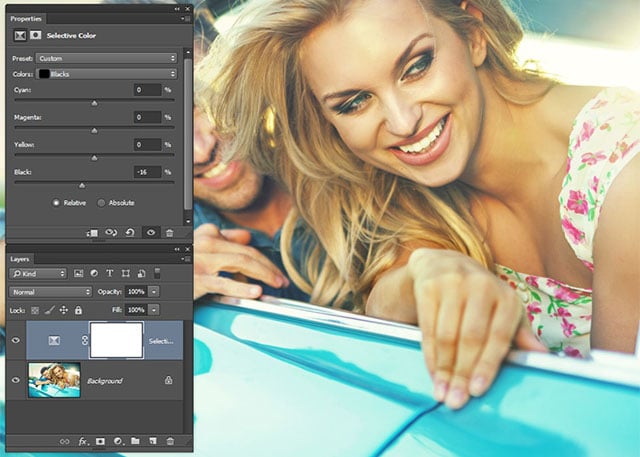
23. Instagram “Fade” Effect
To quickly add an Instagram style fade effect to an image, grab a Selective Color adjustment layer Layer->New Adjustment Layer->Selective Color and choose the “Colors” drop down menu and select “Neutrals”. Set the “Blacks” slider to “-20”. Then jump over to the “Blacks” from the same drop down menu. Set the “Blacks” here to “-15”. That’s it!
24. Hacking Your Selection Placement
You can move your selection while you’re dragging it out to ensure that it lands exactly where you want it to by simply dragging out a selection using one of the Marquee tools and holding the space-bar while dragging it out to move the entire selection where your heart desires.

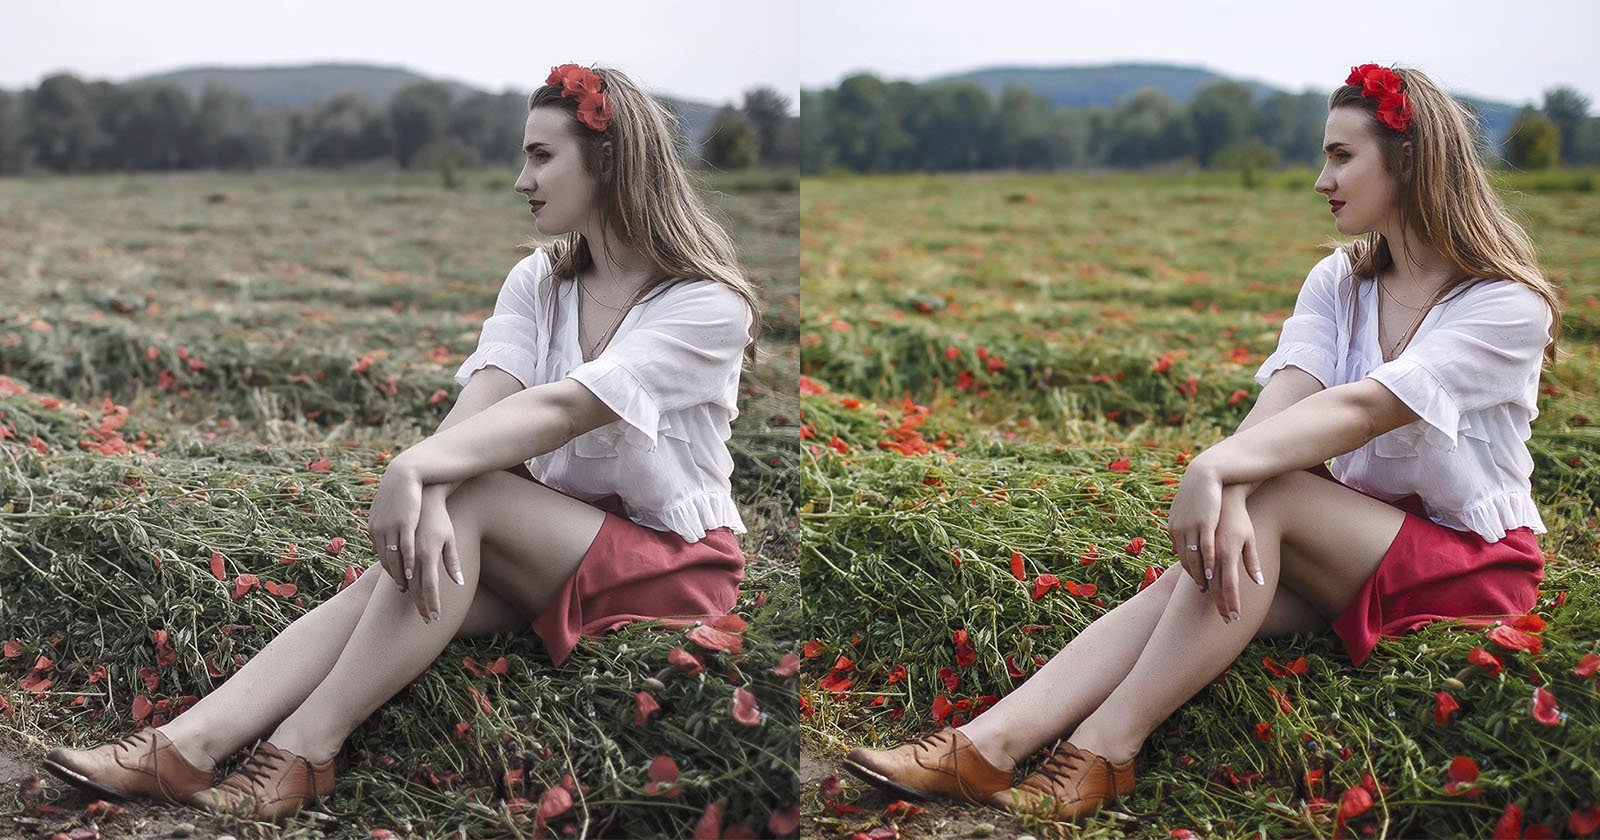
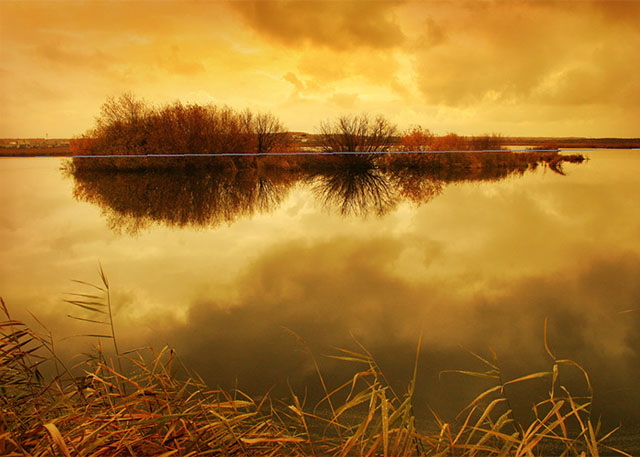
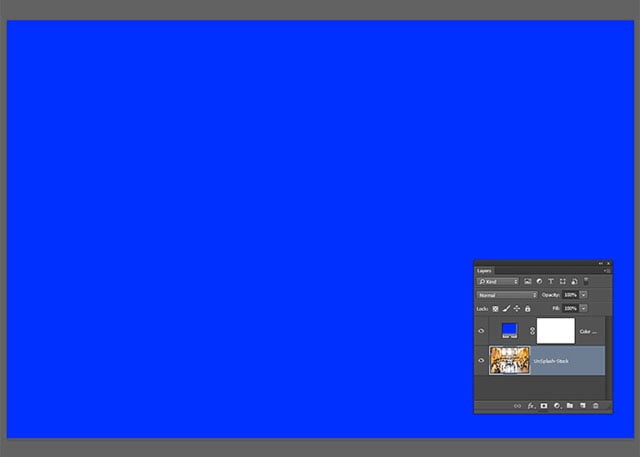
25. Quick Retro Color Style
To quickly add a touch of the past into your photos go Layer->New Fill Layer->Solid Color and choose to fill the layer with a bright blue. Set the layer blend mode to “Exclusion” and reduce the Opacity to somewhere around 20%.


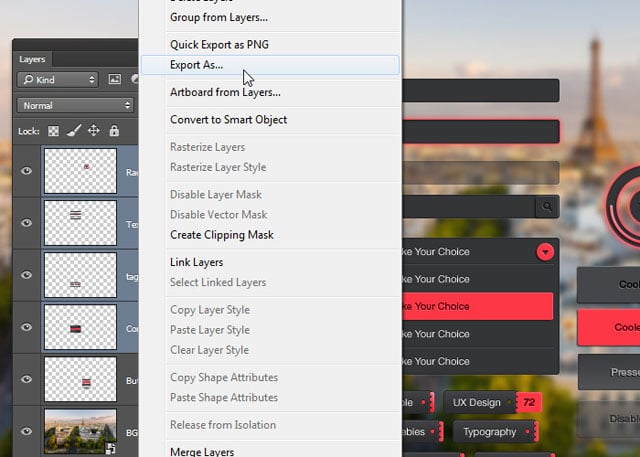
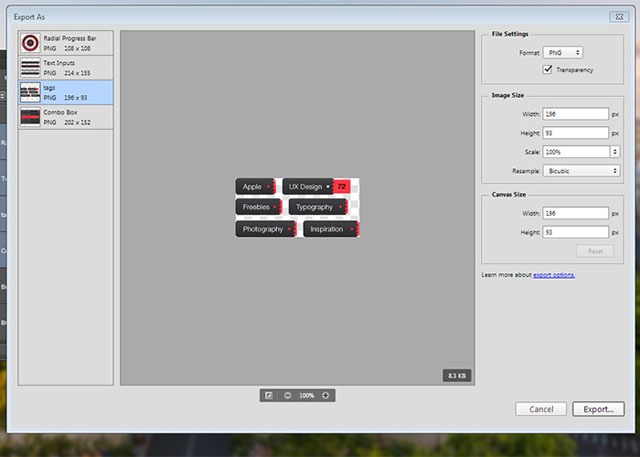
26. Extract Assets
This feature of Photoshop allows you to select multiple layers in your document and save them each out as individual images to be used in other projects and more. Begin by selecting multiple layers by Shift clicking the layers that you would like to export and right click and choose “Export As…”
You can check out the individual layers in this dialog box and choose the file format you wish to save with and then just hit the “Export” button and choose the folder where you’d like to save the images.
27. Multiple Drop Shadows and Strokes
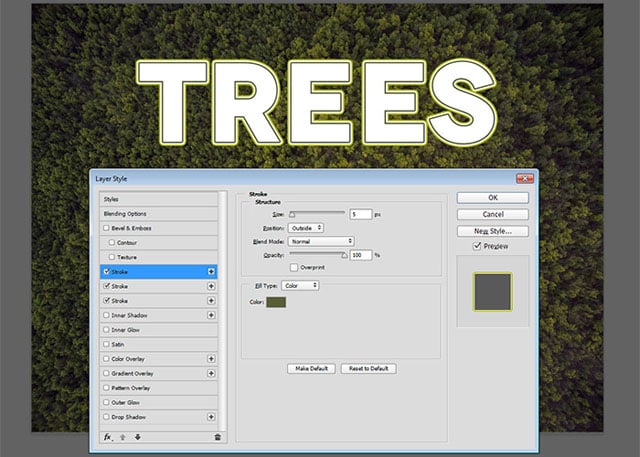
With the latest release of Photoshop, you’re now able to add multiple layer styles to your layers. Double click any layer to open the Layer Styles dialog box. Note the little “plus” next to some of the styles. Use that to add multiple styles as you wish. In my screenshot I’ve placed three strokes on this bit of text. Have fun and go wild with this trick!
28. Interface Color Easter Egg
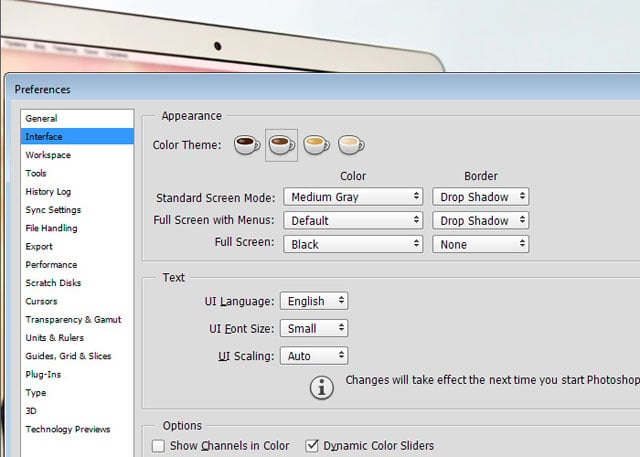
Open the Photoshop Preferences by going Photoshop->Preferences or Edit->Preferences on Windows. Select “Interface” from the vertical menu on the left. Hold down the Cmd/Ctrl + Shift + Alt/Opt and click any one of the color swatch options to make them change.
That’s it! Do you know any cool Photoshop CC tips or tricks that you think need to be shared? Post a comment below and share them with the world!
About the author: Nathaniel Dodson is a photographer and web designer based in Philadelphia, as well as the man behind Tutvid. You can find more of his articles on Photoshop and web design on Tutvid, and more of his personal photography on his portfolio site. This article was also published here.