DIY: Make a Sealed 50mm Freelens for Less Than $80
Freelensing is the use of a lens decoupled from your camera, manual orienting the lens on various angles to tilt and shift the lens to alter the focal plane. Freelensing is a great method of isolating your subject or creating interest in an otherwise flat or busy scene. This technique has been around for ages but helps achieve a similar look to that created by a tilt-shift lens used often in wedding photography.
I decided to deconstruct a Nikon 50mm lens for freelensing, but also wanted to eliminate the possibility of light leaks and make it much easier to store and protect the lens while also protecting the camera internals from dust and debris.
I created a sealed freelens or faux tilt-shift, but with way more flexibility than a tilt-shift lens. The lens has a steep learning curve and is pretty tricky to get the hang of, but offers the ability to adjust the focal plane much quicker and more precisely than with a tilt-shift lens.
This guide will outline how to create a sealed freelens or faux tilt-shift for awesome image making for less than $80.
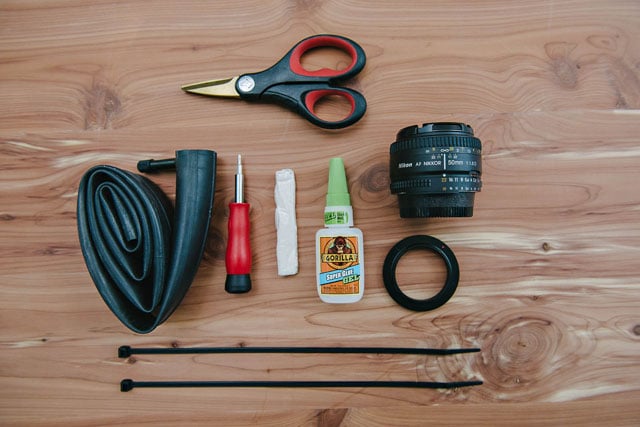
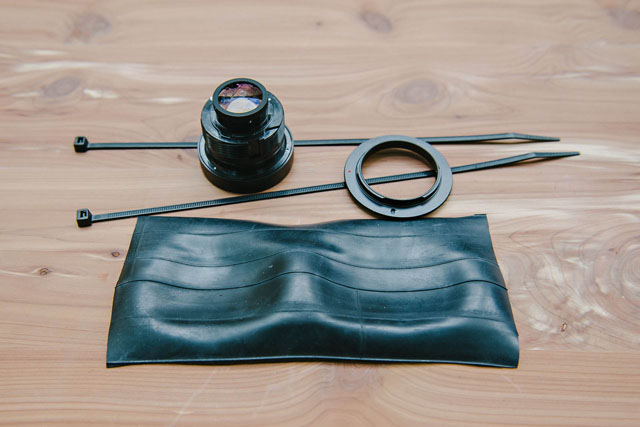
This is what you will need:
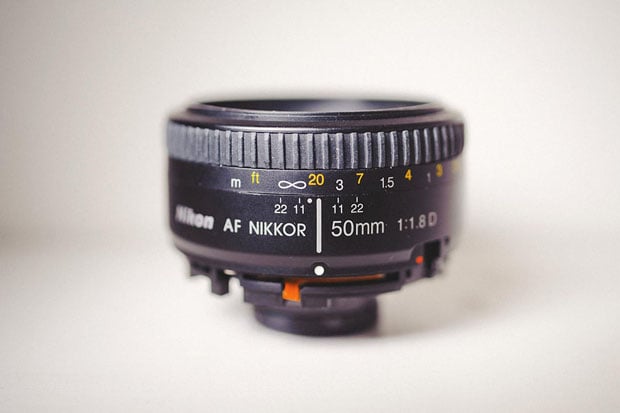
- Nikon 50mm 1.8D
- Reverse macro ring Nikon mount
- UHU Sticky Tac
- Bicycle inner tube
- 2 zip ties 11″
- Gorilla/Super Glue
- Micro screwdriver
- Scissors
I use a Nikon 50mm 1.8D because it is inexpensive ($70 used on eBay) and because you can set the aperture by affixing the aperture unlike the Canon 50mm, which lacks an aperture lever. If you use a Canon lens you will be stuck permanently wide open. You can use the same Nikon lens for Canon or any other make camera since the lens will be decoupled and you will need to manually focus and expose anyway. If you do have a different camera make you will just need the correct macro mount ring for your camera.
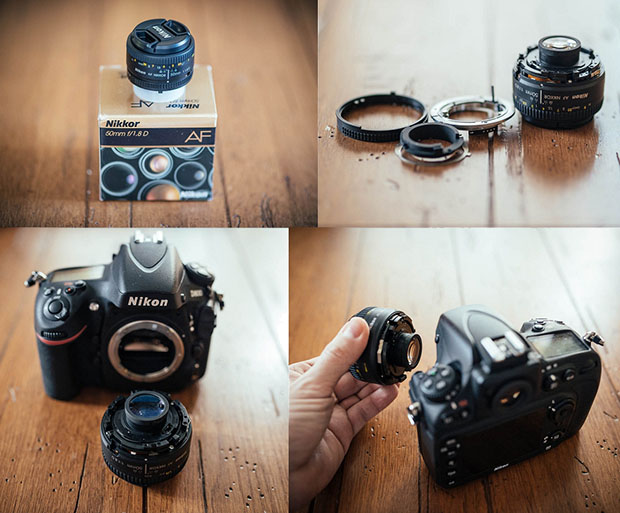
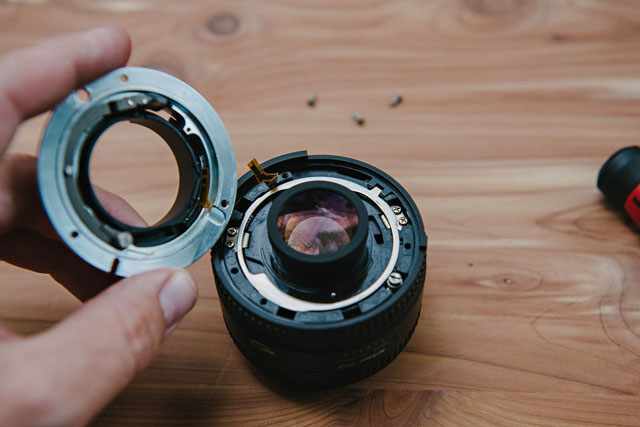
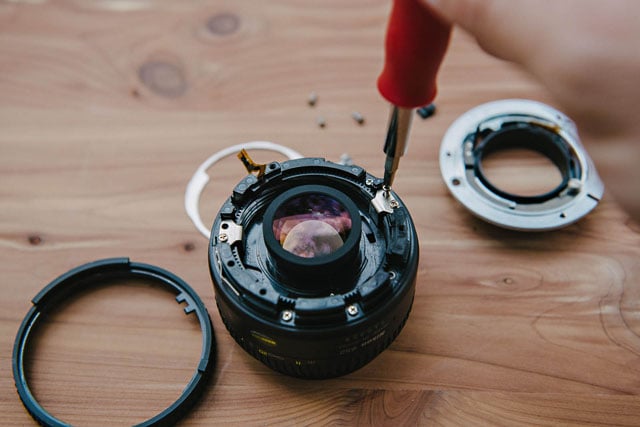
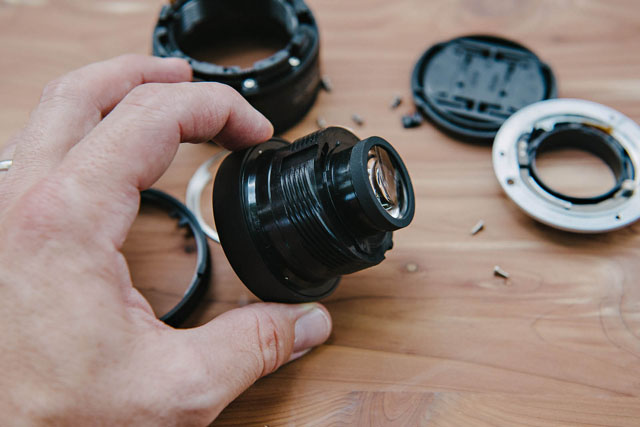
Step 1
Disassemble the lens starting at the rear mount and then remove the barrel.

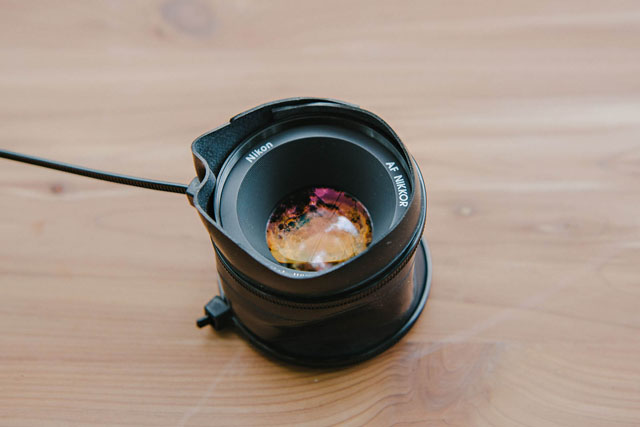
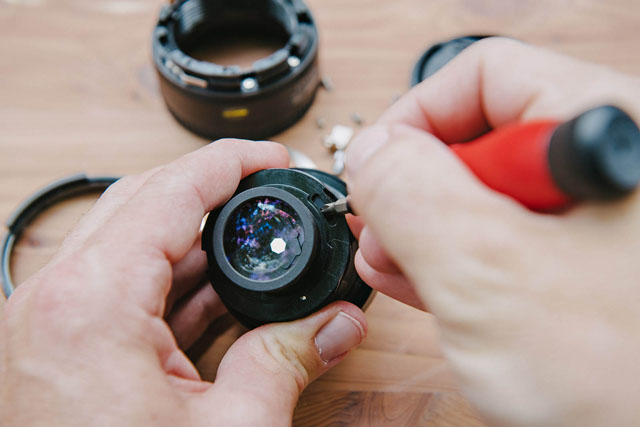
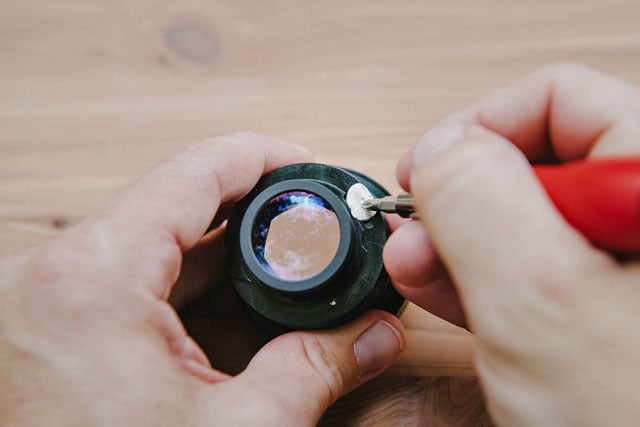
Step 2
We will now set the aperture. Nikon lenses default to the narrowest aperture while Canon lenses default to wide open. I have played around a bit and prefer to set this lens somewhere around approximately f/2.8. I have found that wide open produces a depth of field too narrow to use effectively when combined with the angled focal plane it produces.
You can use any brand of sticky tac to set the aperture. The benefit of using sticky tac is that it is strong enough to hold the aperture that you set but malleable enough to be adjust simply using a pen tip. This way you can adjust the aperture even after the lens is assembled.
Push the aperture lever close to being wide open and stuff a wide of sticky tac in there. You should be able to adjust the aperture by simply using a pen tip even after the sticky tac is applied and also after the lens is complete. Eyeball the aperture blades so the lens appears to be set around f/2.8 or other desired aperture.
Step 3
I used a lot of trial and error to arrive at the bike tube which provides the perfect balance of structure with flexibility. You will want to cut the tube to approximately 8”x3”.
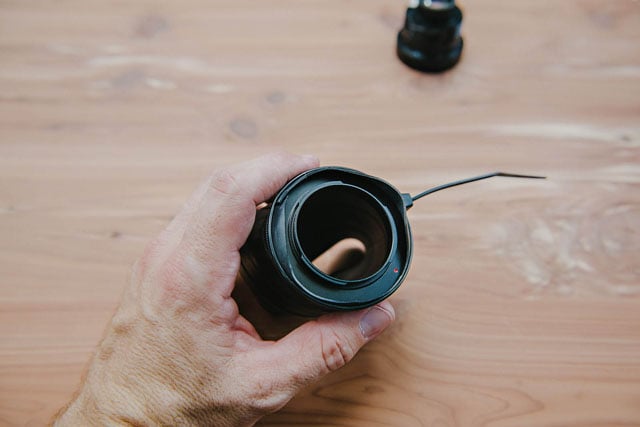
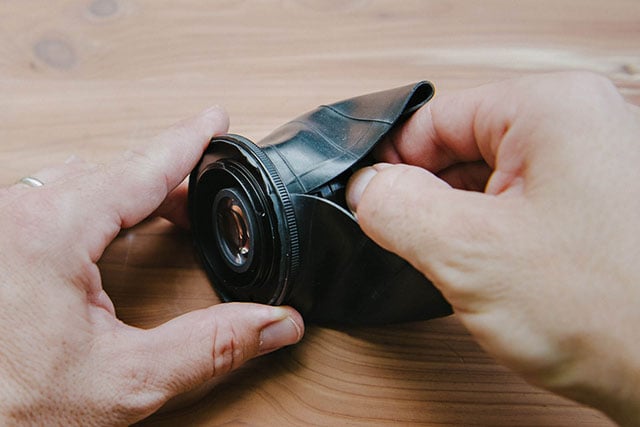
Step 4
Wrap the cut bike tube around the reverse macro ring on the side opposite the camera mount. Use a zip tie to secure the tube. This is rather tricky due to the size of the narrow rim of the ring. I did not use Gorilla/Super Glue with my original lens, but to make things less frustrating I am doing it this time. I clamped the bike tube around the macro ring and used Gorilla/Super Glue on the inside to keep things together before unclamping the lens and affixing the zip tie to finish it off. Cut away as much of the inner tube as possible (more than pictured here) along the macro ring side to make it flush so that the lens can mount to the camera body easily.
Note: Gorilla/Super Glue can emit caustic fumes. Let the lens air dry for a day before attaching it to your camera body to allow any fumes to dissipate.
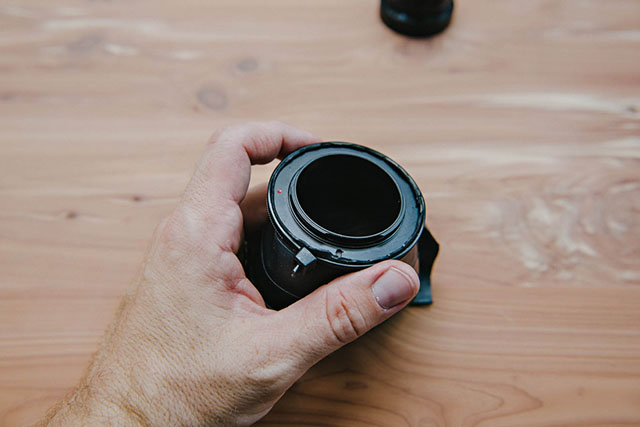
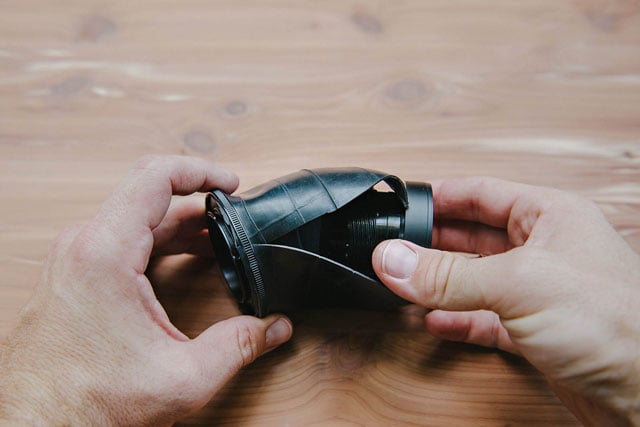
Step 5
Place the lens inside the tube. You will want the lens positioned approximately so that the rear element is flush with the camera mount opening. Ideally you want it placed just outside the max distance required to focus an image since you will be able to push the lens in toward the mount but not pull it farther out.
You may want to test the lens on the camera to ensure it is at the desired distance, but I have found that it works for me if the rear element is just 1/4″ inside being flush with the opening. Zip tie the lens to affix it in place once you are happy.
Step 6
Seal everything up (using the Gorilla/Super Glue if you desire) and cut the excess zip ties. Cut away as much of the inner tube as possible (more that pictured here) along the macro ring side to make it flush so that the lens can mount to the camera body easily.
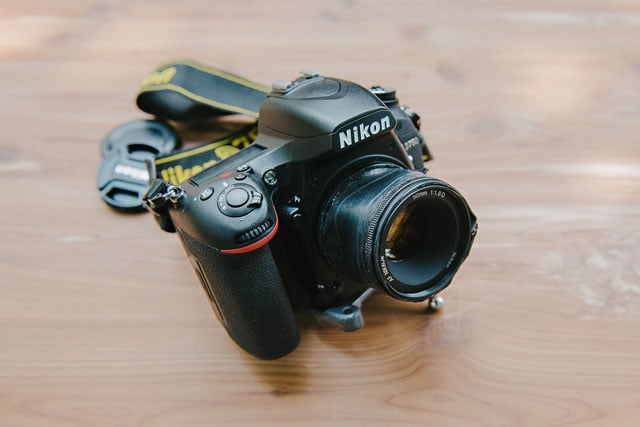
Step 7
Test the lens out and get used to manually exposing as well. If necessary use a pen or pin to adjust the aperture.
Cautions
- If you push the lens in too far the mirror may hit the lens when you press the shutter. I have done this a hundred times without causing damage, but you should be careful. You may prefer to use live view for this reason.
- If you shift or tilt the lens too much you will produce extreme vignette in one or more corners.
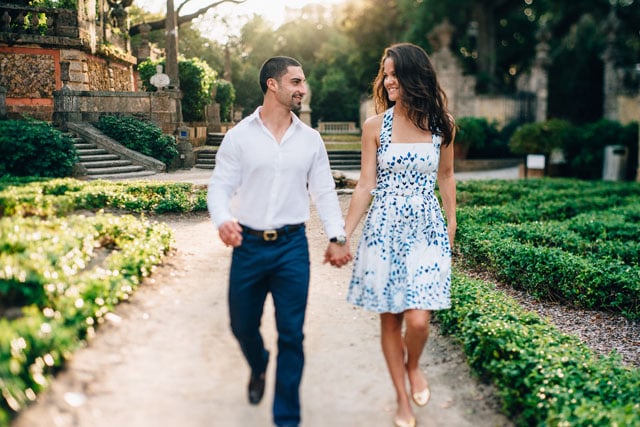
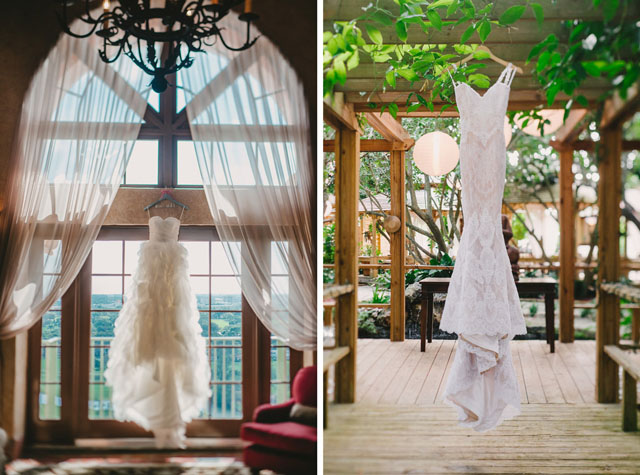
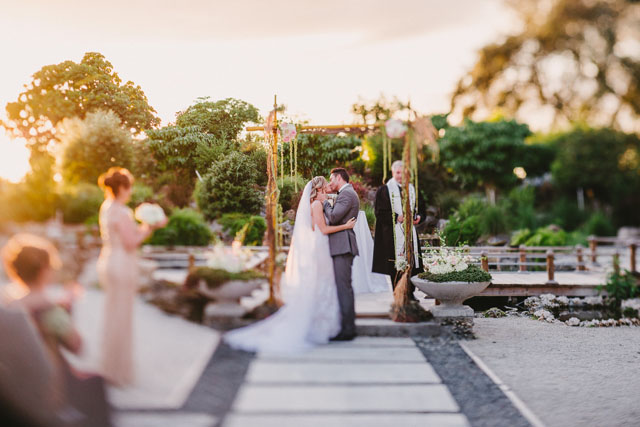
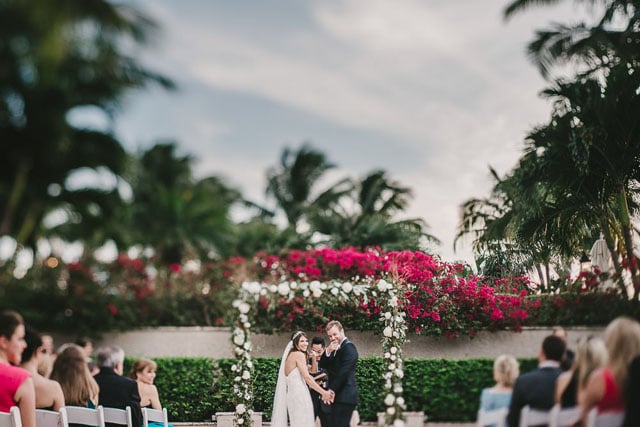
Results
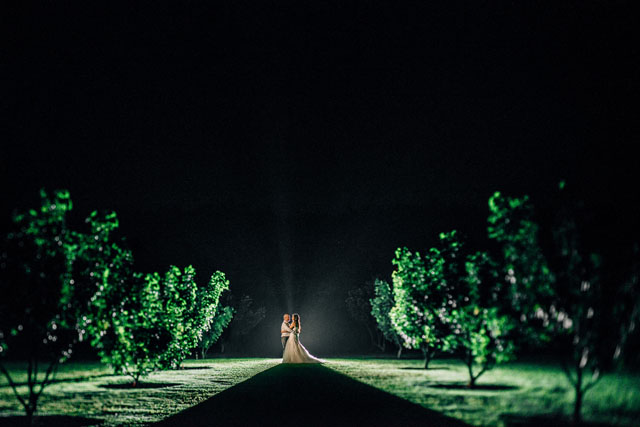
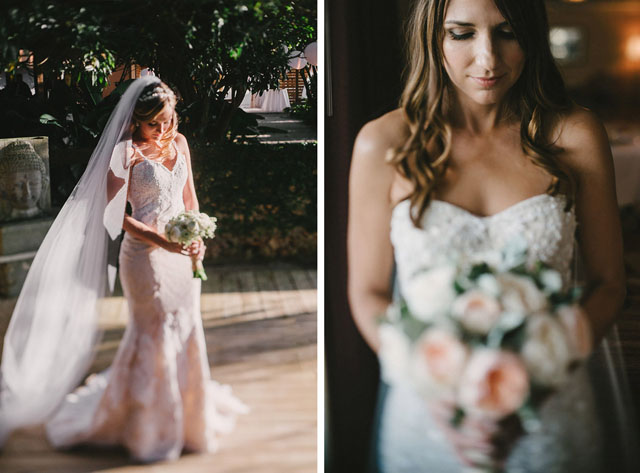
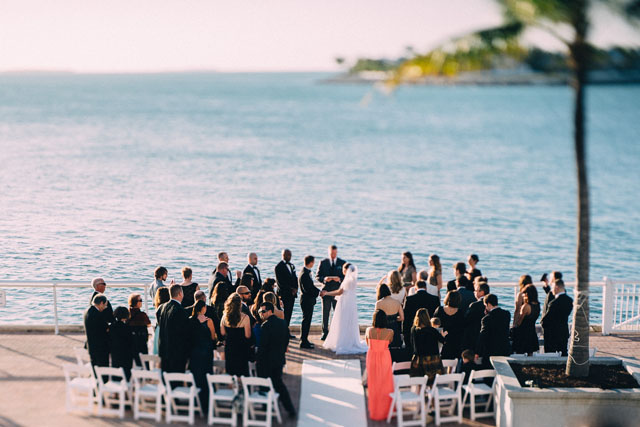
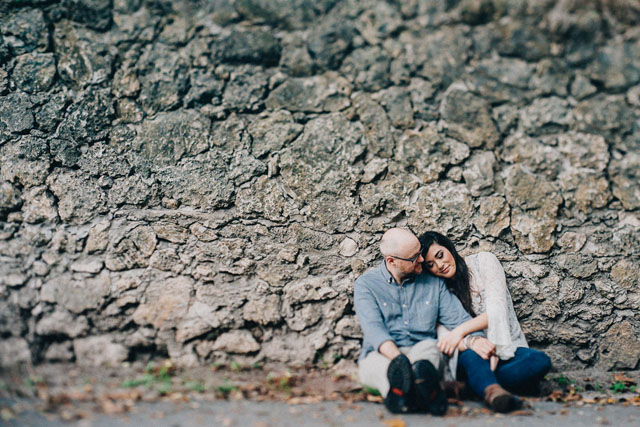
Some practice is required to get used to this lens, but once you get it right you will find this lens incredibly useful and creatively enabling. This is my third most used lens, only behind my 35mm 1.4G and 85mm 1.4G. I prefer it over a tilt-shift lens in every way except for the slight lack of image quality over the Nikon PC-E lenses, but it still holds up enough to use in a professional capacity. I have used this lens for more than two years and have had a lot of fun with daylight portraits as well as nighttime portraits.
Here are some shots…


Note: This article is a takeoff of Sam Hurd’s awesome discussion on freelensing using a deconstructed 50mm lens.
About the author: Evan Rich is a photographer based in Miami, Florida, who offers wedding, engagement, and family photography to people around the world. You can find more of his work and writing on his website and blog, and you can connect with him on Facebook and Instagram. This article originally appeared here.