How I Built a Custom DIY Photo Booth for Weddings and Events
I’m photographer John Nakatsu of K+J Studios based out of Seattle, and in this post I will share a step-by-step account of how I made a photo booth for weddings and events.
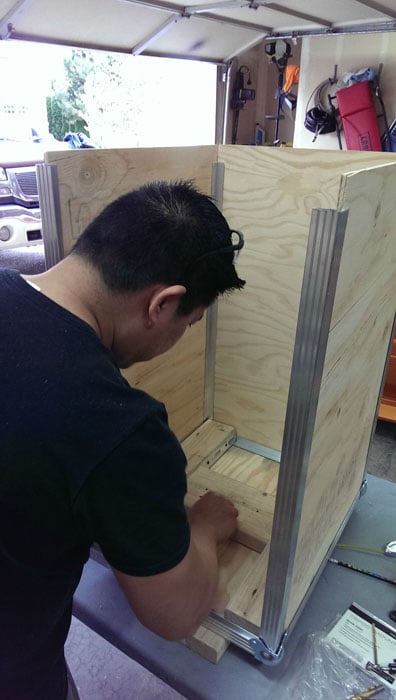
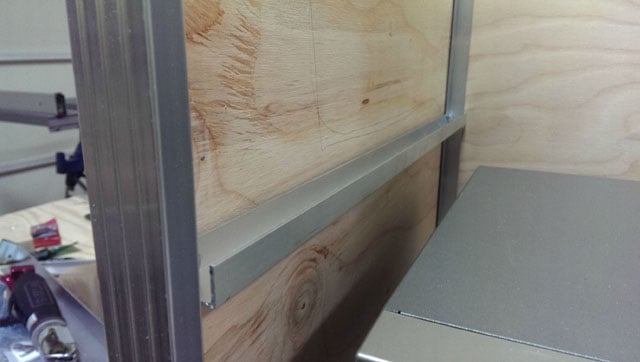
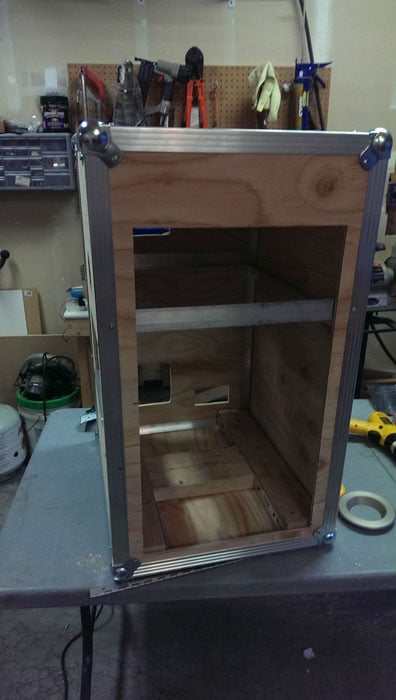
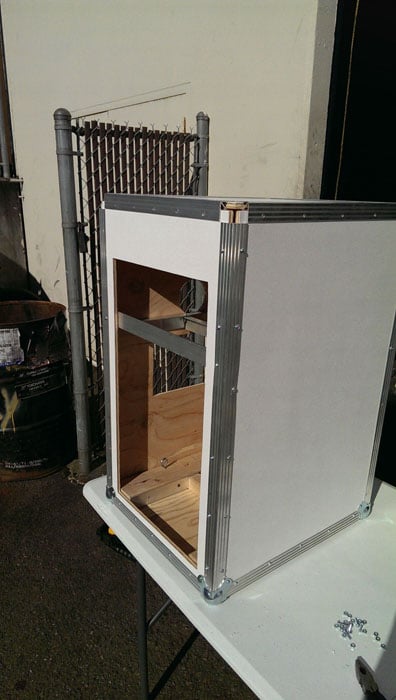
First, cutting the plywood to size. The box is essentially a custom road case. I used 3/8″ sanded plywood for the sides. The edges are held together with aluminum extrusions.

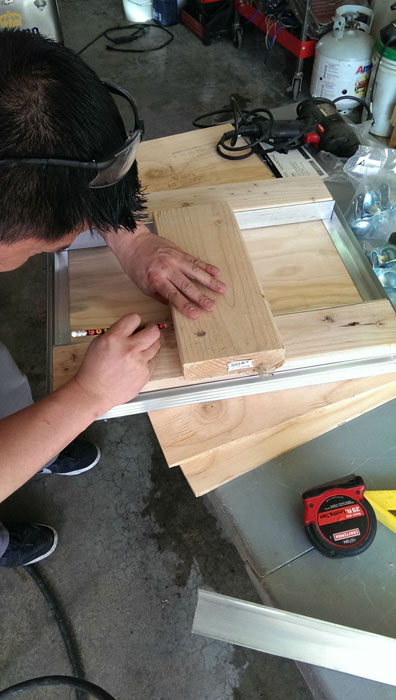
We used aluminum throughout to help strengthen the photo booth without adding too much weight. Some 2x4s and a 2×6 attached to some aluminum for stability. This will be the bottom.
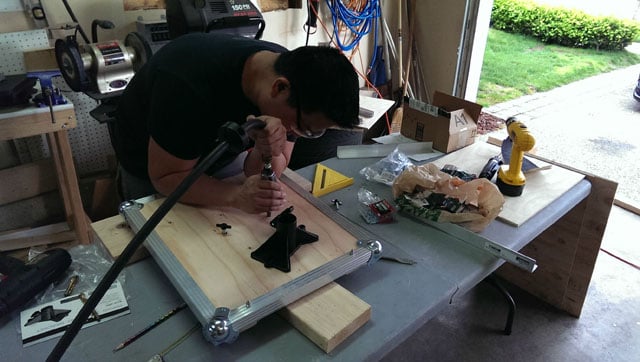
I originally planned on having it mounted on a speaker stand. Here we are drilling the holes for the speaker mount. It works, but is kind of a pain to lift everything up onto the stand so I just sit it on a table instead now. I can still mount it if I ever need to! The stand is meant for large speakers and can accommodate up to 150lbs.
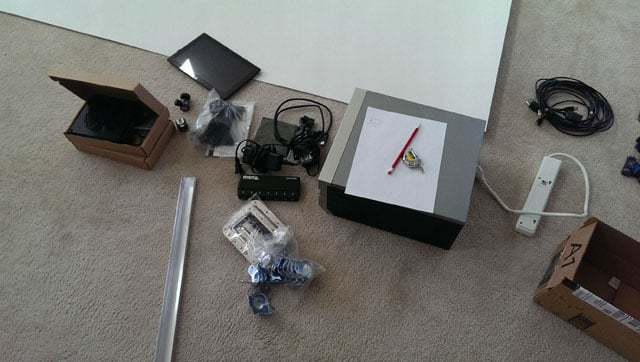
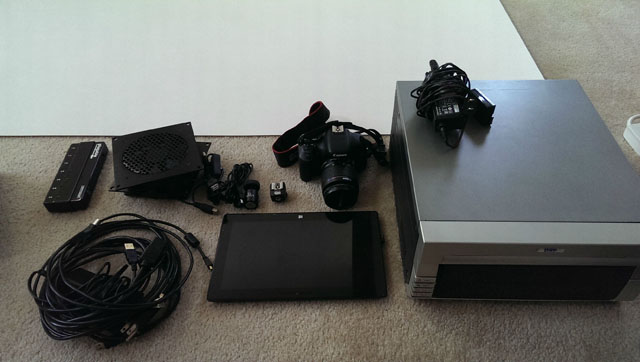
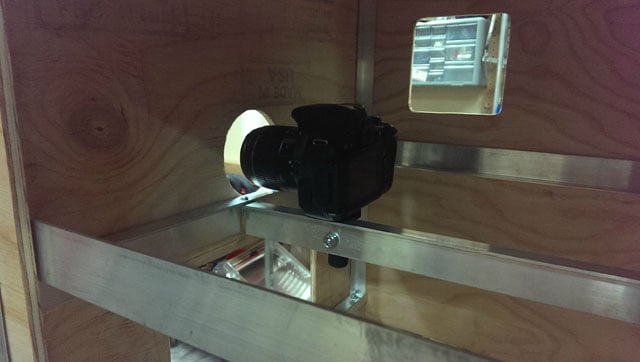
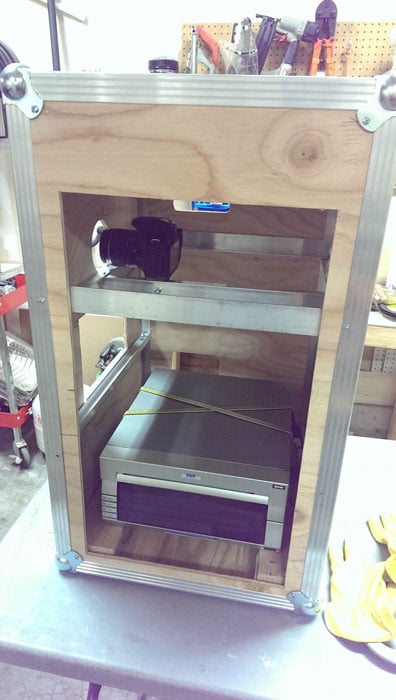
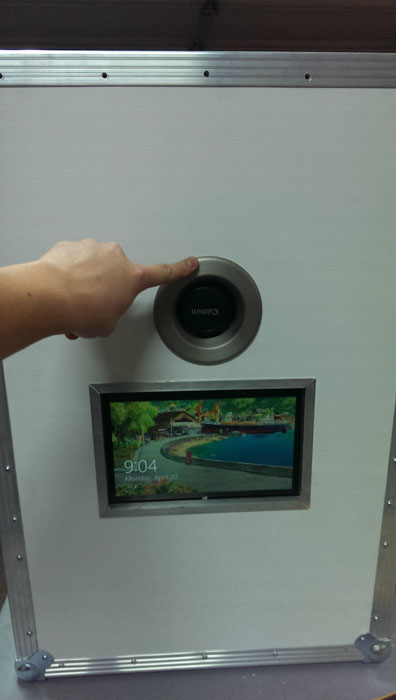
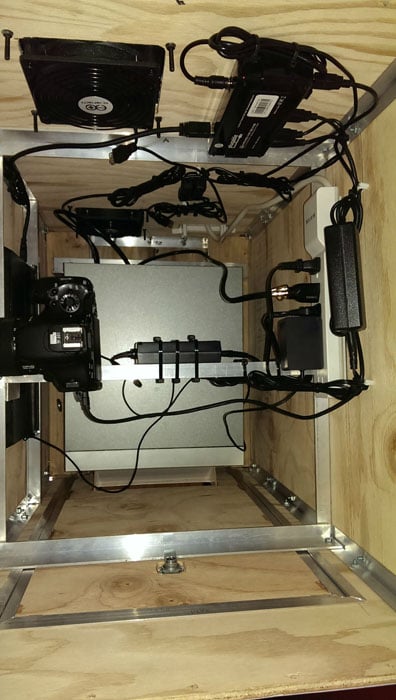
Test fitting the camera, printer, and tablet. The software is DSLR Remote Pro by Breeze Systems.

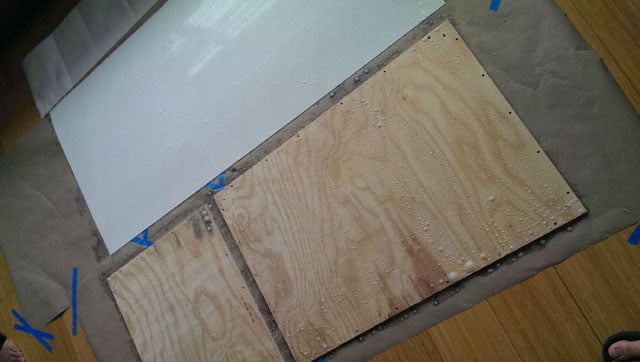
Covering the plywood with ABS sheeting.
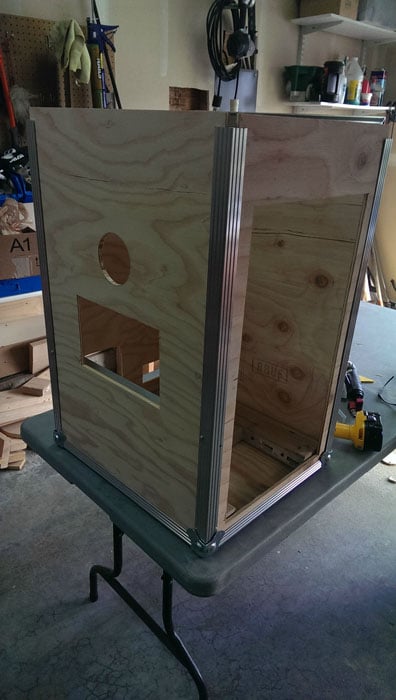
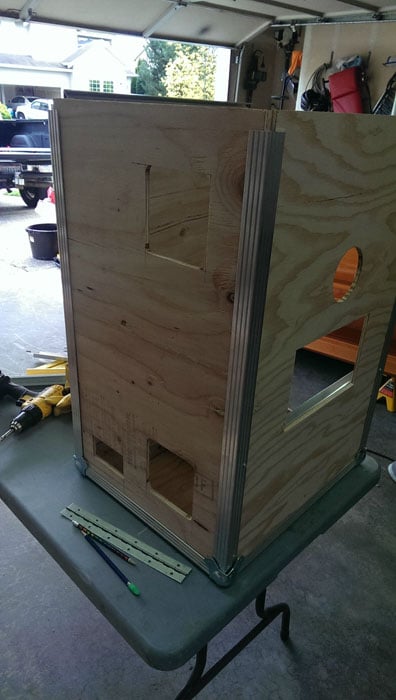
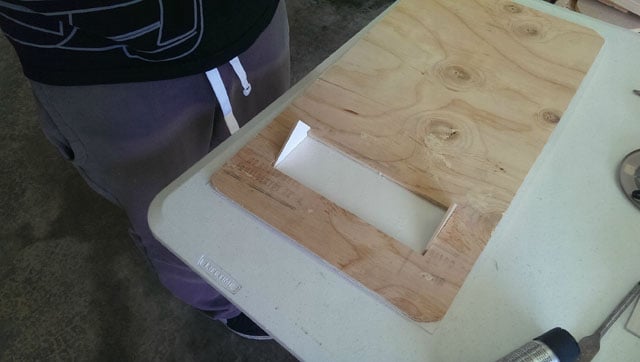
Creating the door slot.
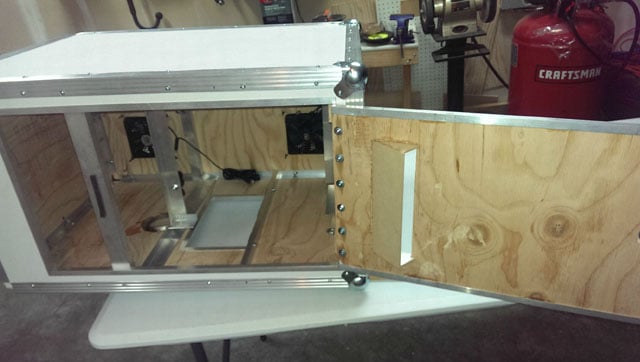
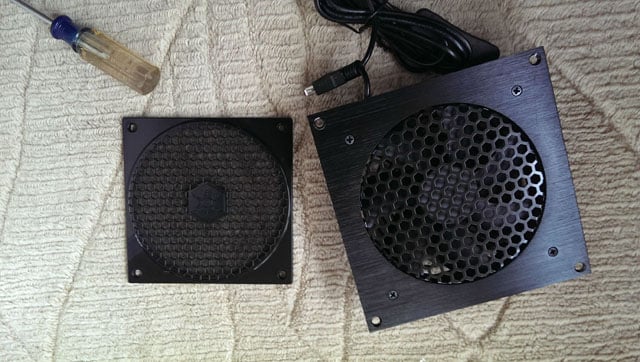
Adding an air intake fan with a filter to keep dust out, and putting everything together inside. Lots of zip ties and velcro.
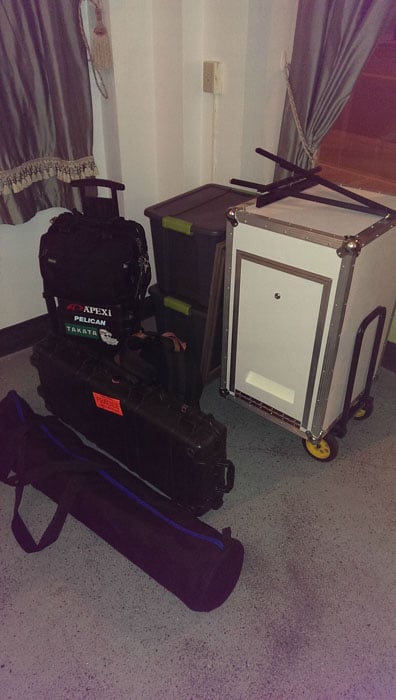
I also got a folding cart to make moving everything a bit easier. The printer is removed for transport since it weighs over 30lbs. The other tubs have my props, a hand steamer for the backdrop, the backdrop, the printer, and some other various things. The backdrop and light stands are in the bag in the front. The Pelicans have my photo and video gear.
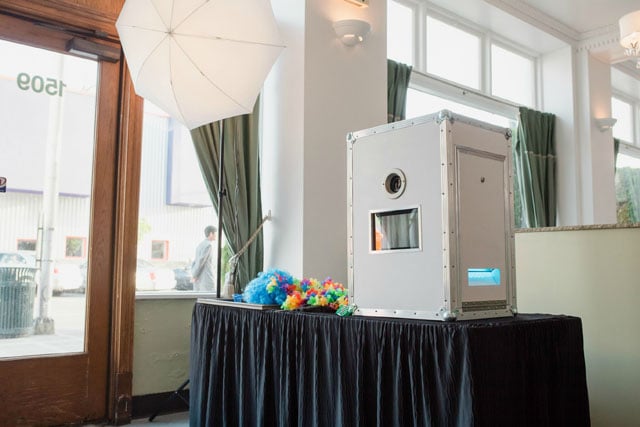
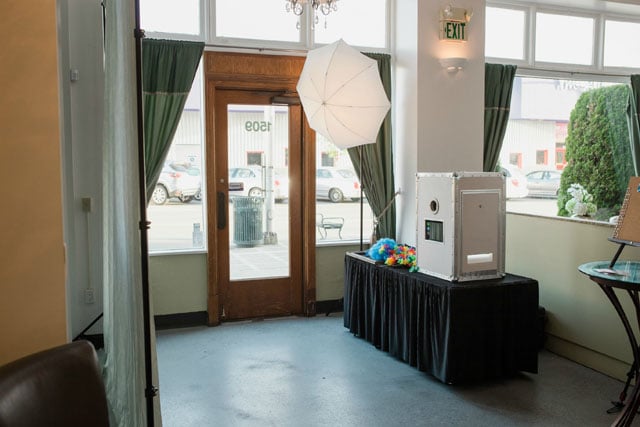
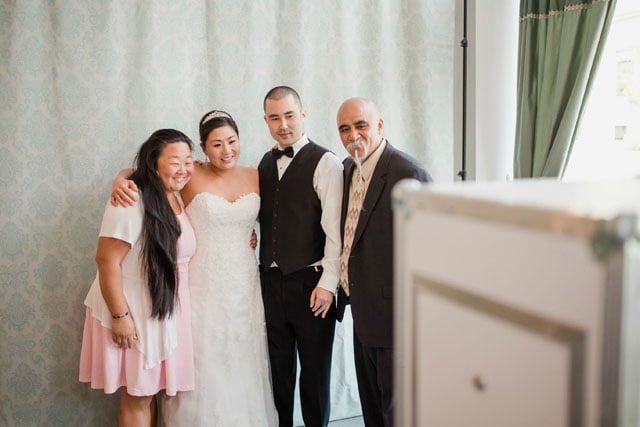
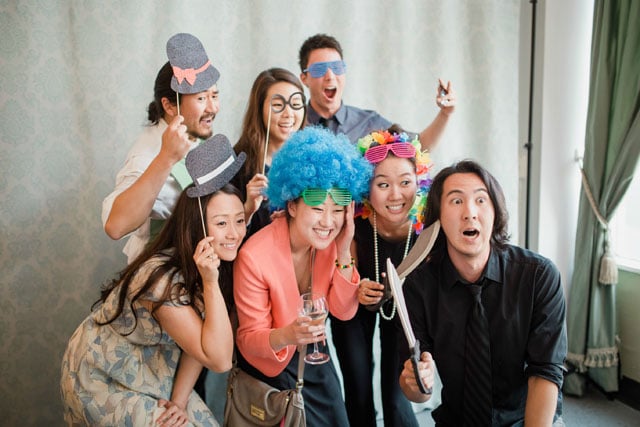
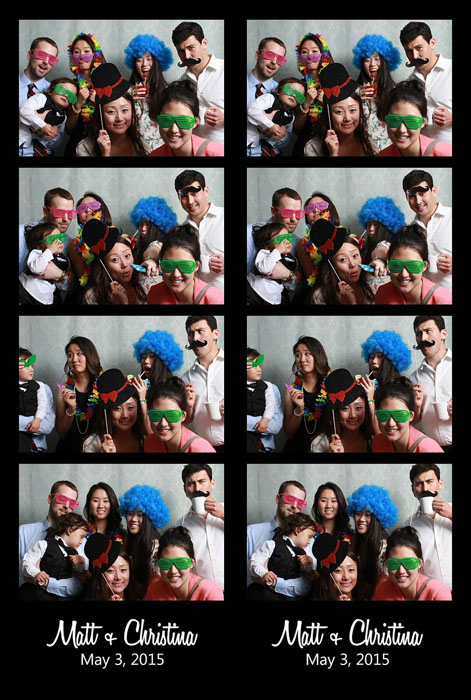
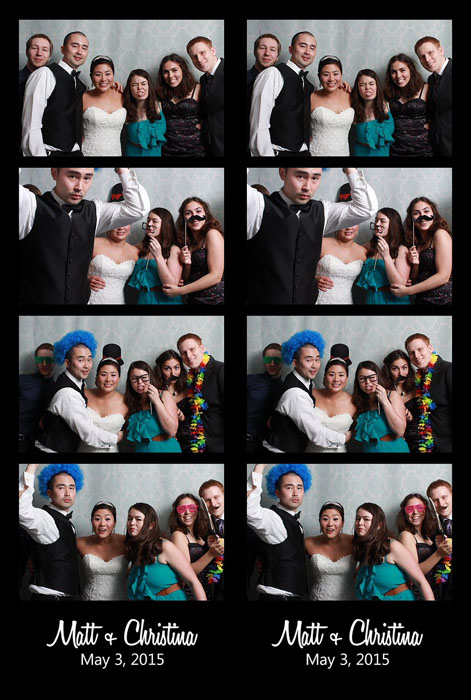
The finished product.
About the author: John Nakatsu is a professional photographer and one of the two men behind K+J Studios in Seattle, Washington, which offers a blend of photojournalism, relaxed portraits and a fashion shoot for weddings. More information about their photo booth service can be found here.