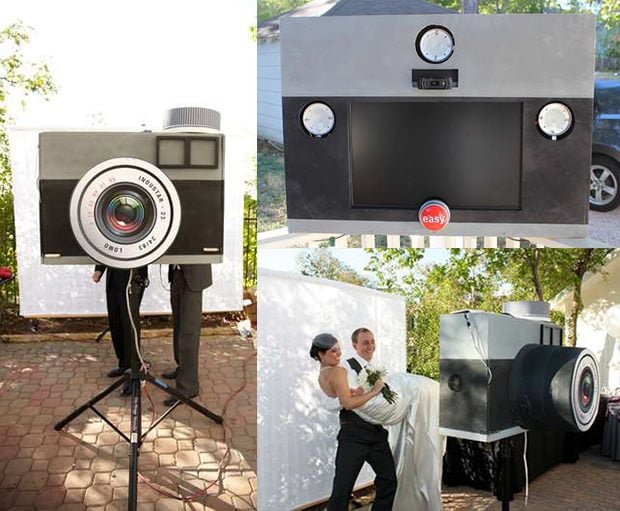
How I Built An Affordable, Custom PhotoBooth and How You Can Too
These days people love photo booths and once you have set it up it works — and pays — for itself. I found various plans and tutorials, but in my opinion, none of them had a good purchase list or a really good manual. So I decided to make my own.
What I outline below may sound complicated, but I assure you it’s really straightforward. This article isn’t meant to be a “step by step” DIY plan on how to build your own booth, but maybe what I’ve outlined below and notes on my personal experience will help some of you if you decide to try it yourself. I encourage anyone who has any questions about this to contact me and I’ll do my best to help!
Before You Build…
Before you spend the time putting all the parts together, you should first test the whole system and check if it works smoothly. Once you’ve confirmed this, you can get started building it and putting it together. The last thing you are going to want is to spend all the time it takes to construct it custom for your items only to find something that doesn’t work right.
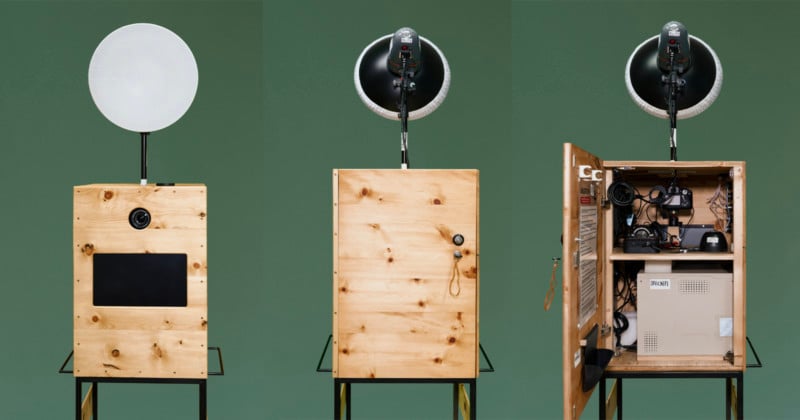
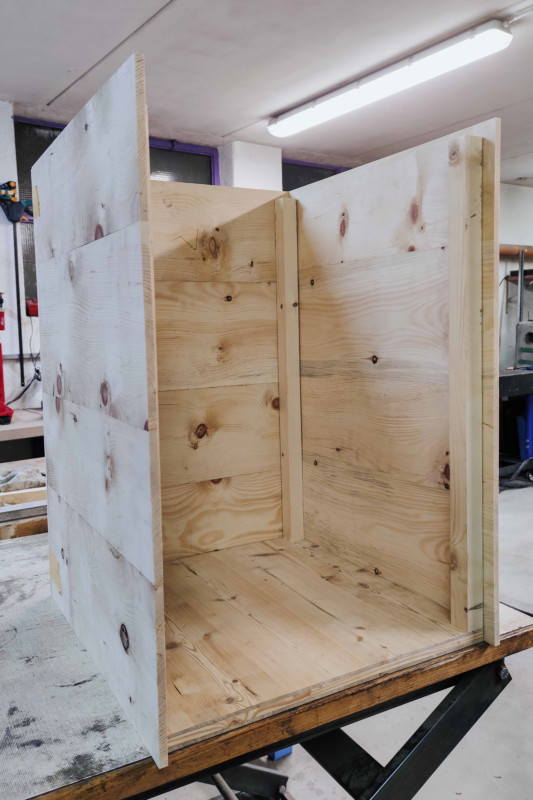
This particular photo booth design is made out of Swiss stone pine, has two floors, two doors, and enough space and holes to mount everything you need. Everything you need to make this booth will cost you less than 2000 euros (~$2,385).
The Exterior
I started with a general plan for the dimensions of the case: 50.5cm x 49.5cm x 70.5cm. Speaking from experience, I leveraged my brother’s knowledge here since it wasn’t my strong suit, so if you’re not confident I recommend asking someone who has the right tools and the know-how.
This design is very compact and small enough for car transport. It has a 13-inch full HD touchscreen on the front side (it’s pinched on the inside with the pressure of four screws covered with a rubber strap). The idea is that with the touchscreen, anyone can control the photo booth.
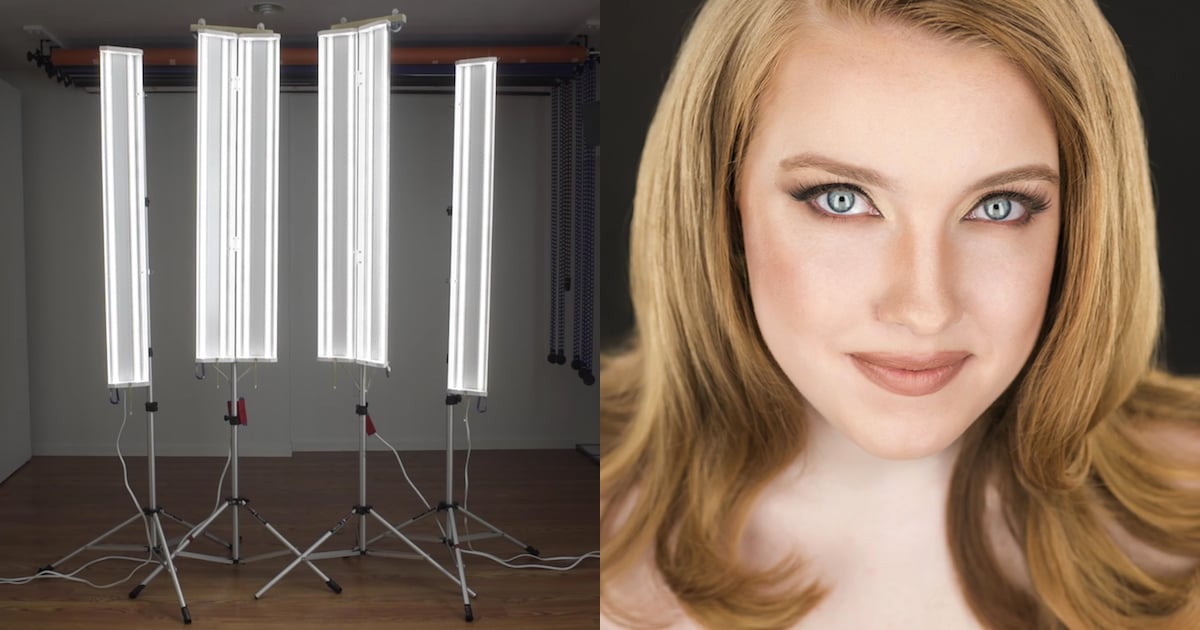
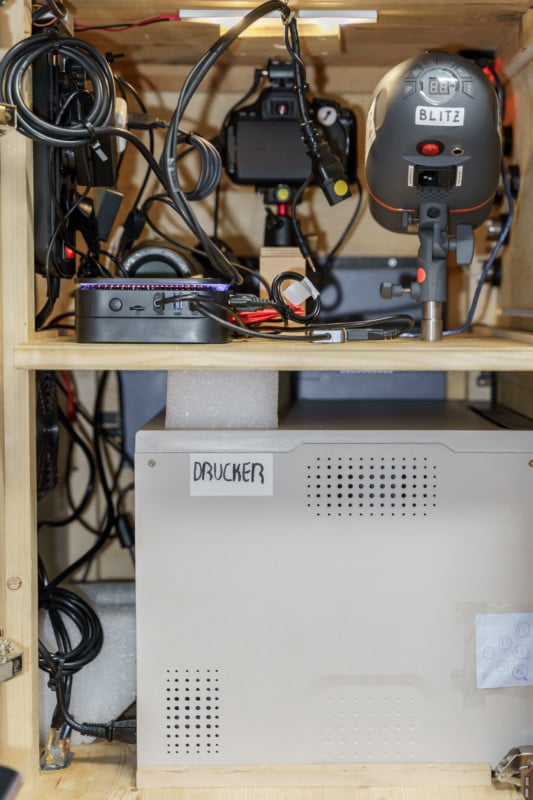
I used a quite cheap studio flash (300ws, which I think is more than enough) on top with a beauty dish or umbrella (the latter is more compact). The Flash is mounted with a repurposed overhead mount screwed (removable) on top of the box.
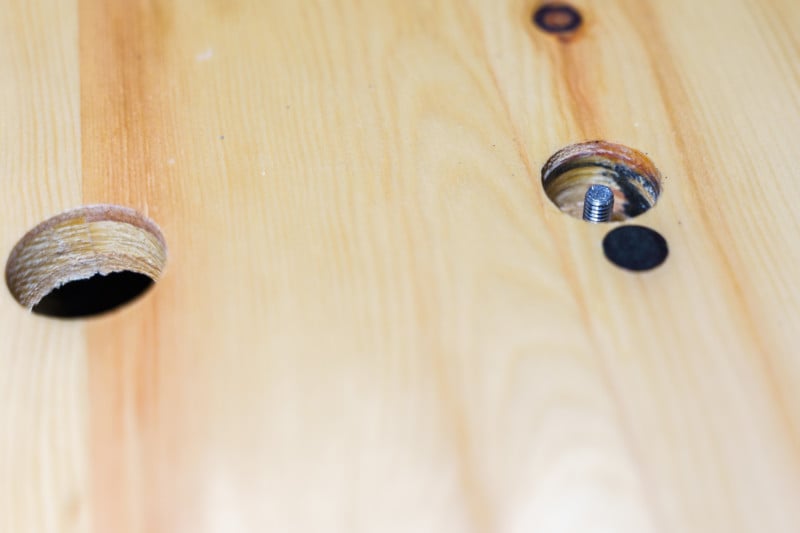
Important: you have to make a little hole on top for the flash cables (2.5cm) and a rack for under the box (a height of 90cm). I don’t trust in tripods or light stands for this application, as the photo booth weights about 35-40 kg (printer 25kg) and I don’t think another solution would be as stable.
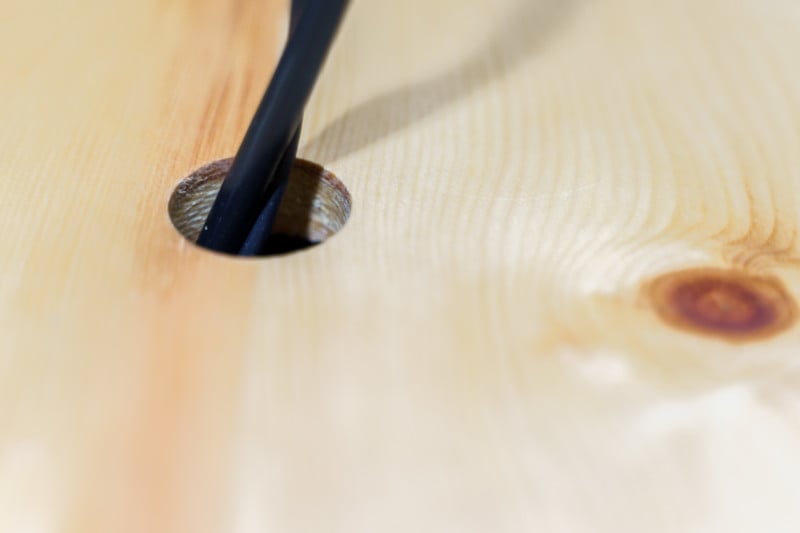
The camera hole is about 58.8 centimeters from the lower edge of the front of the box. When fully constructed, that camera hole will be positioned about 1.5 meters off the floor which I think is more than enough for the average person. To make transport easier, we installed two handles on the sides of the box.
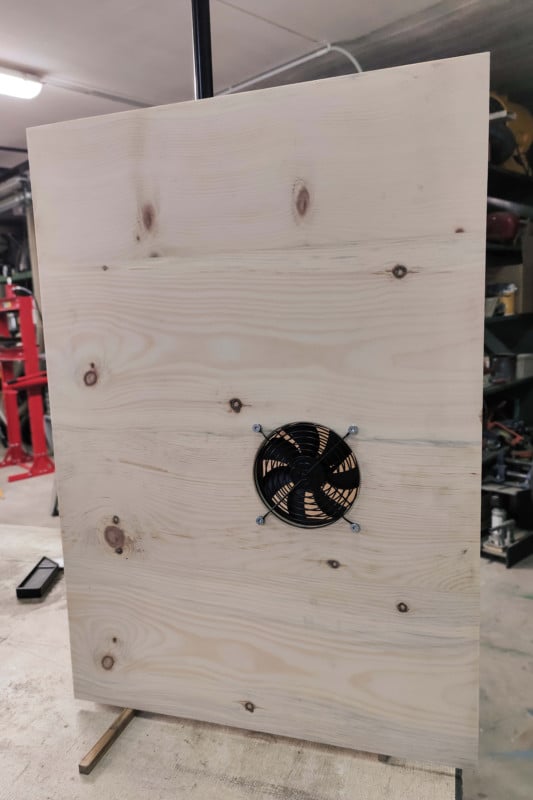
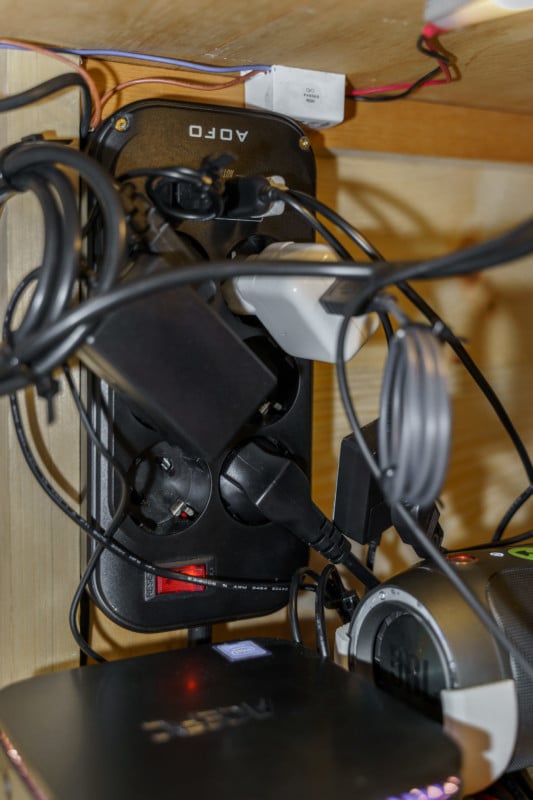
As you can see, we installed a little USB fan on one side (directly behind the PC and printer fan). In my experience, sometimes a photo booth needs to be operational for more than 24 hours, so you shouldn’t risk overheating when you can get these small, functional USB fans for less than $15. On the bottom we installed a 250v rocker switch power socket, as the advantage of these switches is that if somebody trips on the power cable, the photo booth doesn’t fall over.
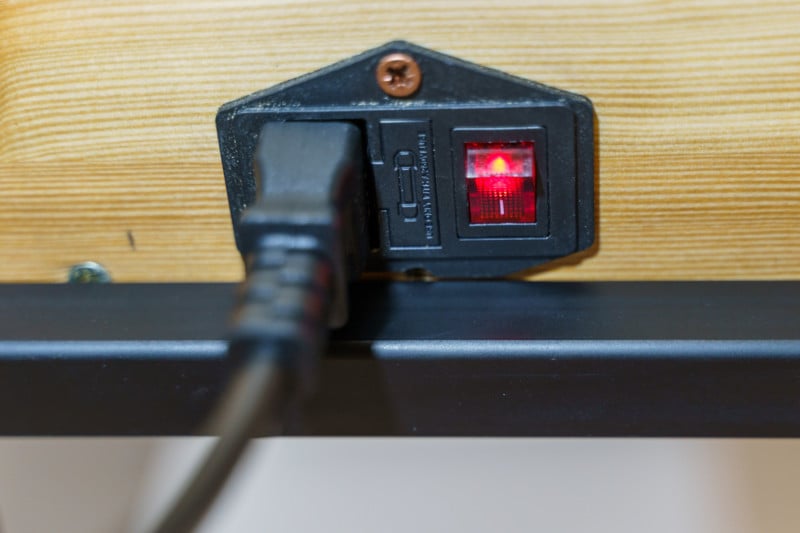
In the bios menu of a PC, you can select a setting that turns the system on when it senses power from the cable, and if enabled will allow you turn the photo booth on with one switch. Perfect.
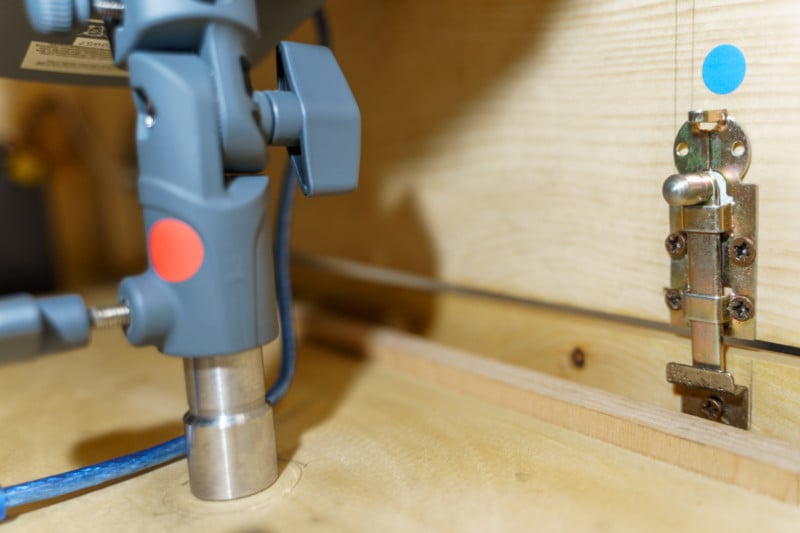
The photo booth has two doors: a large main door on the backside and one down-hinged door on the side where prints come out. You want to do this because you want the prints to come out on the side of the photo booth, and this way you are also able to easily refill the paper. I secured both these doors as well: the back door with a lock and the hinged door with a latch that can only be accessed from the inside.
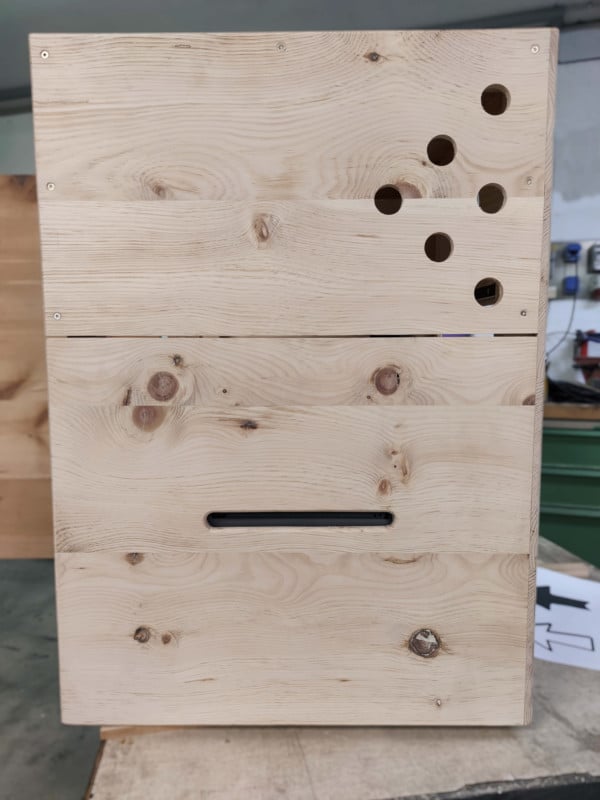
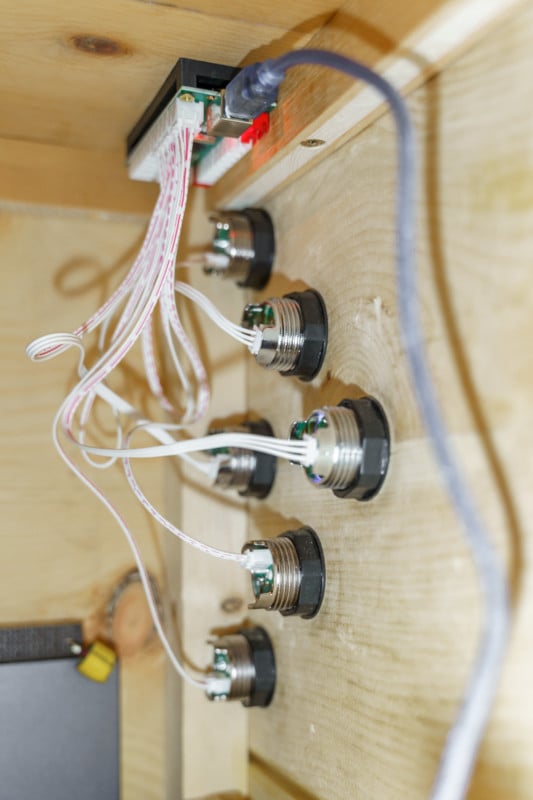
Something I specially installed on this booth are six sound buttons, as you can see in the photos. Each button is easily programmable (via drag and drop files) and I thought it would be a fun addition that anyone using the booth would enjoy.
The Interior
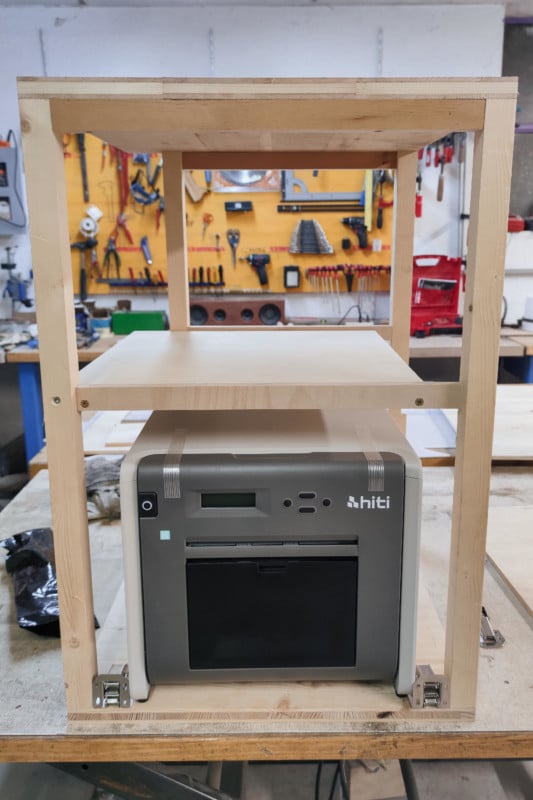
Top Rack
As I have alluded to above, the heart of the photo booth is a miniature PC with 8GB of RAM. You don’t want to necessarily skimp on the PC as you want one that is fast enough to process the images in a timely manner. The PC is equipped with WLAN, and I think that’s really important because with access to the Internet, those using the booth are able to get images sent directly to them or they can be uploaded to the cloud during whatever event the booth is set up at.
The heart of the Photobooth is a mini pc with 8gb ram. Don’t save money on the pc you want a fast one for the image processing. The Pc has WLAN, I think that’s really Important because with Internet access on your Event the Guests are able to send them the images directly or you can upload the photos to the cloud.
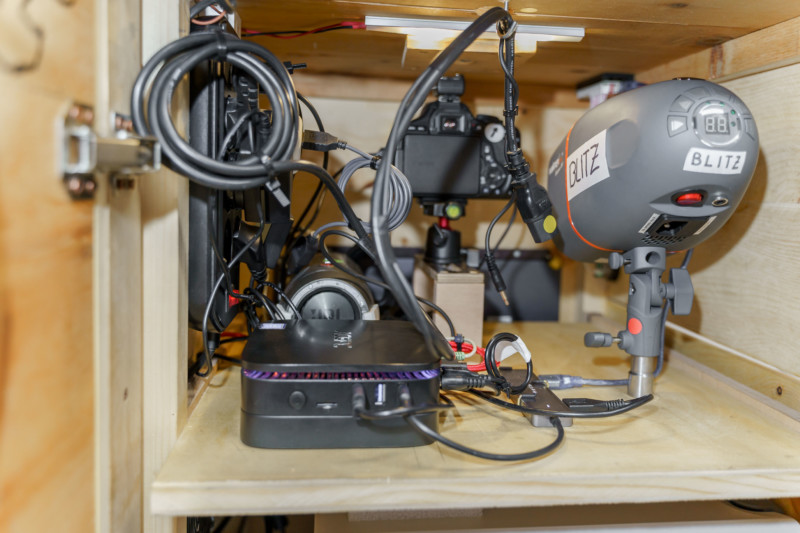
The PC itself is connected to a power supply, the camera via USB, the touchscreen (either via USB or what I chose, HDMI), the printer (again via USB), the soundboard via USB, and the speaker via the AUX cable. Since there are so many USB connections, I added a USB hub to make that easier. Next to the PC, I installed mounting for the flash so that all the components fit in the box during transport.
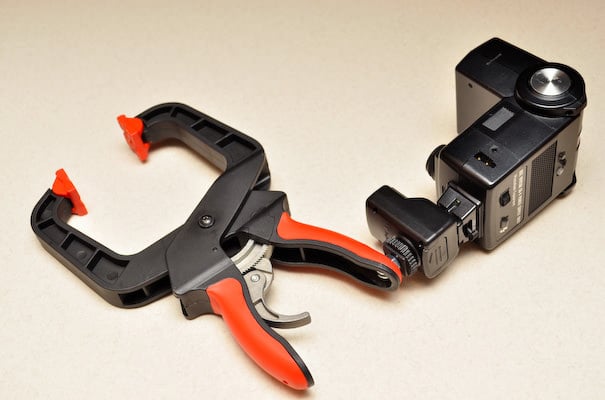
The camera in the box is an old Canon 600D, which I did not include in the price of the build since many photographers have an older DSLR kicking around that would work great for this. If you don’t, one can be had for very little on Ebay or even new. The camera is directly connected o the flash with a cable and adapter, and I mounted the camera on a tripod head which is attached to a custom slider that I use to adjust the camera position.
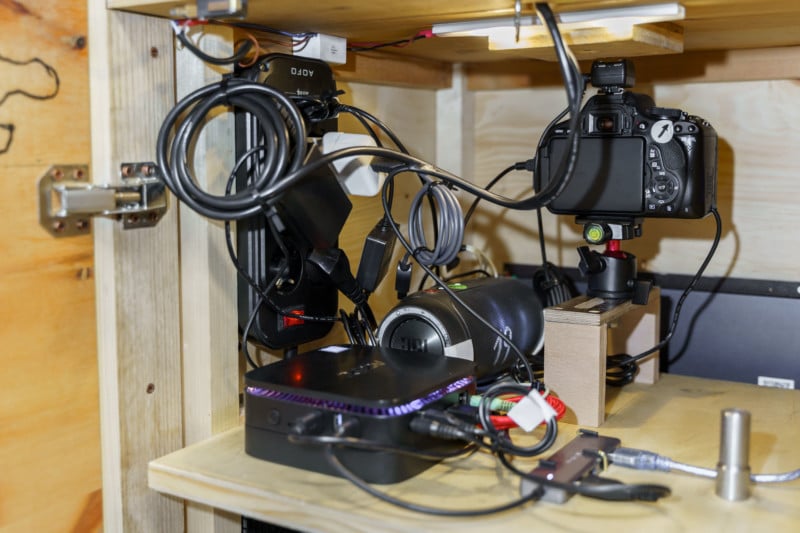
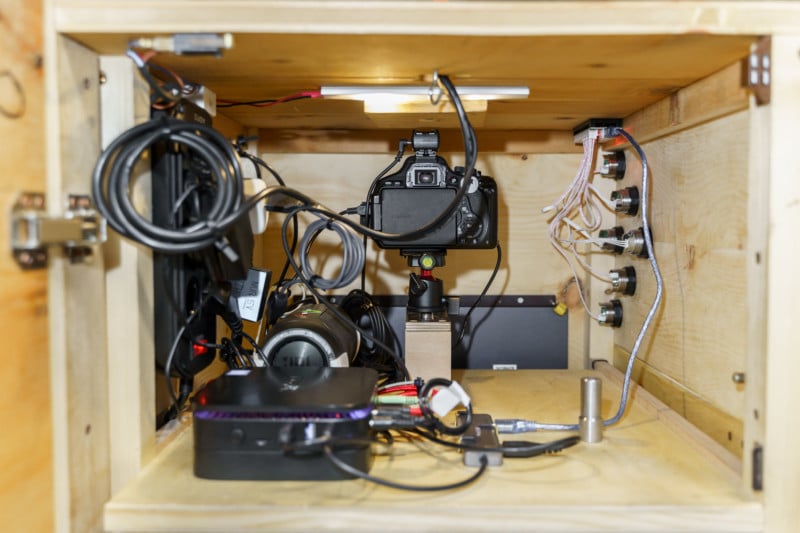
Next to the camera is the speaker with a 3D-printed mount I made specifically for what I had, which is an old JBL but really any old set of speakers or soundbar would work great here.
On the side panel are the aforementioned sound buttons and USB encoder. A USB encoder is normally used for something like building a video game joystick, but we used it in tandem with two commands set to keyboard commands that would play sound files when hit (freeware). This is all optional, but as mentioned I thought it added a nice fun touch to the booth.
On the other side panel, we mounted multiple sockets with six ports, five USB ports, and another switch. The multiple sockets are connected to the 250v rocker power switch socket on the bottom.
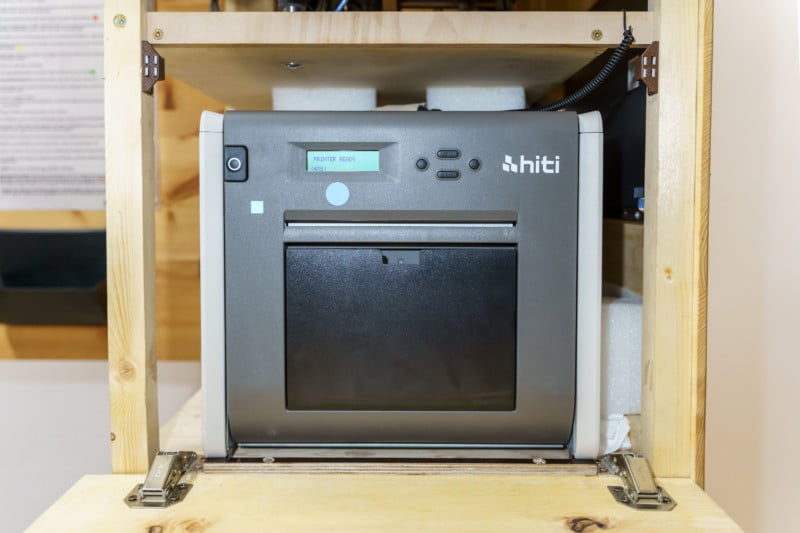
The Base Rack
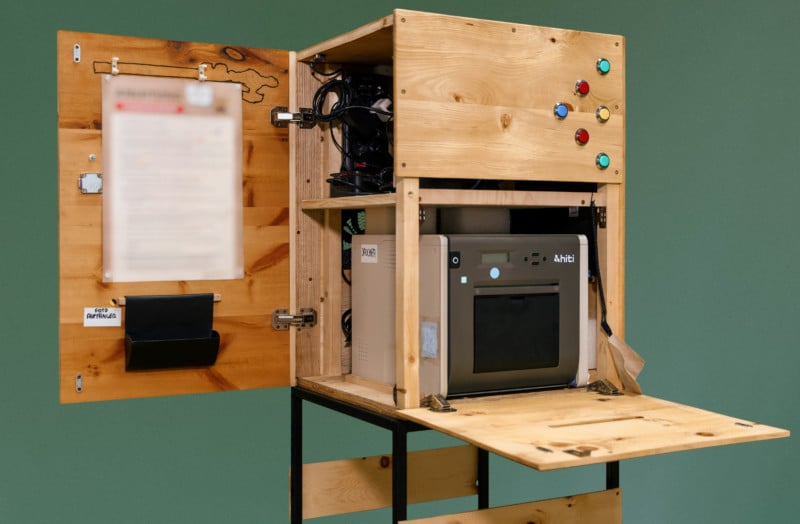
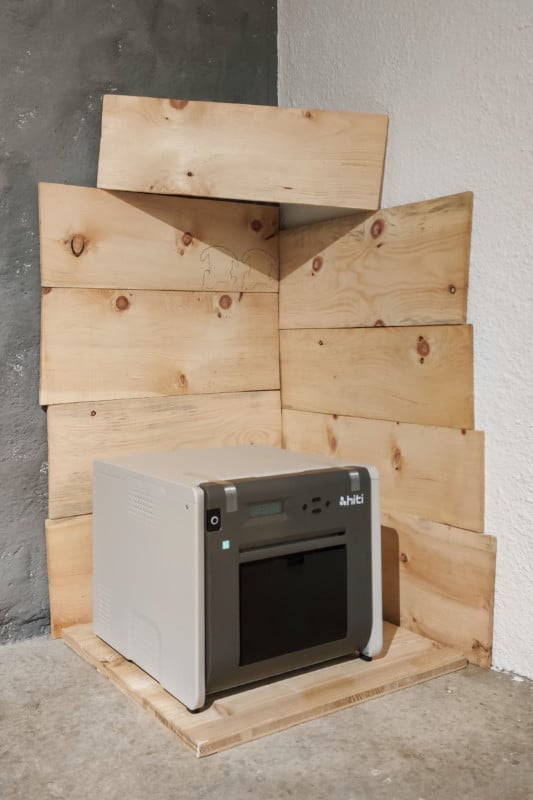
On the base floor of the booth is where the Hiti P5251 printer sits. It has a maximum capacity of 500 prints and is able to cut the photos to 2×6 inches and print multiple sizes, which is perfect for this application. It’s possible there are other more full-featured printers out there, but the price on this one was unbeatable. When mounting the printer, don’t forget to leave a little bit of space for all the cables and air circulation, and we bolted and wedged all the components to the box to prevent them from slipping around during transport.
Software
I used three different sets of software to run this photo booth: DSLR Booth, EXP Soundboard, and Joy to Key.
There are various different photo booth software options out there and each has different pros and cons. I personally chose DSLR Booth, but I admit I’ve not used anything else before so go with what works for you. I find DSLR Booth is easy to use and has a lot of extra functions and features. The other two programs are only necessary if you plan to add sound to your booth. Joy to Key transforms joystick commands into keyboard commands, and EXP Soundboard matches keyboard commands with sound files.
Full Parts List:
- Printer: HiTI P525L Compact Dye Sub Photo Printer
- Computer: I used this one, but there are several options here.
- Touchscreen: G-Story 15.6-inch Touchscreen Monitor
- Flash and Beauty Dish: I used this one, but there are a lot of options out there.
- Power Strip: Any will do, but I used this one.
- Camera Power Adapter Kit
- Tripod Head
- Overhead Mount
- Hot Shoe Connector
- USB Fan
- USB-Encoder
- Hinge
- USB Hub
- Rocker Switch Power Socket
About the author: Stefan Innerhofer is an Italian photographer who finished his Photography Studies in Vienna a year ago. He is now starting to make photography his full-time career. You can follow him on Instagram (along with his brother here).